
I kept asking artists for "more detail" then watching the bloom lose its shape after healing, so eventually I stopped asking for detail and learned how fine-line actually works. The turning point was watching one single-needle stem hold crisp edges while a thicker-lined petal from another session softened into a blur. After that I paid attention to needle size, spacing, and how tiny color holds up over years.
These ideas are for people who want delicate, low-profile floral tattoos that still read as flowers up close, whether you want something coverable at work or a ring-side accent. The designs here range from 20-minute single-needle pieces to 1.5 hour sessions for small clusters, and most sit in an affordable to moderate price tier. I learned these through visits across five shops I have visited and by testing two different aftercare routines on the same design to compare fading.
1. Single-Needle Stem With Tiny Petal Cluster
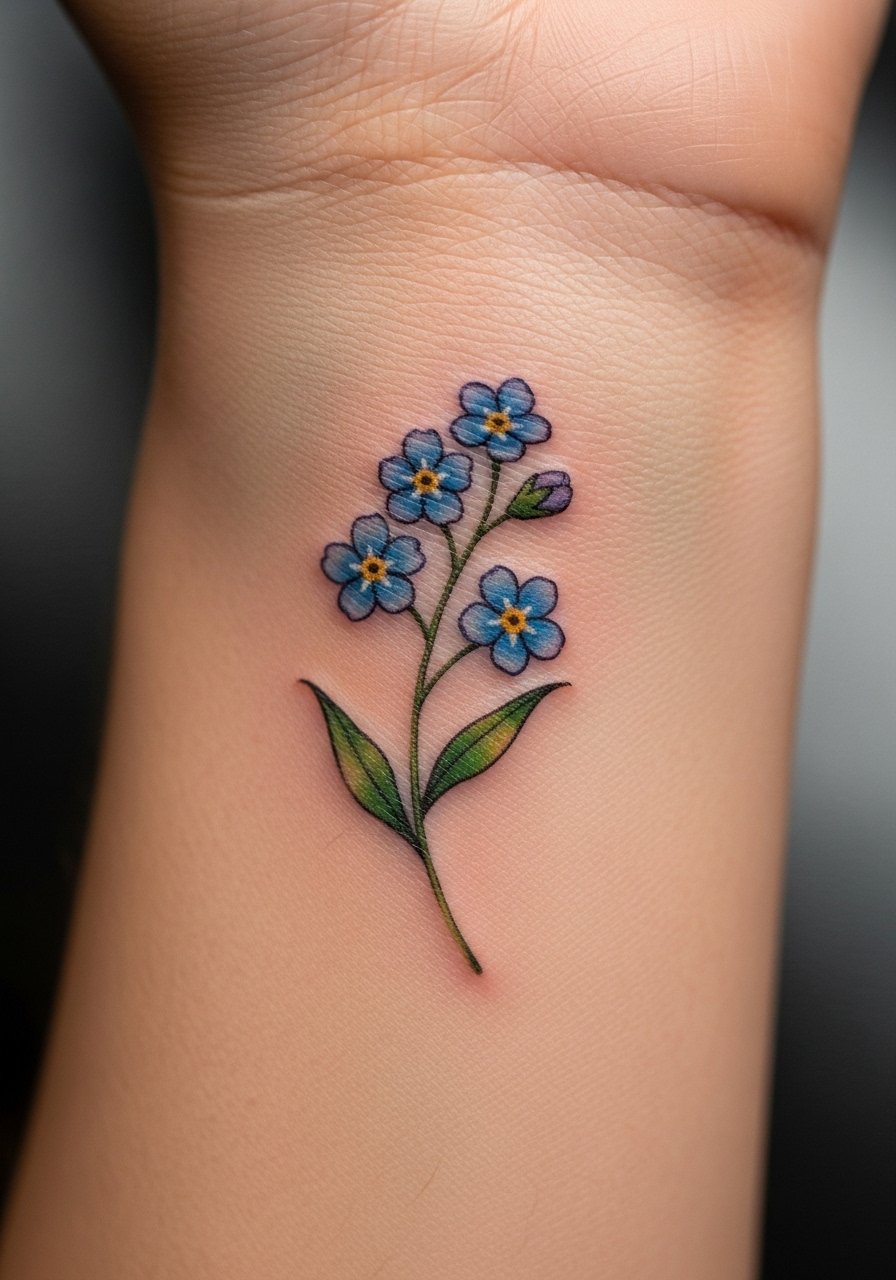
A single-needle stem with a tight three-petal cluster reads like a jewelry accent and stays crisp because line weight is kept at about 0.25 mm. Visually it works because the negative space between petals gives the eye definition, and it feels understated on the wrist or behind the ear. This is a good pick for first tattoos and for anyone who wants a coverable piece for work. Expect a 30 to 45 minute session, simple aftercare, and a budget that usually falls in the lower end of shop rates. I like pairing it with a fragrance-free soap and a thin medical bandage after the session, both linked below.
Style/Technique: Single-needle minimal floral
Pain Level: 3/10
Session Time: 30 to 45 minutes
Best For: Inner wrist, behind ear, first-timers
Mistake to Avoid: Asking the artist to thicken every line in the belief it will last longer.
2. Micro-Color Center, Monochrome Petals
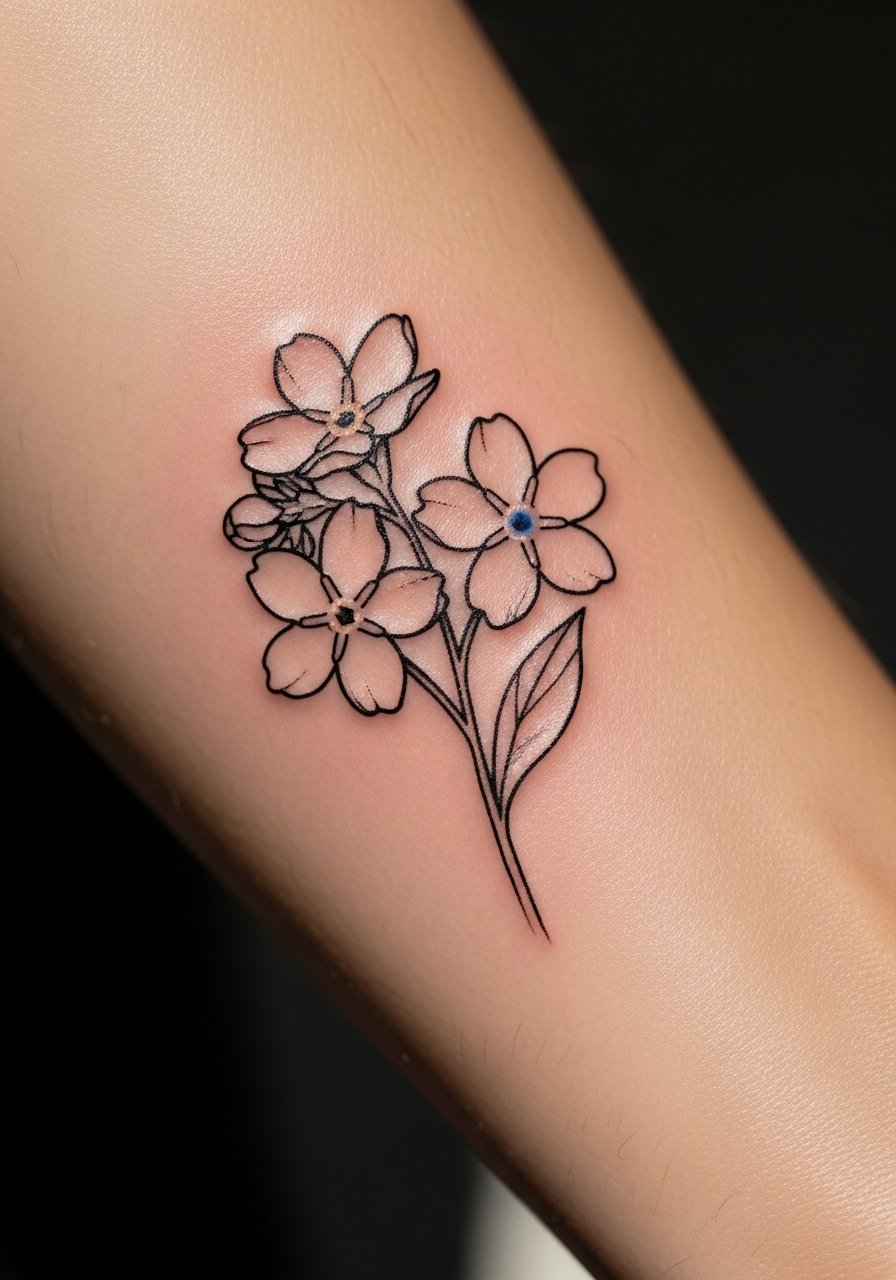
Swap a full color fill for a single saturated dot in the center to create color without the risk of overspread. One tiny blue pigment center about 1.5 to 2 mm wide anchors monochrome petals, so the bloom still looks like a flower even as fine lines thin. It creates a quiet pop that suits people who want a hint of color but need a subtle result for professional settings. Session time is 30 to 60 minutes depending on dot saturation. Use a gentle aftercare ointment to avoid scabbing that can pull color out.
Style/Technique: Minimal color punctum with black linework
Pain Level: 2/10
Session Time: 30 to 60 minutes
Best For: Forearm, ankle, work-visible but subtle placements
Mistake to Avoid: Requesting a full petal color on a tiny scale, which risks patchy healing and early blur.
3. Tiny Chain Along the Side of the Hand
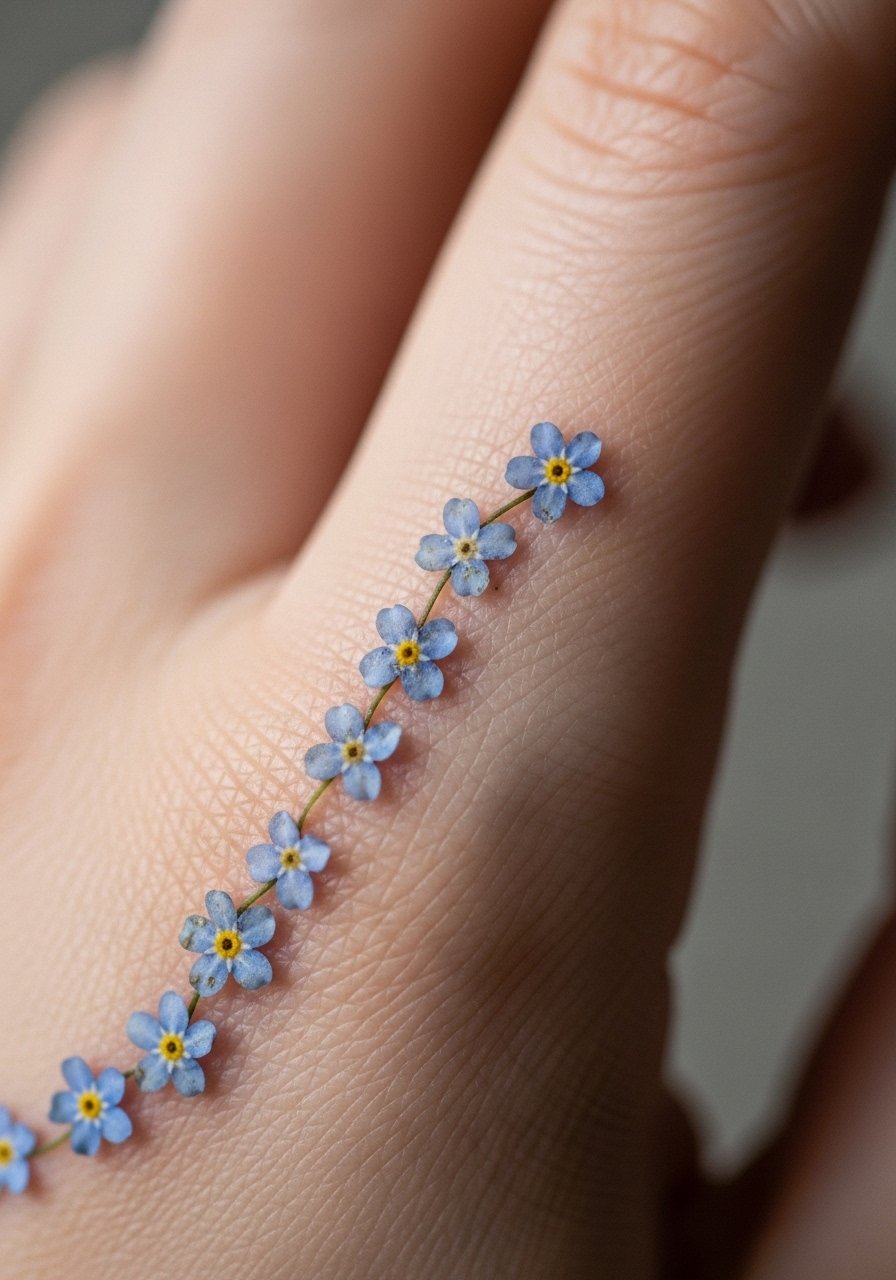
A chain of three to five micro blooms placed along the side of the hand or down the finger creates motion and looks intentional when spaced 8 to 12 mm apart. Visually the rhythm of repeated motifs reads like a small bracelet. This fits someone who likes jewelry-style tattoos and wants pieces that play with hand movement. Expect finger placement to need touch-ups over the years since hands see more wear. Budget for a short initial session and a planned touch-up in 12 to 18 months.
Style/Technique: Repeated micro motifs in a linear chain
Pain Level: 4/10
Session Time: 30 to 60 minutes total
Best For: Side of hand, fingers, jewelry-style accents
Mistake to Avoid: Crowding blooms too close, which turns the chain into a confusing blob as lines spread.
4. Script and Bloom Behind the Ear
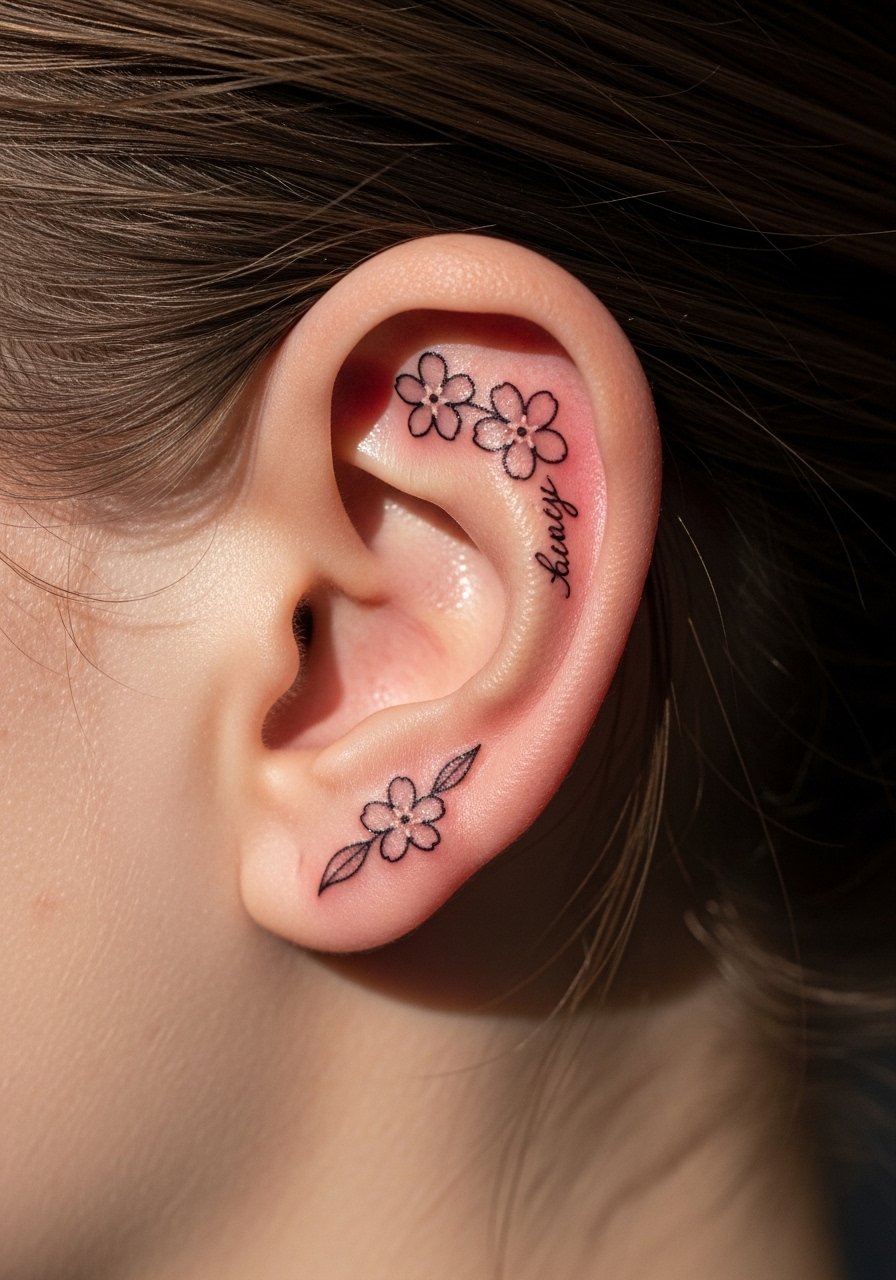
Pairing a tiny script word with a single bloom behind the ear gives a personal note without making the whole piece loud. The bloom should be scaled to 6 to 8 mm so it balances with two- to three-letter scripts. This styling works for people who want symbolic ink that is mostly hidden, and it is quick in one short session. Ask the artist to use a 3RL or single needle for script, and a slightly lighter pass on petals to prevent ink blowout in that thin skin. A tech at a shop downtown showed me how keeping petal lines lighter prevents muddy script edges.
Style/Technique: Fine-line script with companion floral
Pain Level: 2/10
Session Time: 20 to 40 minutes
Best For: Behind ear, nape base, coverable spots
Mistake to Avoid: Requesting bold script and bold petals together, which competes and ages unevenly.
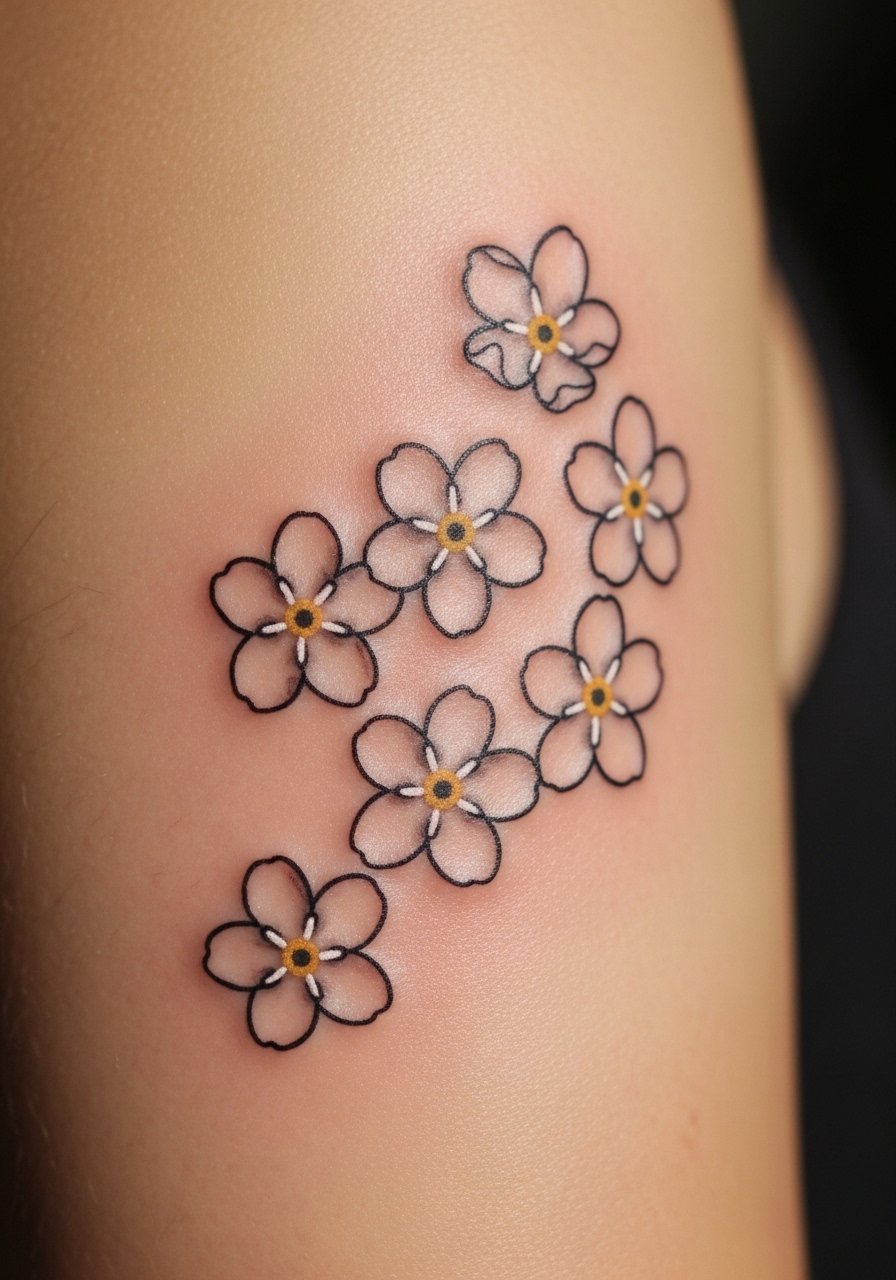
5. Scar-Friendly Simplified Petal

If you want to work with scar tissue, simplify the bloom into a single outline petal and use negative space to mask texture. Artists will often plan lines to avoid crossing delicate scar edges and may use slightly shallower needle depth. This look suits anyone aiming to camouflage while keeping a delicate aesthetic. Expect a longer healing check and possibly two short sessions if the scar tissue is thick. Use a gentle silicone sheet at night during healing to help even out the surface.
Style/Technique: Scar-adaptive simplified outline
Pain Level: 4/10
Session Time: 30 to 60 minutes, possibly staged
Best For: Scar coverage, textured skin, personal commemorative pieces
Mistake to Avoid: Insisting on heavy shading over scar tissue, which can heal patchy and require multiple corrections.
6. Ring Finger Accent Bloom
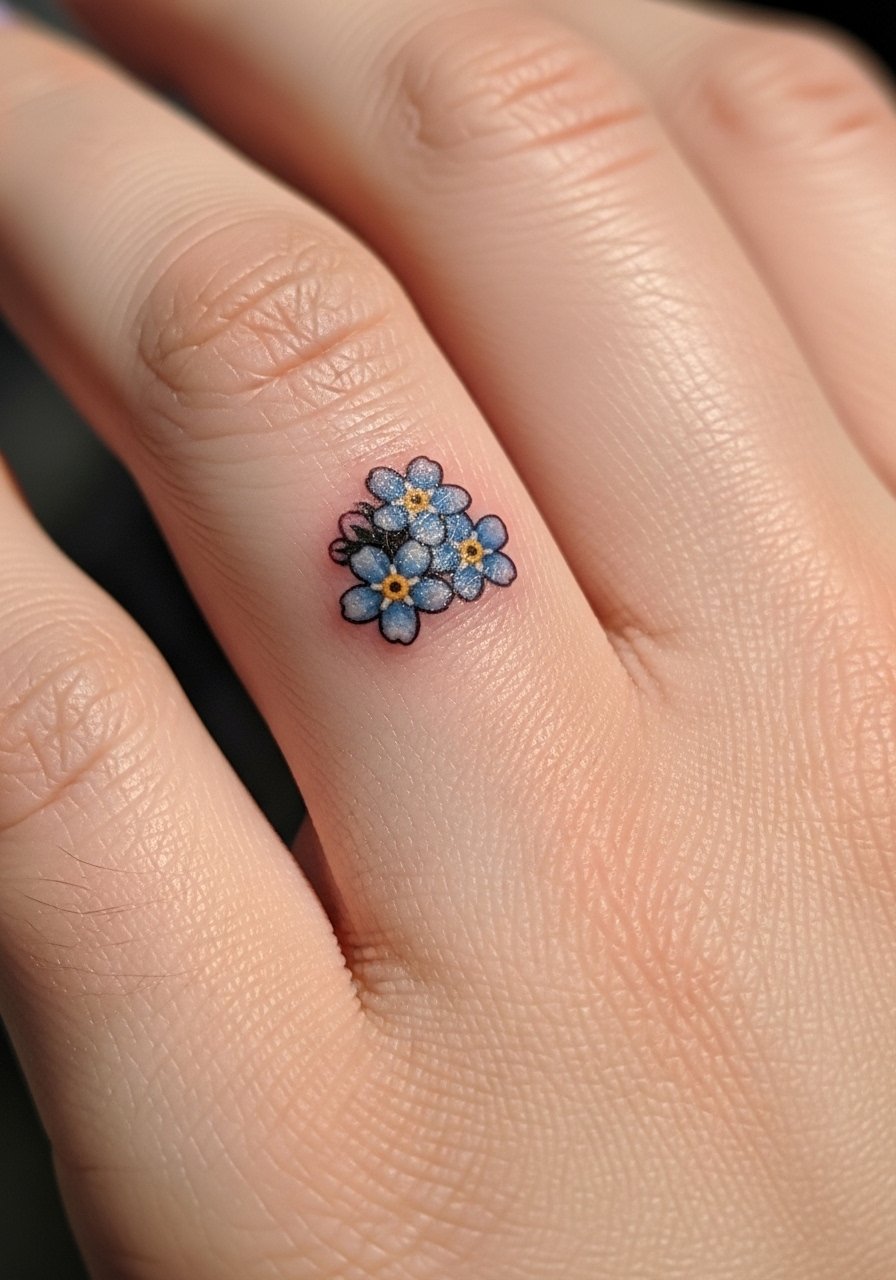
A micro bloom placed on the ring finger edge reads like a subtle band accent and is ideal for people wanting a symbolic placement without a ring. Keep the design under 6 mm and favor single-needle outlines since the finger surface moves a lot. Plan for touch-ups; finger inks commonly need a refresh around the one-year mark. This option is quick in-studio and budget-friendly for a small piece if you expect upkeep.
Style/Technique: Micro finger accent, minimal outline
Pain Level: 5/10
Session Time: 15 to 30 minutes
Best For: Ring finger, wedding/commitment accents, discreet symbolism
Mistake to Avoid: Choosing dense shading on the finger, which almost always fades unevenly.
If you are ready to shop for supplies now, here are the essentials I actually reach for when getting a fine-line floral.
Fine-Line Forget-Me-Not Kit
Aftercare Basics:
- Fragrance-free soap (~$6-12), a mild cleanser that prevents scab disruption.
- Tattoo aftercare ointment (~$8-18), thin layer applications keep skin hydrated without clogging.
Protection & Comfort:
- Medical-grade silicone sheets (~$10-20), useful for scar smoothing after initial healing.
- SPF body sunscreen (~$10-20), vital to slow pigment fade.
Studio Prep:
- Thin sterile gauze pads (~$7-15), for short-term coverage after the session.
- Hypoallergenic bandage strips (~$6-12), gentle on fresh skin.
8. White Ink Center for Subtlety
A low-contrast option uses a minute dot of white ink in the center instead of color, creating depth without obvious pigment. White centers hold differently depending on skin tone and often fade softer, so pick this if you want subtlety and are okay with a more muted look over time. The technique is best executed by artists experienced with micro white placement. Expect a 30 to 60 minute session and plan for a possible touch-up after the first healing if the white settles.
Style/Technique: Minimal white ink punctum with fine outline
Pain Level: 2/10
Session Time: 30 to 60 minutes
Best For: Upper arm, chest near clavicle, people seeking subtle contrast
Mistake to Avoid: Demanding bright white in a single session on darker skin tones; white often needs layered planning.
9. Dotwork Shadow for Subtle Depth
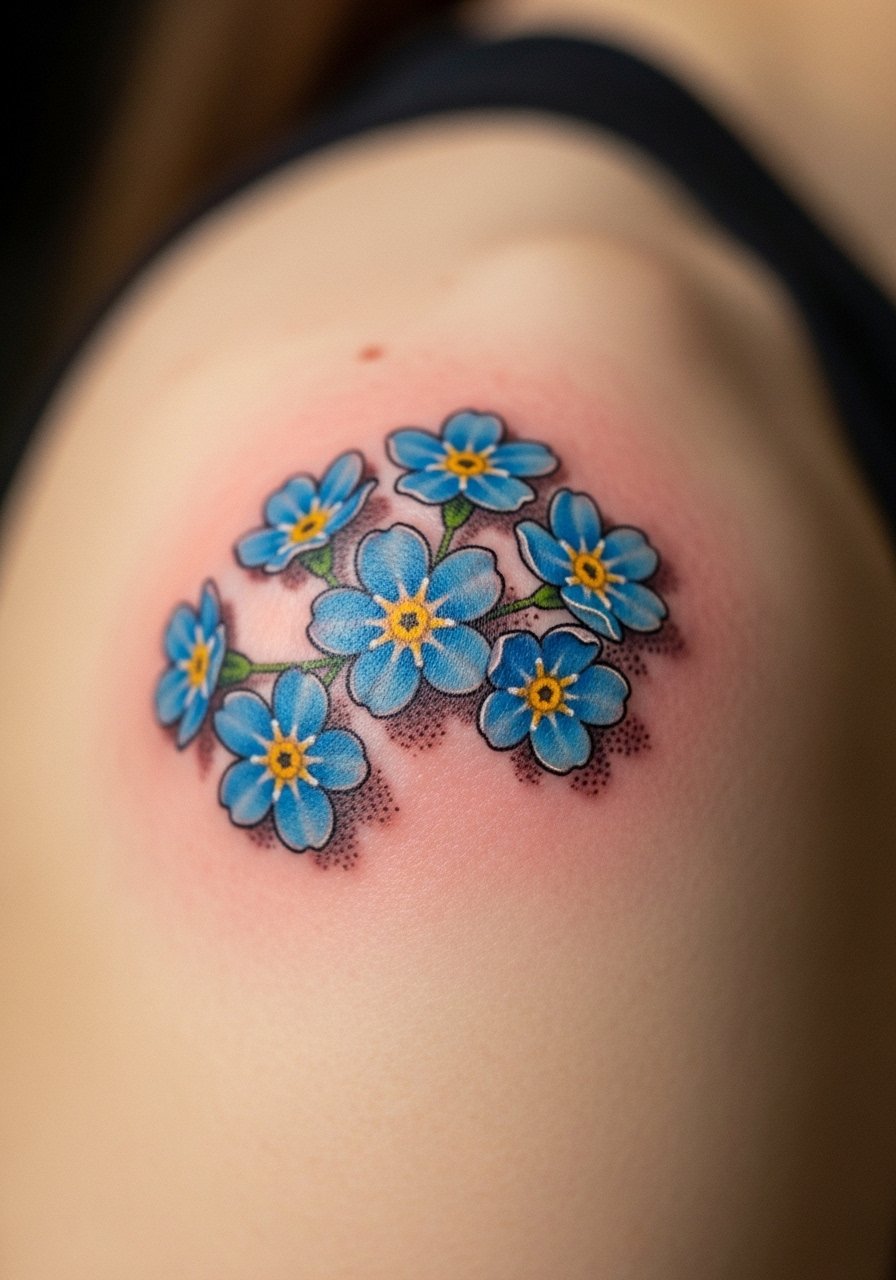
Using micro-dot shading under petals gives dimension without solid fills, which is perfect for someone who wants depth but fears heavy color. Artists use a tight dot density of about 2 to 3 dots per mm in shadowed areas, and this ages gracefully because it avoids large pigment blocks. This approach suits people who like textured detail and pairs well with a single-needle outline. Plan for a 45 to 90 minute session depending on cluster size.
Style/Technique: Micro-dot shading with fine outline
Pain Level: 3/10
Session Time: 45 to 90 minutes
Best For: Shoulder, rib, small sleeve accents
Mistake to Avoid: Asking for too dense a dot pattern that reads as a patch instead of subtle shadow.
Fine-Line Aftercare Habits
Thin layers of ointment beat one heavy smear every time. Apply a pea-sized amount of tattoo aftercare ointment twice a day for the first three nights to avoid clogged pores and sticky scabs.
Keep fresh ink out of direct sun until fully healed. Grab a lightweight broad-spectrum sunscreen for when pieces are healed; it slows fading and keeps fine lines crisp longer.
Curious about touch-ups? Most tiny fine-line tattoos benefit from a small refresh at one year if you want them to stay as sharp as day one. A local shop will charge less for a 15 to 30 minute tidy than a full redesign. I learned that after getting two nearly identical stems and comparing how they softened.
Most people sleep on the same side as their arms. Use a clean thin sterile gauze pad under your wrist for the first night to stop pillow friction and help the initial seal.
