
My saved pins always showed bedrooms with the perfect pillow pile and filtered light. What arrived in my apartment was a flat comforter, slippery shams, and a pillow pile that slid off by noon. I rebuilt the whole thing around weight, texture, and one low-effort lighting change, and the room finally felt like a place to rest, not a staged photo.
These ideas are not about matching a magazine spread. They are small, mostly renter-friendly fixes that take a weekend and a modest budget. I tested several in three rentals, so the techniques work in different room sizes and on strict security deposits. Expect simple sewing or removable adhesives at most, and options that read calm and intentional whether your space is 100 or 300 square feet.
1. Layered Bedding With Intentional Weight
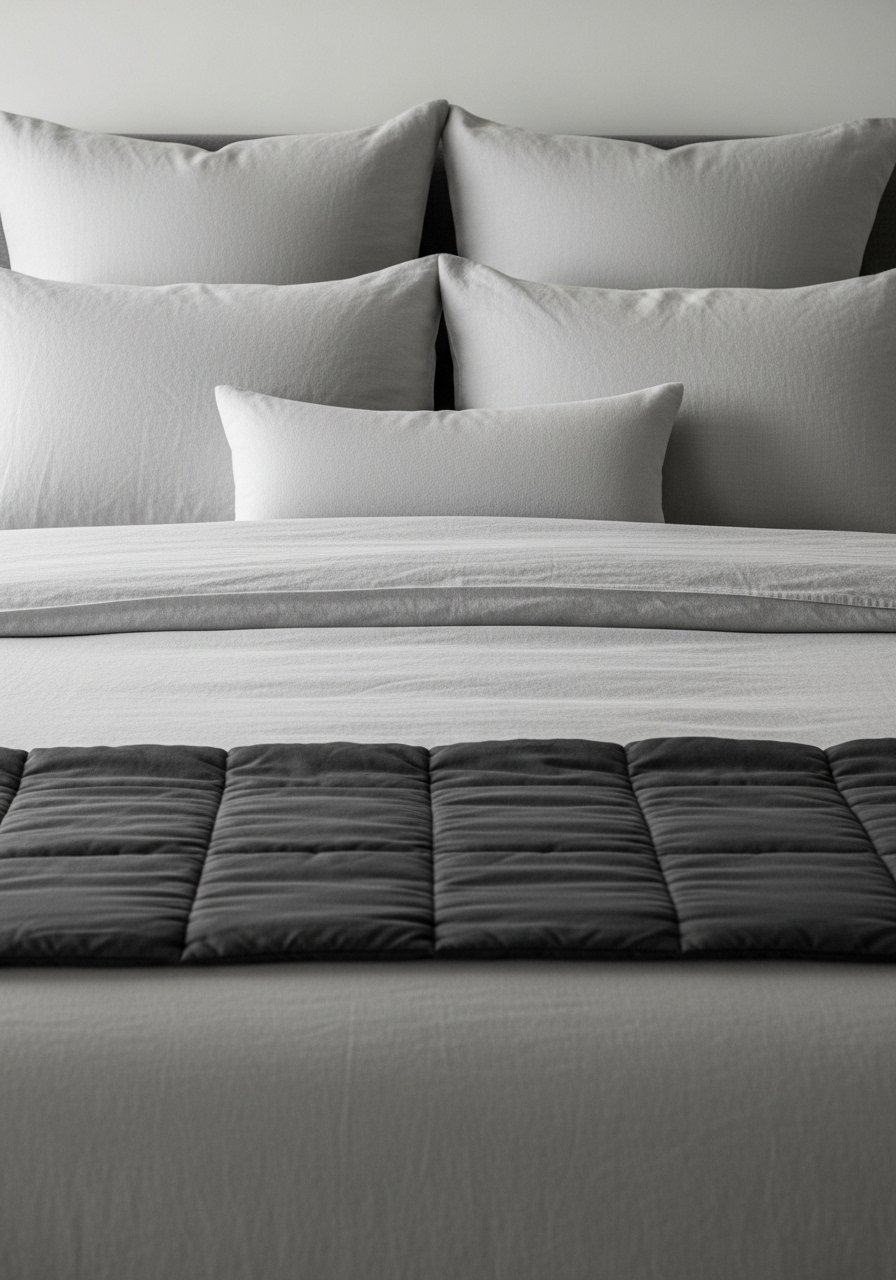
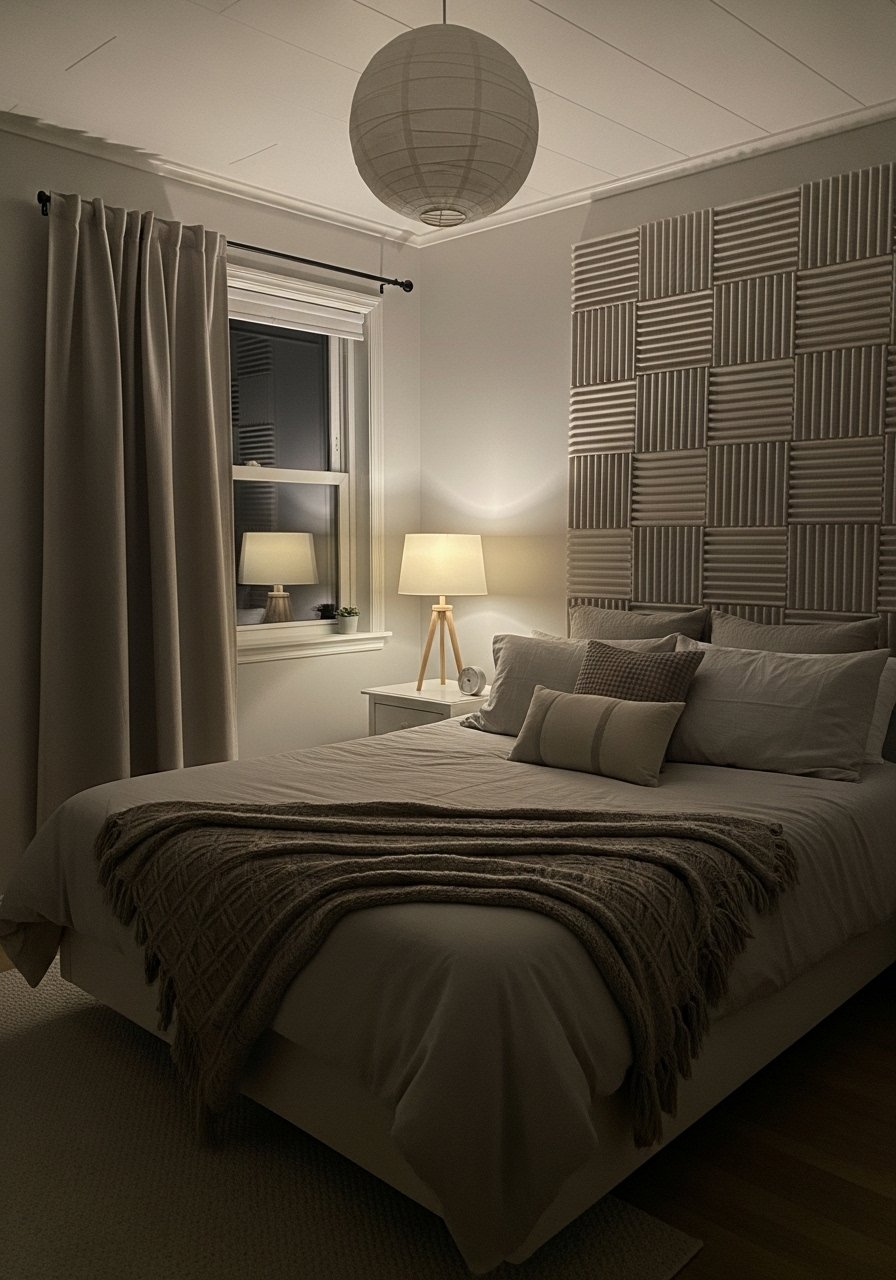
The trick that actually changed mornings was working in weight and scale, not more pillows. Use two 26×26 inch Euros at the back, two 20×20 inches in front, and a 12×20 inch lumbar to anchor the middle. Add a 5 to 7 pound weighted blanket folded at the foot to keep the bedding from looking flat and to feel grounded. For a breathable base, I use a linen duvet cover that softens after one wash. This setup reads cozy rather than fussy and suits anyone who likes a quiet, textural bedroom on a medium budget.
Mistake to Avoid: Adding five decorative pillows that are all the same fill and price, which creates a slippery, collapsed look.
2. Layered Lighting With Warm Zones

I stopped relying on one overhead light and started thinking in zones for different moods. Leave 60 percent of usable light to bedside lamps, 30 percent to an overhead dimmer, and 10 percent to low-level accent lighting like strips behind furniture. I swap standard bulbs for 2700K smart bulbs so evenings sit warmer without rewiring. Try a pair of warm smart bulbs and a simple dimmer switch for the overhead fixture. This is a small electrical step if you are comfortable with a screwdriver and takes under an hour, and it turns a cold, bright room into a calm, layered one.
Mistake to Avoid: Using a single bright overhead bulb for everything, which flattens texture and kills cozy.
3. Peel-and-Stick Headboard That Reads Custom
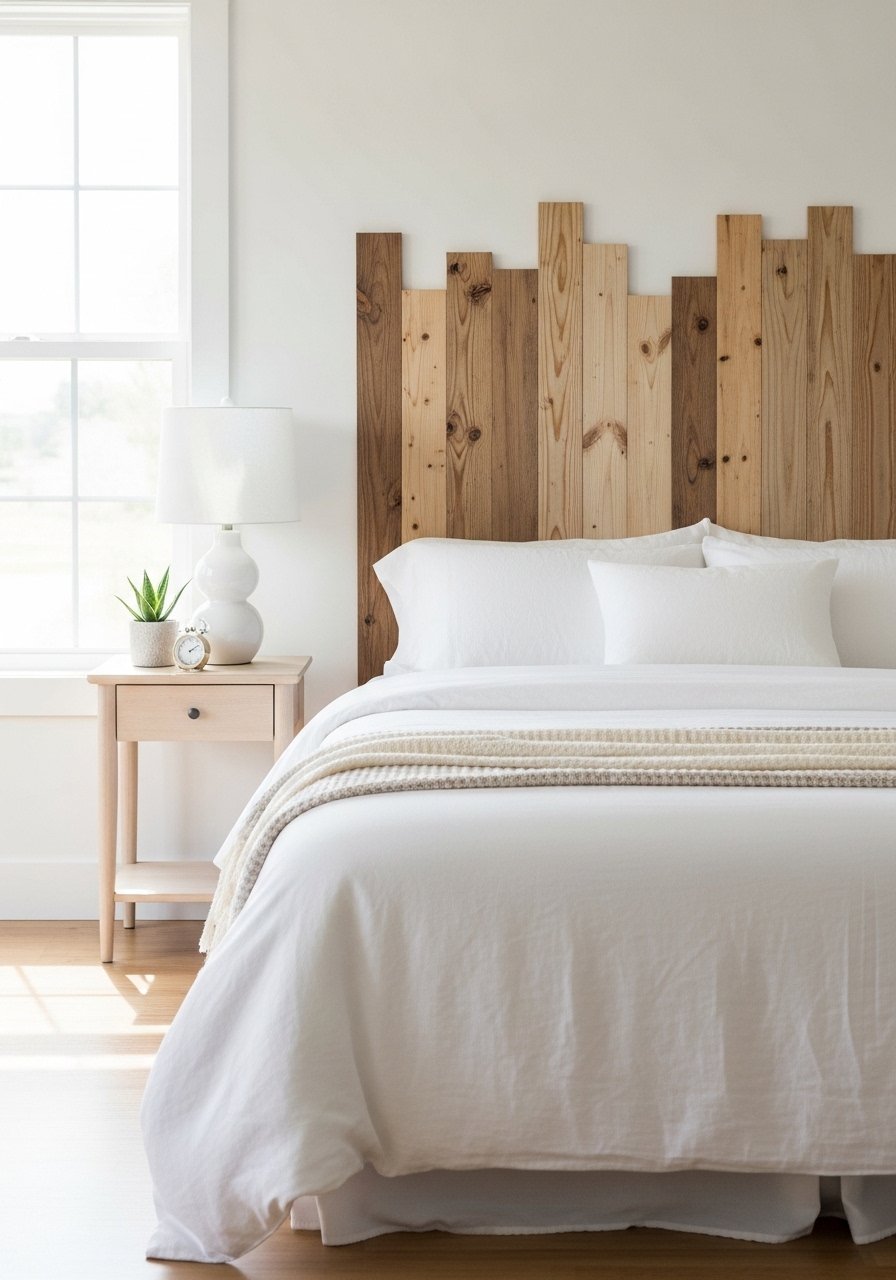
I nearly threw out an ugly rental wall until I tried a peel-and-stick headboard panel. Pick a panel 36 to 44 inches tall and center it so the top sits about 3 to 6 inches above pillow height. The visual trick is to choose a matte finish and plan for an overlap of about 2 inches on each side of the mattress so the headboard reads built-in. For a solid option, try a peel-and-stick wood panel. Installation takes an afternoon, no power tools required. It works for renters and owners, and it looks intentional without the fuss of a full carpentry project.
Mistake to Avoid: Picking a panel that is too shiny or too narrow, which highlights seams and reads cheap.
4. Textile Accent Wall for Sound and Softness
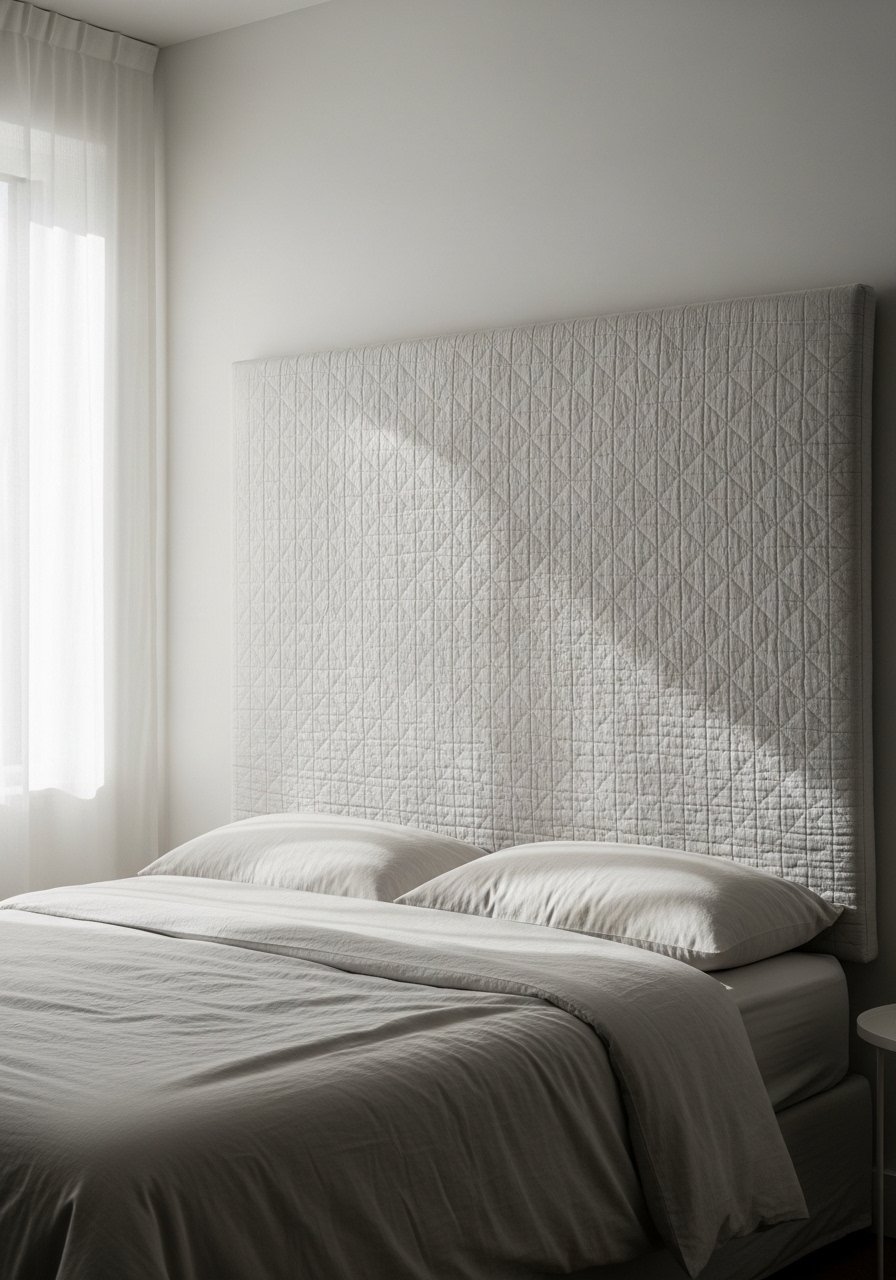
If you want quieter nights and a softer backdrop, hang a quilted or tapestry panel on the wall behind the bed. Aim for a panel that covers roughly two-thirds of the wall width and sits 6 to 8 inches above the mattress top. Quilted panels add both texture and acoustic dampening, which is helpful in thin-walled apartments. I hang mine on a low-profile rail so it can be removed without wall damage. Try a large quilted wall hanging. The result feels warmer and lived-in, and it is a renter-friendly way to soften echo without permanent changes.
Mistake to Avoid: Hanging a small tapestry that floats on the wall instead of one sized to anchor the bed, which looks indecisive.
5. Layer Rugs for Scale and Foot Comfort

Rug layering fixes two problems at once: cold floors and wrong scale. Put a large base rug under the bed so at least 60 percent sits beneath, leaving 18 to 24 inches of rug showing on each side, then layer a softer rug at the foot to define a seating area. The base layer can be inexpensive jute, and the top layer can be a plush wool feeler. I used a neutral wool rug as the top layer. This reads intentional in a medium or large room and gives a tactile path when you get out of bed, especially in chillier months.
Mistake to Avoid: Buying a rug that only fits the mattress length but leaves the sides bare, which makes the bed float awkwardly.
6. Cove Lighting Behind Shelves and Headboards
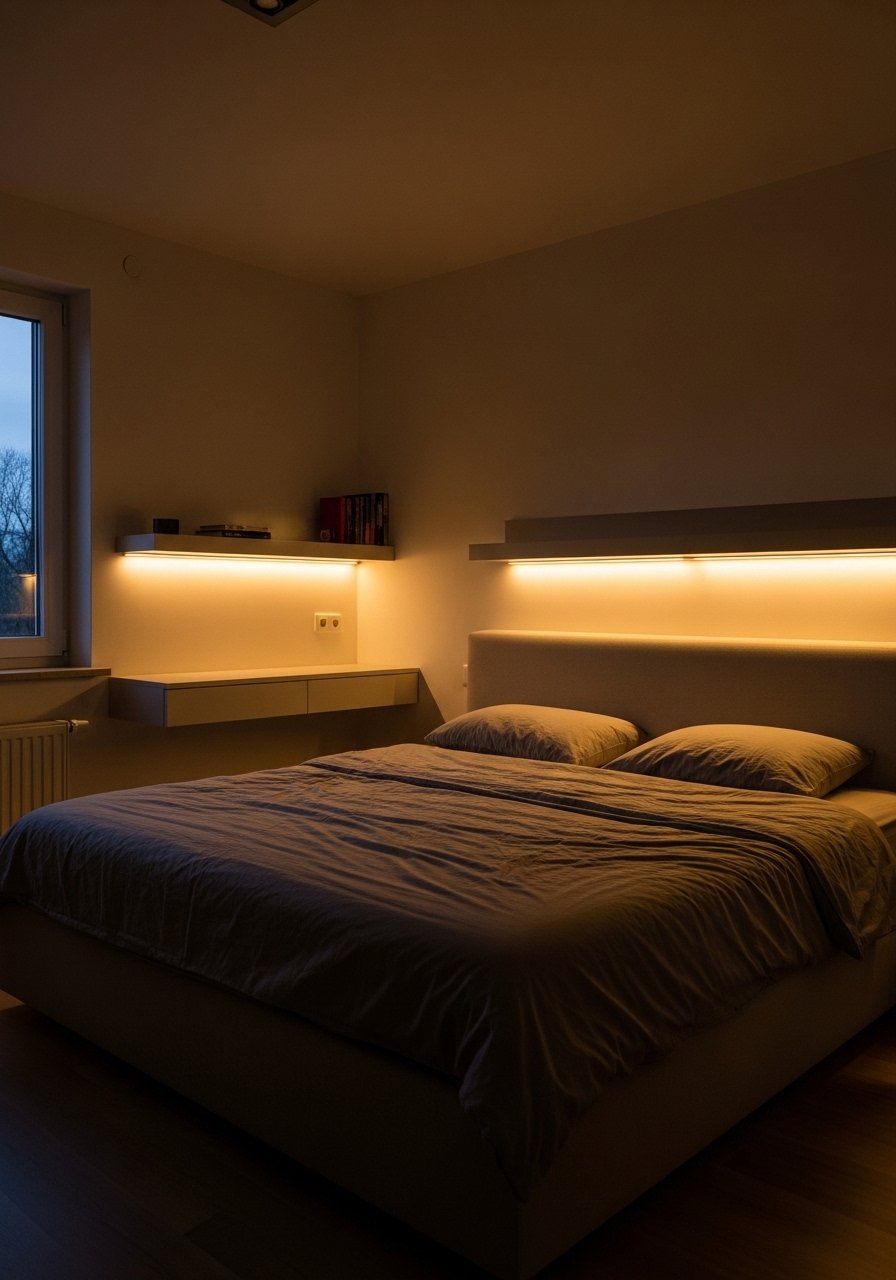
Low-level cove lighting is a small investment that changes the way a room feels after sunset. Run a warm 2700K LED strip behind a headboard or under a floating shelf, and set it to 15 to 25 percent brightness for reading or winding down. The light should never hit the eyes directly, it should glow against the wall to create depth. I use a flexible warm LED strip light with an inline dimmer so I can tune the glow. This looks high-end, is reversible for renters, and takes under an hour to place with adhesive-backed strips.
Mistake to Avoid: Placing LED strips where they shine straight at the bed, creating glare instead of ambiance.
7. Thrifted Nightstands, One Weekend Refinish

I stopped buying new nightstands and began scouring thrift stores. A weekend of sanding, one coat of primer, and two thin coats of matte paint turn a mismatched find into something cohesive. Pick a color that ties two or three tones in the room. For hardware updates, swap old pulls for simple brass or matte black knobs. You only need a basic sander and sanding pads and a satin paint for durable wear. This approach costs less than new furniture and keeps character. It fits anyone willing to do light DIY work and yields a more personal room.
Mistake to Avoid: Using thick paint without sanding first, which leads to peeling and a DIY look.
If any of these ideas have you ready to shop, here are the core pieces I actually reach for.
Cozy Corner Essentials
Textiles & Bedding:
- Linen duvet cover (~$60-120). Breathable, softens after washing.
- Weighted blanket (~$50-90). Fold at the foot to anchor the bed.
Lighting:
- Warm smart bulbs (~$18-30 per bulb). Use with a dimmer schedule.
- Warm LED strip light (~$15-35). For cove lighting behind headboards.
Decor & Tools:
- Peel-and-stick wood panels (~$30-80). Fast headboard upgrade.
- Neutral wool rug (~$120-300). Layer for softness.
- Orbital sander pads (~$12-25). For quick furniture refreshes.
8. Picture Ledge Instead of a Gallery Wall

Gallery walls intimidate me, so I use picture ledges that let me stack art without grid planning. Install one long ledge 4 to 6 inches below ceiling crown so frames overlap and scale feels deliberate. Swap frames seasonally for freshness. For depth, mix two vertical pieces with a small sculpture or plant to keep the composition from feeling flat. A sturdy picture ledge shelf is the entire investment. This works in small rooms and tall ceilings alike, and it allows for spontaneous changes without new holes in the wall.
Mistake to Avoid: Hanging frames randomly at the same eye height, which makes the wall feel mechanical instead of layered.
9. Acoustic Quilts That Double as Art
If your bedroom echoes, use a quilted acoustic panel as art and sound control. Look for panels that are at least 2 inches thick and cover a 4 by 5 foot area for a meaningful drop in ambient noise. Mount with mirrored command rails or picture hooks to keep the wall damage minimal. I installed one over a study nook and noticed voices and TV bleed soften immediately. A quilted acoustic panel is a renter-friendly upgrade that helps sleep quality and readings sound clearer. This is a higher budget move but pays back in comfort.
Mistake to Avoid: Choosing thin fabric that looks nice but does nothing for sound, wasting money on appearance alone.
10. Plant Placement For Better Air and Scale
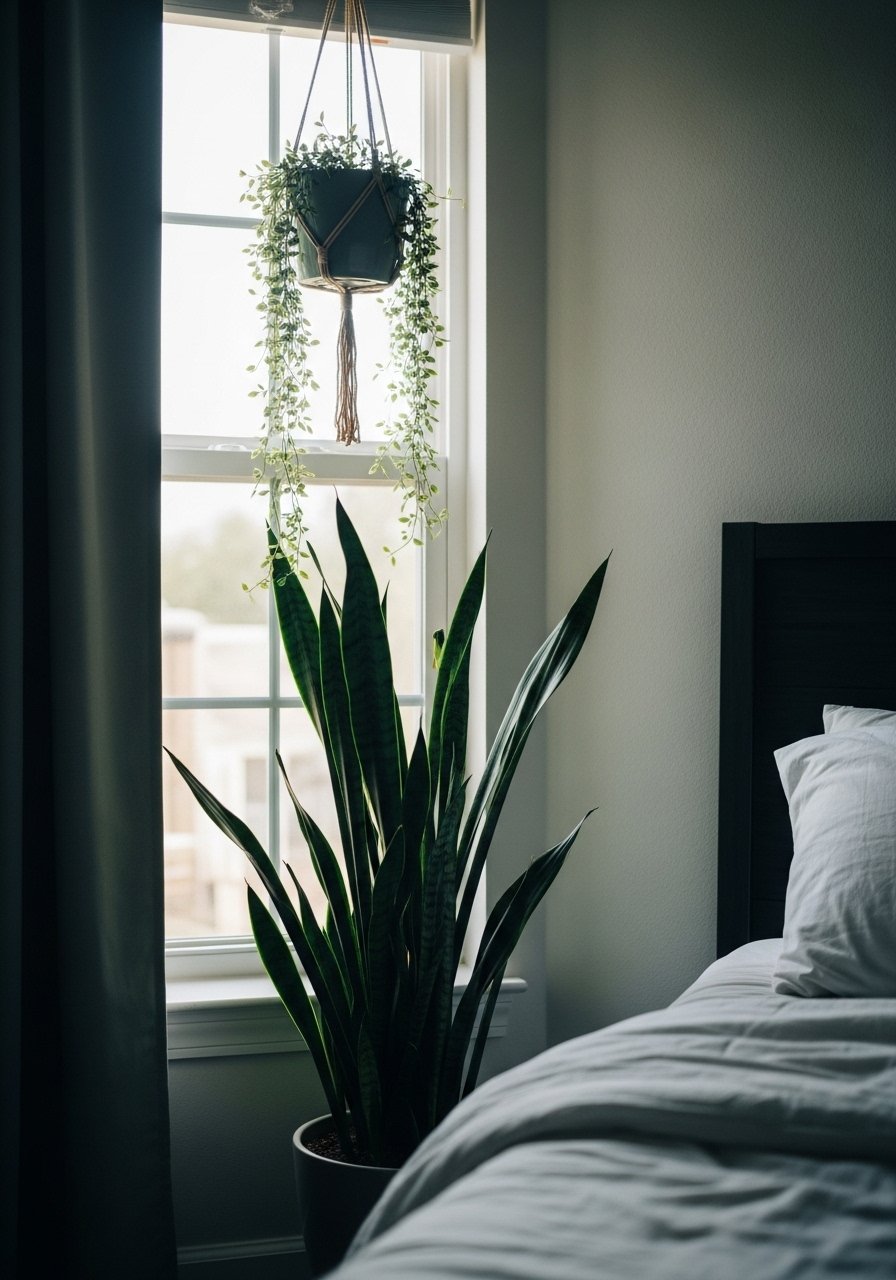
Plants make a room breathe differently, but placement matters. Put taller plants in corners to add vertical scale, and keep small low pots on bedside tables to avoid blocking light. For pet households, choose non-toxic options like spider plants or parlor palms and use a self-watering planter to cut down on overwatering. Plants work in any budget; start with one statement plant and add a trailing one later. This small green layer adds humidity control and visually softens edges, which helps a bedroom feel calm and grounded.
Mistake to Avoid: Crowding tiny tables with many plants, which makes the bedside feel cluttered and unstable.
11. Hidden Storage That Looks Like Furniture

Storage can also be styling. Use a storage bench at the foot of the bed sized so it overlaps the mattress by about 6 inches, creating a continuous visual line. Under-bed drawers on casters are another option for out-of-season textiles. Choose a piece with a soft top so it doubles as seating. For a clean look, try a storage bench in a neutral fabric. This is practical for small spaces and keeps visual clutter low while giving you a tactile surface for morning routines.
Mistake to Avoid: Filling decorative baskets so full they look messy, rather than using closed storage that keeps the room calm.
Small Moves That Keep It Cozy
Thin curtains first. Three layers of sheer, blackout, and a textured outer panel work better than one heavy curtain. Swap in a thermal blackout curtain to block morning glare and keep the room quiet.
Grab a linen pillow cover for roughly $15 each. A single textured cover changes the whole pillow grouping and survives washing.
I found that putting rugs to extend 18 inches beyond the mattress makes the bed feel anchored, not tiny. A jute base rug under a softer top layer is inexpensive and effective.
Everyone stacks too many small pillows. One oversized floor cushion anchors a reading corner better than four tiny scatter cushions, so try an oversized floor cushion as your lounge spot.
A small dimmable lamp on the dresser changes evening prep entirely. A dimmable bedside lamp costs little and makes the space feel edited, not busy.
