
The moment it clicked was standing under kitchen light and seeing warm threads in my hair catch like a second sunrise. One quick glossing session and the whole shape read softer, more lived in, and I stopped reaching for hats. These ideas are about making light brown hair look intentional, not painted on, with small steps that fit into a weeknight routine.
For anyone who wants low-fuss, wearable highlights that still read salon-polished, these picks work across straight, wavy, curly, and coily hair and lean into easy maintenance. Most ideas are budget-friendly and doable at home or with one stylist visit. I tested many of these looks across four hair textures I have styled, and I note when heat or porosity changes the steps.
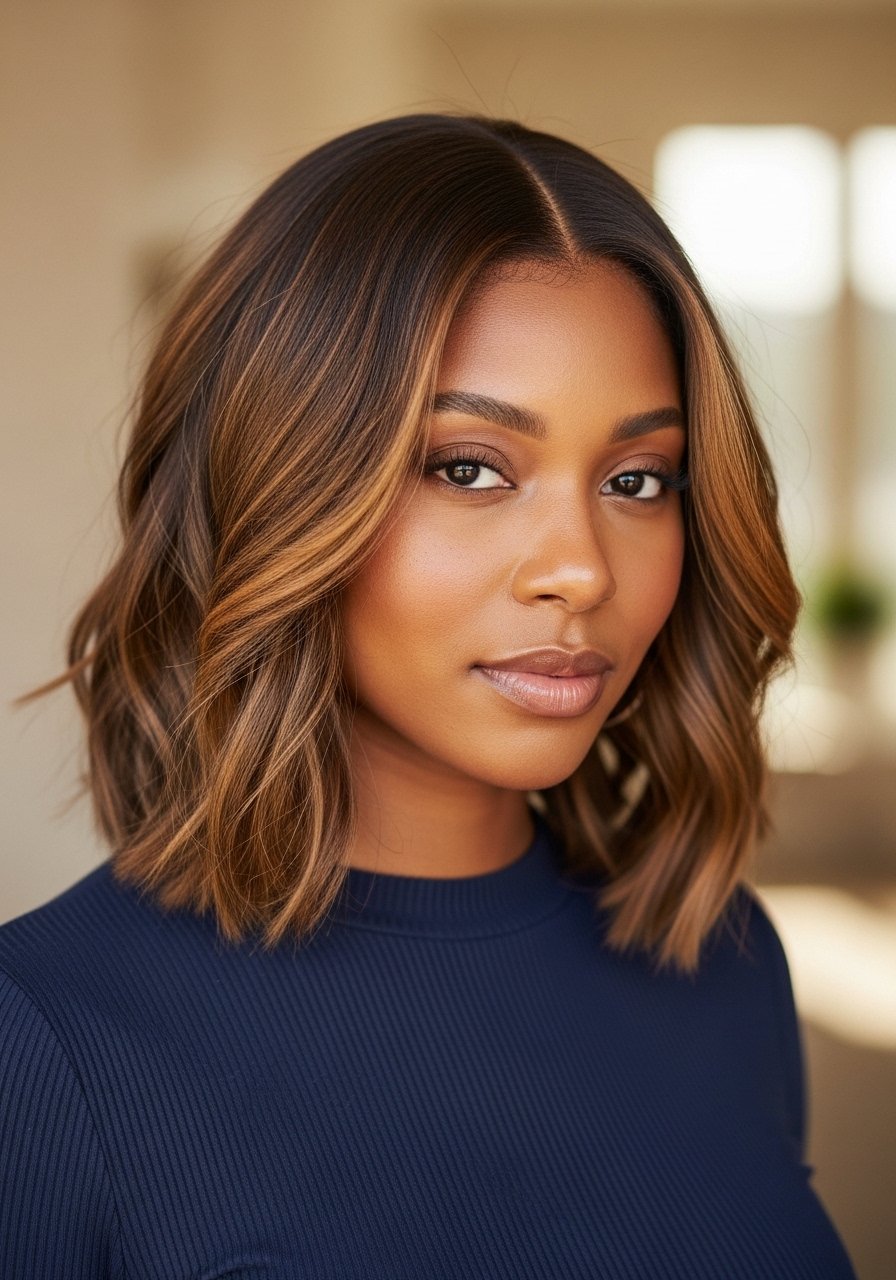
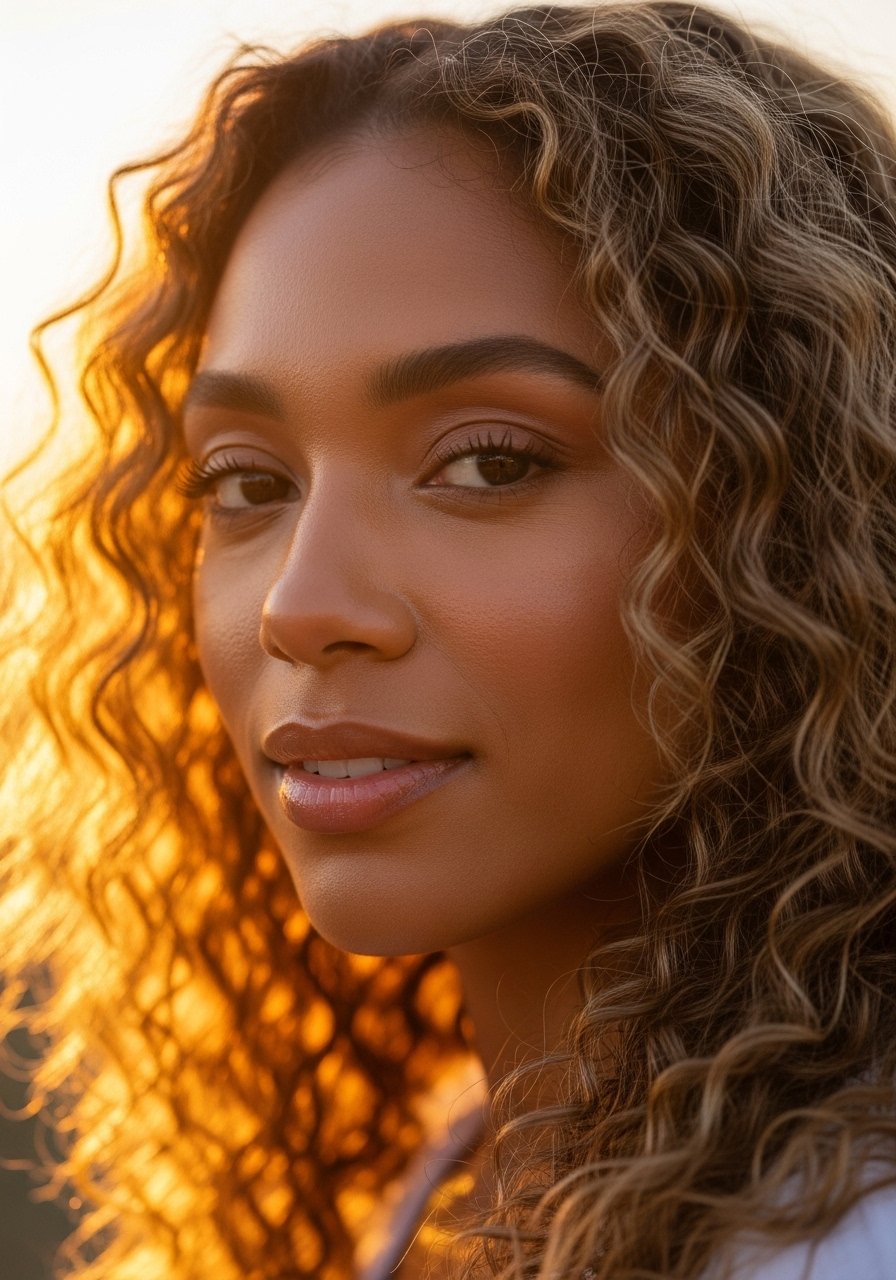
1. Honey Face-Framing Balayage
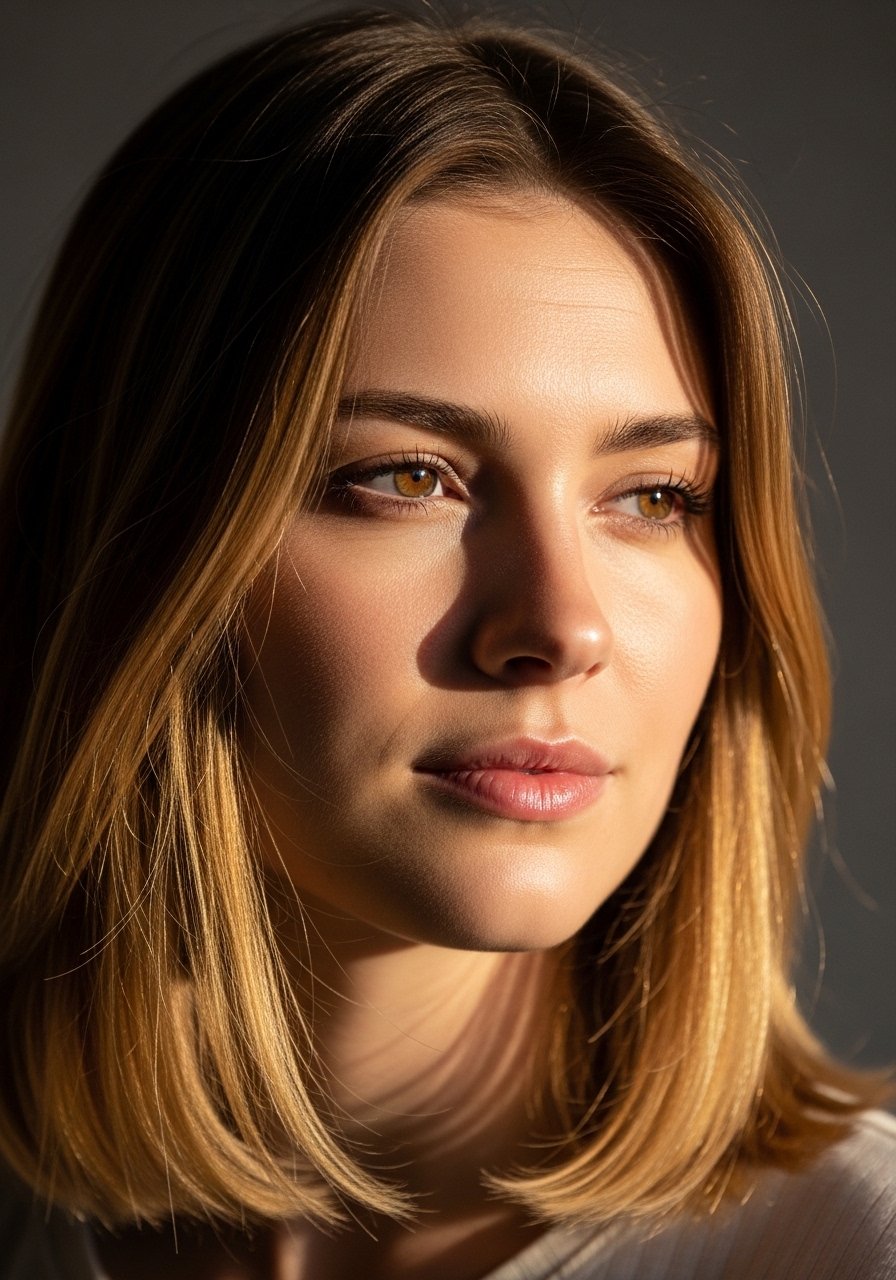
A narrow sweep of hand-painted honey highlights around the face brightens without high contrast. Keep the sections thin and paint with a 70/30 balayage ratio, heavier near the part and feathered toward ends for a soft finish. This suits medium to long lengths and anyone who wants a sun-kissed look that grows out evenly. For at-home upkeep, a color-depositing conditioner keeps tones warm between salon visits. Try a low-volume gloss for shine, and use a heat protectant if styling. Works for low to medium porosity hair with a gentle protein mask once a month.
Mistake to Avoid: Painting thick chunks around the face, which creates stark regrowth lines.
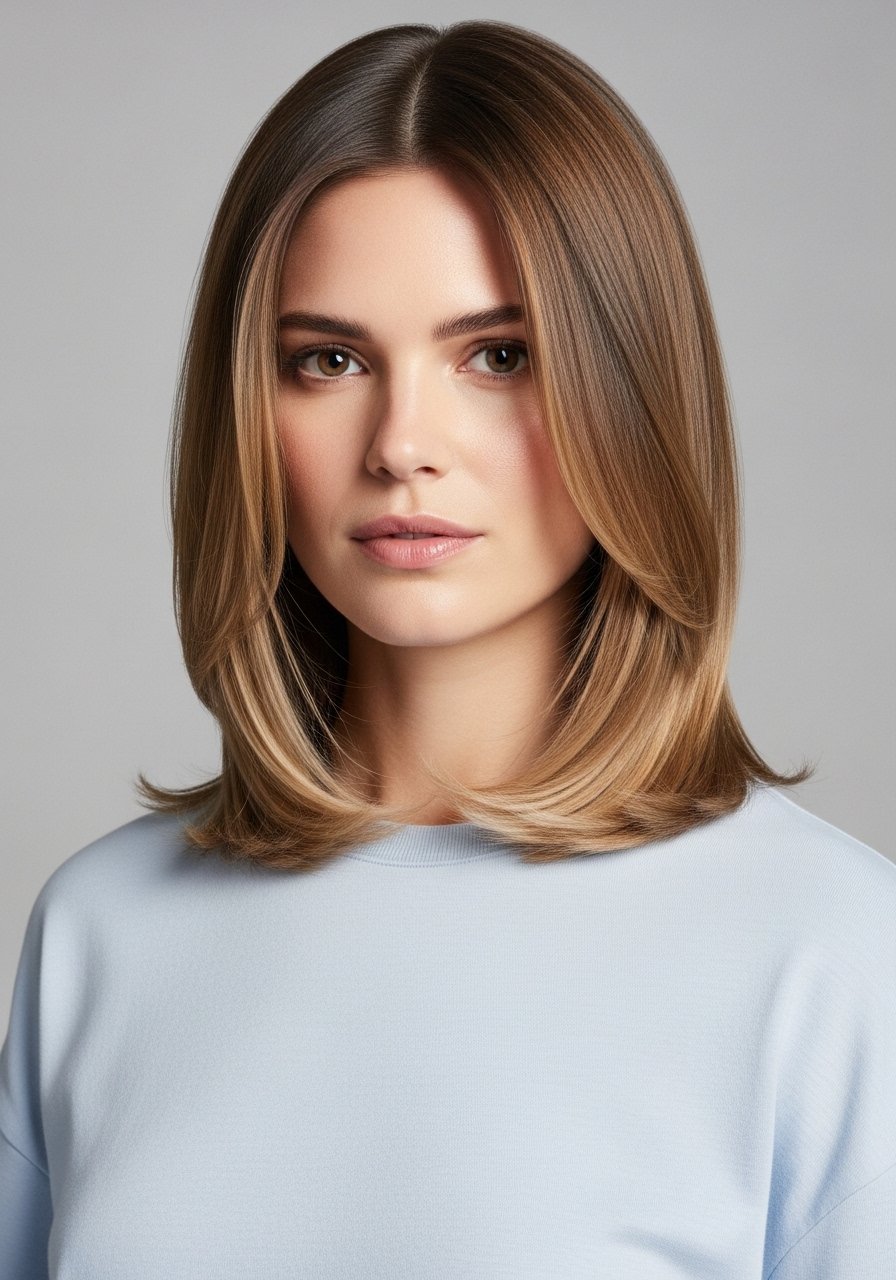
2. Subtle Caramel Babylights
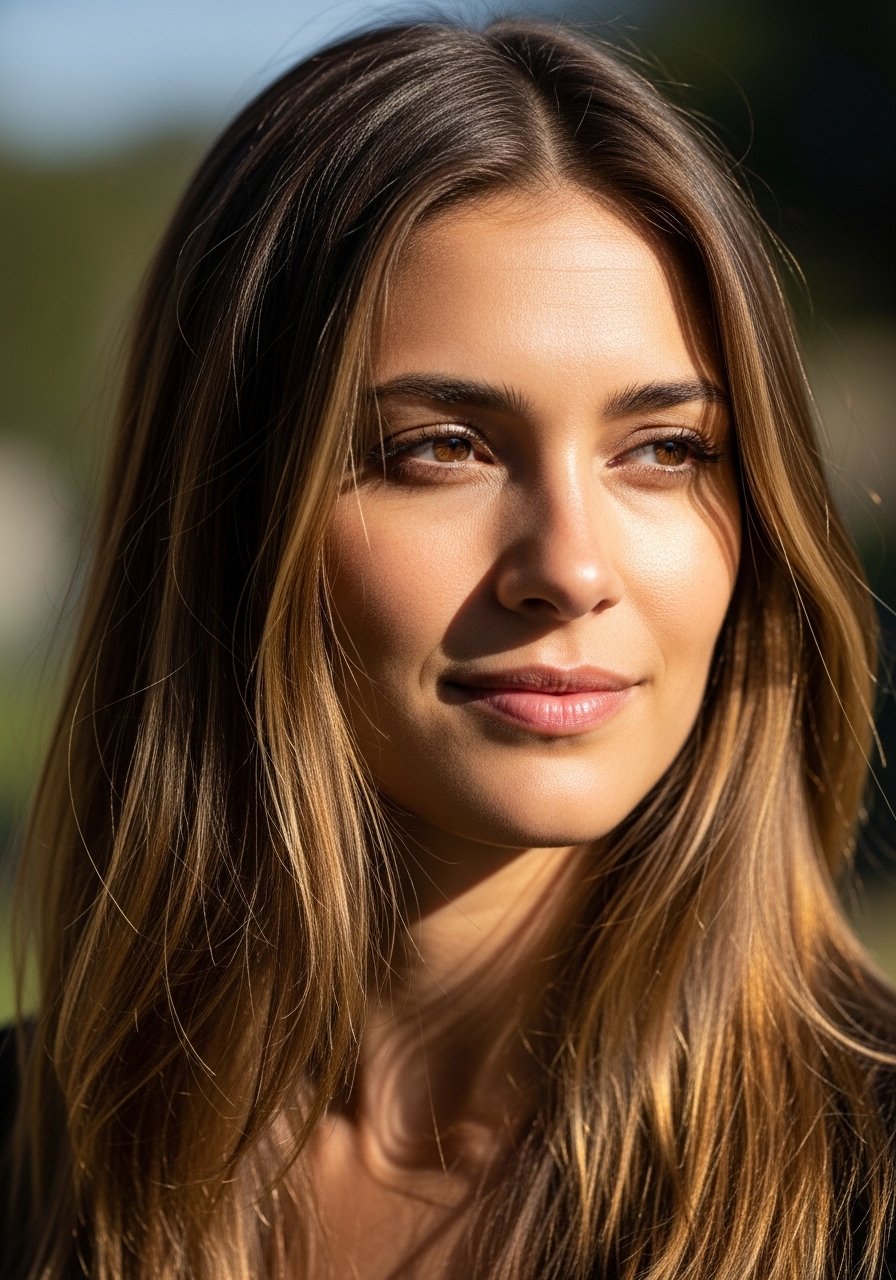
Babylights add dimension without a full lift. Opt for fine, closely spaced highlights about 1 to 2 levels lighter than your base to avoid brass. This tactic gives movement in photos and real life because the highlights catch light at small angles. It fits straight and fine hair especially well, since thin foils prevent patchiness. Keep a sulfate-free, color-safe shampoo in rotation and a weekly bond-building treatment if you use lightening more than twice a year. Budget option: a tinted leave-in that refreshes warmth between appointments.
Mistake to Avoid: Lifting more than needed, which leads to unnecessary damage and a yellow cast.
3. Warm Ash Balancing Gloss

A demi-permanent gloss tones highlights and base together and reduces brassiness without heavy lift. Ask for a gloss that mixes 10 to 20 percent ash to neutralize warmth while keeping light brown depth. Glossing takes 10 to 20 minutes in the chair and smooths the cuticle for a reflective finish. This is a great low-commitment refresh between color sessions. For porous, previously lightened hair use a conditioning pre-treatment. Glosses are low-cost and keep color on a gentle schedule for up to six weeks.
Mistake to Avoid: Over-ashifying and making the hair look flat instead of multi-tonal.
4. Money Piece with Soft Blending
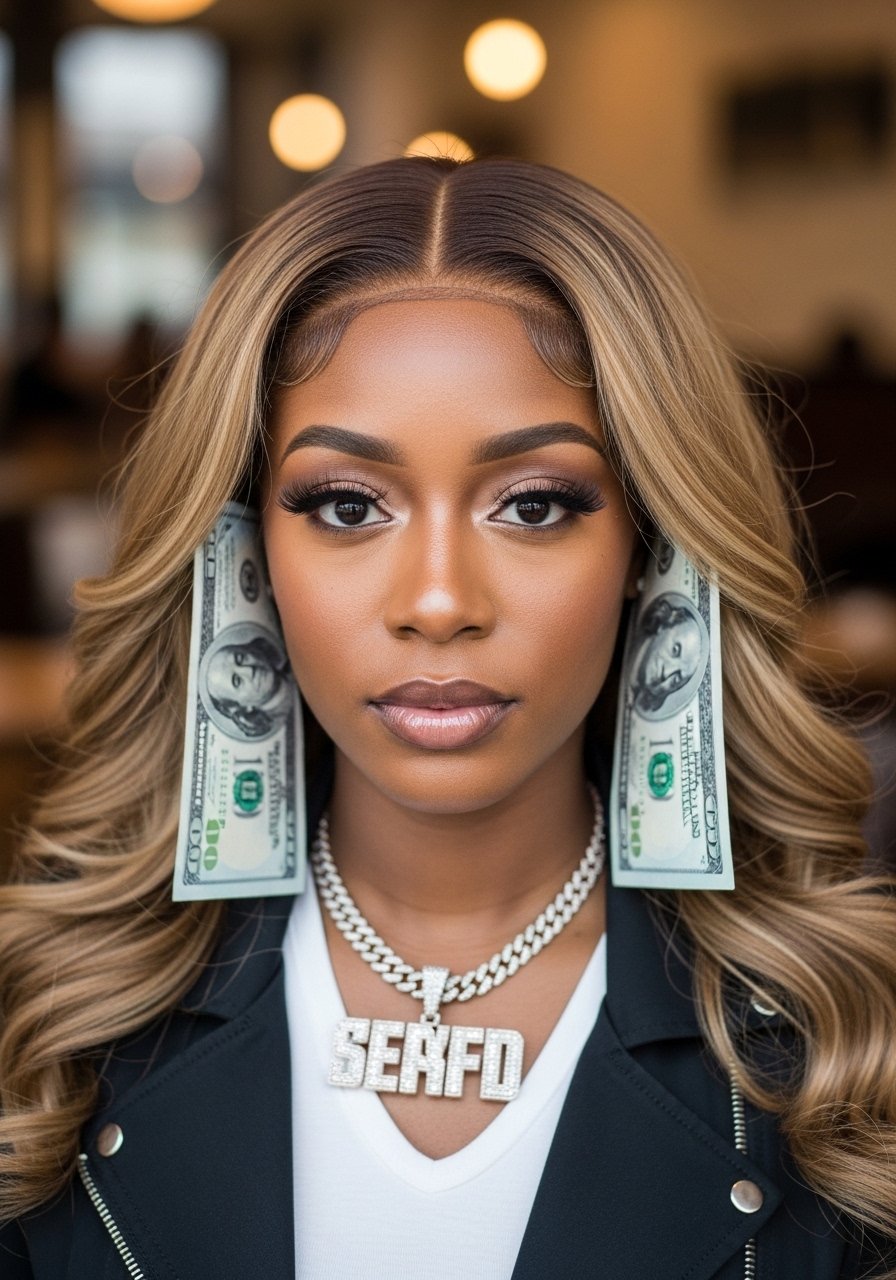
A money piece gives instant face-framing contrast while the rest stays light brown. To keep it wearable, blend the money piece into adjacent babylights with soft backbrushing and a 60/40 saturation gradient so the transition reads natural from every angle. This suits anyone wanting a small change that photographs well. Use a thin-tooth comb when styling to keep the piece from separating. For curl patterns, diffuse on low heat to keep definition. Monthly gloss or glaze prevents the money piece from getting brassy.
Mistake to Avoid: Leaving the piece starkly disconnected from surrounding color, which looks like pasted-in highlights.
5. Bronde Low-Lights for Depth
If light brown hair can look flat, add low-lights a shade or two darker to create depth. Place low-lights near the nape and under layers, covering roughly 20 to 30 percent of the hair for balance. The result reads more natural than a single-tone dye and makes styling look fuller. This is a low-maintenance salon move that grows out gracefully. For fine hair, low-lights can create the illusion of density. Pair with a volumizing mousse and a medium-hold spray for long-lasting shape.
Mistake to Avoid: Applying low-lights too densely, which reduces the light-reflecting effect of highlights.
6. Brushed-Out Babylights for Texture
After babylights are lifted, have the stylist brush them out with a soft round brush and a bit of dry texturizer. That brushed finish stops highlights from forming crisp streaks and gives lived-in texture. It reads casual on day-to-day and translates well in photos without looking overdone. This technique is great for busy people who prefer air-dry days. Use a leave-in cream if your hair leans dry and a light dry shampoo midweek to preserve the brushed texture.
Mistake to Avoid: Leaving highlights sharply defined without brushing, which ages the look quickly.
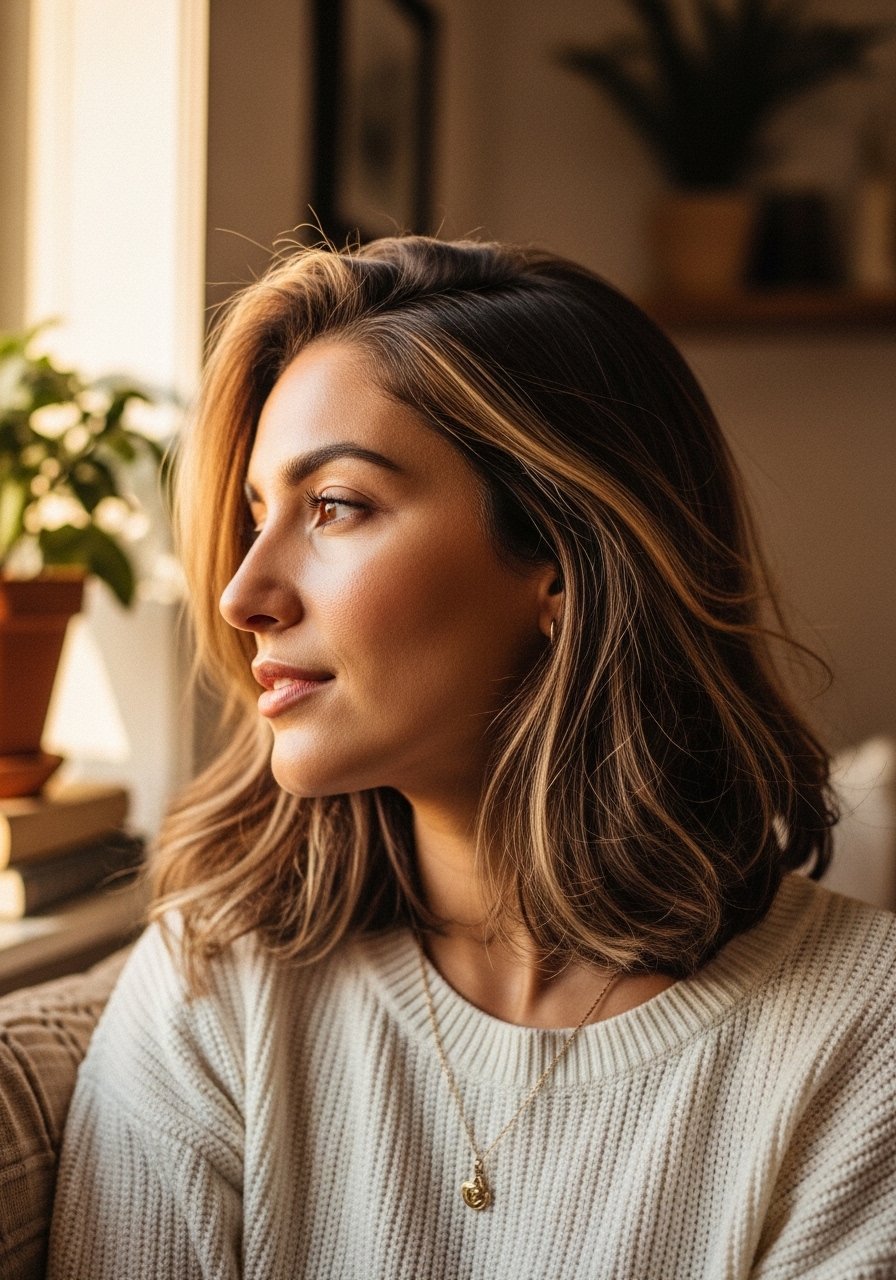
7. Sun-Kissed Lowlift Balayage
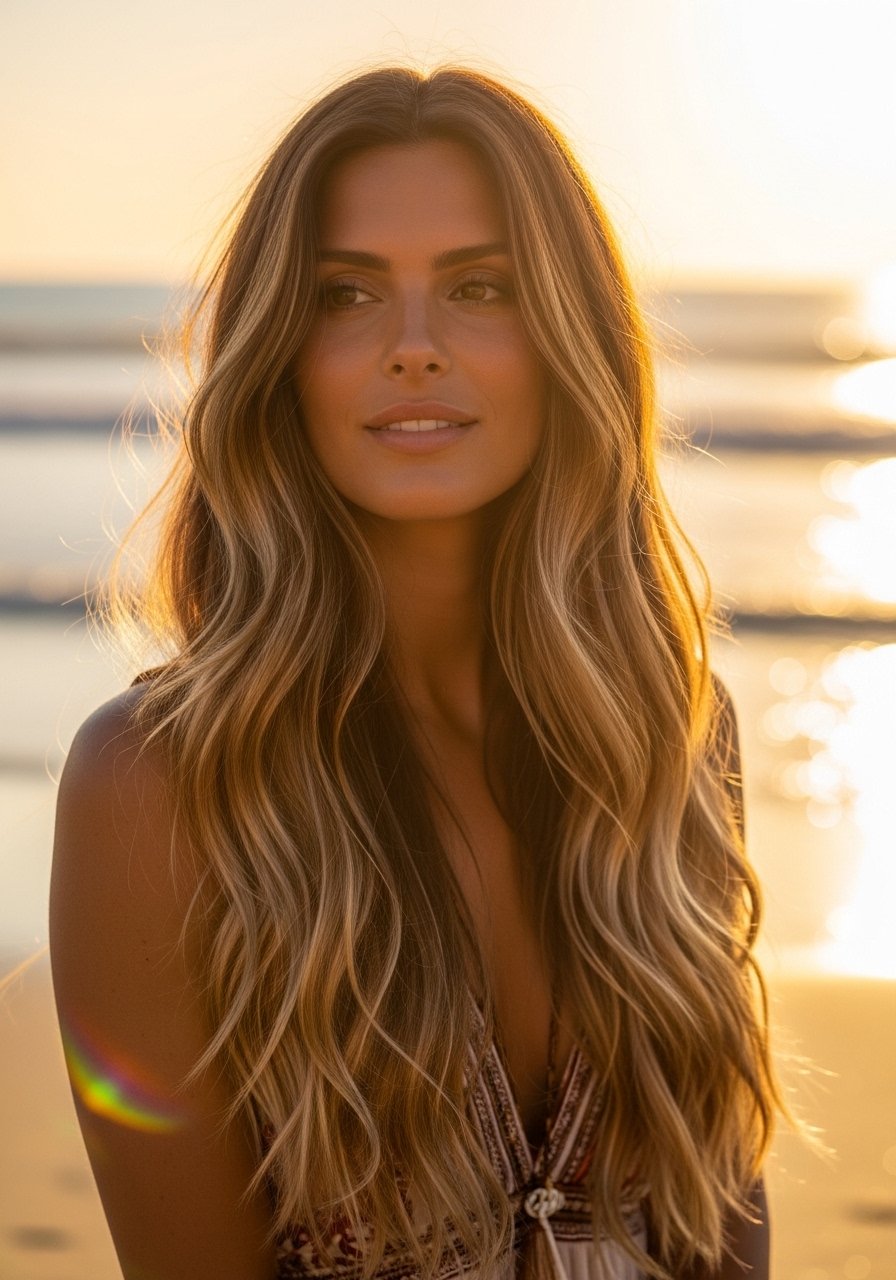
A lowlift balayage uses a 6-9 volume lift on ends only to create warm, sunkissed tones without bleaching the midshaft. This method preserves hair integrity and avoids a harsh two-tone regrowth line. It is ideal for anyone who wants a gradual glow and minimal touch-ups. For porous ends, follow with a reconstruction mask and a bond-repairing rinse. The maintenance routine is simple: wash every other day and use a color-depositing conditioner monthly.
Mistake to Avoid: Using high-volume developer across the whole shaft, which causes breakage and uneven lift.
If any of these ideas have you ready to actually try something, here is everything worth picking up.
Light Brown Highlight Essentials
Color Care
- Color-safe shampoo (~$12-20). Keeps highlights from fading and avoids stripping glosses.
- Color-depositing conditioner (~$15-25). Refreshes tone between salon visits.
Styling & Tools
- Heat protectant spray (~$10-18). Protects lifted hair when you use a blow dryer or iron.
- Wide-tooth detangling comb (~$6-12). Gentle on wet, highlighted hair.
Treatments
- Bond-building treatment (~$20-40). For at-home strength after lightening.
- Glossing glaze (~$12-25). Adds shine and balances tone.
Finishing Products
- Light texturizing spray (~$10-18). Keeps brushed-out highlights soft.
- Smoothing serum (~$8-20). Tames frizz without weighing down fine ends.
- Color-safe dry shampoo (~$8-16). Extends time between washes.
8. Shadow Root for Seamless Regrowth
A shadow root blends a slightly darker pigment at the root to smooth the grow-out line and make highlights last longer. Use a root tint one shade deeper than your base and feather it down 1 to 1.5 inches. This technique reduces salon frequency and keeps the overall look natural. It suits busy schedules and those avoiding frequent bleaches. For curly hair, a cream root color that absorbs slowly prevents banding. Pair with the color-safe shampoo from the shopping list for best upkeep.
Mistake to Avoid: Applying a stark root that contrasts too heavily, which draws attention to regrowth.
9. Purple Shampoo Reset for Cool Tones
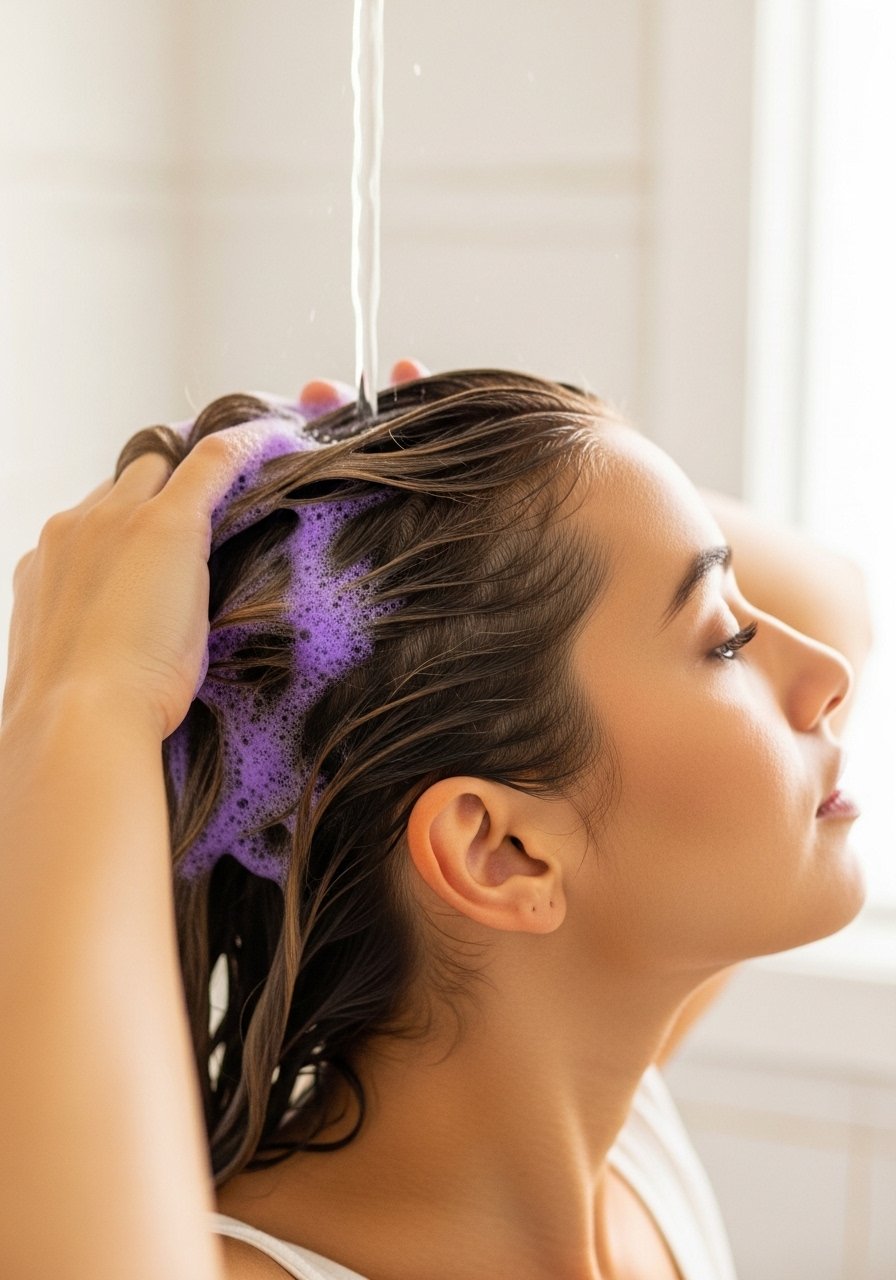
When highlights take on unwanted warmth, a short purple shampoo treatment removes brass. Use a thin application only on the highlighted zones for two to three minutes and rinse. For porous hair avoid leaving it on too long. This method is a quick reset when you do not want a full toning service. Rotate with a moisturizing conditioner to prevent drying. If your hair is naturally cool-toned, space purple treatments further apart.
Mistake to Avoid: Leaving purple shampoo on the entire head too long and ending up with an ashy ring.
10. Babylight-to-Root Melt

A root melt blends fine babylights seamlessly into the root color using a soft cream or glaze. Apply the melt with a sweeping motion, keeping overlap around 1 inch to avoid a line. This technique keeps the midsection from appearing stripy and creates a continuous gradient that photographs warmly. Best for someone who wants low maintenance and a soft grow-out. Use a smoothing serum on damp hair for definition.
Mistake to Avoid: Creating a hard demarcation between highlight and root, which reads dated.
11. Lived-In Face Frame for Curly Hair
Curly hair needs thinner, strategically placed highlights to preserve shape. Place highlights on outer curls and avoid saturating inner strands that form the curl’s base. Use a 30 percent highlight coverage guideline and keep lift moderate so curls do not lose spring. Air-dry with a leave-in cream and avoid heavy oils at the roots. This approach brightens the face without making curls look straw-like. For high-porosity curls, follow with a hydrating rinse after lightening.
Mistake to Avoid: Highlighting through the dense curl core, which ruins definition and causes frizz.
12. Money Piece for Short Cuts
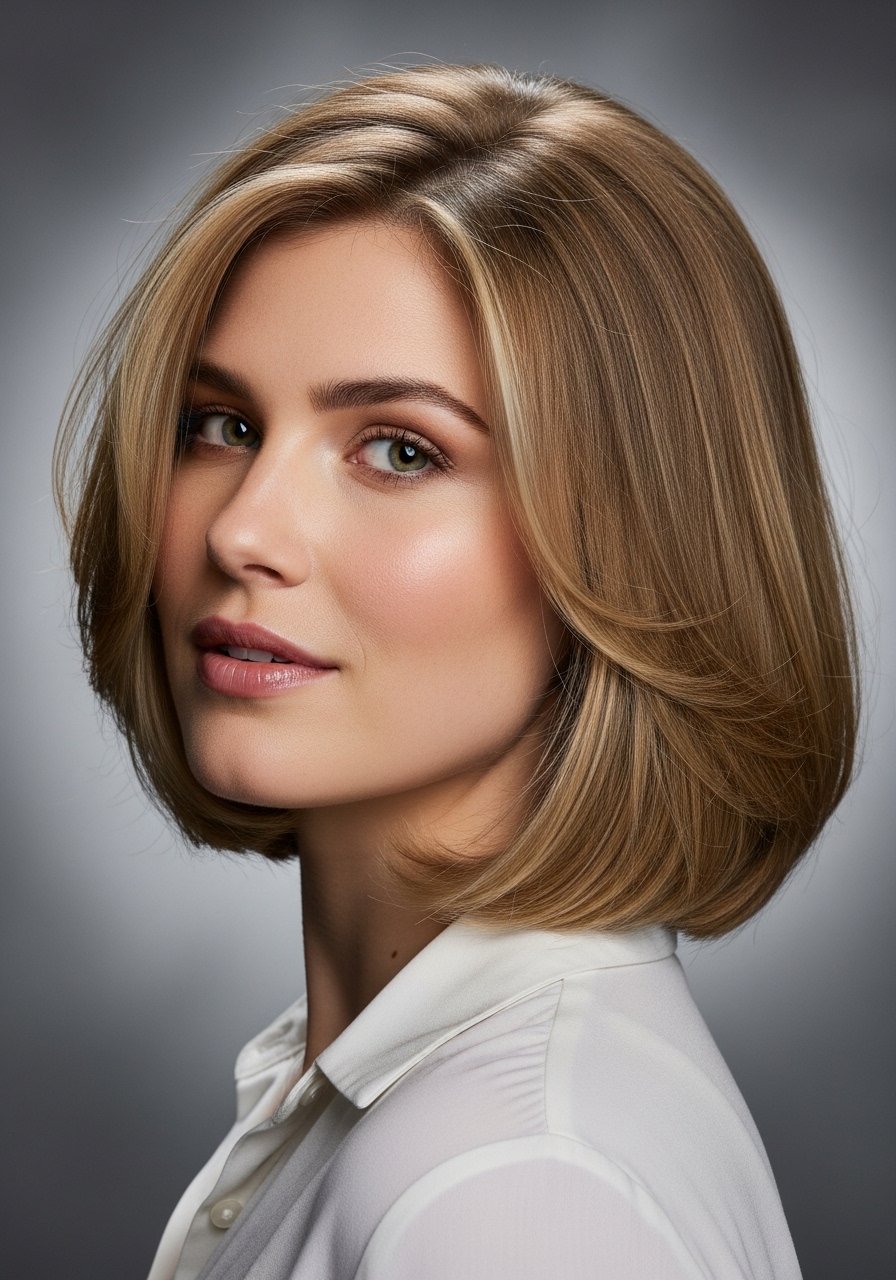
Short hair can carry a money piece too. Keep it narrow and blend with micro-babylights at the temple to stop it from reading too stark. This creates a framed look that opens the face and works especially well on cropped bobs and lobs. Use a ceramic flat iron at a low temperature for sleek styling, or diffuse lightly for texture. A small gloss treatment afterward keeps the shorter ends reflecting light without appearing overprocessed.
Mistake to Avoid: Making the front piece overly wide on a short cut, which throws off proportions.
13. Gloss and Trim Combo
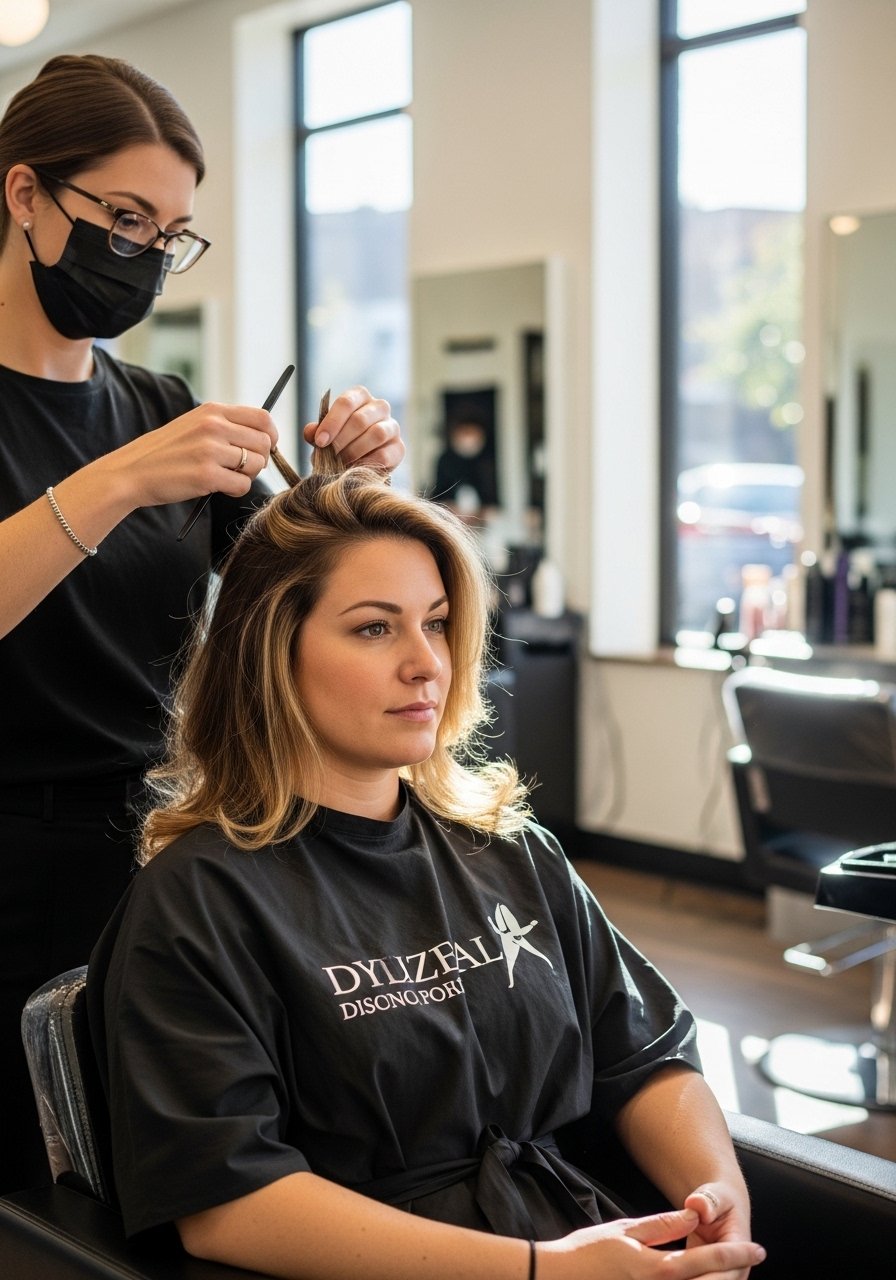
Pair a six-week gloss with a dusting trim to keep highlights fresh and ends healthy. Trimming 1/4 to 1/2 inch removes the dry tips that steal shine. The gloss reseals the cuticle, locking color and adding a subtle tone shift if needed. This two-step keeps the hair looking polished without heavy color work. It is a budget-friendly salon visit and works for all textures. Between appointments, use a leave-in protein treatment if your hair feels limp.
Mistake to Avoid: Skipping trims and expecting glosses to hide split ends.
Keeping Light Brown Highlights Fresh
Bold insight: A quick salon gloss every six to eight weeks keeps highlights from drifting and reduces the need for heavy touch-ups. Try a salon gloss when you see dullness.
Grab a bond-repairing mask. Use it once a week after lightening to keep strands strong and prevent breakage.
Curly and coily textures respond best to low heat and extra moisture. Use a microfiber hair turban and a leave-in cream to reduce friction and maintain highlight definition.
Most people over-wash highlighted hair. Swap to a color-safe dry shampoo to stretch time between full shampoos and keep tone intact.
