
I had a free Saturday and a tight budget, so I taught myself which pieces actually matter and which are just noise. The first time I tried to recreate an inspiration photo I ended up with too many small items and nothing that read as intentional. After a few attempts I learned to build in layers, scale to a focal point, and keep a secret stash of quick swaps for last-minute surprises.
This guide walks you through a single-room setup you can finish in about 90 minutes, aimed at an approachable budget and reusable pieces that work across seasons. I write from doing this in rental spaces, and after three years of using the same base setup I still rely on the same handful of items. Expect swap options for pets or kids and tips that make the room feel intentional without buying everything new.
What You'll Need
Main Decorations
- Faux peony stems (~$15-$30)
- Ceramic vase, medium (~$20-$40)
Lighting & Ambiance
- Warm white LED string lights (~$10-$25)
- Battery-operated pillar candles (~$12-$25)
Tableware & Accents
- Linen table runner (~$15-$30)
- Wood serving tray (~$18-$35)
- Small potted plant for gifting (~$10-$25)
Step 1: Choose and Clear the Focal Point
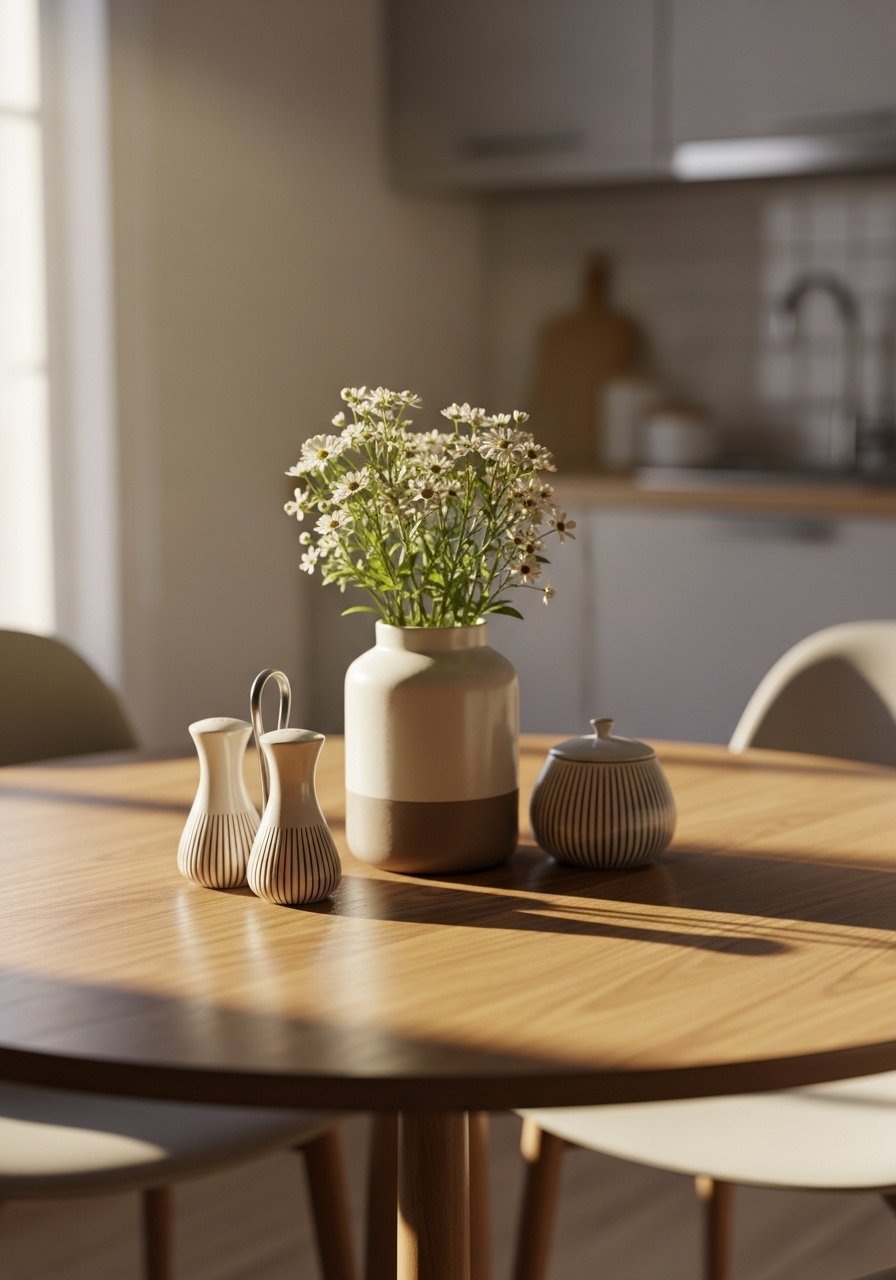
Pull everything off the surface. Yes, everything. I used to start by adding more, which only made the space feel cluttered. Decide whether the table, mantle, or a windowsill is the star. Your focal piece should be roughly 1.5 times the height of surrounding accents so the eye lands where you want it. For a table, center a medium ceramic vase with faux peonies so it reads from every angle. If you have a mantle, swap the vase for a taller plant. Use the rule of threes when grouping smaller objects around the focal point for balance.
Mistake to Avoid: Leaving small random items in place makes the finished setup read as messy rather than curated.
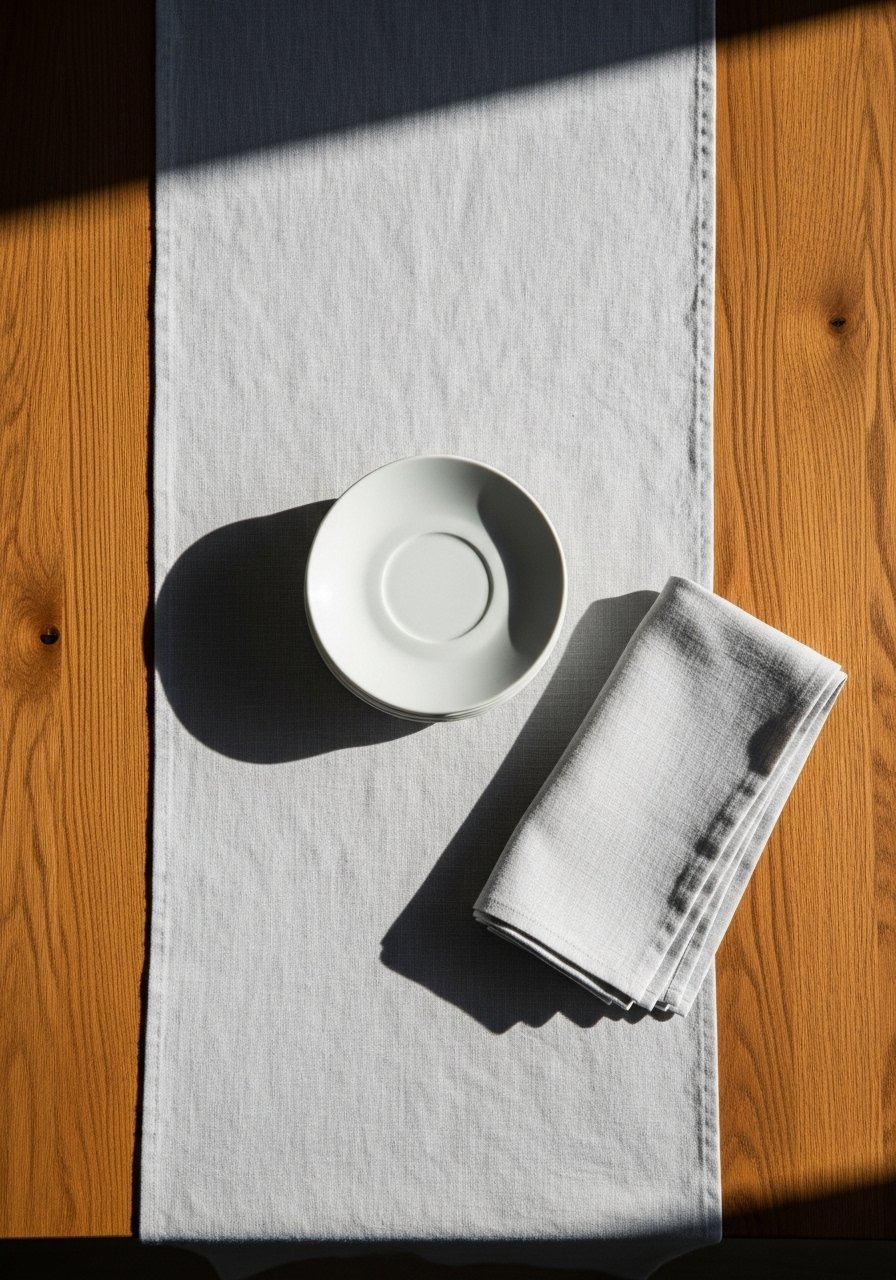
Step 2: Lay the Base Layer with Textiles and Color
Most people start with the biggest item, but I work from the ground up. Lay a linen runner so it overhangs about 6 to 8 inches on each end. That small drop gives the table a grounded feel without overwhelming a small space. Pick two main palette colors and one accent color, then repeat them in napkins, a runner, and one decorative object. For pillows when the setup moves to a sofa, use a 2-to-1 ratio of larger to smaller pillows. Texture is important, too. A nubby linen napkin feels heavier and sits differently than paper, which helped me stop over-accessorizing.
Mistake to Avoid: Using too many colors at once makes the setup look like a dollar store collage.
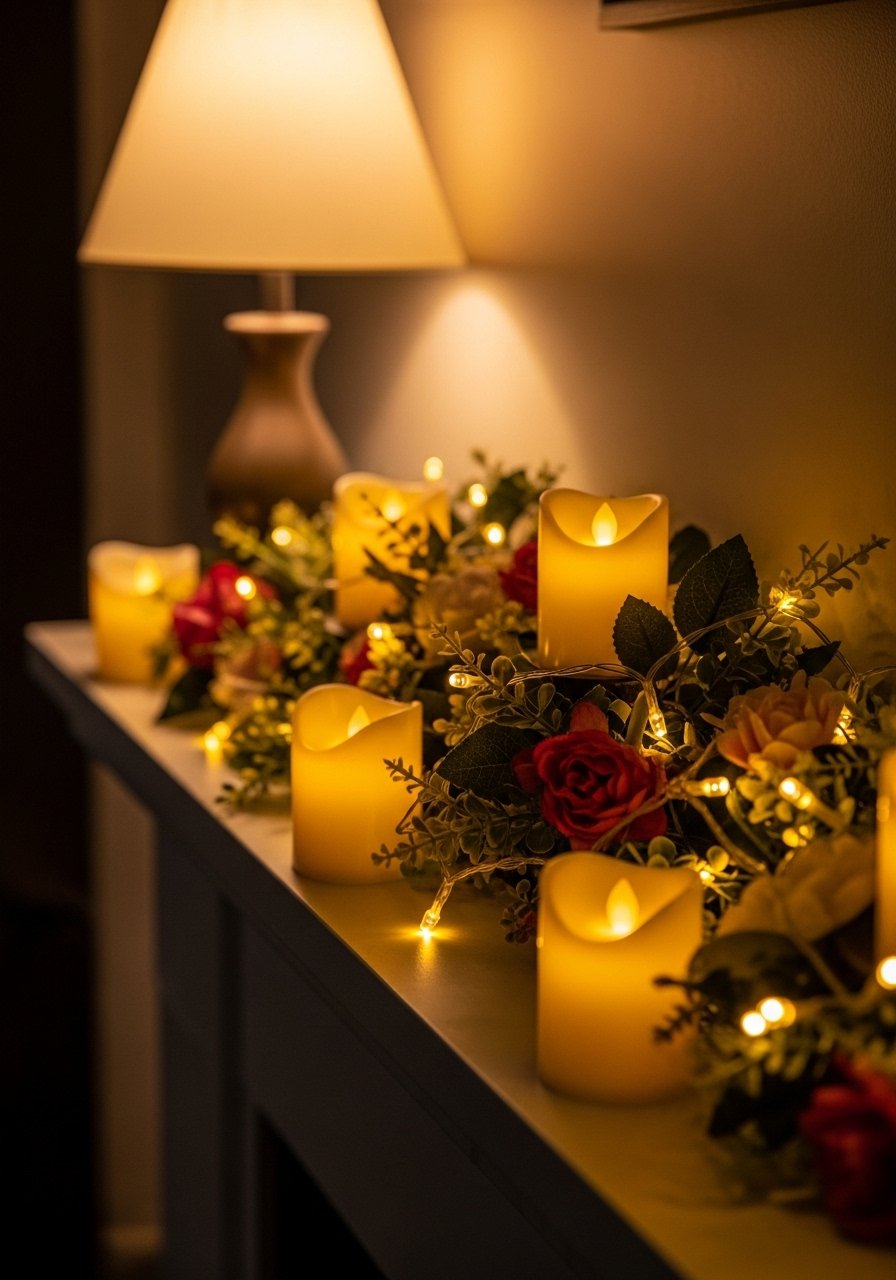
Step 3: Add Lighting That Feels Warm, Not Gimmicky
Listen for the room settling as you dim things. I tested string lights and candles in daylight and at dusk to see which looked best in photos and in person. Battery-operated pillar candles placed 4 to 6 inches apart give a soft glow without the worry of open flame. Drape warm white LED string lights along a mantle or weave a short strand through a centerpiece so the shimmer hits the flowers. If you want to set a mood quickly, dim lamps to 30 or 40 percent brightness so the candles get the attention.
Mistake to Avoid: Over-lighting kills the intimate feel and highlights fingerprints and dust.
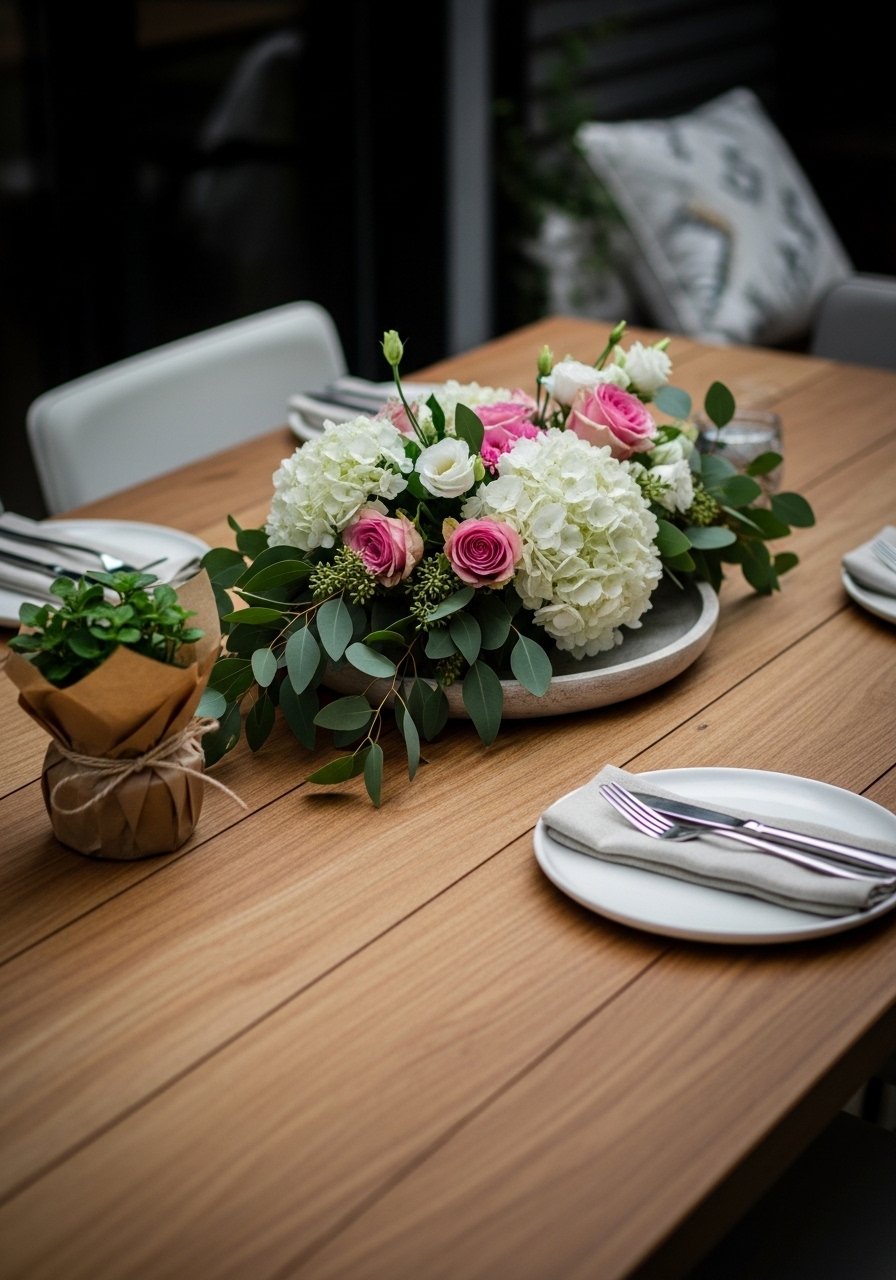
Step 4: Build a Centerpiece That Doubles as a Gift
This is where it starts to actually look styled instead of cluttered. Arrange a low bouquet so stems are cut to about 1.5 times the vase height, which keeps the arrangement airy and not top-heavy. Surround that with a small potted plant or a wrapped jar of jam that becomes a take-home gift. A wood serving tray anchors the vignette and makes it easy to move everything if you need more space. I once hid a small wrapped present under the tray and it felt like a secret reveal when Mom arrived.
Mistake to Avoid: Making the centerpiece taller than 10 to 14 inches for seated guests blocks conversation.
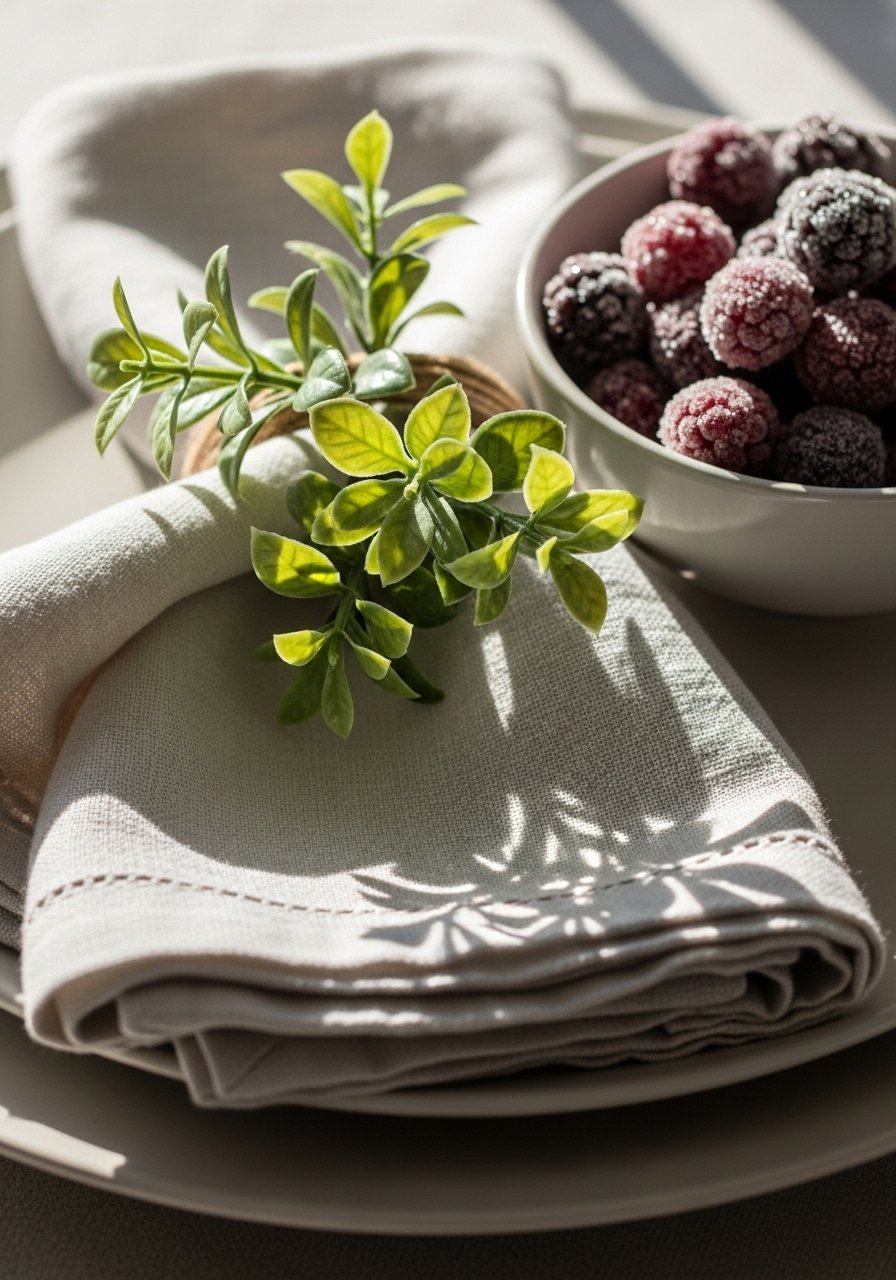
Step 5: Add Small Edible Accents and Practical Place Settings
This part feels wrong while you are doing it because edible accents look delicate in photos but messy in real life. Try a small bowl of sugared berries or a jar of honey at the side. Use simple place cards or folded napkins with a sprig tucked in. Keep serving pieces proportional, a serving spoon per dish and a small tray for utensils. Most people end up spending between $500 and $800 when they finally commit to refreshing a room, but you do not need that to make an impactful table. Thoughtful, edible touches make the setup feel personal and can double as part of the gift.
Mistake to Avoid: Overcomplicating place settings with too many utensils or fragile props that will be used.
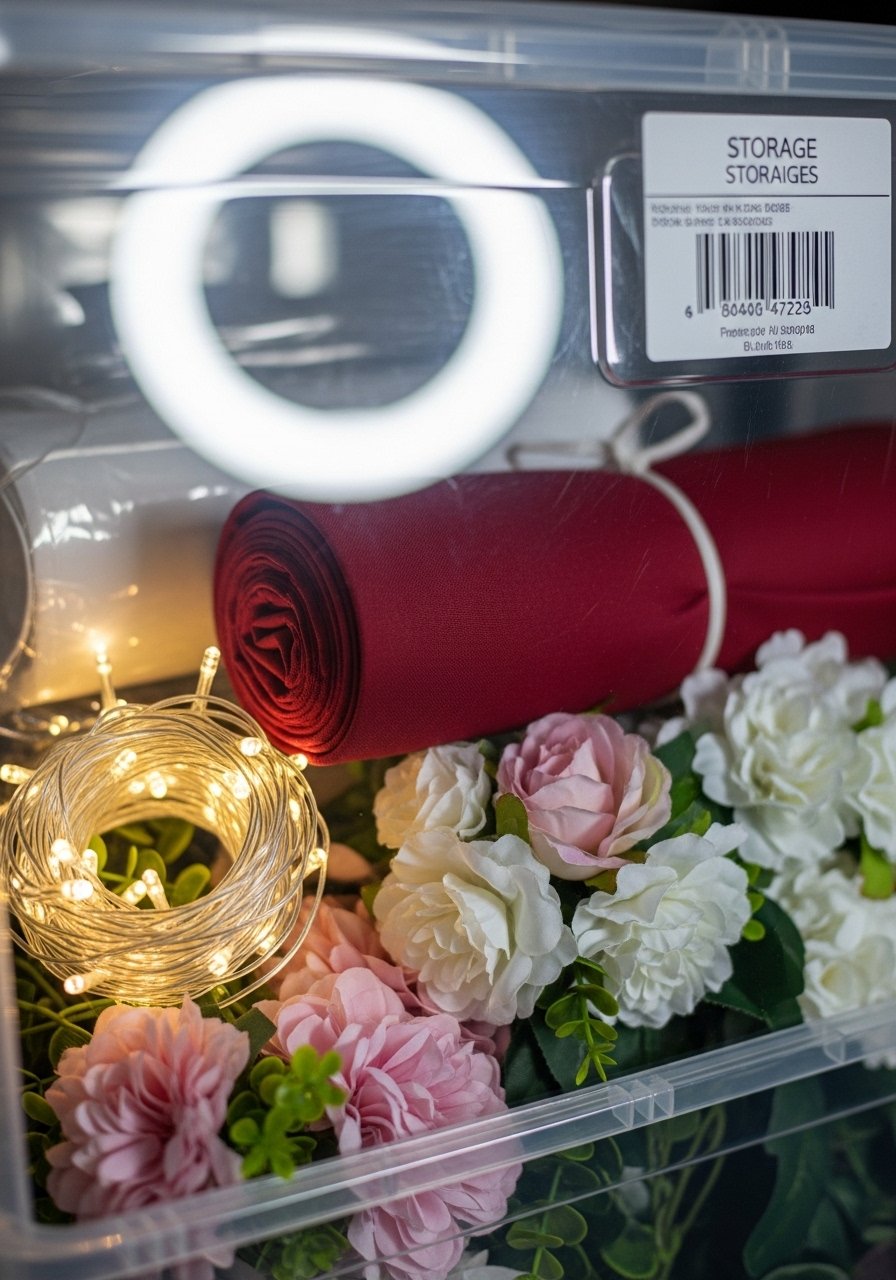
Step 6: Final Timing, Cleanup Plan, and Reuse Strategy
You want to leave about 30 minutes before guests arrive for final touches, freshening flowers, and lighting candles. I schedule 90 minutes total for setup, which includes clearing, layering textiles, arranging lighting, and styling the centerpiece. Pack a small "reset kit" with spare batteries, command hooks, and a lint roller for last-minute fixes. Store decor in one labeled box so items live together year to year. I have hosted this dinner for five seasons and reuse the same core pieces with small swaps for color and florals, which keeps the look fresh while staying budget-friendly.
Mistake to Avoid: Leaving cleanup and candle setup until the last five minutes makes everything feel rushed and brittle.
Decorating Tips
Pet-proof swap: Use heavier ceramic vases and battery candles instead of taper candles, paired with command hooks for anchoring lightweight garlands.
Renter-friendly backdrop: Apply a removable wallpaper strip or a fabric runner behind a mantle for instant color without nails, try removable-wallpaper-samples.
Quick centerpiece upgrade: Place a small potted plant on a decorative coaster inside the vase group to add height variation, use a mini-potted-succulent.
Two-in-one pieces: Buy a wood serving tray that also works as storage, like wood-serving-tray, to keep table clutter controlled when not in use.
Edible accents: Keep a jar of sugared berries or a small jar of local jam as decor that gets eaten, packaged in a pretty jar like glass-jam-jars.
Staging for photos: Step back and squint from three feet away. If the composition reads balanced at that distance, it will look intentional in photos and in person.
Storage tip: Label one bin "Mother's Day" and keep a spare set of chargers and batteries inside so setup never stalls, use a plastic-storage-bin.
Make It Yours
You can master this with a handful of repeatable moves: pick a clear focal point, limit the palette, and build in a practical gift into the centerpiece. One final tip, try the setup once a few days early and photograph it under the light you expect on the day. That little rehearsal untangles timing issues and helps you see which props read too busy in real life. With a few rehearsals you will recognize the small swaps that make the room feel calm and purposeful, not staged.
