
I almost did not try this method because it felt like extra fuss. I ended up testing a smaller change, and it made food stay noticeably better. The trick is not a single gadget. It is a handful of small choices timed right, and the way you layer cold and dry items. After a few messy picnics I stopped wasting salads and soggy bread.
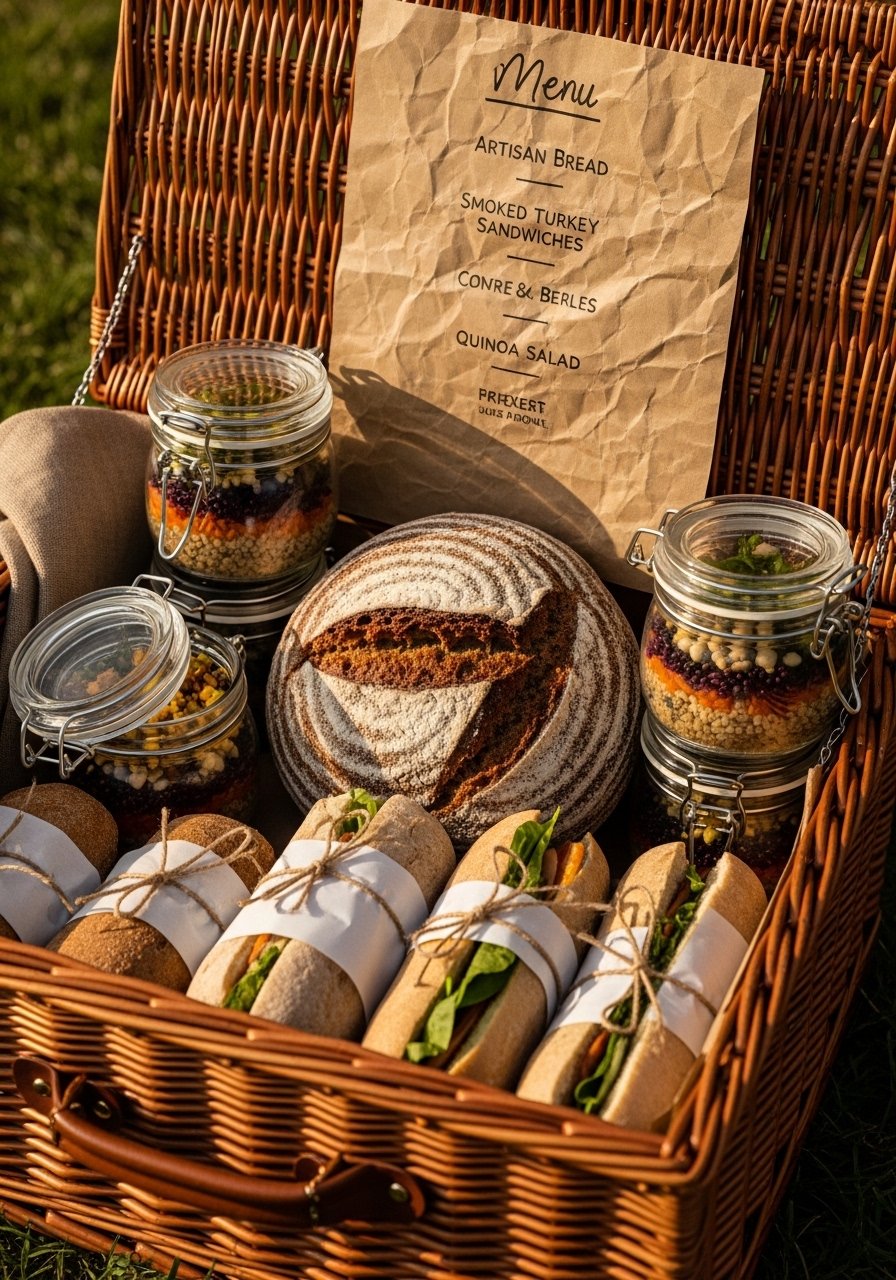
This guide covers menu choices, packing order, and timing for a day picnic or a half-day outing. Expect 15 to 30 minutes of prep beyond regular cooking. I have tested this three times to get the timing right, and it works for small groups and family outings. If you need vegetarian swaps or to scale from two to eight people I include quick options. The goal is food that looks and tastes fresh when you sit down.
What You'll Need
Core Ingredients
- Mason jars for salads (~$10-$25)
- Reusable silicone food bags (~$8-$20)
- Beeswax wraps (~$10-$18)
Equipment
- Insulated cooler bag (~$20-$50)
- Reusable ice packs (~$10-$25)
- Small dressing bottles (~$6-$12)
Optional Upgrades
- Compact folding cutting board (~$12-$30)
- Insulated thermos for warm items (~$15-$40)
Step 1: Choose a menu built for stability
Start by picking dishes that survive a few hours without being reheated. Aim for items that are either safely cold or intentionally room temperature. Think roasted vegetables, firm cheeses, cured meats, grain salads dressed lightly, and sandwiches on a denser bread. Use the temperature separation principle, pack cold proteins and cheeses with ice, and keep breads and crackers separate in dry containers. A practical ratio I use is one part insulated container to three parts ice by weight, roughly a 3:1 ice-to-food ratio, to maintain chill for 4 to 6 hours.
Mistake to Avoid: Packing soft cheeses next to wet fruit leads to soggy textures and muddied flavors.
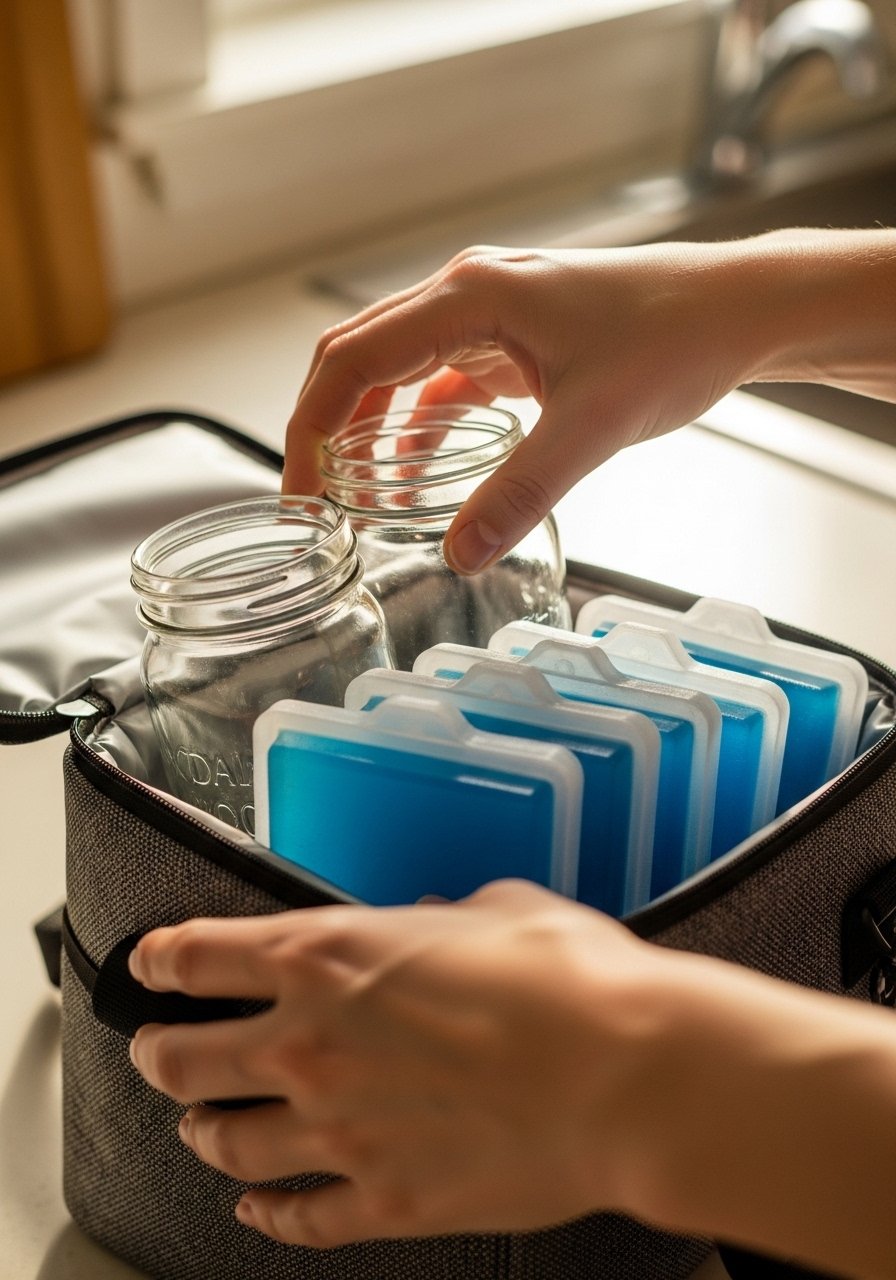
Step 2: Pre-chill containers and ingredients
This is where people skip time and lose hours of freshness. Put your cooler, jars, and ice packs in the fridge or freezer at least one hour before packing. Chill food until it is refrigerator-cold rather than room temperature. Cold containers take a lot less ice to stay cold in transit. For me this step cut the number of melted-ice emergencies by half. I also pack dressings and vinaigrettes chilled in small bottles so they do not warm up quickly.
Mistake to Avoid: Putting warm food straight into the cooler melts ice fast and raises internal temperature.
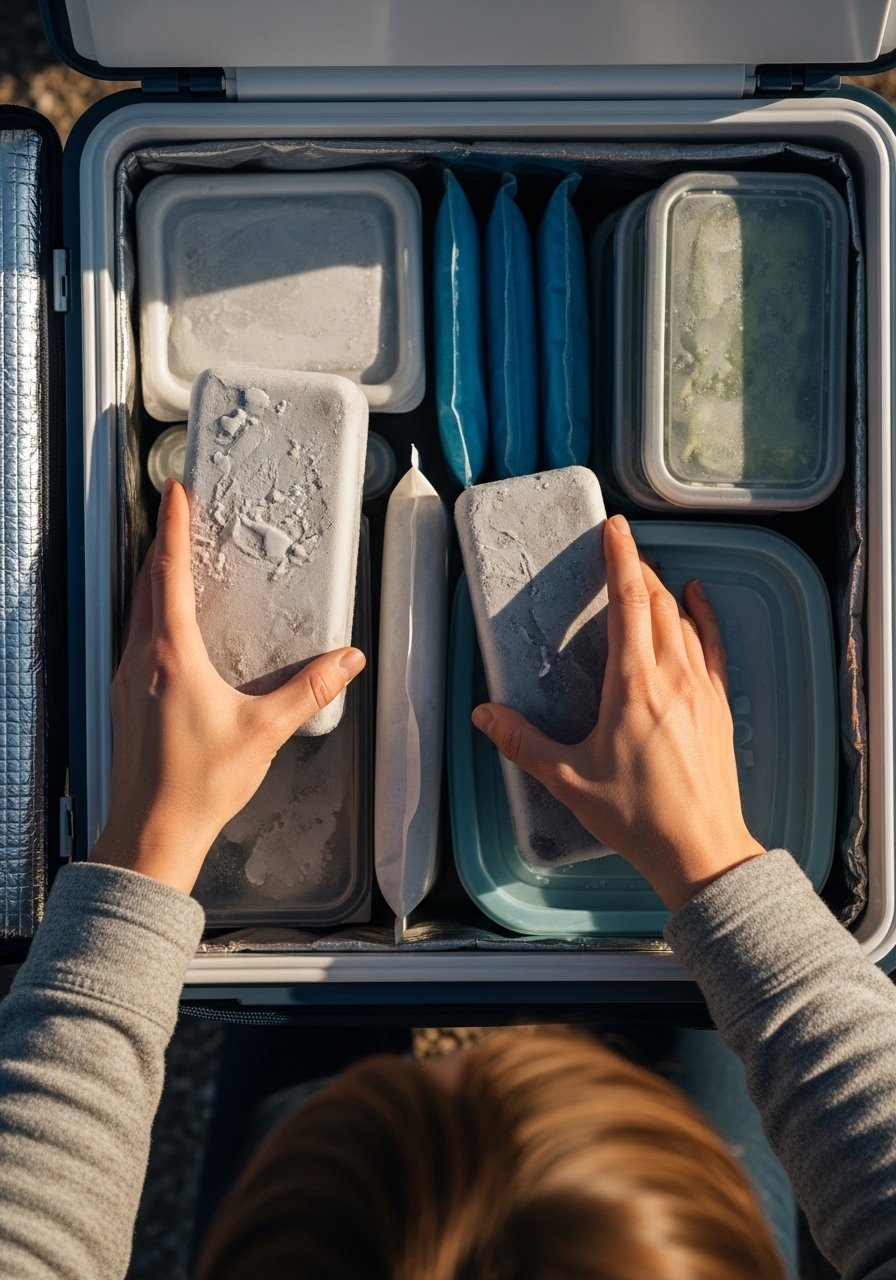
Step 3: Layer smartly in the cooler
Most people start with the biggest item. That is backwards. Put ice or frozen packs at the bottom, then a flat layer of cold proteins and dairy, then more ice packs, and finally a dry basket on top for bread and fruit. Keep dense, heavier items toward the bottom so they do not crush delicate containers. Trust the packing order even if it feels odd. The idea is to create micro-climates: pockets of cold and dry that protect fragile items. I pack jars upright and use beeswax wraps for soft fruit to absorb tiny moisture.
Mistake to Avoid: Tossing everything in without layers mixes wet and dry and ruins textures.
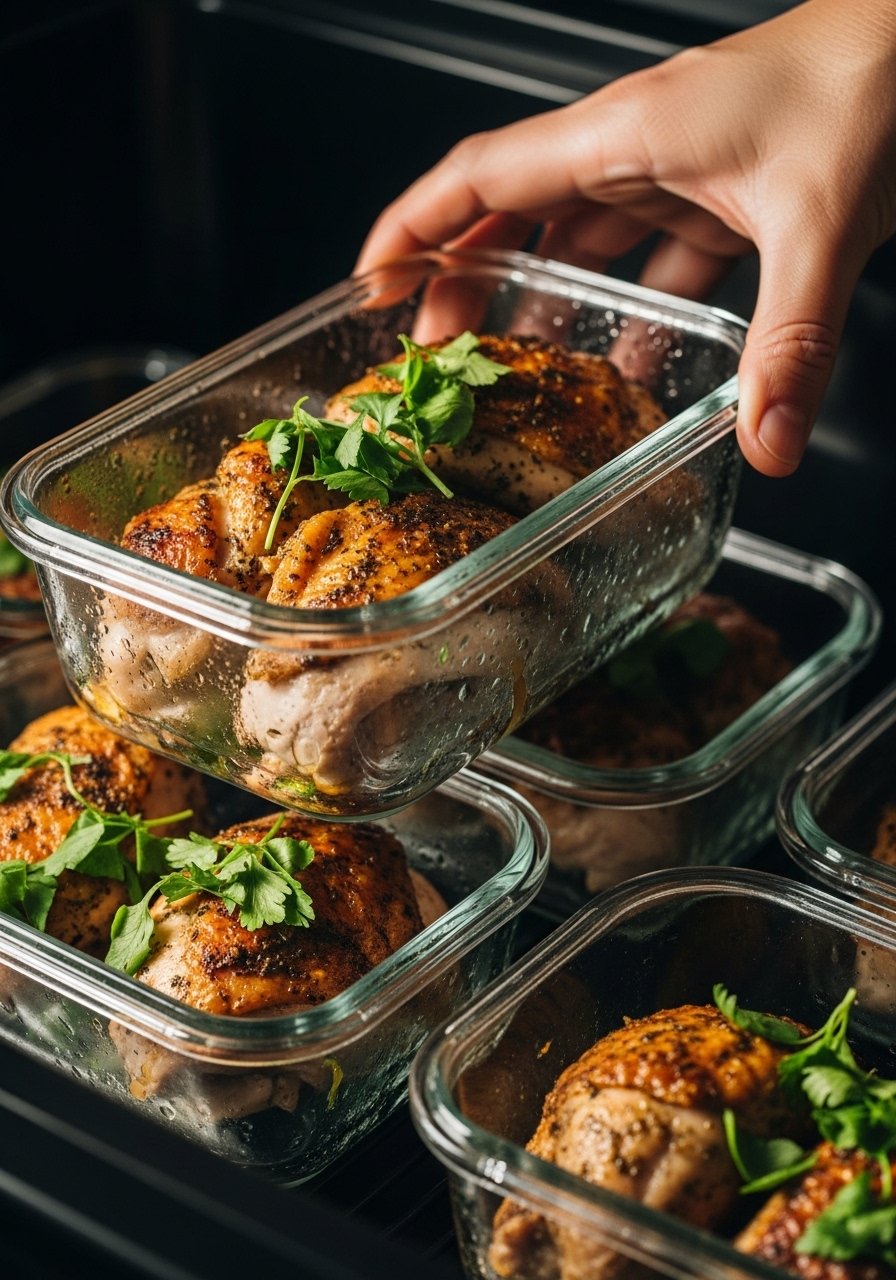
Step 4: Cool proteins quickly and pack them sealed
I used to assume cooked chicken could sit out while we finished other things. That is wrong. Cool proteins to fridge temperature before packing and aim to have them under 40 degrees Fahrenheit within two hours of cooking. Vacuum or double-wrap proteins in airtight containers and place them in the coldest part of the cooler. For hot items I use an insulated thermos and pre-warm it with hot water, then drain and add food, which keeps soups or stews at serving warmth. After making this change my sandwiches with roasted meat stayed juicy without becoming unsafe.
Mistake to Avoid: Packing warm proteins in soft containers lets condensation form and spoils adjacent items.
Step 5: Protect crunch and dress salads at the last minute
This is the part where you will want to assemble salads entirely ahead. Do not. Keep greens and crunchy elements in separate jars or containers. Carry dressing in small bottles and toss right before serving. Toasted nuts and charred vegetables stay crisp in airtight tins. For fruit, a small squeeze of lemon prevents browning, about 1 teaspoon per cup of cut fruit. If you must pre-mix a grain salad, keep the grain and add the dressing later, or use a light vinaigrette ratio of one part acid to four parts oil and keep it chilled.
Mistake to Avoid: Dressing salads in advance turns crisp leaves into limp, flavorless mush.
Step 6: Keep cheeses and fruits happy together but apart
Cheese smells travel. Pack stronger cheeses wrapped separately from mild ones and from fruit. Use wax paper or beeswax wrap for cheeses and put fruit in ventilated containers. For berries, a light paper towel lining the container helps absorb excess moisture so berries feel firmer. I once packed a ripe peach in the same bag as chèvre and the cheese became sweet and sticky. These small separations keep flavors distinct and textures intact.
Mistake to Avoid: Putting ripe fruit directly against soft cheese makes both taste muddled and wet.

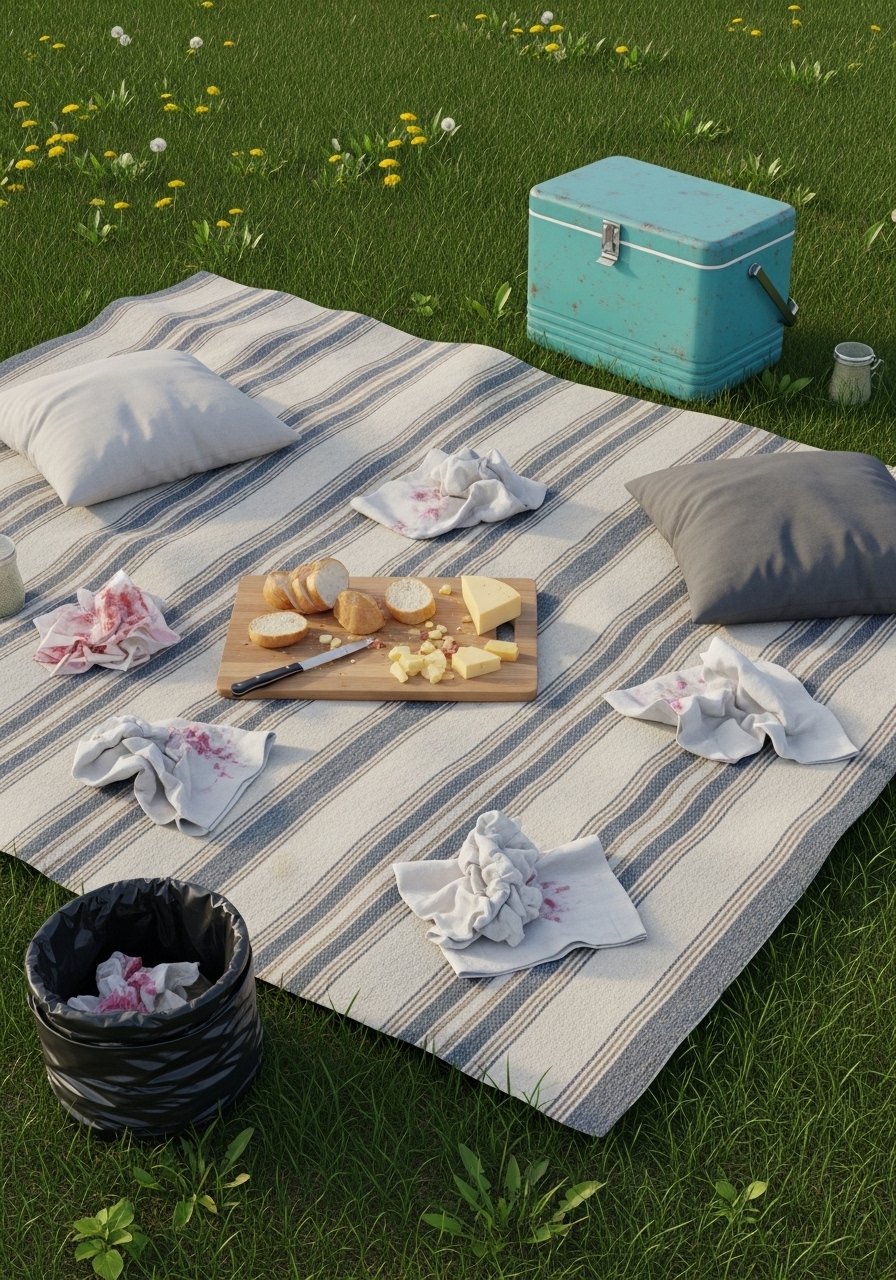
Step 7: Final setup, serve confidently, and clean as you go
When you arrive, set up a serving zone with a clean cutting board, cloth napkins, and small plates. Pull only what you need from the cooler. Let chilled items sit on the picnic table for 5 to 10 minutes so flavors open, but do not leave perishable food out longer than two hours in warm weather. Keep a small trash bag and a damp cloth to wipe hands and surfaces. My first few picnics felt chaotic and cluttered. Over time I learned a simple staging area makes everything feel calm and intentional.
Mistake to Avoid: Unpacking everything at once exposes all food to warmth and makes cleanup harder.
Cooking Tips
Make-ahead swaps: Use roasted root vegetables instead of delicate greens for long trips, they keep texture better and reheat in a thermos if needed. Try reusable-silicone-bags for these.
Swap bread types: Replace airy ciabatta with a denser sourdough loaf. Denser bread resists sogginess longer and pairs well with juicy fillings.
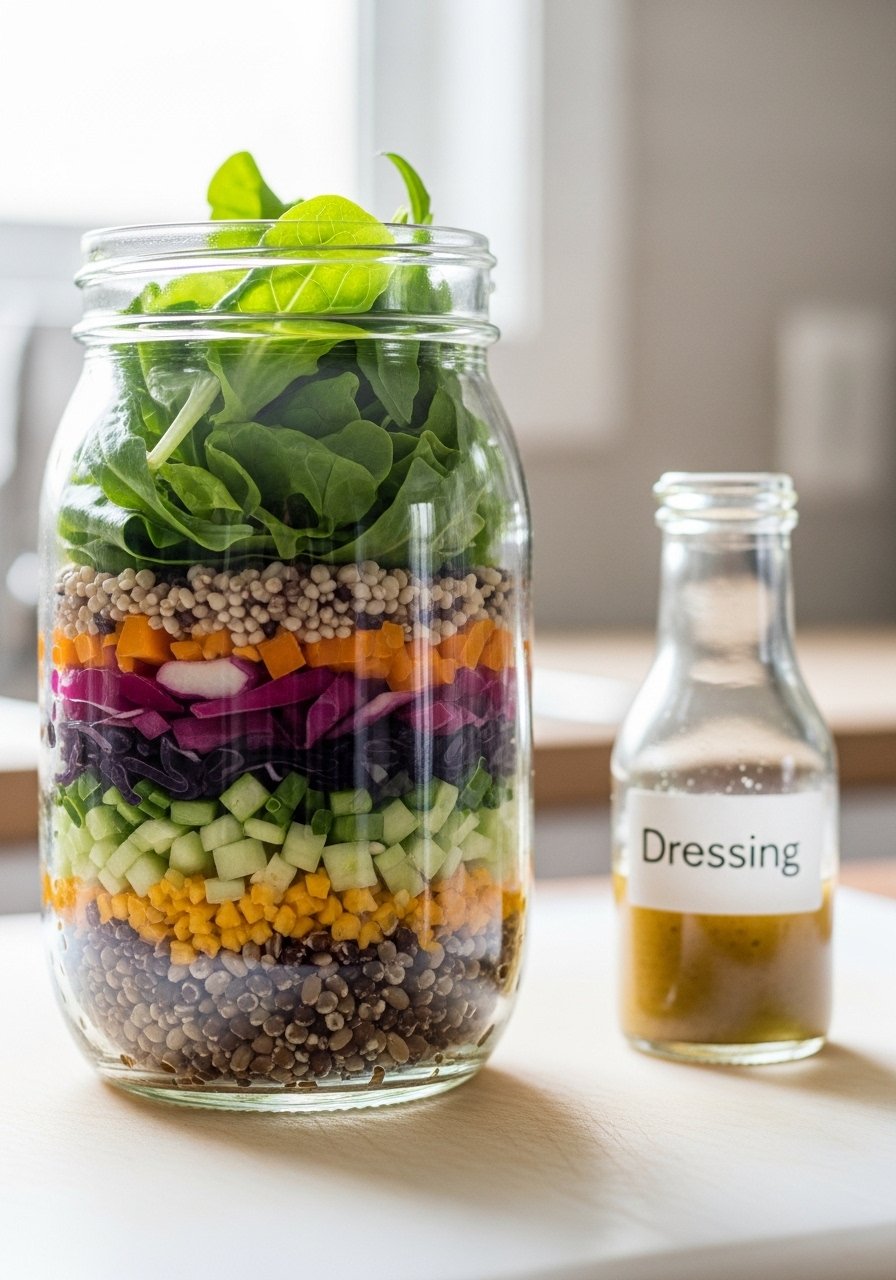
Dressing hack: Freeze small dressing bottles flat so they act as ice packs and thaw by serving time. See glass-dressing-bottles.
Cheese board note: Bring one soft cheese and one firm cheese per person for variety without risking spoilage. Wrap separately with beeswax-wraps.
Drink plan: Pre-chill water bottles and place them along the cooler walls. They help maintain temperature and double as refreshments. Use an insulated-cooler-bag.
Aromatic freshness: Pack herbs in a small jar of water inside the cooler to keep them bright and fragrant. This is a detail many guides miss.
Cleanup tip: Bring a small spray bottle with a 1:4 vinegar to water ratio for quick surface cleaning. It smells sharp at first and then dissipates.
Take It Outside
Picnic packing is a small set of decisions that adds up to a calmer meal and fresher food. Start with chilling containers, layer cold and dry items, and keep crunchy parts separate until serving. I almost skipped several steps when I began, honestly this method frustrated me at first, but it worked each time after the third try. One final tip, treat the cooler like a portable pantry, not a pile, and your picnic will feel effortless and taste fresh.
