
I almost did not try this. It felt too small to matter, a tiny change to a routine I had ignored for years. Six weeks later my nails were visibly stronger, less peeling, and I stopped hiding my hands in pockets. If you are tired of slow growth, constant splits, or nails that look flakey in photos, this is a practical, low-cost routine that actually stuck for me.
This guide covers a month-plus routine, simple at-home tools, and a few salon-level tweaks. Expect to spend under $50 for starter supplies and 10 to 15 minutes three times a week. It works whether your nails are short and brittle or medium and prone to splitting. I tried this across different seasons, and after a month of testing this routine the results were the same: stronger, smoother nails without heavy filing or acrylics.
What You'll Need
Tools & Brushes:
- Glass nail file (~$6-12)
- Cuticle pusher and nipper set (~$8-20)
Base & Top Coat:
- Nail strengthener base coat (~$10-18)
- Quick-dry top coat (~$6-14)
Polishes & Treatments:
- Cuticle oil (~$6-15)
- Biotin supplement (~$8-20)
Finishing & Extras:
- Nail buffer block 4-sided (~$4-10)
- Nail brush (~$4-10)
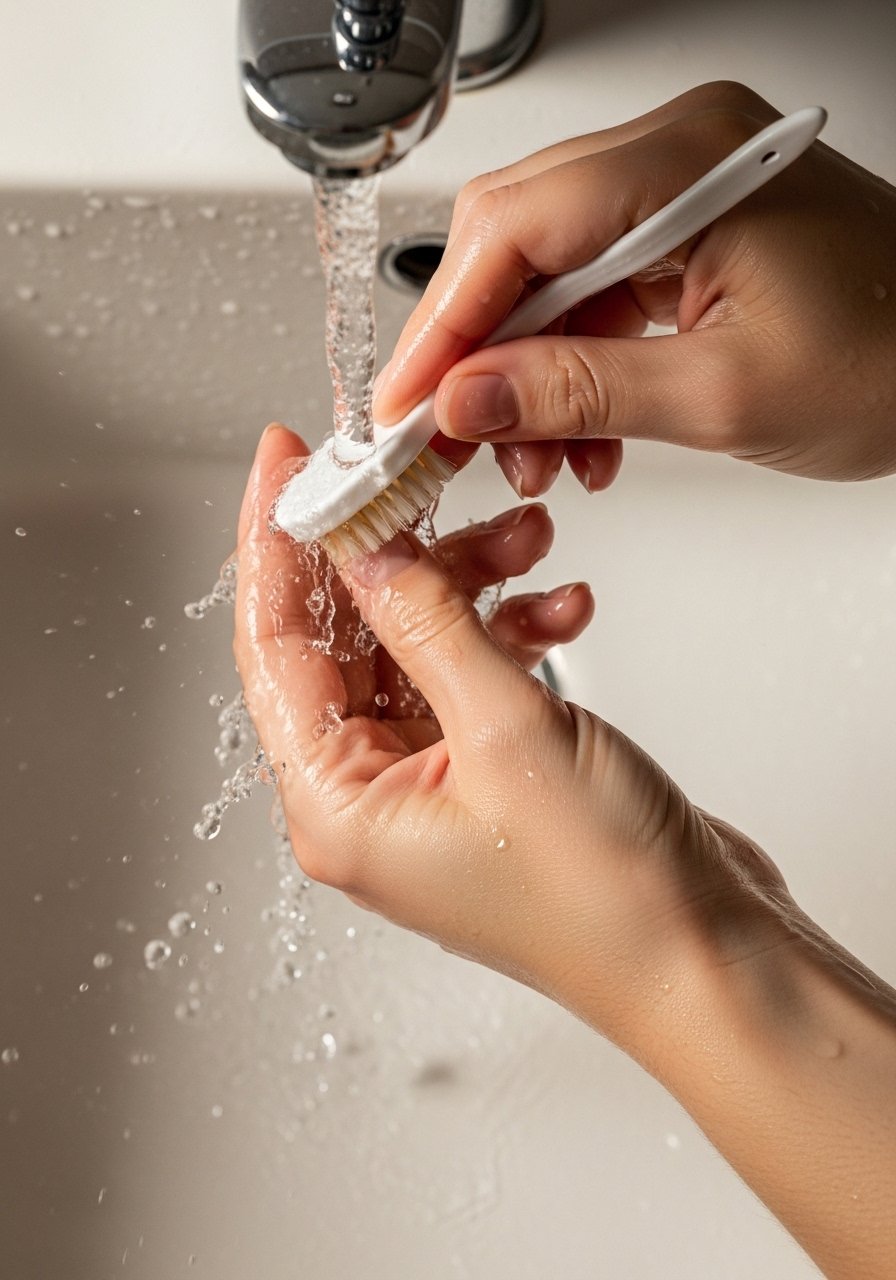
Step 1: Clean, don't soak it away
Pull everything out and scrub the nail grooves first. I found that a quick, firm scrub with a nail brush and warm water removes oils that block product absorption. Use a nail brush in gentle circular strokes for about 30 seconds per hand, then pat dry. Avoid long hot soaks more than once a week because they weaken the plate. After drying, apply two drops of cuticle oil and massage for 15 seconds into each nail base. The oil should feel slightly tacky, not slick, so it can sink in.
Mistake to Avoid: Over-soaking in hot water more than once a week weakens nails and increases splitting.
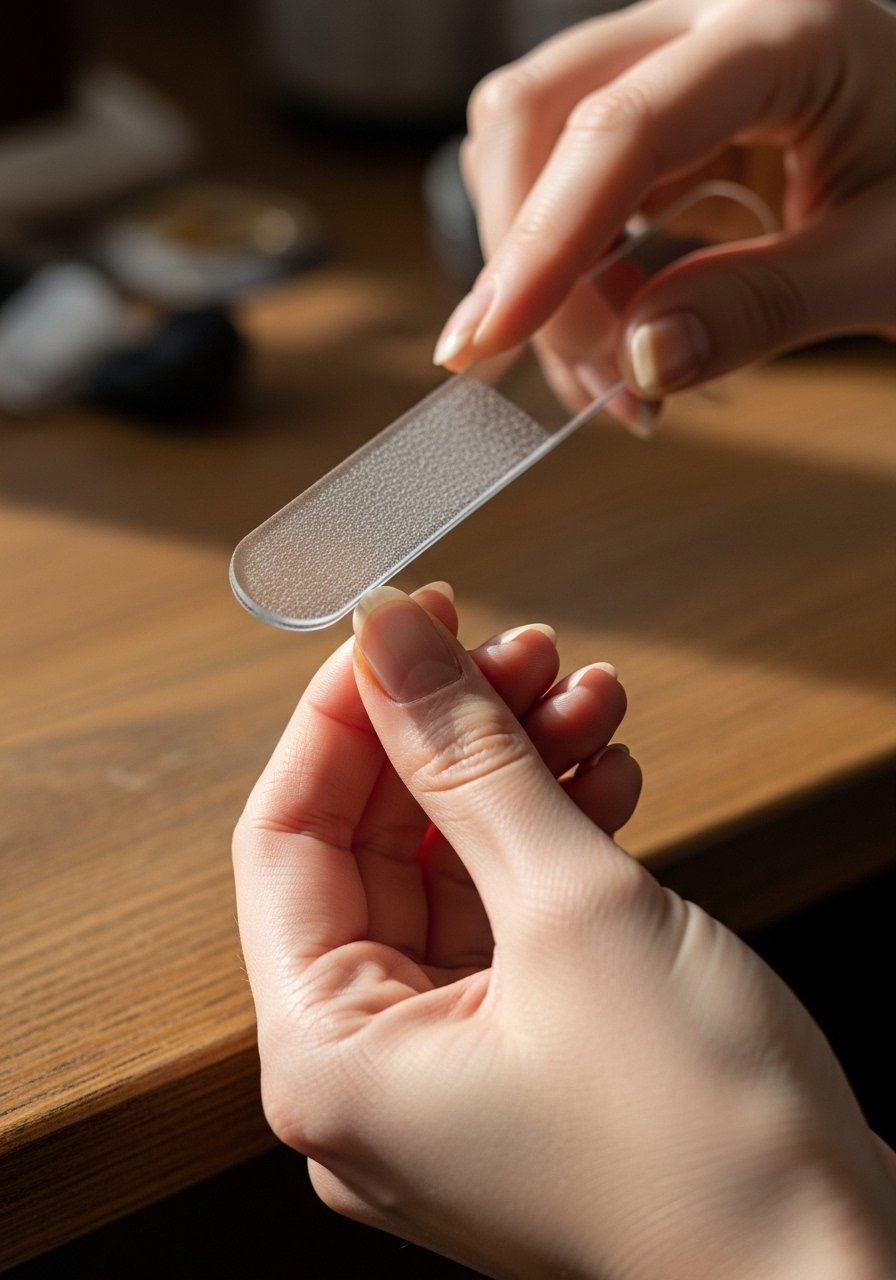
Step 2: Shape with purpose, not speed
Most people start with a big clip. I used to too and it always led to splits. Switch to a glass file and file in one direction only, ten to twelve light strokes per side, aiming for a slightly rounded edge that follows your fingertip curve. For short nails, a 180-grit feel is the right balance. If you prefer medium length, stop at about 3 to 4 mm beyond the fingertip and keep the angle soft. The goal is a smooth edge that does not catch, and you should hear a soft, clean rasp rather than chips.
Mistake to Avoid: Filing back and forth or using heavy pressure creates micro-tears that lead to breakage.
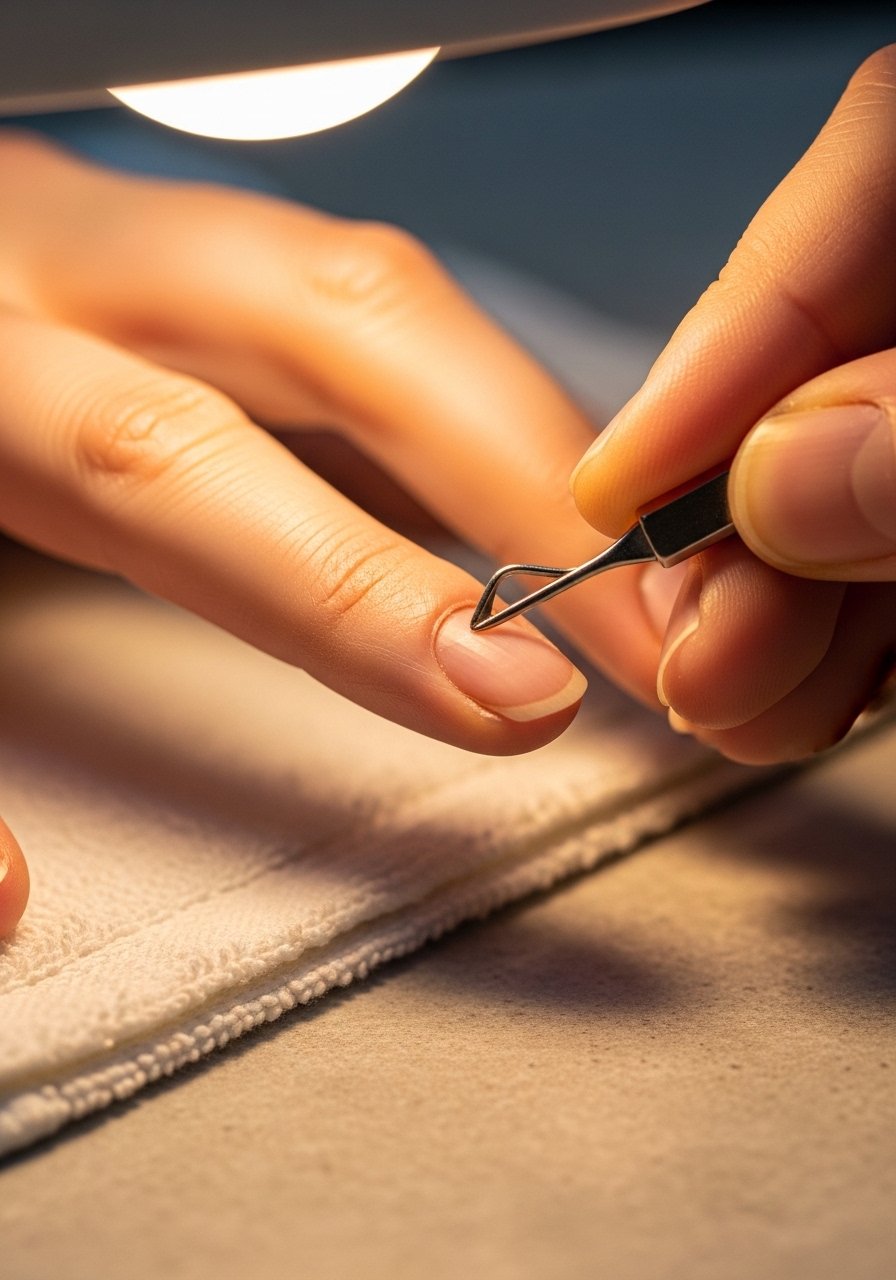
Step 3: Groom cuticles gently, less is more
This is where it starts to feel wrong while you are doing it, because you want a perfectly clean cuticle line. Instead push cuticles back gently after a shower or after applying oil, not when dry. Use the rounded end of a cuticle pusher with light pressure, then only trim hangnails with a nipper if they lift. Over-trimming causes small cuts that invite peeling. Finish by sealing the area with one drop of cuticle oil per nail, rubbed in for about 10 seconds until the skin feels soft, not greasy. A tech at a salon downtown showed me the tiny angle that changes everything here.
Mistake to Avoid: Cutting healthy cuticle skin causes tears that make the nail grow uneven and weak.
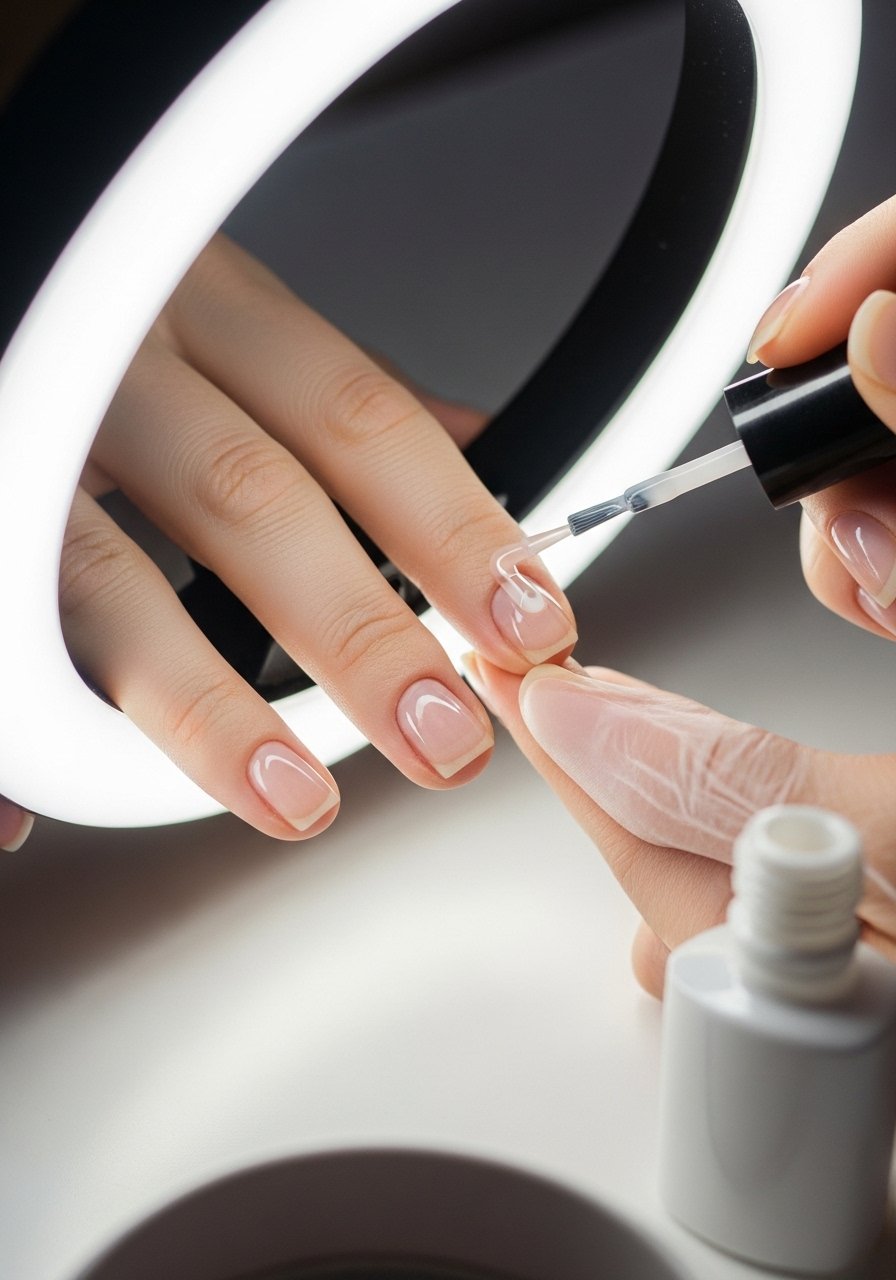
Step 4: Build strength from the base outward
The visual result you want is a smooth, glossy surface before color. Start with a thin layer of a nail strengthener base coat, applied in three strokes: center, then each side. Thin layers dry better. Cure or dry for the time on the bottle, usually 60 to 90 seconds for quick-dry top coats. If you paint, use two thin color coats each about 60 seconds apart rather than one thick coat. Finish with a top coat and allow nails to sit flat and untouched for 5 minutes to avoid dents. The layering principle matters here, thin over thick does not work.
Mistake to Avoid: Applying one thick coat instead of two thin coats traps solvents and lifts the finish.
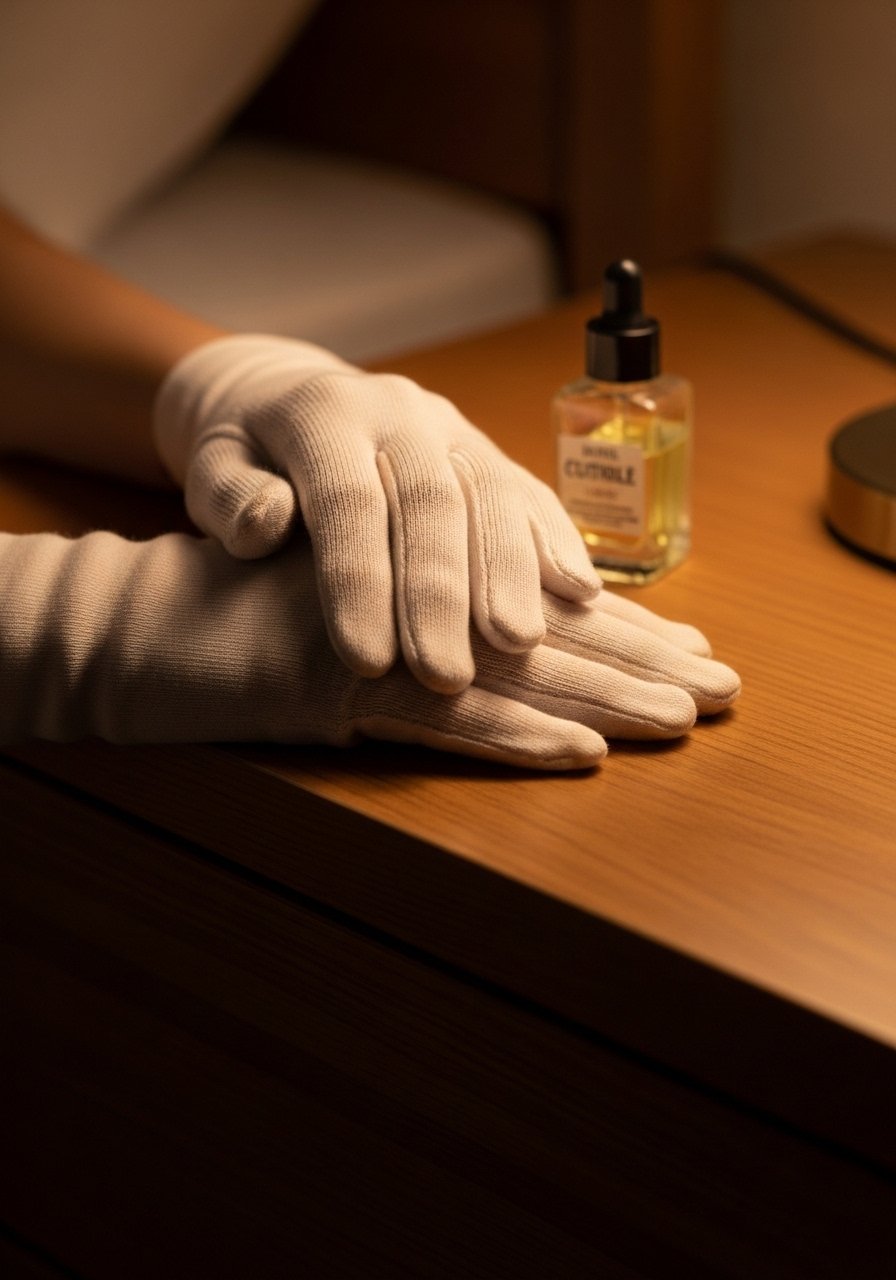
Step 5: Nightly oiling and glove rule
This part feels wrong at first because it asks for consistency. Every night, rub in cuticle oil and follow with a dab of hand cream. Twice a week, wear thin cotton gloves after moisturizing for 20 minutes to let oils penetrate overnight. The gloves trap warmth that helps absorption; the oil should smell faintly and the skin should feel soft and slightly plump in the morning. After a month of testing this gel system with nightly care my nails stopped delaminating. If you do house cleaning, wear rubber gloves to avoid harsh detergents that make nails brittle.
Mistake to Avoid: Skipping nightly oiling lets the nail plate dry and layer separation begins.
Step 6: Smart supplements and polish-free windows
You want numbers here: try biotin at 2,500 to 5,000 mcg per day for at least eight weeks to assess change. I started at 2,500 mcg and increased after eight weeks because hair and skin tolerated it well. Equally important is a polish-free week every 6 to 8 weeks to let oxygen cycles resume and to spot issues early. When you resume polish, keep to breathable, thin formulas and avoid constant gel fills without breaks. The sensory cue you will notice is smoother edges and less snagging when the nail is healthy.
Mistake to Avoid: Taking supplements for less than eight weeks and expecting full results is premature.
Nail Tips
Trim timing: Keep nails trimmed within 3 to 4 mm past the fingertip for most tasks, it reduces leverage on the free edge and prevents breaks, try a glass nail file for smoothing afterward with glass nail file.
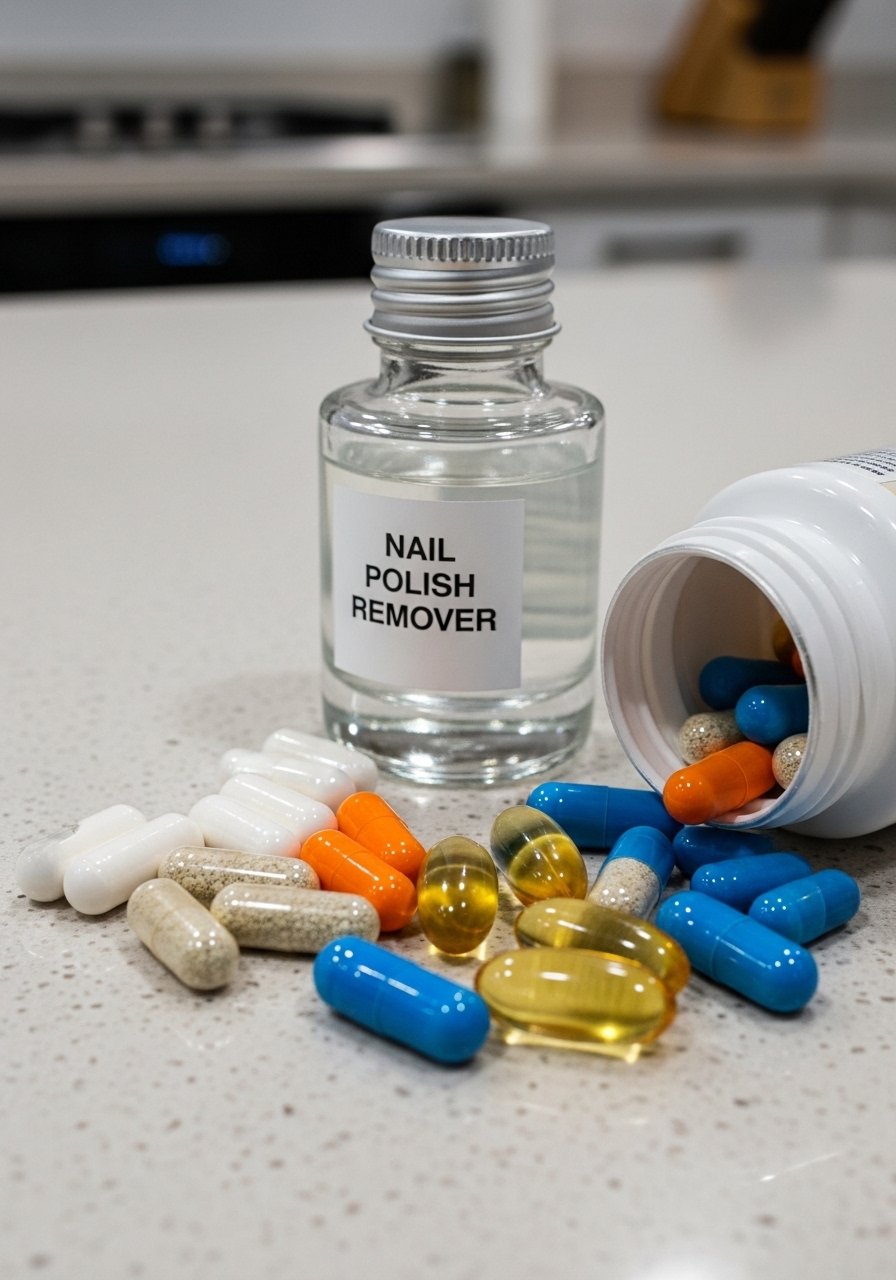
Avoid acetone binge: Use acetone remover sparingly and follow with a nourishing oil, a gentle remover like non-acetone remover keeps the plate less brittle.
Buffer lightly: One to two gentle passes with a 4-sided buffer is enough to remove ridges, more will thin the nail. Try 4-sided nail buffer.
Rotate tools: Replace buffers every 6 to 8 weeks, and wash nail brushes weekly to avoid bacteria buildup with nail brush.
Polish-free check: Schedule a polish-free week every 6 to 8 weeks to check nail health and let the plate breathe.
Housework armor: Wear rubber gloves for cleaning and thin cotton gloves for overnight oil treatments, cotton gloves protect and boost absorption.
Salon-sensible: If you get gel at a salon, ask for the tech to gently buff no more than 5 strokes per nail during removal, and request a 2-week break between full sets.
Nail It Daily
You will not fix brittle nails overnight, but this routine gives steady wins and is easy to keep up. Pick two steps to start, like nightly oil plus a weekly file, and add one more habit after two weeks. Small, consistent practices beat dramatic changes. Final tip, track progress with a photo every two weeks so you see growth you might otherwise miss. Keep at it and your hands will feel like an easy, low-cost upgrade you actually use.
