
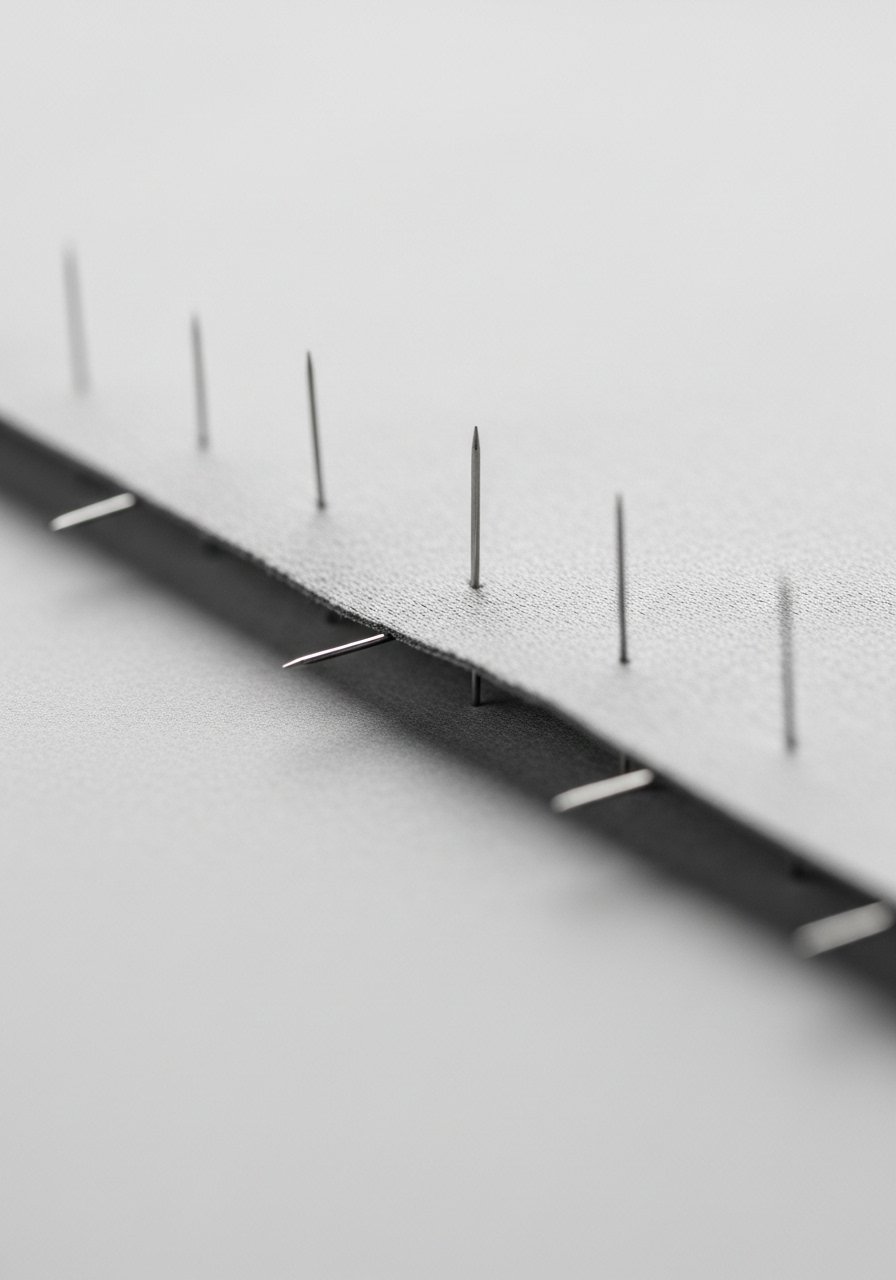
I kept trying to cram my hair into a neat roll, then pin after pin would slip by noon. One morning I angled the pins differently and pushed the tail just one inch higher. The twist stayed, and the whole look stopped needing constant fiddling. That little change taught me to think in pin geometry, not force, and I have since rebuilt every French twist I do around that small adjustment.
These 24 ideas lean practical and salon-informed, not fussy. Most techniques take 5 to 30 minutes and cost nothing beyond a few sturdy pins and a medium-hold spray. I wrote these after styling across four hair textures I have styled, so expect specific notes for fine, thick, and wavy hair, plus heat-free swaps and porosity-friendly hints where they matter.
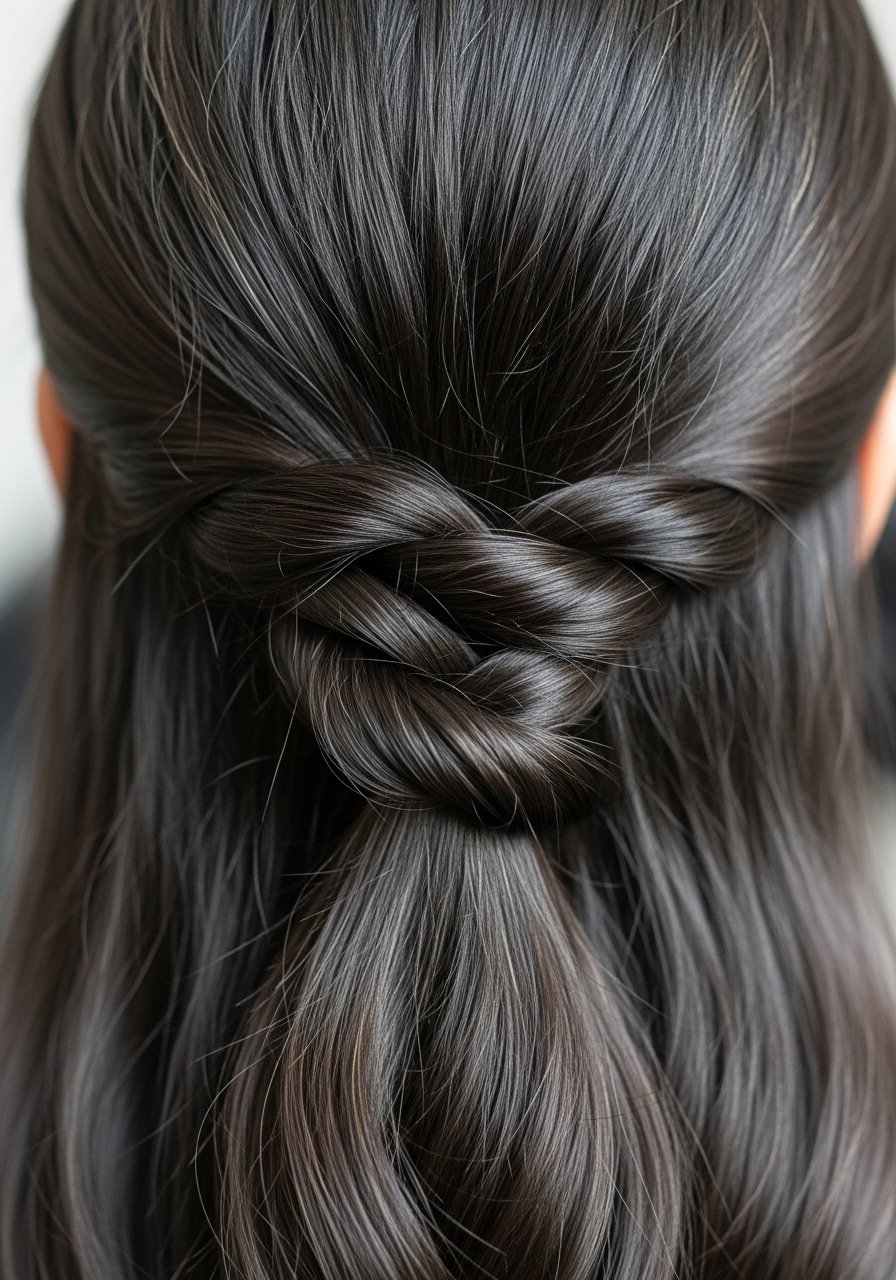
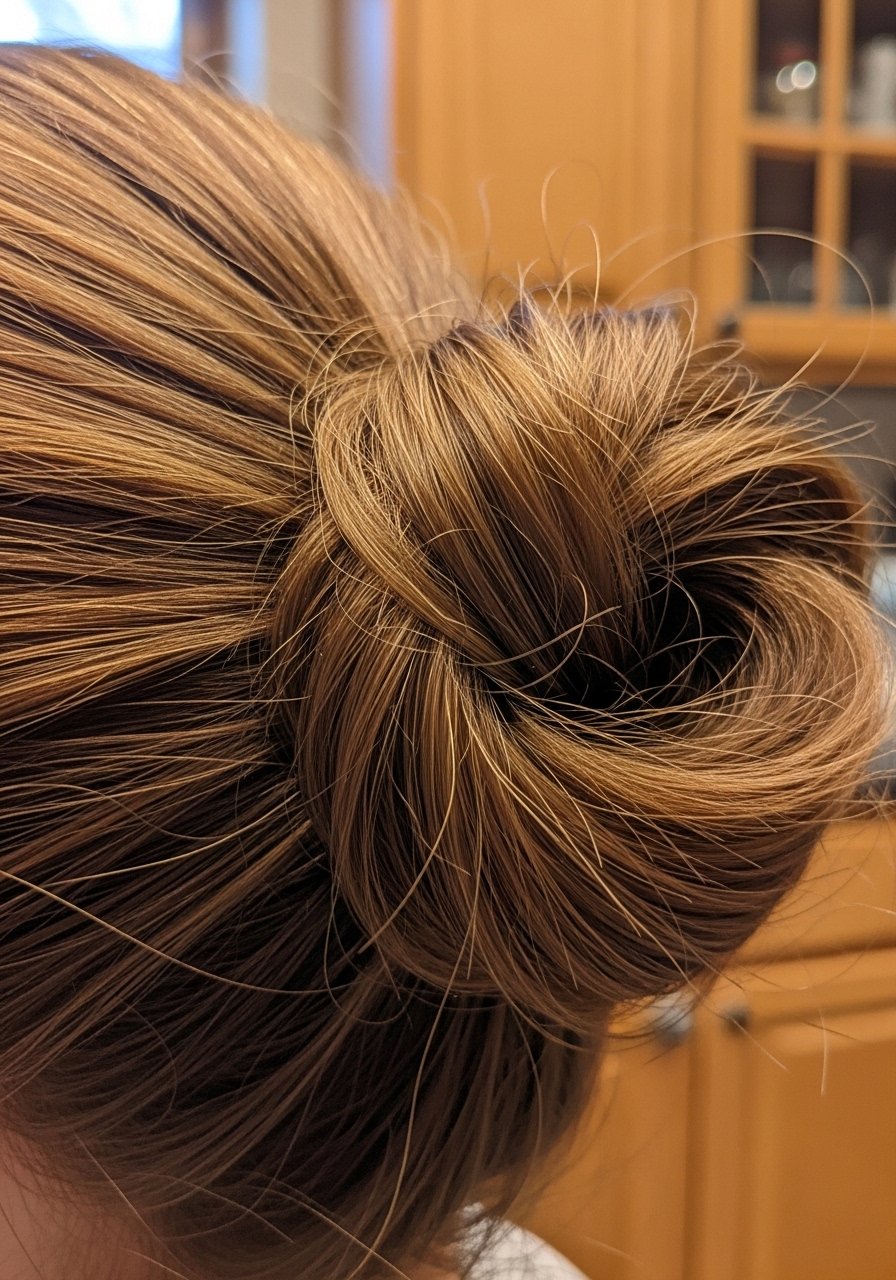
1. Classic Sleek French Twist
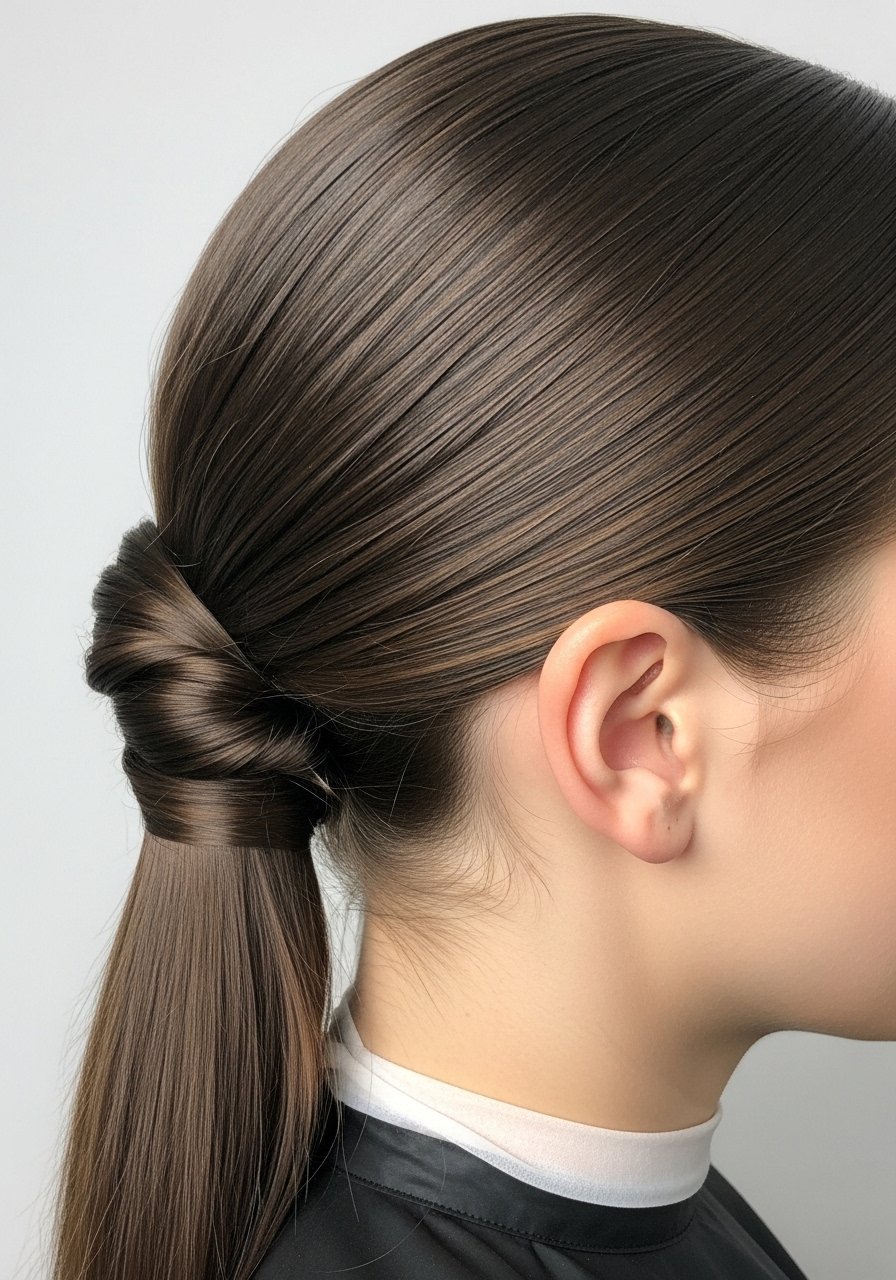
Start with a 1-inch part at the crown and brush hair back into a low ponytail, leaving the last two inches loose. Roll the tail upward until the base sits snug against the head, then insert three 1.5-inch bobby pins in an X pattern, crossing at 45 degrees for bite. Finish with a light mist of medium-hold spray for 6 to 8 seconds from 10 inches away. Works well for straight to slightly wavy hair and formal settings.
Mistake to Avoid: Pushing pins straight in parallel, which lets the twist slip, instead insert at opposite angles and cross them for grip.
2. Soft Face-Framing French Twist

Loosen two 1-inch sections at the temples before twisting to keep movement around the face. Use a small amount of lightweight cream to smooth flyaways without weighing the sides down, about a pea-sized amount rubbed between fingertips. Secure the twist with three curved hairpins, placing one at the base and two hidden above. This slightly undone finish suits medium to curly textures and casual events.
Mistake to Avoid: Smoothing everything flat with heavy product, which removes texture and makes the frontal strands look glued rather than soft.
3. Messy Low-Bun French Twist
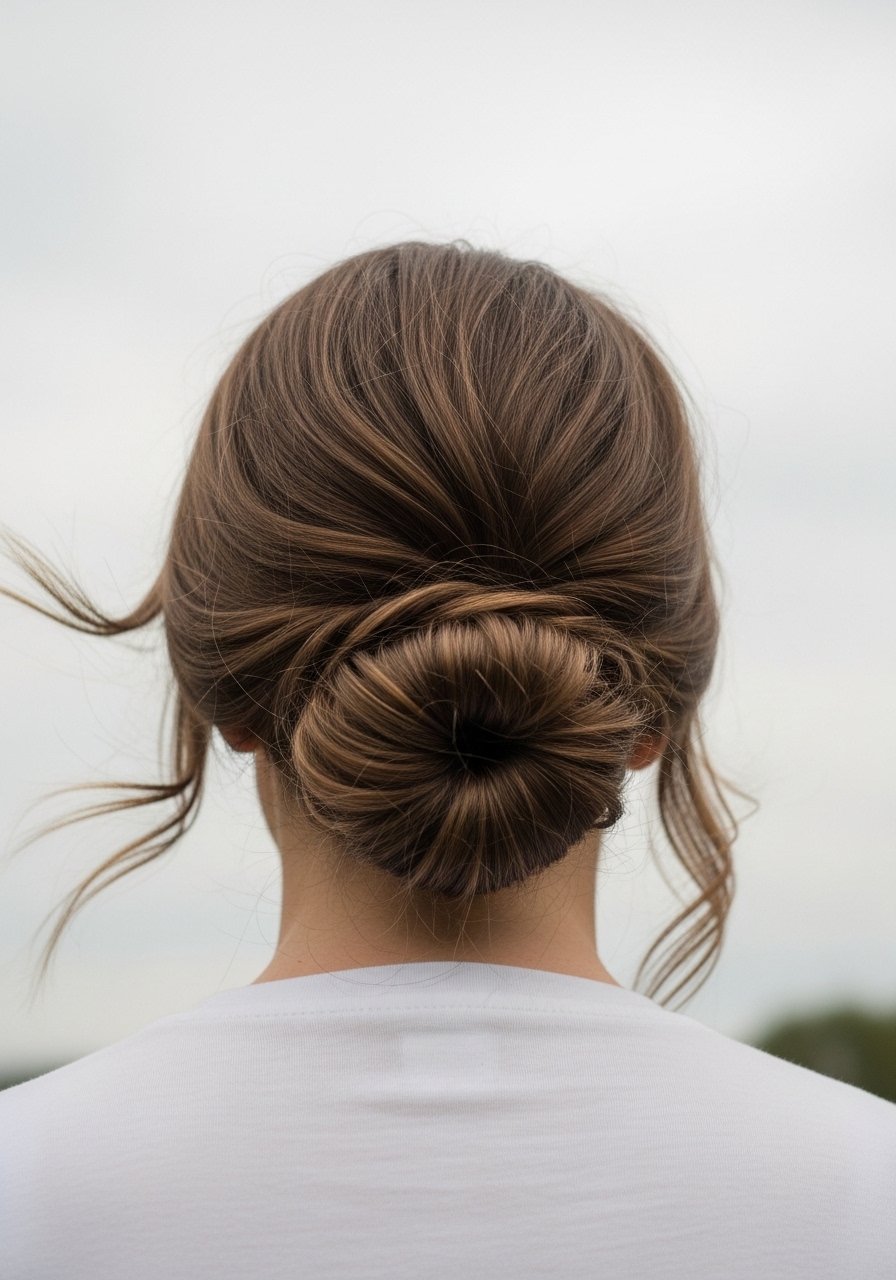
Tease the crown lightly with a 1:2 backcomb-to-smooth ratio to create volume without frizz. Roll the twist down and tuck the tail into a small bun at the nape, then secure with two long U-pins threaded through the bun horizontally. Add a spray with flexible hold to preserve shape. Great for medium-length hair and anyone who wants the twist to feel more lived-in.
Mistake to Avoid: Over-teasing the entire length, which makes the twist bulky and impossible to smooth into a clean roll.
4. Vintage Volume French Twist
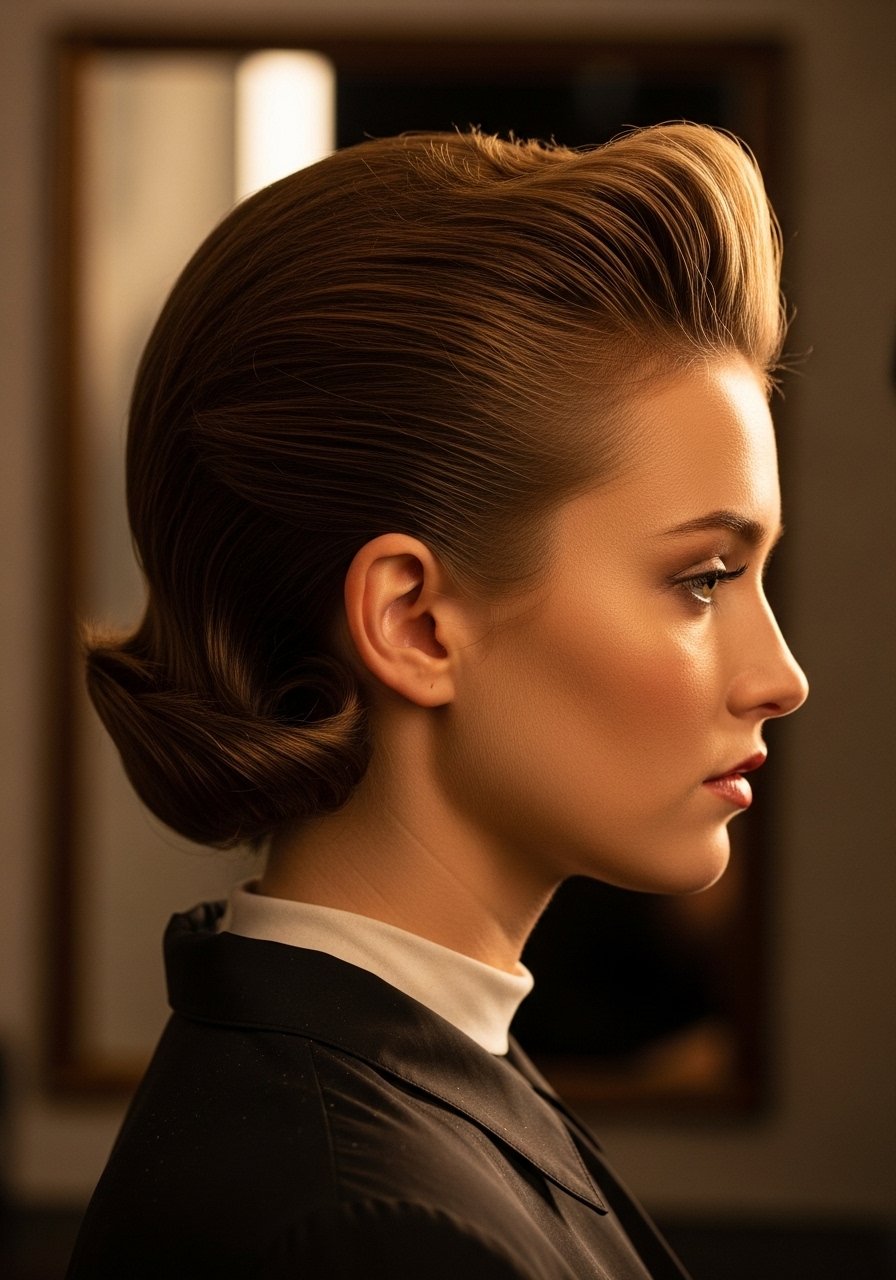
Create a 2-inch deep bump at the crown with a foam pad or two fingers. Smooth over the bump and roll hair up so the roll sits above the nape for that vintage silhouette. Use four to five long pins, angled down toward the nape, and finish with a medium-plus shine product lightly applied to the outer layer. Works best for straight to wavy hair and anyone wanting a statement shape.
Mistake to Avoid: Hiding the support piece inside the roll. If the bump is not anchored, the volume collapses by afternoon.
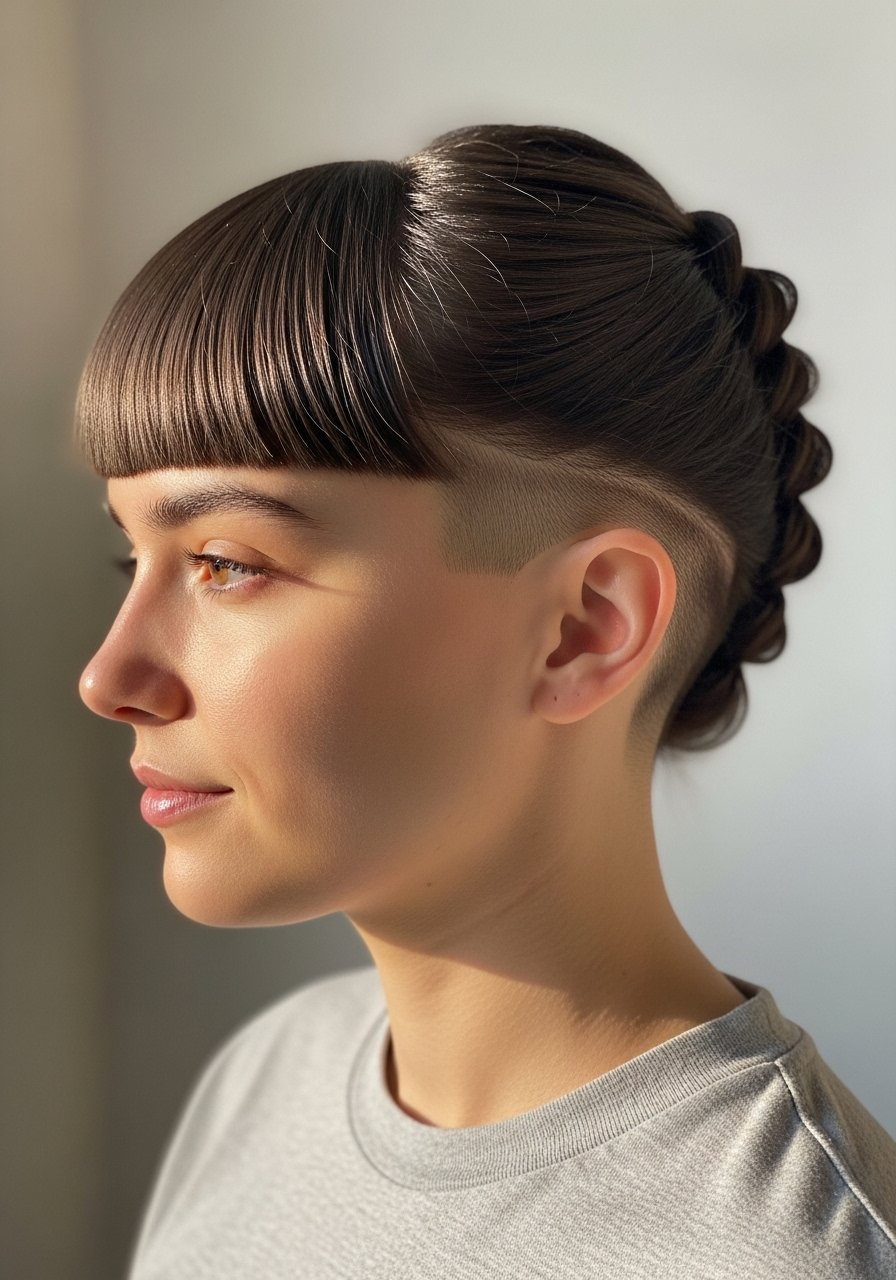
5. Short-Hair Faux Twist
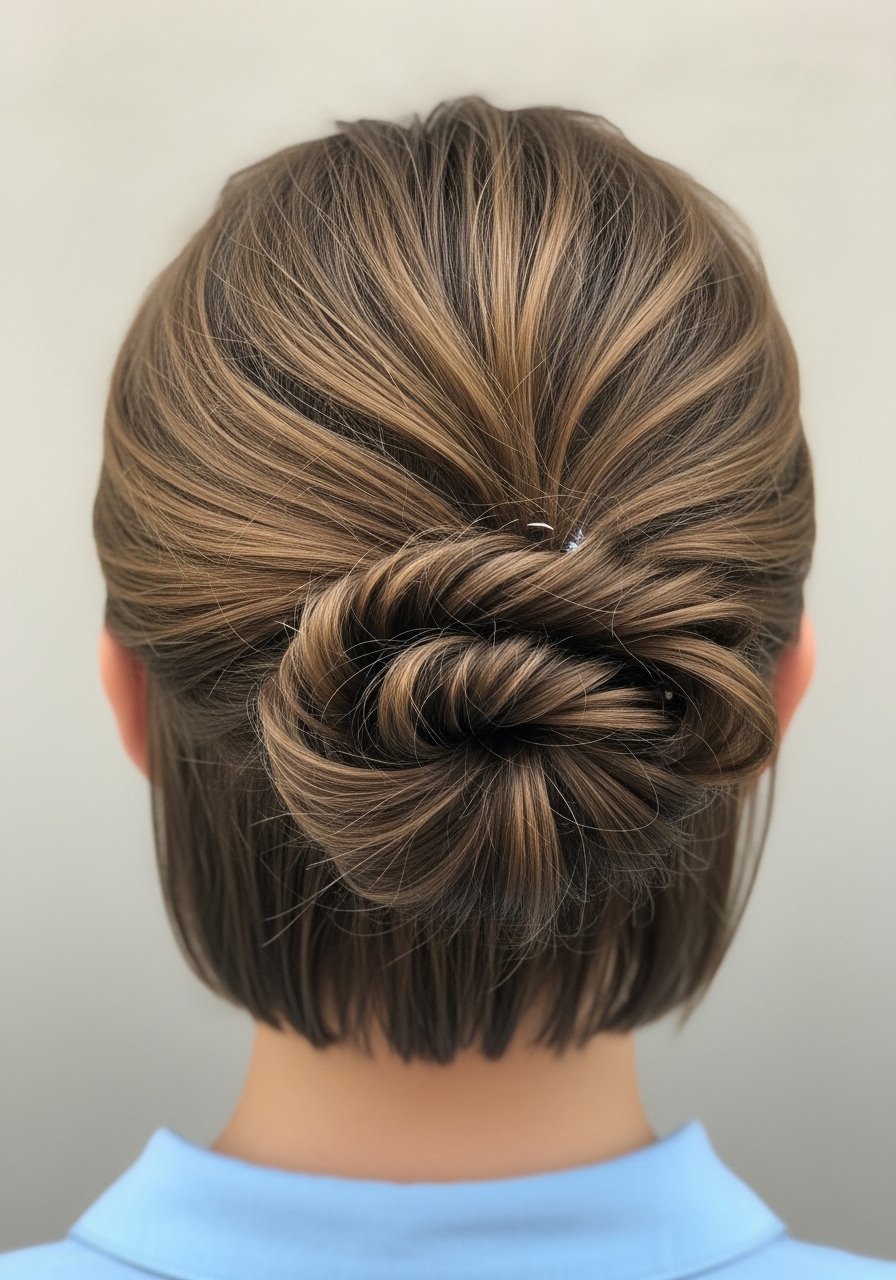
For shoulder-grazing hair, create two small vertical rolls at each side and cross them into a central tuck. Use 10 to 12 small bendable pins rather than standard bobby pins and anchor them close to the scalp. Dry texture spray gives grip without stiffness. This method suits cropped lengths and adds the illusion of a full French twist.
Mistake to Avoid: Trying a single large roll on short hair, which ends in loose tails and visible gaps. Work in multiple small tucks.
6. Braided Base Twist
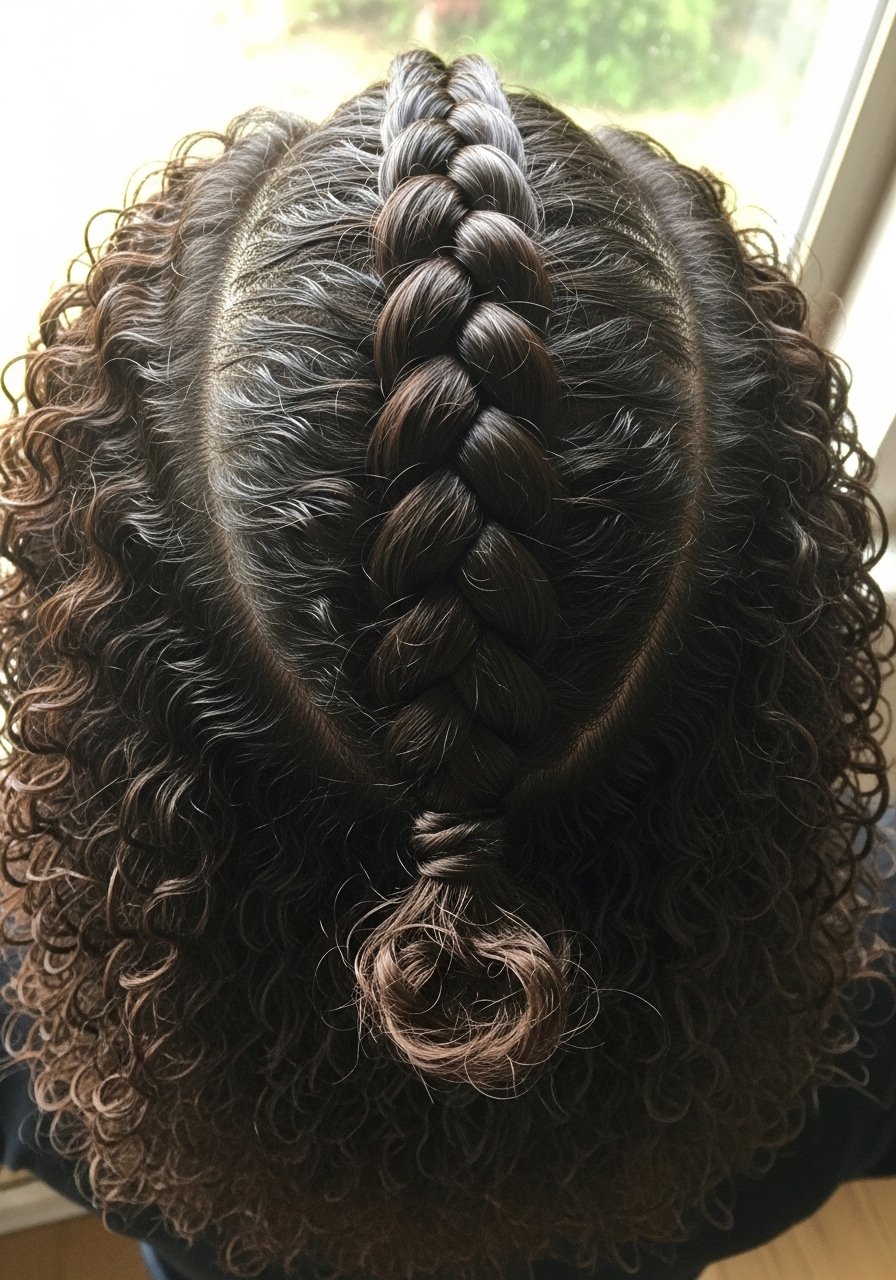
Start with a small three-strand braid centered at the occiput about one inch wide. Twist the remaining hair over the braid and tuck the tail under, using the braid as an anchor. Two pins on either side of the braid keep everything stable. This is perfect for thick or heavy hair because the braid reduces slip and redistributes weight.
Mistake to Avoid: Leaving the braid too loose. A floppy braid lets the twist sag; keep it snug but not tight.
7. Textured Beach Twist

Apply sea salt spray to damp hair at a 3:1 spray-to-rub ratio for light texture. Let air-dry until about 70 percent dry, then twist and tuck. The light grit helps pins hold without many of them. One medium-hold salt spray is enough for this look, no heavy hairspray needed. Ideal for wavy to curly textures and casual outdoor events.
Mistake to Avoid: Using too much spray, which can make hair crunchy and prevent smooth tucking.
8. Twist With Ribbon Detail
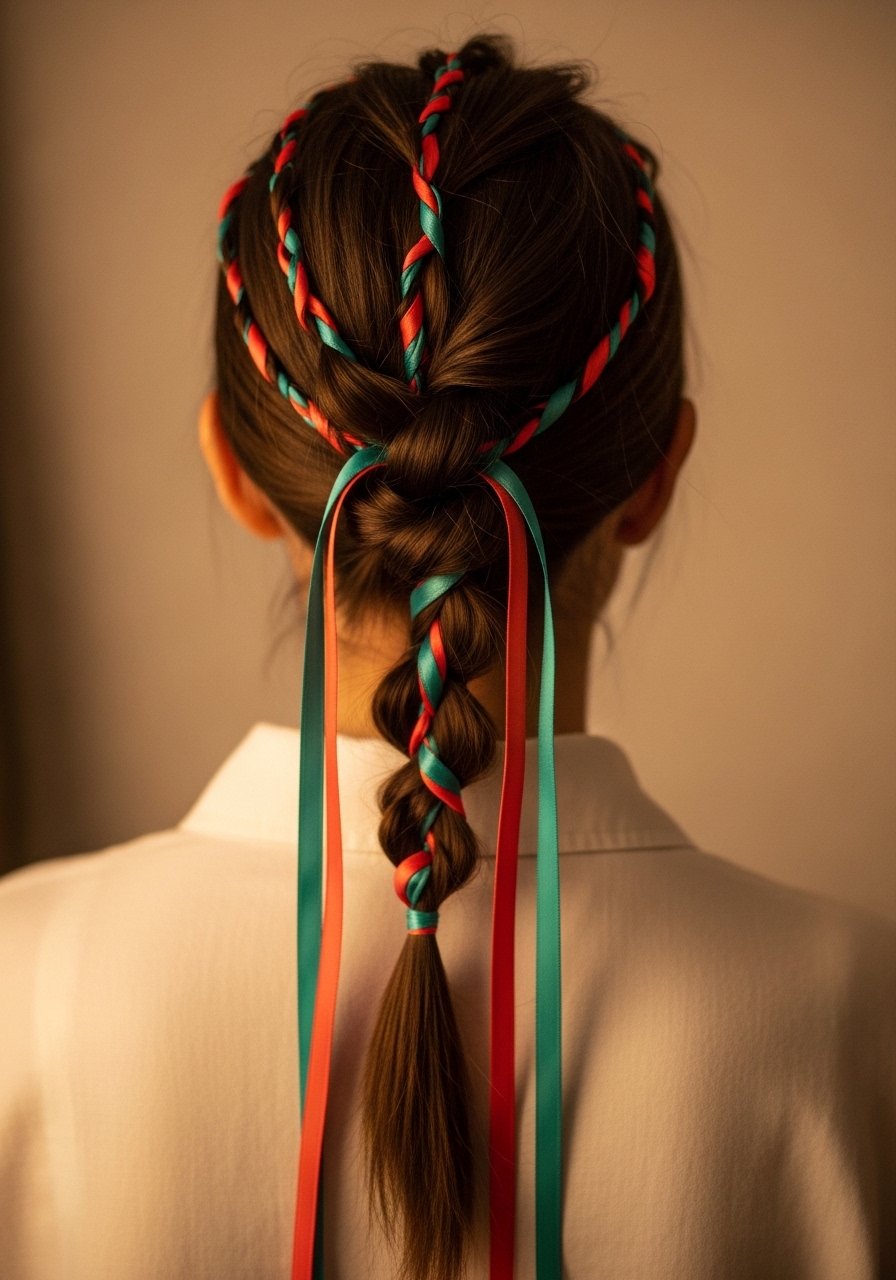
Weave a 1/2-inch silk ribbon into the twist before tucking the tail. Anchor the ribbon by looping it under the first pin so it does not slip. Silk minimizes friction and looks polished next to a soft matte twist. This upgrade works for medium to long hair and adds quick polish for special occasions.
Mistake to Avoid: Tying the ribbon too tight, which pulls on roots and distorts the roll. Keep it loose enough to show as a detail.
9. Twist for Thick Hair Hold

Divide heavy hair horizontally and work the bottom half first, pinning a small inverted roll to create a platform. Then roll the top half down over that platform and secure with five to six heavy-duty pins placed like nails into wood for bite. Use a firm-hold spray focused at the nape. This staged approach reduces slippage for denser textures.
Mistake to Avoid: Trying to roll all the hair in one go, which causes the twist to unravel under its own weight.
10. Twist for Fine Hair Volume
Create volume by inserting a small foam bump, about 2 inches wide, beneath the crown. Backcomb the hair that overlays the bump in 3 small 1-inch sections to make it sit naturally. Use long pins to secure the roll around the foam, and blend with a lightweight volumizing powder at the roots to avoid flattening. Works well for fine, lifeless hair.
Mistake to Avoid: Using heavy serums at the root, which collapse the lift and make the foam obvious.
11. Heat-Free Twist Set
On day-old hair, spritz a leave-in detangler and smooth hair back into a roll while damp. Pin and sleep on it using a silk scarf for minimal friction. In the morning, release and tidy with a few pins. This method saves heat and suits wavy to slightly curly hair. For straight hair, add a texturizing mist at night for hold.
Mistake to Avoid: Starting with soaking wet hair. It can form unwanted kinks overnight and take longer to set.
12. Twist With Hidden Hairpins
Use U-shaped pins and insert them with the curve facing upward so the prongs grip without showing. Hide them under the first outer layer of hair and press gently to smooth the cover. Two hidden pins plus one visible pin in decorative metal equal extra security and style. Ideal when you want a clean exterior without sacrificing hold.
Mistake to Avoid: Showing too many pins on the outer layer, which reads as unfinished and draws attention away from the twist.
13. Twisted Chignon Finish

Roll hair upward and leave a small loop of tail out before tucking the rest into a chignon. Pass a single decorative pin through the loop for a refined closure. This hybrid suits medium to long hair and formal settings where a classic bun feels expected but you want the twist detail.
Mistake to Avoid: Tucking the last loop too tight, which removes the intended softness and makes the chignon look like a knot.
14. French Twist With Bangs
Pin the twist slightly lower on the head so the bangs balance the face. Use a tiny bit of styling paste to keep bangs in place without flattening. This is friendly for short to medium bangs, and for side-swept bangs leave a 1-inch section loose to sweep across the forehead. It keeps the look modern and framed.
Mistake to Avoid: Pulling bangs into the twist, which shortens them and changes the face framing unexpectedly.
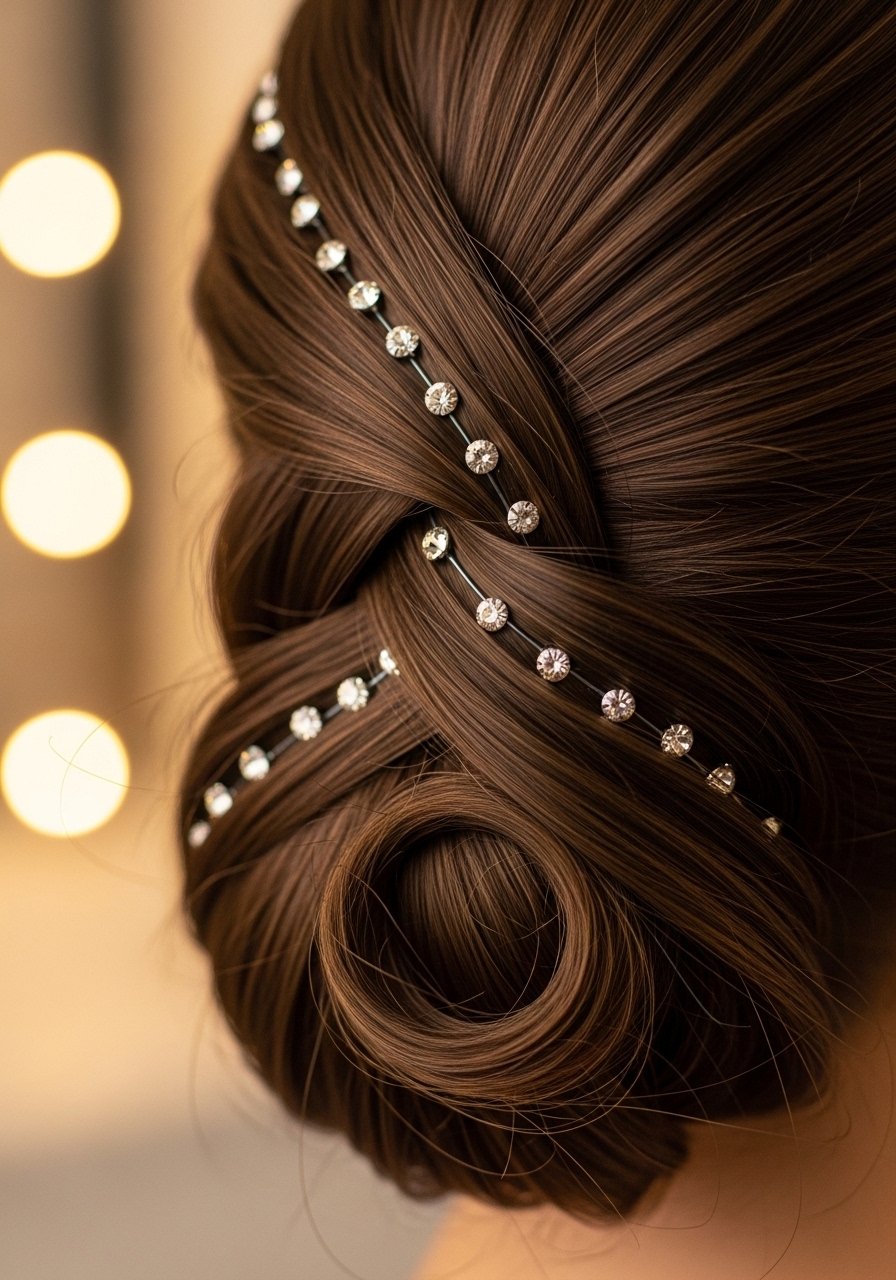
15. Accessorized Pearl Twist
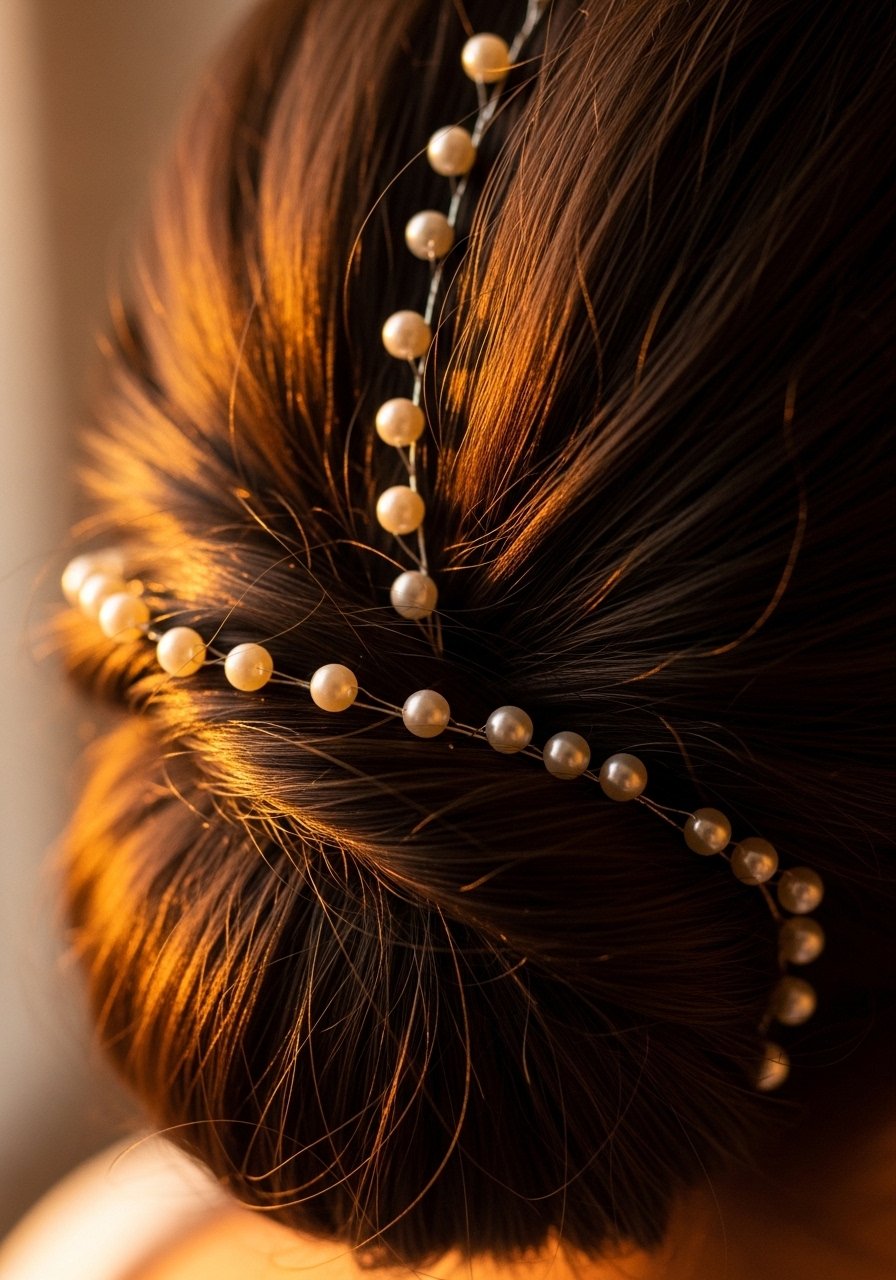
Add pearl pins in a diagonal line as you secure the roll. Place them every 1.5 to 2 inches for rhythm and balance. Use three to five pearls depending on length. This simple embellishment immediately upgrades the twist for events without heavy styling. Works on most textures as long as the base is secure.
Mistake to Avoid: Overdoing accessories. Too many pins makes the look busy and can weigh down the twist.
16. Twisted Half-Up French Twist
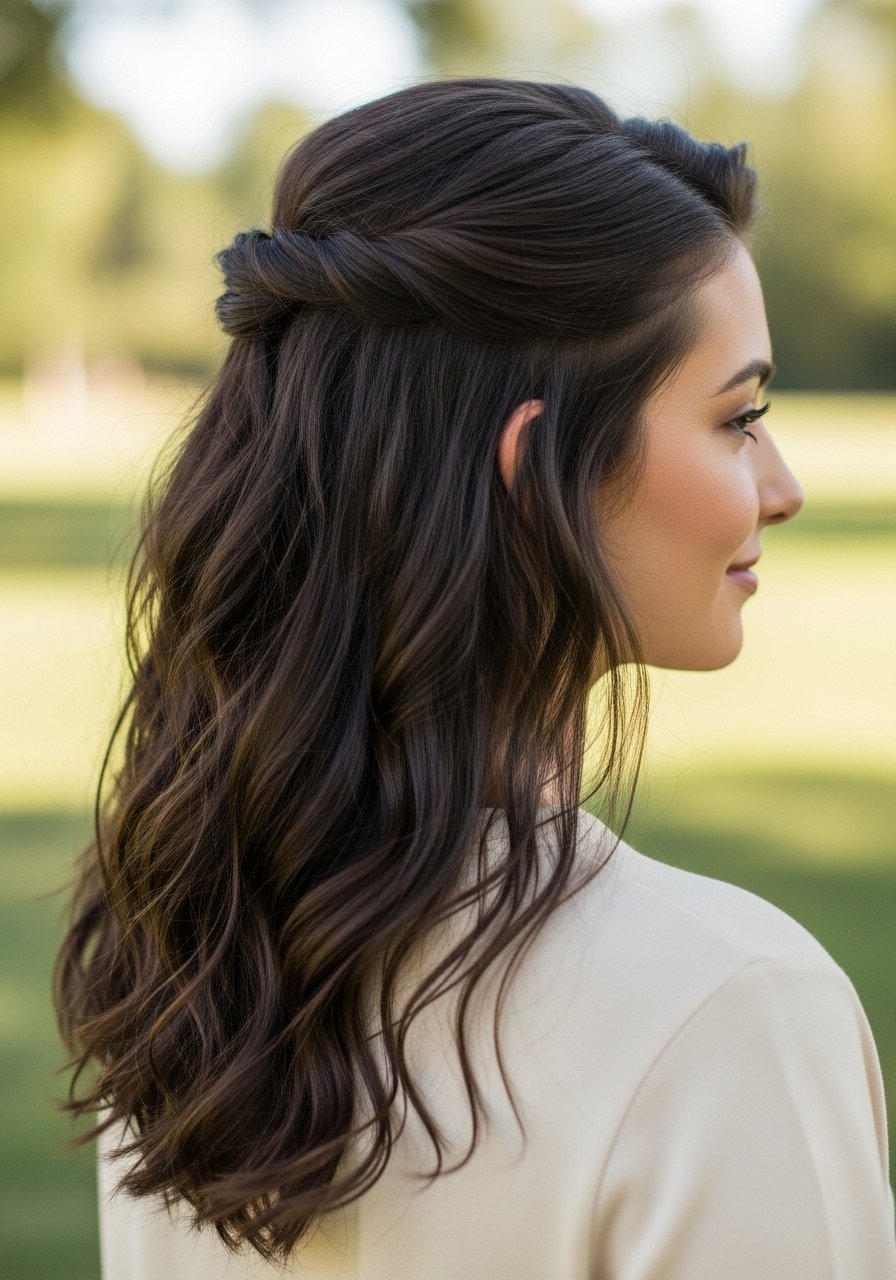
Gather the top half into a small twist and tuck the tail into itself at the crown, leaving the rest of the hair loose. Use two pins and a little volumizing powder to keep the crown lifted. This is fast, youthful, and perfect for medium-length hair that wants a nod to the classic without full commitment.
Mistake to Avoid: Taking too large a top section, which makes the half-up look top-heavy and unbalanced.
17. Quick 5-Minute French Twist

Work with unwashed day-two hair and a strong grip spray. Gather hair as if making a ponytail, roll, tuck, and secure with three pins in an X. The trick is starting with hair that already has some oil or product for grip. This method is ideal for rushed mornings and quick commutes.
Mistake to Avoid: Trying this on freshly washed, slippery hair without prep product, which makes the twist unravel quickly.
18. Long-Hair Double Twist
For very long hair, create two smaller twists stacked vertically, pinning the top into the bottom to distribute weight. Use five to seven pins total and a medium-hold spray concentrated between the two rolls. This keeps the silhouette slim and tidy, unlike one bulky roll that sags by evening.
Mistake to Avoid: Rolling everything into a single large twist, which increases torque and causes discomfort at the scalp.
19. Holiday Sparkle Twist
Thread thin crystal pins along the outer curve, inserting them in at shallow angles so they reflect light without catching on clothing. A small dab of hair wax at the seam helps each pin stay still. This is a seasonal option for medium to long hair when you want a celebratory detail.
Mistake to Avoid: Using the heavy crystal clips that tug at hair. Pick lightweight pins to avoid breakage.
20. Windproof Commute Twist

Lock the base with extra pins and spray the underside with a weatherproof spray in a 4-6 inch targeted burst. Tuck the tail a bit higher so the collar presses on the lower part, preventing wind leverage. This is ideal for long walks or bike rides and for hair textures that tend to be blown apart.
Mistake to Avoid: Spraying from too close and making the hair crunchy, which creates visible clumping when the wind hits.
21. Bridal Long-Wear Twist
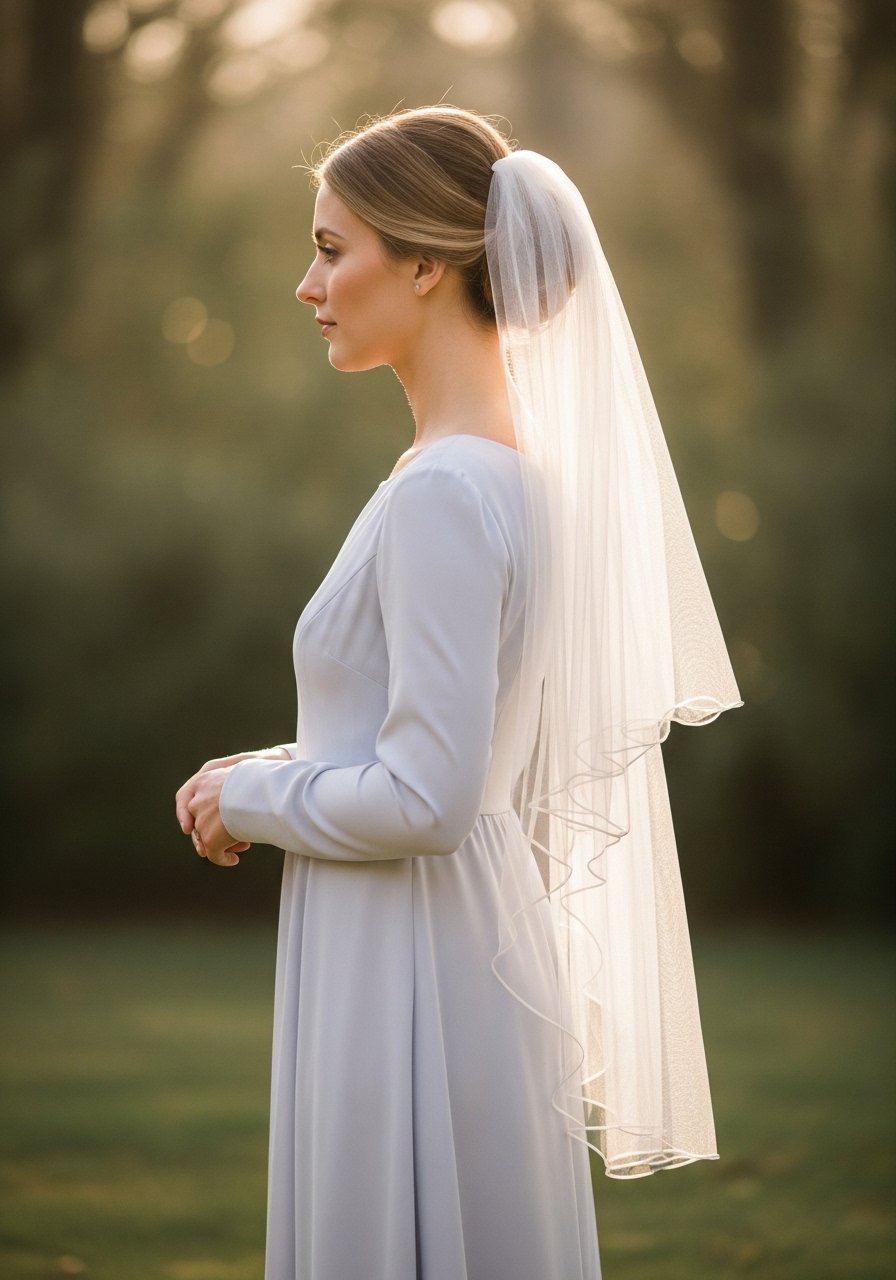
For all-day events, use three layers of security: a small internal braid as an anchor, long U-pins inserted like rafters, and a light waterproof mist on top. Test the placement by shaking your head for five seconds; if it moves, add one more pin. This method helps the style survive photos, dancing, and hugs.
Mistake to Avoid: Relying on decorative pins alone. They are pretty but rarely provide structural hold for long hours.
22. Color-Boosted Twist
If you have highlights or balayage, twist so the colored pieces cascade along the outer seam for contrast. Place lighter pieces to catch the eye at the top of the roll and darker tones at the base for depth. This shows off dimensional color and makes the style read richer in photos.
Mistake to Avoid: Hiding the highlights inside the twist, which wastes the color investment instead of showcasing it.
23. Tousled Second-Day Twist
Use dry shampoo at the roots and a few spritzes of texture spray through the mid-lengths. The grit from the dry shampoo gives instant traction for pins and keeps the twist from sliding on day two hair. This look is forgiving, fast, and perfect when you want to hide a lazy wash day.
Mistake to Avoid: Applying too much dry shampoo at the crown, which can make the base look powdery and white in photos.
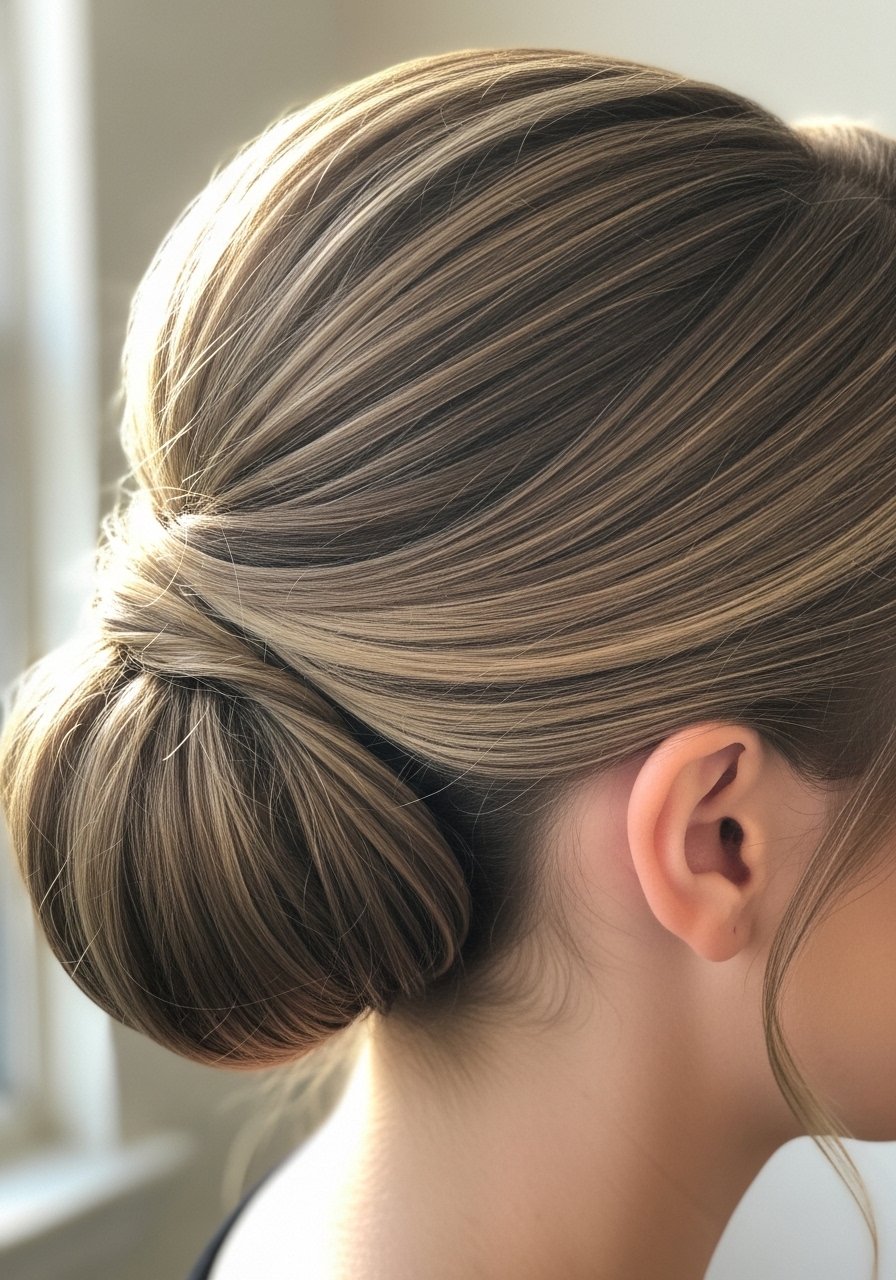
24. Salon-Ready Polished Twist

Start with a glossy primer and a flat brush to smooth hair. Use three long pins inserted in a fan shape for near-invisible security. Finish with a fine mist that has shine and medium hold to prevent frizz without stiffness. This is the go-to when you want the twist to read editorial or when you expect close-up photos.
Mistake to Avoid: Over-brushing after pinning. Brushing can dislodge pins and ruin the polished surface.
Your Hair Styling Kit
- Honestly the best set of pins I have kept in rotation. Long U-shape hairpins, pack of 20 ($6-12). Use for thick hair and bridal builds.
- For quick grip on day-two hair, texturizing dry shampoo (~$8-15). One spray at the roots goes a long way.
- For smoothing the polished looks, lightweight smoothing cream (~$10-18). A pea-sized amount works.
- For secure pin holding, medium-hold hairspray (~$7-14). Mist from 10 inches away.
- Silk accessories last longer. Silk hair ribbons, set of 2 (~$12-20) are better than cotton.
- For creating crown lift, small foam bump insert (~$4-9). Choose black for dark hair.
- For shine without weight, light finishing oil, travel size (~$6-14). Rub into ends only.
- For durable styling on thick hair, extra-strong grip spray (~$10-18). Target the nape and seam.
- For heat-free nights, silk scarf, 22×22 inches (~$12-25) protects styles while sleeping.
- For fine-haired volume, volumizing powder (~$8-15). Use sparingly.
- Decorative but light options, pearl-topped pins, set of 8 (~$10-20). Place every 1.5 inches.
- For wide-tooth detangling before styling, wide-tooth comb (~$5-10). Works on wet or dry hair.
Hair Styling Tips Worth Knowing
Thin coats beat one thick coat every time. Three short bursts of medium-hold hairspray at the nape look smoother and flake less than one heavy application.
Grab long U-pins, pack of 20 for $8. Use them horizontally when anchoring heavy twists to stop twisting torque.
Use a small pea of lightweight smoothing cream in the palms to tame flyaways without losing volume.
Observation first: If your twist falls by midday, check pin angle. Insert pins at opposing angles and cross one over the other. This mixed pack of pins has both sizes for experimenting.
Contrast-first: Many buy more pins. One carefully placed set of three high-grip pins is better. Keep a compact pin case in your bag and replace bent pins as needed.
Use silk ribbon to protect fragile ends when tucking bulky tails overnight. It reduces friction and helps the twist hold its shape.
