
I kept building big beads and thinking the next layer would hide the mess. By the time I rinsed my hands, the sidewalls had lifted and I blamed the monomer. A tech who works at a salon downtown finally showed me the simple math of bead size and placement, and that one small change stopped most of my lifting problems overnight.
None of these tricks need a salon chair or a full kit upgrade. Most items are under $25, with a few professional brushes and a quality monomer around $30 to $45. If you want medium-length acrylics that survive day-to-day life, these tips focus on short to medium nails, beginner-friendly forms, and one safety routine I use after six weeks of testing this routine.
1. Start With Clean, Dry Nails
Style/Vibe: Clean prep
Best For: Short to medium nails / regular wear
Skill: Beginner
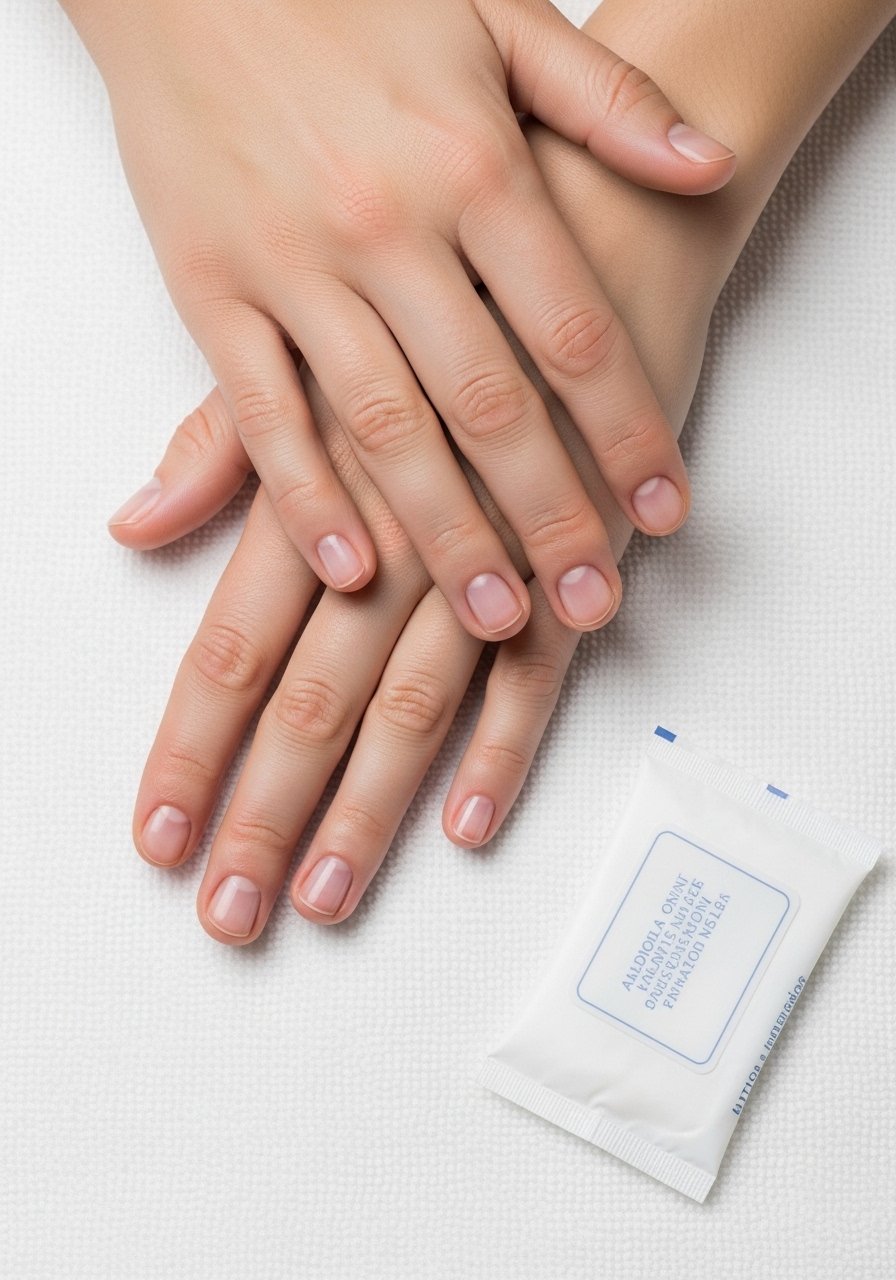
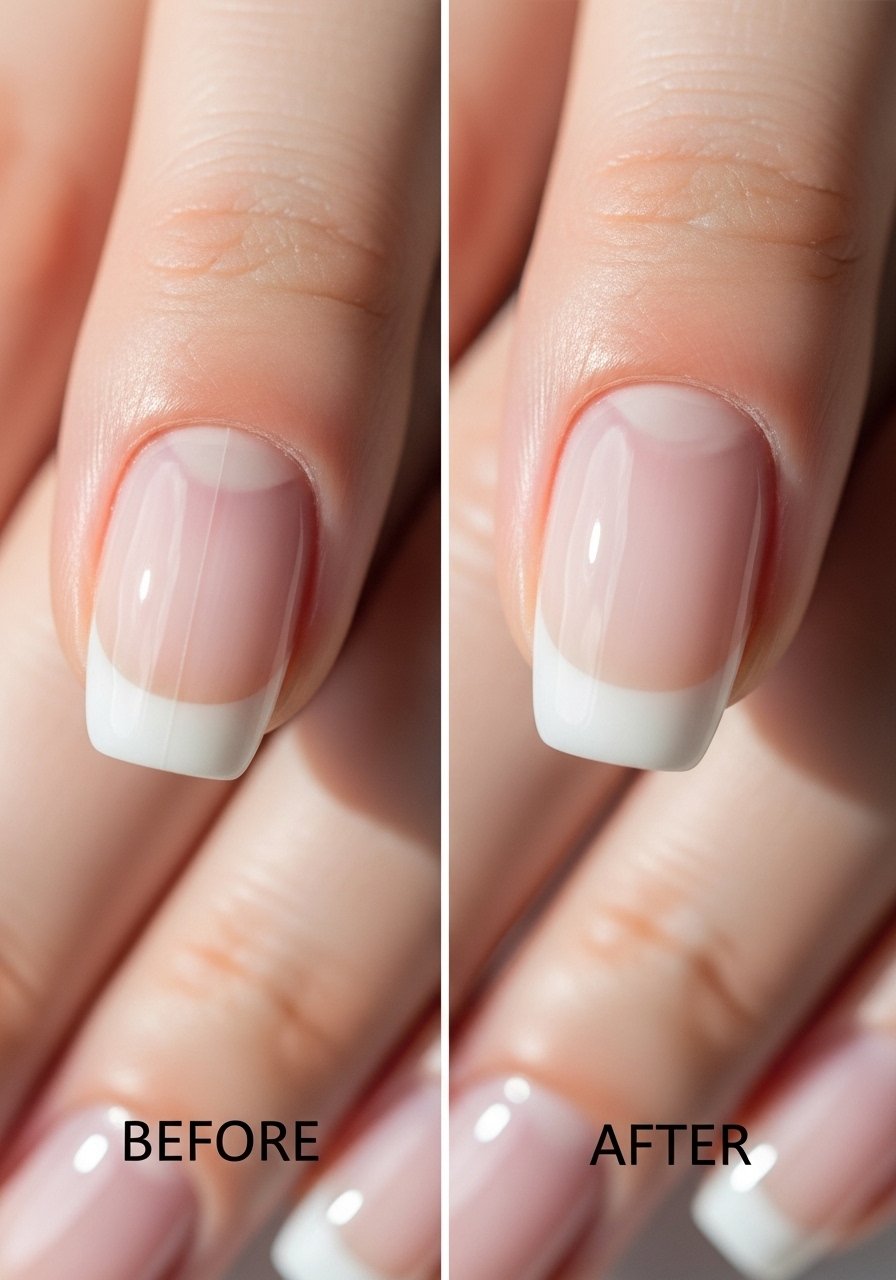
Acrylic sticks to clean nail better than any primer. I file the free edge to remove shine, wipe each nail with 99 percent isopropyl, then let air-dry for 30 seconds before primer. Doing this takes two minutes per hand and reduces early lifting. Pair with a dehydrator rather than skipping it for oily nail beds. I use a thin brush for product, not the natural nail, to keep the monomer from pooling at the cuticle.
Mistake to Avoid: Applying primer to oily nails without dehydrating first, which traps moisture and causes lifting.
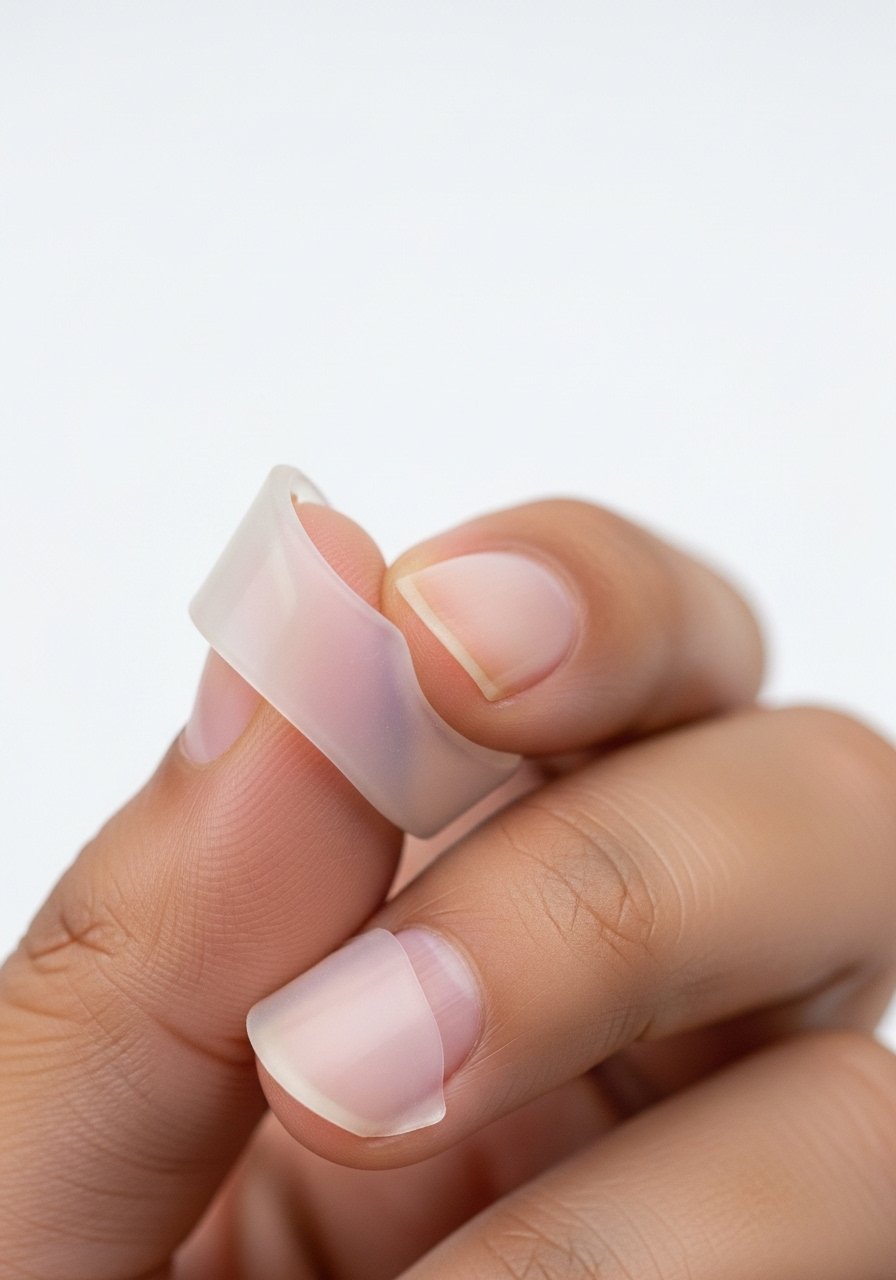
2. Use Forms For Short Nails, Not Tips

Style/Vibe: Natural extension
Best For: Very short nails / work-safe length
Skill: Intermediate
Instead of gluing plastic tips, I learned forms let you sculpt length that matches your nail plate. The form sits under the free edge, you place a 2 to 3 millimeter bead, and feather it forward. That 2 to 3 millimeter bead guideline is a simple depth signal nail techs teach. Forms need gentle curving so the acrylic wraps the natural nail. This gives a cleaner apex and less pop off than glued tips.
Mistake to Avoid: Slapping the form on crooked and hoping filing will fix it, which creates a weak underside and lifting.
3. Master The First Bead Ratio

Style/Vibe: Controlled application
Best For: Building apex / beginner to intermediate
Skill: Beginner
The first bead sets the foundation. Dip brush in monomer, tap once on glass and pick up powder twice. That two-tap powder pickup consistently yields a medium-viscosity bead that flows but does not flatten. Place it one third back from the cuticle toward the free edge for apex strength. Work time with common monomers is three to five minutes at room temperature, so focus on one or two nails at a time.
Mistake to Avoid: Overloading the brush with monomer and powder at once, creating a runny blob that pools at the cuticle.
4. Place The Apex Where Strength Matters

Style/Vibe: Structural arch
Best For: Medium length / everyday wear
Skill: Intermediate
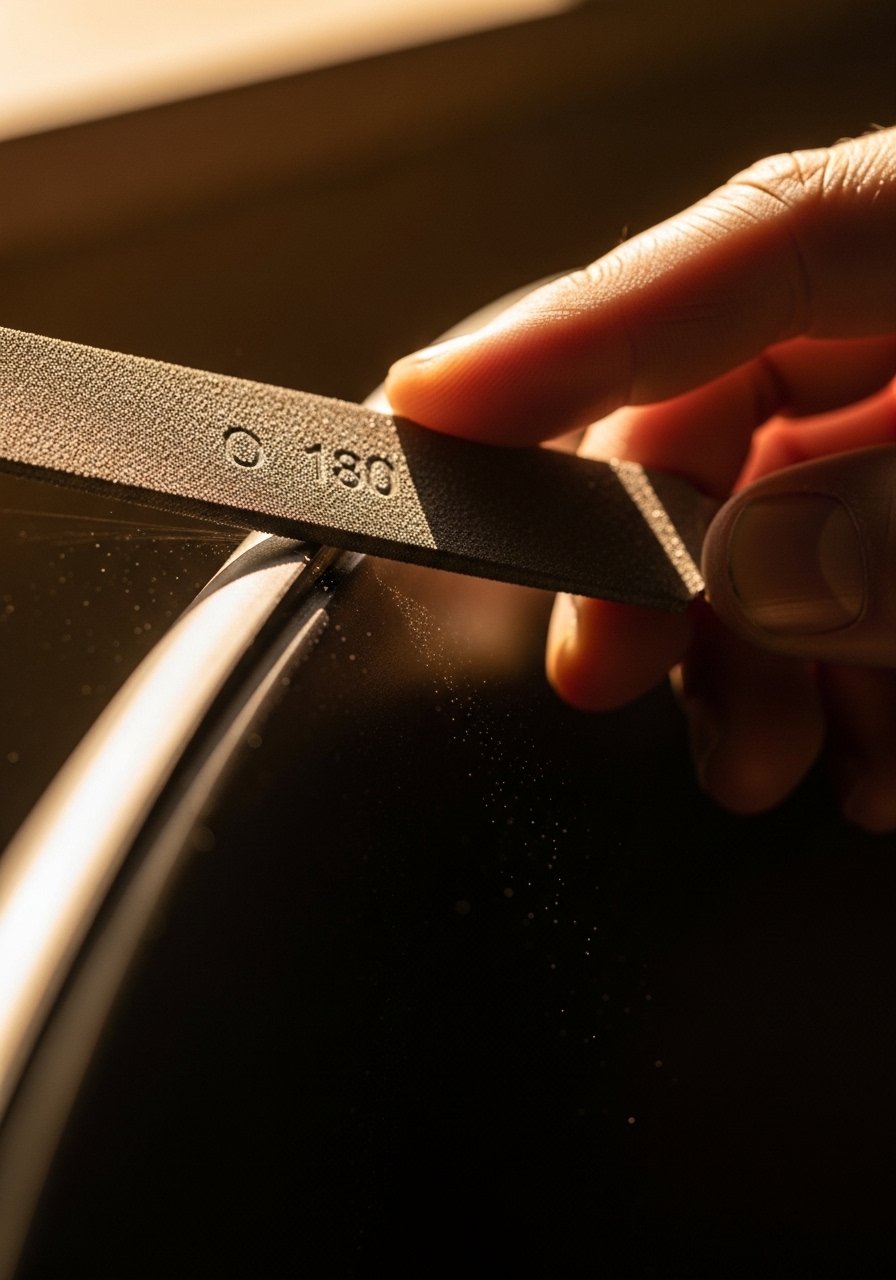
An apex gives the nail both shape and resistance. Place the highest point about one third from the cuticle for daily wear, not dead-center. That distribution helps the free edge resist bending. I file 180 grit to shape the apex, then 240 to refine. For a photo-ready finish check in natural light; studio flash hides tiny ridges that brushing out misses.
Mistake to Avoid: Building a flat top or putting the apex too close to the tip, which creates a weak point that snaps.
5. Keep Beads Small For Thin, Realistic Looks

Style/Vibe: Natural thin profile
Best For: Short nails / subtle length
Skill: Intermediate
If you want acrylic that reads like a natural nail, keep beads under 3 millimeters and use three or four thin layers rather than one thick one. Thin layers cure faster and file smoother. For a smooth blend with the natural nail, use a loose clear powder with a light touch. Thin builds also reduce heat spikes during curing, something many new at-home techs miss until the client complains.
Mistake to Avoid: Laying a single thick bead to save time, which leads to bumps and longer filing.
6. File With Grain Knowledge, Not Force
Style/Vibe: Precision shaping
Best For: All lengths / corrective work
Skill: Beginner
Files are where a manicure looks pro or homemade. Use a 180 grit for removing bulk, 240 for smoothing, and 400 to 600 for final buff before polish. File in one direction on acrylic to avoid chipping the edge. If you feel heat while filing, stop and let the acrylic rest for a minute. Slow, patient strokes save polish later.
Mistake to Avoid: Rasping aggressively with 180 grit to finish, which leaves ridges you can see in photos.
7. Use A Quality Acrylic Brush And Clean It

Style/Vibe: Tool-forward
Best For: Beginners upgrading kit
Skill: Beginner
A synthetic sable or kolinsky-style brush holds the right amount of liquid. Rinse the brush in cleaner between beads and reshape the tip on a paper towel. A worn brush gives ragged beads and ruins blending. I replaced my first brush after two months and the bead control improved immediately. For product I like a mid-priced pro brush for about $20.
Mistake to Avoid: Storing a wet brush upright, which deforms the tip and makes beads unpredictable.
8. Choose The Right Monomer For Your Room

Style/Vibe: Safety-conscious
Best For: Home setup / small space
Skill: Beginner
Not all monomers behave the same. In a warm room a faster-acting monomer firms up in three minutes, while in a cold space it takes longer. Pick a formulation advertised as low-odor if your area has limited ventilation. Always use a small fan or open a window when you work. Store monomer in a dark, cool place and note that a small top-up can change bead consistency across a session.
Mistake to Avoid: Using a salon monomer in a tiny, unventilated bathroom without proper air flow, which increases fumes and mess.
9. Cap The Free Edge To Prevent Lifting

Style/Vibe: Long-wearing finish
Best For: Medium to long nails / active hands
Skill: Intermediate
Capping means wrapping acrylic around the free edge so it seals underneath. Use a narrow bead and run the brush tip under the edge, then smooth the top. That sealed underside prevents water from lifting the enhancement. It adds maybe two minutes per nail but saves redo time. Pair with a thin top coat for extra chip resistance.
Mistake to Avoid: Leaving the underside unsealed, which invites lifting from moisture and knocks.
10. Blend Tips Seamlessly With Short Filing
Style/Vibe: Invisible join
Best For: Tip applications / medium length
Skill: Intermediate
When applying tips, glue them snug and file the well at a 45 degree angle before applying acrylic. Keep the liquid-to-powder beads small over the seam and feather toward the cuticle. A 1 to 2 millimeter feathering zone is usually enough. The goal is to avoid a visible ridge that photos highlight. Check your work in natural light to catch any line before polishing.
Mistake to Avoid: Grinding aggressively across the seam after applying acrylic, creating a thin weak spot.
11. Encapsulate Glitter Correctly

Style/Vibe: Durable sparkle
Best For: Party looks / medium nails
Skill: Intermediate
Glitter loves to migrate. Apply a thin clear bead, drop the glitter into the tacky bead rather than over fresh acrylic, then seal with another thin clear layer. For chunky glitter use two sealing beads to avoid roughness. File with 240 grit to smooth, then finish with 400 grit before top coat. Glitter encapsulation looks best when the glitter sits layer by layer, not all at once.
Mistake to Avoid: Brushing loose glitter onto a cured surface and hoping it sticks under top coat, which flakes off quickly.
12. Use Forms For Almond Shapes, Not Tips

Style/Vibe: Elegant almond
Best For: Medium to long nails / style-forward
Skill: Advanced
Almond and tapered shapes need the form to shape the underside arc properly. Place the highest apex toward the center third and taper the sides while keeping the bead small. When you file, keep the silhouette curved rather than chisel-flat. For shorter nail plates modify the taper early so the sides do not over-narrow and cause breakage.
Mistake to Avoid: Turning down the sides too sharply when filing, which leaves a fragile point that chips easily.
13. Thin Coats Of Color Over Acrylic

Style/Vibe: Smooth color payoff
Best For: Everyday color / quick changes
Skill: Beginner
Acrylic accepts polish differently than natural nails. Apply two thin coats of color rather than one thick. Thin coats dry faster and reduce bubbling. When doing dark colors apply a light base or one thin white undercoat for opacity. For quicker wear use a gel-like top coat that does not require curing to get that high-shine finish.
Mistake to Avoid: Applying one heavy coat to rush the job, which leads to streaks and slow drying.
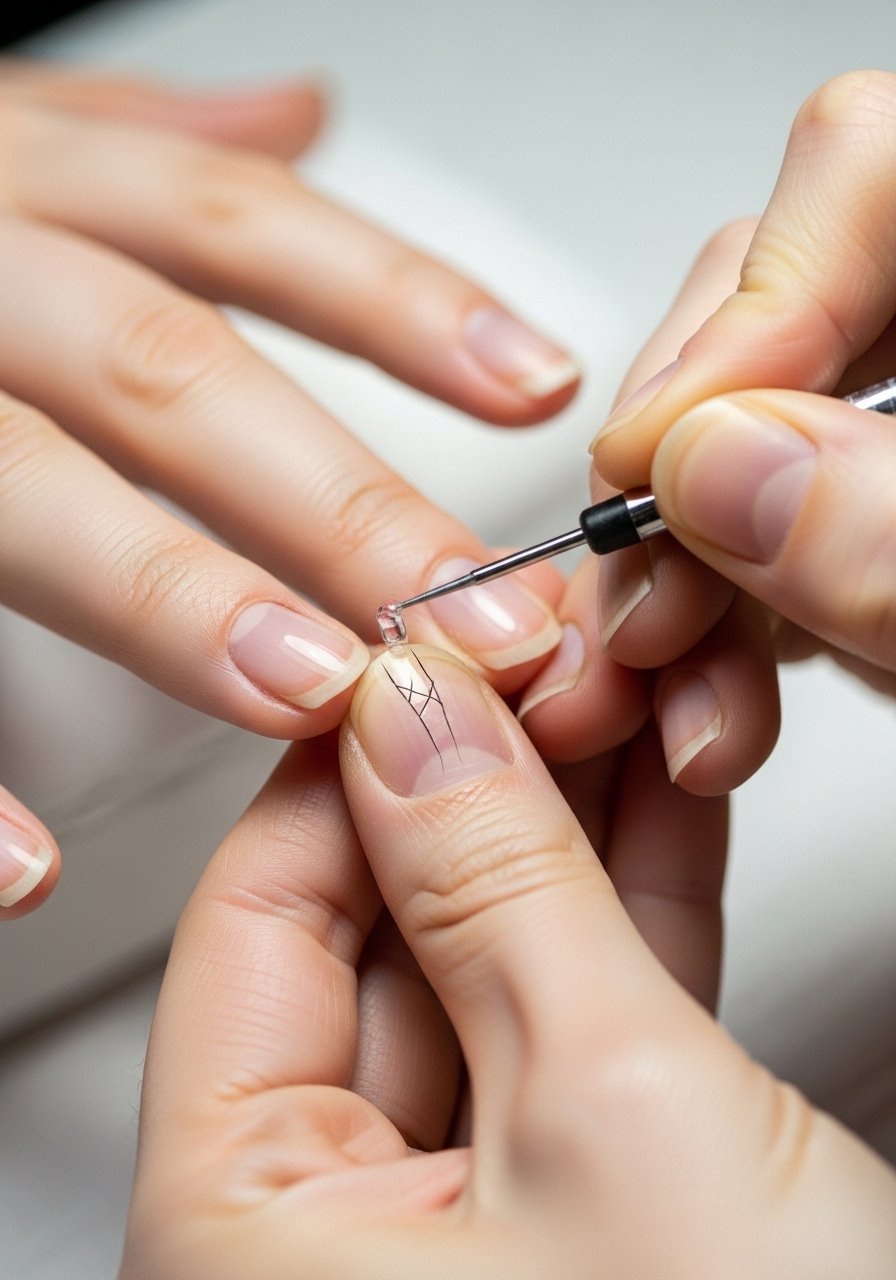
14. Protect Cuticles With A Barrier
Style/Vibe: Clean edges
Best For: New acrylic users / messy painters
Skill: Beginner
If you struggle with flood at the cuticle, use a small rubber or silicone barrier. Place it around the base, apply acrylic, then remove while it's still tacky to reveal a clean lunula line. It takes practice to remove without catching the edge, but it cuts down on filing and cleanup. This is especially helpful for shaky hands or beginners.
Mistake to Avoid: Relying on filing to remove flood instead of preventing it, which eats into the apex and weakens the nail.
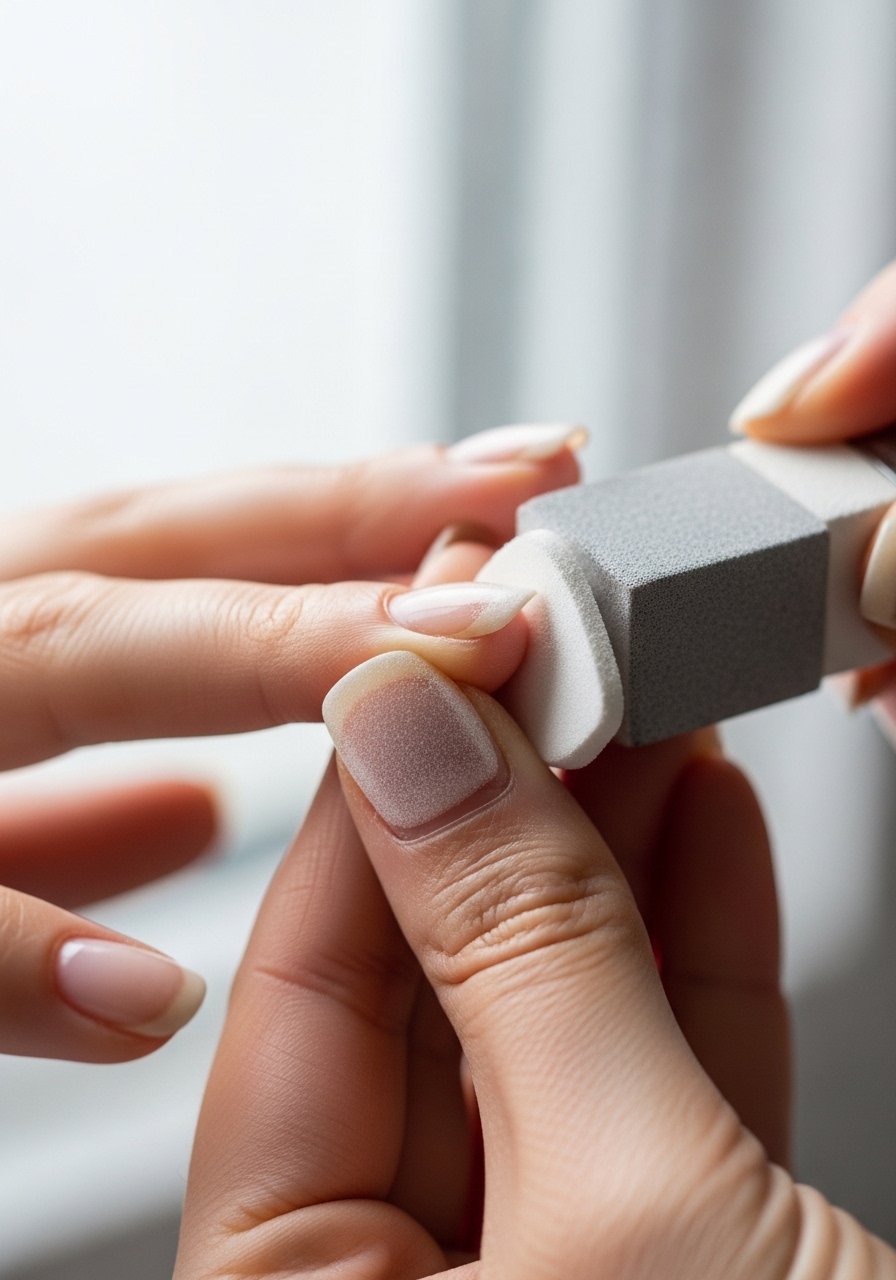
15. Seal With A High-Gloss Top Coat

Style/Vibe: Salon-finish shine
Best For: All styles / long wear
Skill: Beginner
A thin, even top coat protects acrylic from daily abrasion. Apply two thin layers, curing or air-drying between each if needed. A gel-like quick-dry top coat gives that fresh-lift look and reduces micro-scratches. If you do a matte finish, use a matte top coat but reserve it for short nails since matte shows scuffs faster.
Mistake to Avoid: Flooding the cuticle with top coat, which causes peeling at the base within days.
16. Drill Use At Home, Carefully
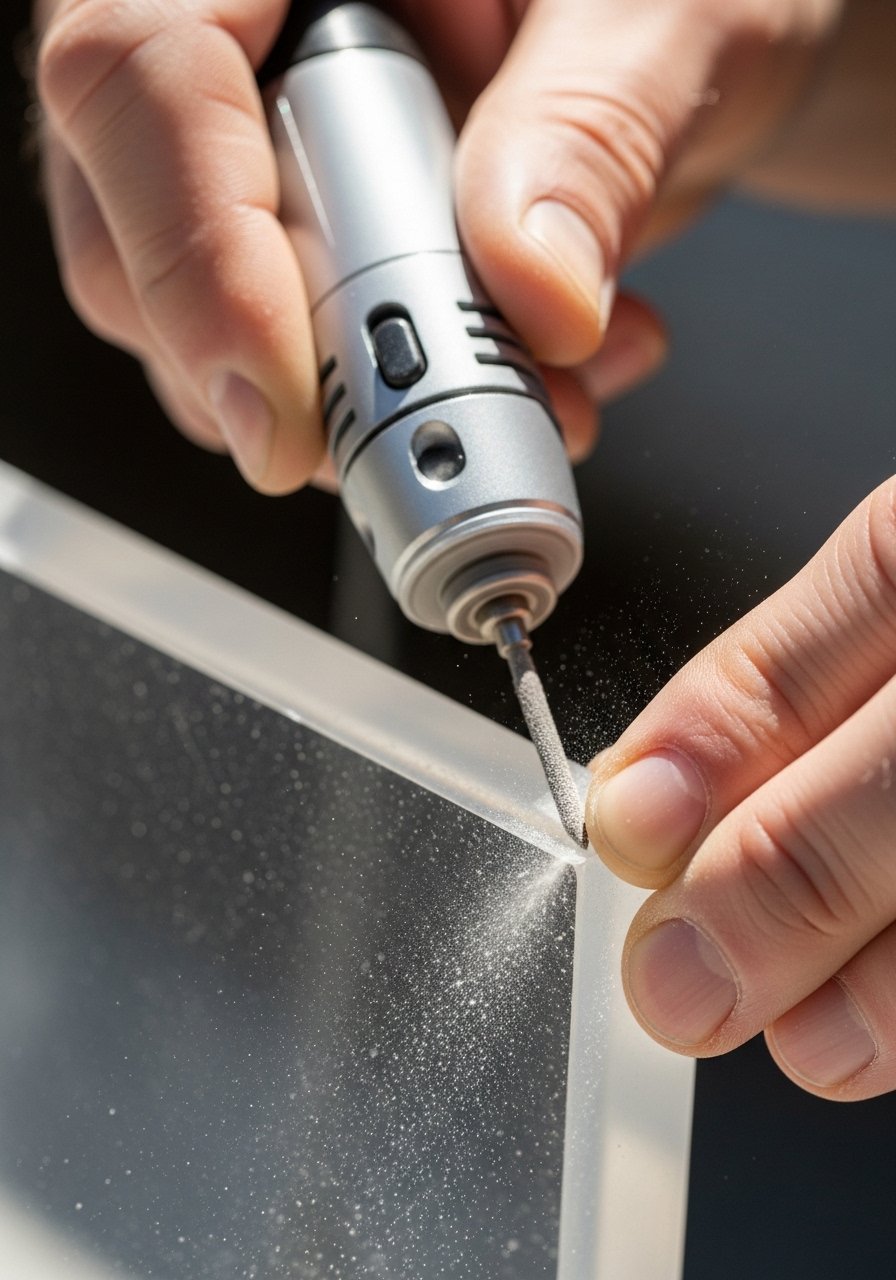
Style/Vibe: Efficient maintenance
Best For: Regular fillers / small corrections
Skill: Advanced
An e-file speeds removal but needs control. Use a low-speed setting and a fine carbide bit for surface work. Never grind thin to the point the natural nail is visible. Hold the file flat and let it cut without heavy pressure. If you are new, practice on practice tips first. Using an e-file reduces heat and stress from long manual filing sessions when done right.
Mistake to Avoid: Pressing hard with the e-file to rush removal, which creates heat and can lift enhancements.
17. Know Safe Acetone Soak Times

Style/Vibe: Safe removal
Best For: Home removal / careful hands
Skill: Intermediate
For removal, place foil-wrapped cotton soaked in acetone for about 10 to 12 minutes, then check. If the acrylic does not lift, wait another five minutes rather than forcing it. Over-soaking dries the natural nail. After removal, buff gently and apply oil. If you are unsure, a tech who works at a salon downtown showed me that patience prevents thinning the natural nail.
Mistake to Avoid: Pry or scrape acrylic off without adequate soak, which peels layers of your natural nail.
18. Repair A Crack Without Replacing The Set
Style/Vibe: Emergency fix
Best For: On-the-go repairs / single nail
Skill: Intermediate
If a crack appears, isolate the area, file a small bevel on either side to remove stress, and apply a thin reinforcing bead across the crack from underneath for strength. Add a second thin bead on top to level. Finish with 240 grit smoothing and top coat. This buys you a week of wear and avoids a full redo if caught early.
Mistake to Avoid: Ignoring a crack until it splits the whole nail, which requires full removal.
19. Prep For Chrome And Powders
Style/Vibe: Mirror finish
Best For: Decorative finishes / shorter nails
Skill: Intermediate
Chrome powders need a perfectly smooth surface and a no-wipe top coat base. Buff to 400 grit, apply no-wipe top coat and cure if needed, then rub the powder on with a sponge applicator. Seal with another thin no-wipe top coat. If you skip the smoothing step photos will show tiny dents and lose that mirror effect.
Mistake to Avoid: Applying chrome over a poorly smoothed surface, which highlights every indent.
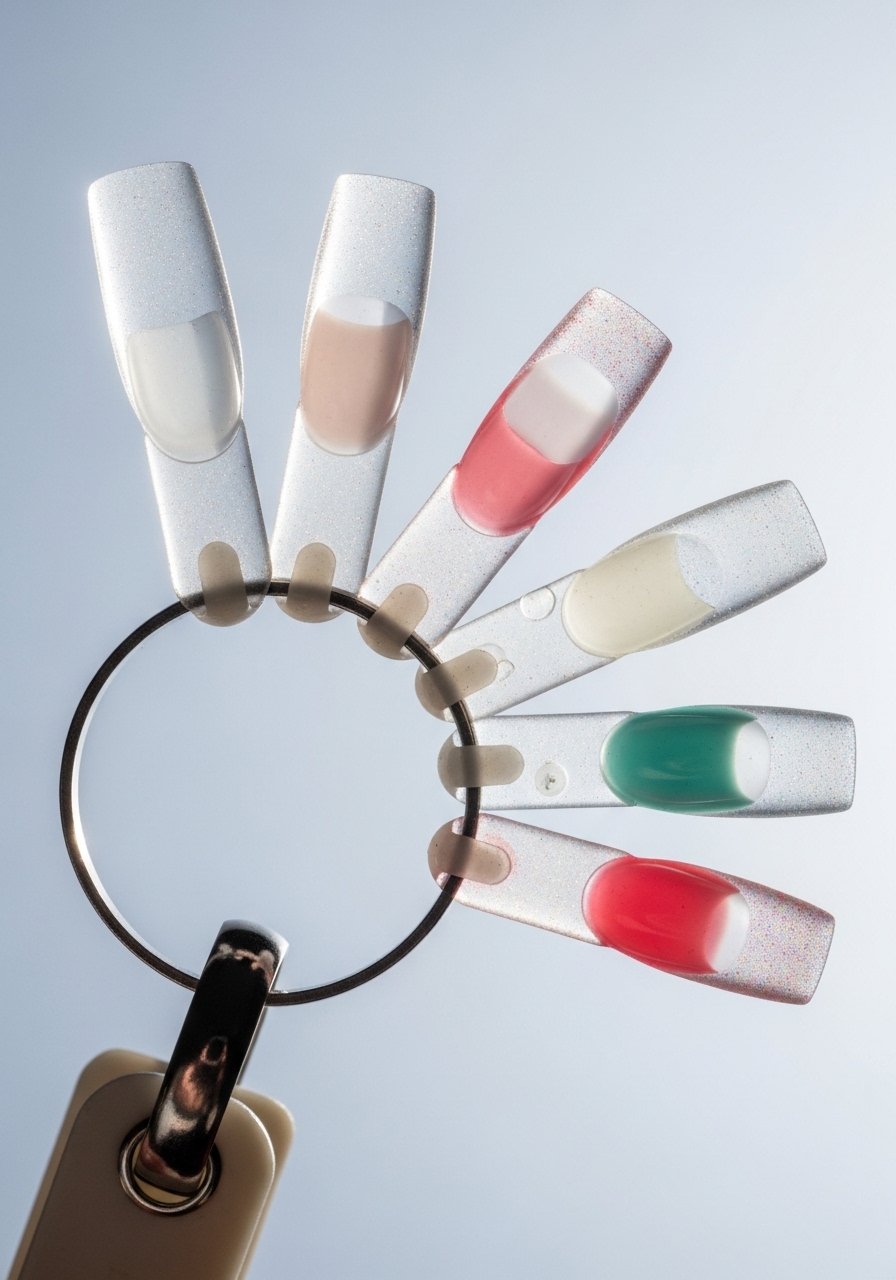
20. Mix Colors Gradually For Ombre
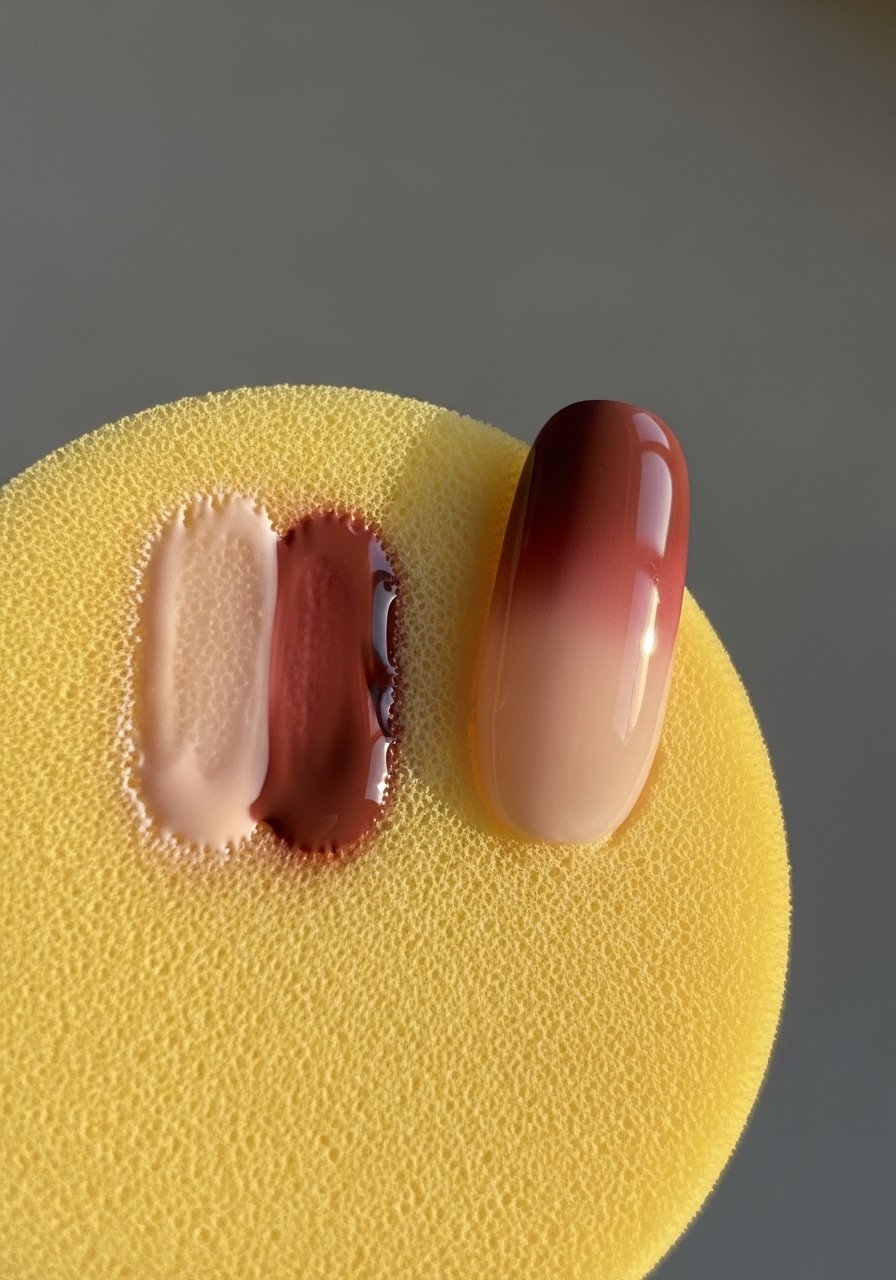
Style/Vibe: Soft ombre
Best For: Medium nails / soft glam
Skill: Intermediate
For a salon-style ombre, use two colors and a sponge or brush to dab tiny amounts into each other. Keep each dab thin and layer until the gradient looks seamless. Work in natural light to judge transitions. For acrylic powder ombre, pick two powders and create small beads that overlap slightly before blending with a clean brush.
Mistake to Avoid: Trying to blend two thick layers in one pass, which gives a harsh line.
21. Use Builder Gel Over Acrylic Sparingly
Style/Vibe: Extra reinforcement
Best For: Weak nails / long wear
Skill: Intermediate
Builder gel can add strength and reduce lifting when used as a thin cap over acrylic. Cure according to the product instructions, and avoid piling it thick. The combined system can be heavier, so test on one nail for a day before committing to a set. This hybrid approach helps people who work with their hands and need extra durability.
Mistake to Avoid: Slathering builder gel on thick and skipping the shaping step, which looks lumpy and catches on things.
22. Keep A Small Emergency Kit

Style/Vibe: Practical fix
Best For: Travel / weekend touch-ups
Skill: Beginner
A tiny emergency pouch saved me more than once. Include a small file, a 2 gram tube of nail glue, a single replacement plastic tip, and a small top coat. For quick fixes, glue the tip in place, file gently, and cap with top coat. Keep it in your bag for fast sealing before a meeting or event.
Mistake to Avoid: Using random super glues that are not labeled for nails, which can irritate the skin.
23. Store Powders And Monomer Properly

Style/Vibe: Organized kit
Best For: Home techs / kit longevity
Skill: Beginner
Keep powders sealed away from humidity and monomer capped tight to avoid evaporation. Store powders in small, labeled jars and use dedicated spatulas for each color. A humidity spike can make powders clump and change bead behavior. Treat your kit like tools, not disposable extras, and you will spend less replacing items.
Mistake to Avoid: Leaving monomer uncapped, which changes its reactivity and the bead you get.
24. Be Mindful Of Heat Spikes
Style/Vibe: Comfortable application
Best For: Sensitive clients / thick application
Skill: Intermediate
Thick acrylic layers can cause a heat sensation as they polymerize. If a client or you feel a heat spike stop and let the nail cool for a minute, then continue with thinner layers. Switching to a slower monomer formula during hot months helps. Heat spikes often come from one thick bead, so plan to use small layered beads.
Mistake to Avoid: Piling on more acrylic to "fix" heat, which increases the reaction and the discomfort.
25. Choose Shapes Based On Nail Length

Style/Vibe: Tailored shape
Best For: All lengths / personalized
Skill: Beginner
For short nails stick to rounded or soft square because they distribute stress and are less likely to break. Coffin or long almond suits medium to long lengths. Shape choice affects how the acrylic wears and what daily activities it survives. If you like typing a lot, shorter rounded shapes are easier to maintain.
Mistake to Avoid: Picking a very long or pointy shape for a naturally short plate, which creates inevitable breaks.
26. Keep A Regular Fill Schedule

Style/Vibe: Easy maintenance
Best For: Regular wearers / schedule-friendly
Skill: Beginner
Fills every two to three weeks keep lifts and cracks at bay depending on growth. For fast growers aim for two weeks. Regular fills preserve the apex and save you from the heavier work of a full redo. I mark a reminder two weeks after a set and push it to three only if growth is minimal.
Mistake to Avoid: Waiting until big gaps form, which requires complete removal and more stress on the natural nail.
27. Practice Removal On Tips Before Doing Whole Set
Style/Vibe: Low-risk learning
Best For: Learning at home / hobbyists
Skill: Beginner
If you are new, buy practice tips and practice soaking and filing before you touch your own nails. Learn how long acetone takes in your room temperature and how much scraping pressure to use. Practice means fewer accidental thins and better control when you remove an actual set. I did this for three sessions and the difference was clear.
Mistake to Avoid: Jumping straight to removal on your nails without practicing the soak and scrape balance.
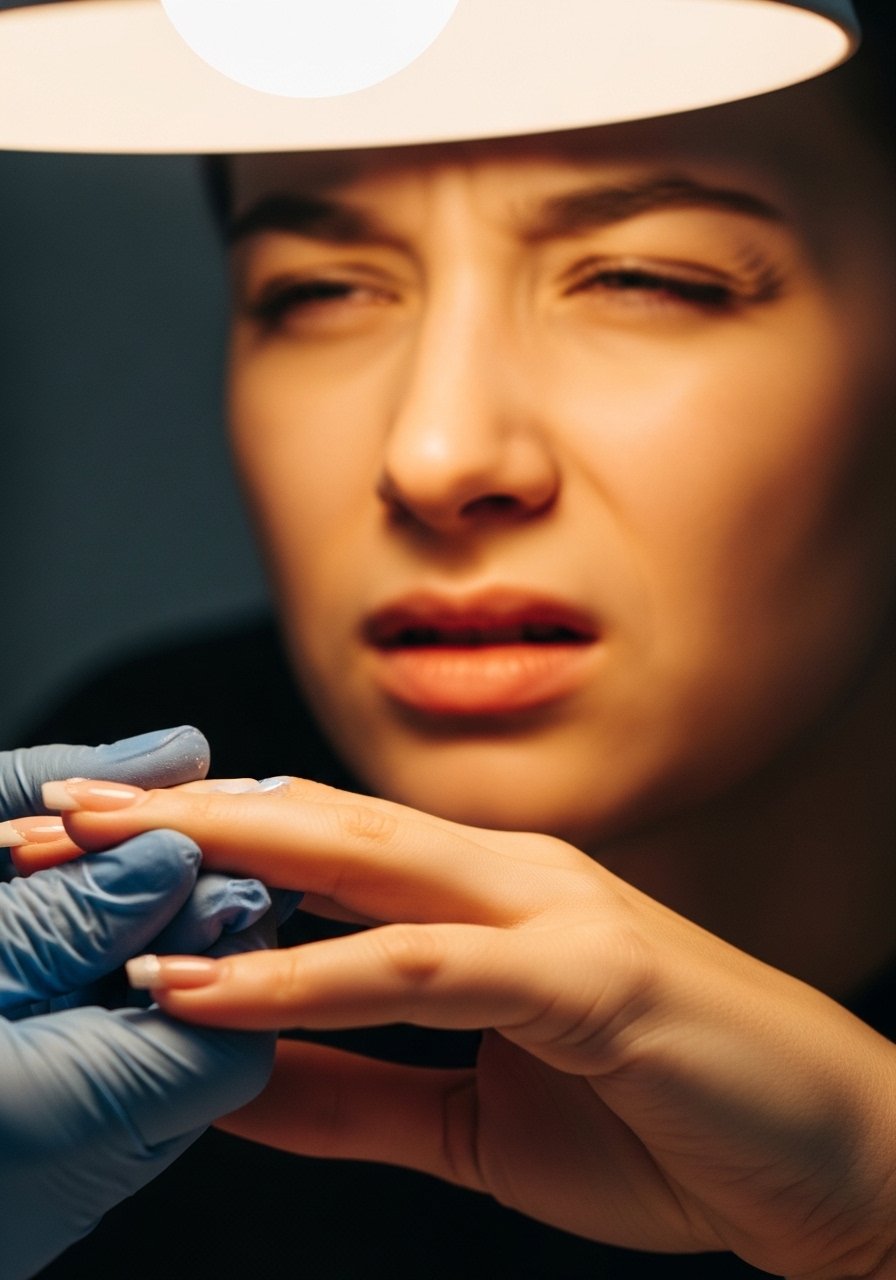
28. Respect Ventilation And Skin Safety
Style/Vibe: Health-first
Best For: Home techs / regular users
Skill: Beginner
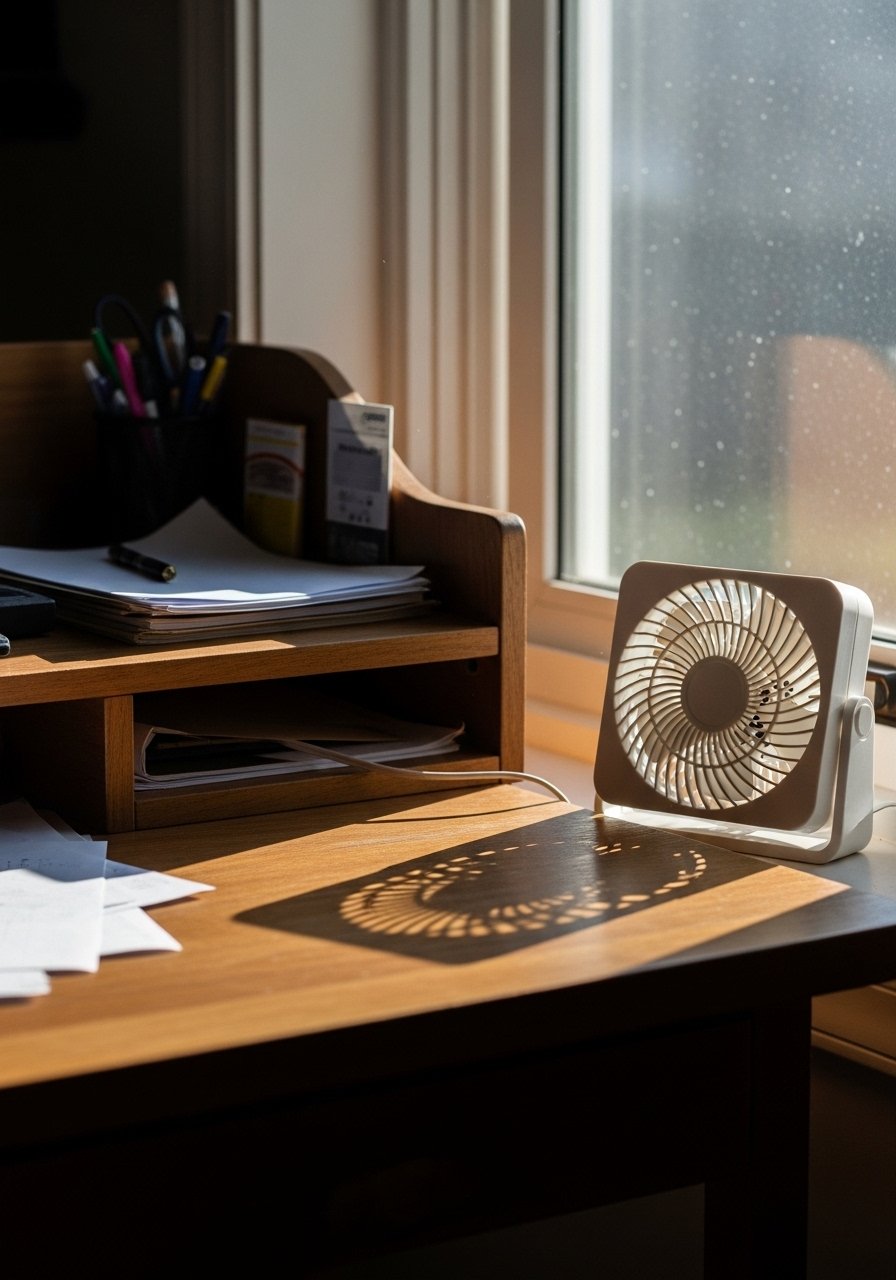
Monomer fumes add up. Use a small fan, open a window, and consider a carbon-filter mask when you do full sessions. Keep a barrier cream on the skin nearby but not on the nail plate. If irritation or redness appears after using certain products stop and switch formulas. A little attention to ventilation keeps both your kit and hands healthy for the long haul.
Mistake to Avoid: Working in a closed space with constant exposure to fumes, which can cause skin and respiratory irritation.
Your Nail Kit
- Honestly the best $22 I spent, a medium-sized acrylic brush set (~$18-25). Keeps bead control consistent.
- For forms, I use disposable nail-forms, 100 pack (~$12-18). They fit short plates well.
- A reliable monomer matters: acrylic-liquid-monomer-low-odor, 4 oz (~$25-45).
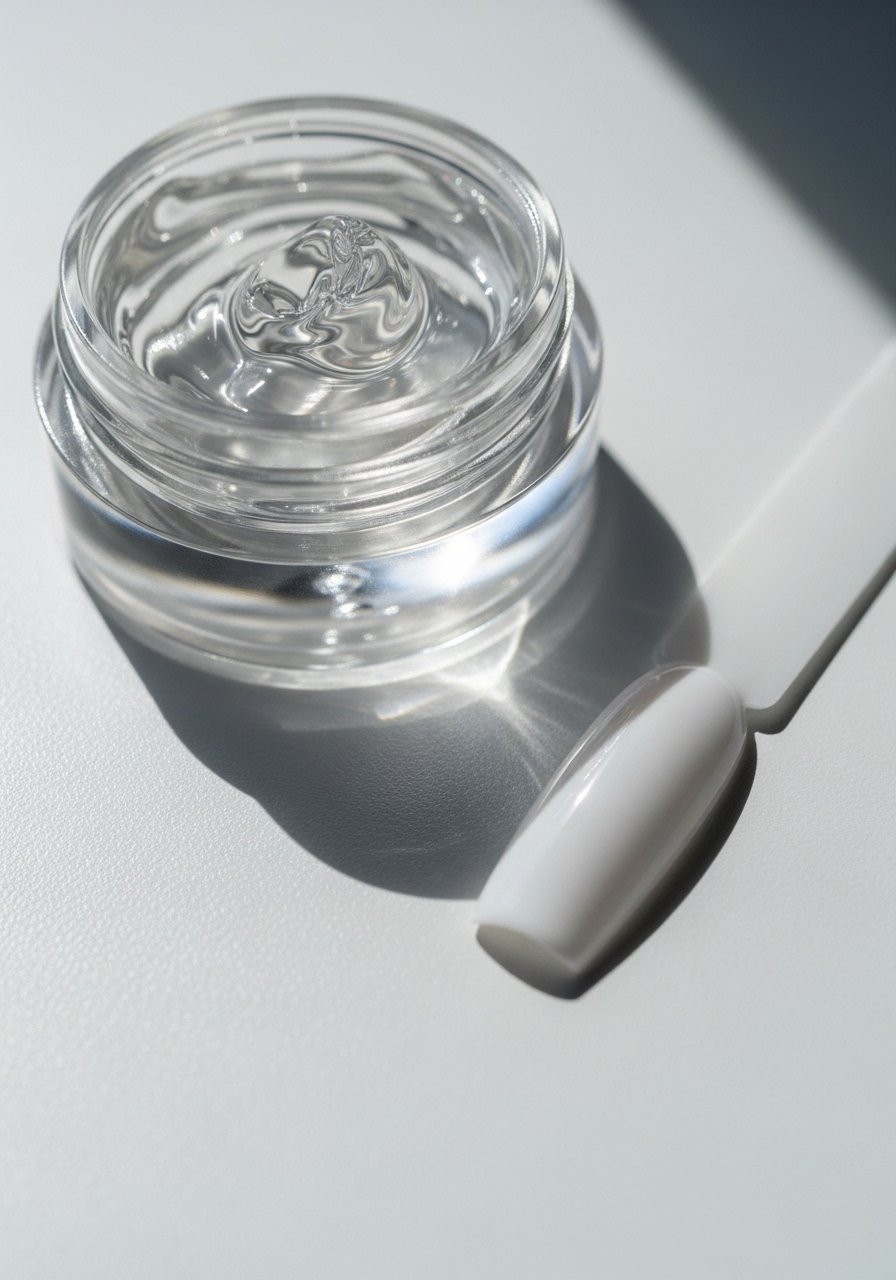
- Powders: clear-acrylic-powder-jar-20g (~$8-15) and white-acrylic-powder-jar-20g.
- Files set: 180-240-400-grit-file-set-5pcs (~$10-16).
- A small e-file for maintenance, portable-e-file-machine (~$45-80). Use low speed.
- No-wipe-top-coat-glossy-15ml (~$8-20) for chrome and mirror powders.
- cuticle-pusher-stainless-steel (~$6-12) for clean prep.
- For removal, acetone-soak-basin (~$10-18).
- Small detail: silicone-cuticle-protectors-pack-20 (~$6-12) to prevent flood.
- glitter-pigment-sets-acrylic (~$8-20) for encapsulation looks.
- Ventilation: desktop-exhaust-fan-quiet (~$20-35).
Nail Tips That Save a Mani
Thin coats beat one thick coat every time. Three thin layers of a quick-dry top coat look smoother and last longer than one gloopy layer.
Grab these disposable nail forms for practice. Use them on one hand before you commit.
After a filing session, apply cuticle oil to restore flexibility. It helps prevent lifting.
Keep a small 60-watt lamp angled for task lighting. Natural light catches flaws a phone camera misses.
Use a microfiber cloth to shape your brush tip after cleaning, not a paper towel. It preserves the brush.
If you are short on space, swap a bulky kit for a compact carrying case. It keeps powders dry and tools organized.
Keep a small fan for ventilation running during sessions. It reduces fumes and speeds drying.
