
I almost did not try this. It felt too fussy for a Tuesday, but after one weekend of tweaking I kept getting asked where I was going. That surprised me. I learned to think of casual dresses like a base note in a song. Small changes, steady layering, and one bold accessory and suddenly the whole thing reads formal without shouting. It works for errands, dates, and the office when you do it right.
This guide covers simple moves you can do in ten minutes to make cotton, jersey, and linen dresses feel more intentional. Budget-friendly options sit next to one or two investment items. I have rotated this outfit for a full season and learned what actually matters: fit, proportion, and texture. If you want a quick trick, start with a belt and shoes and build from there.
What You'll Need
Clothing Basics:
- Cotton midi dress (~$25-60)
- Slip dress or camisole (~$15-40)
Layering Pieces:
- Tailored blazer (~$40-120)
- Lightweight trench or coat (~$60-150)
Accessories:
- Slim leather belt (~$15-40)
- Statement earrings (~$20-60)
- Pointed ankle boots (~$40-120)
- Evening clutch (~$25-80)
- Silk scarf (~$12-50)
Step 1: Fix the Silhouette with a Belt
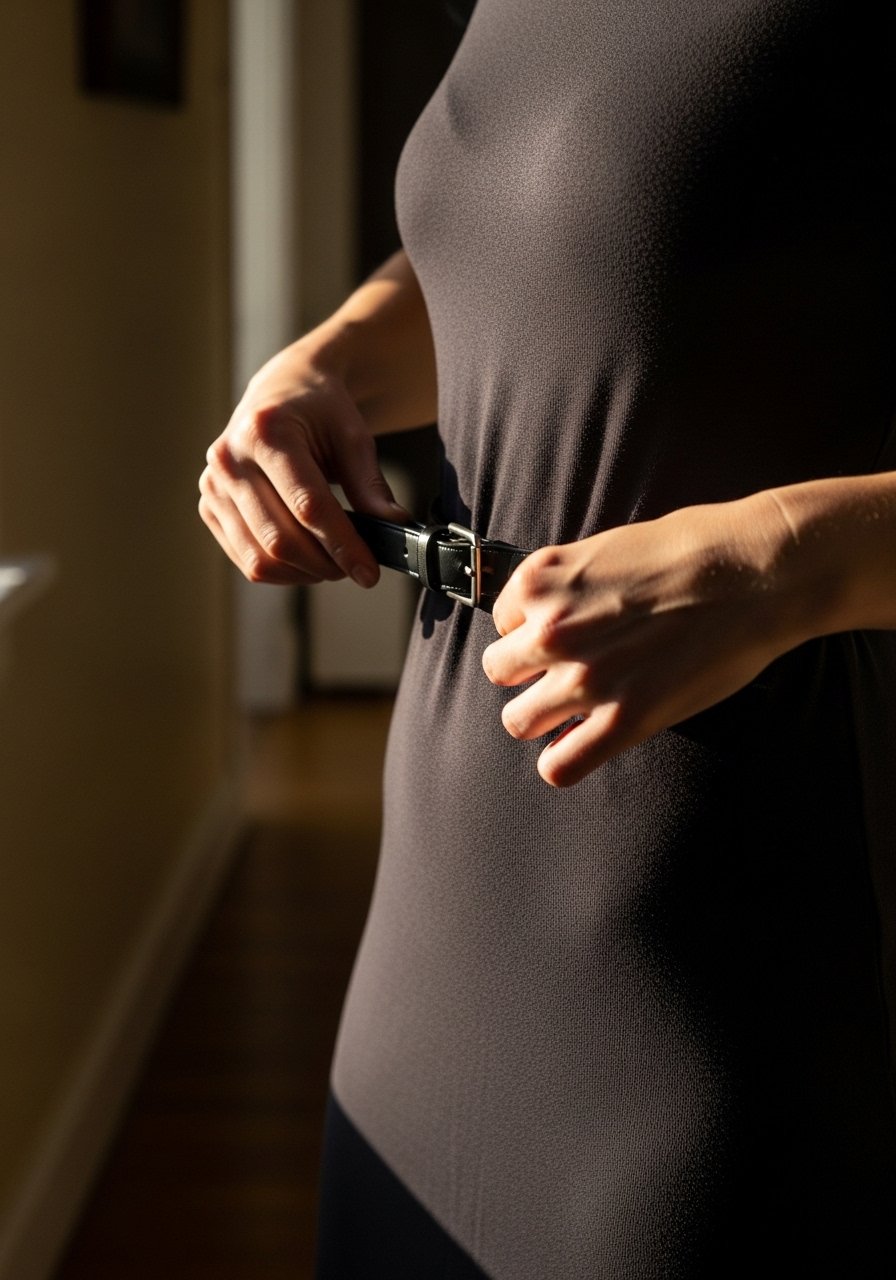
If your dress reads shapeless, make it read intentional. I usually use a belt 1 to 1.5 inches wide and cinch at the natural waist, not the ribcage. That single proportion change creates a waist-to-hip ratio that reads more tailored. Try a slim leather belt in black or tan for contrast. If your dress has a wrong fabric weight, add a silk camisole underneath to smooth bulk and give a slight sheen. After rotating this outfit for a full season I can say the belt is the change people notice first.
Mistake to Avoid: Putting a belt too high so it cuts the torso in half, which makes the proportions look awkward.
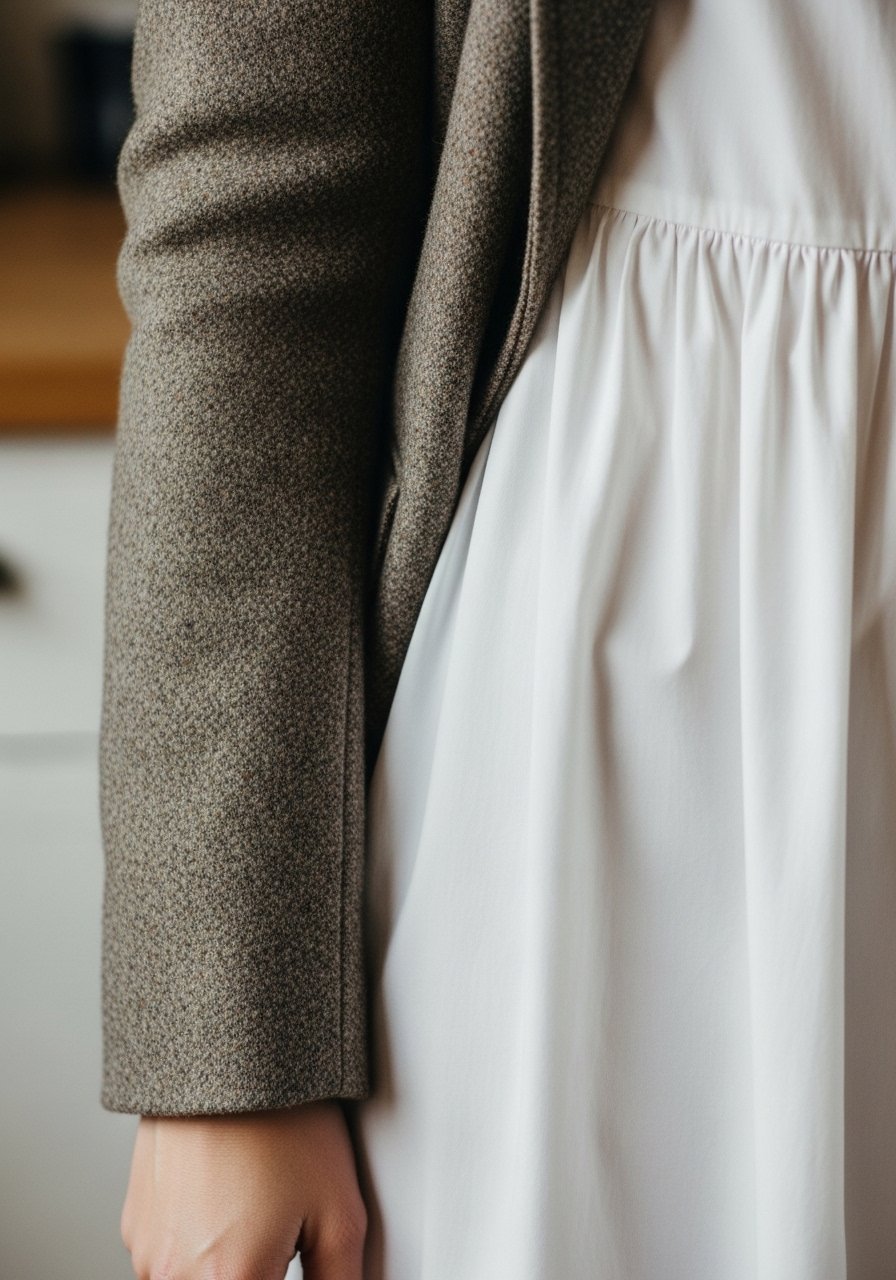
Step 2: Add a Structured Layer

Most people start with the biggest item. That is backwards. Start with the dress, then add a fitted blazer that hits about 1 to 2 inches below the hip for midi lengths. The idea is the rule of thirds for proportion. The blazer gives immediate structure and swaps the casual read to refined. For cooler nights, swap the blazer for a lightweight trench that skims, not swamps, your shape. A tailored shoulder will click even if the first few tries feel wrong. Honestly this step frustrated me at first, because I kept choosing oversized blazers that swallowed the dress.
Mistake to Avoid: Wearing a boxy jacket that hides the dress shape instead of defining it.
Step 3: Choose Shoes That Change the Tone

Shoes matter more than most of us admit. One accessory shifts the formality dramatically. Swap sneakers for pointed ankle boots or a 2 to 3 inch heel to lift the whole outfit. If you prefer flats, pick a pointed toe to elongate the leg visually. For daytime dressing, tuck the hem slightly under the ankle boot to show a sliver of skin or a sock. I tested heel heights between 2 inches and 3.5 inches and the sweet spot for comfort and polish was 2 to 2.5 inches for most of my days.
Mistake to Avoid: Pairing athletic sneakers with delicate fabrics, which reads mismatched instead of stylish.
Step 4: Layer Textures, Not Patterns
This is where it starts to actually look styled instead of random. Mix texture with restraint. Pair nubby wool or structured cotton with silky or matte dress fabrics. Avoid pairing two loud patterns together. Instead, use a solid structured piece and add a patterned silk scarf or statement earring as the focal point. Texture contrast gives depth in photos and in person. Side note, if you have cats, keep open-bottom scarves away from low tables. I am still not sure this is the best way, but it has worked every time for me.
Mistake to Avoid: Layering too many busy patterns, which flattens the outfit instead of adding interest.
Step 5: Accessorize One Zone at a Time

Pick a single area to be bold. If you choose jewelry, go for statement earrings with a clean bag and simple shoes. If your shoes are the statement, keep jewelry minimal and a sleek clutch. I prefer the ear or the hand as the anchor point. The principle is simple balance, one of the style rules I learned working with a stylist who focuses on proportion. Start modest and then add one more piece. I almost skipped this. Glad I did not, because the final look will read polished instead of overworked.
Mistake to Avoid: Trying to make every accessory the focal point, which looks cluttered.
Step 6: Mind the Finishing Details
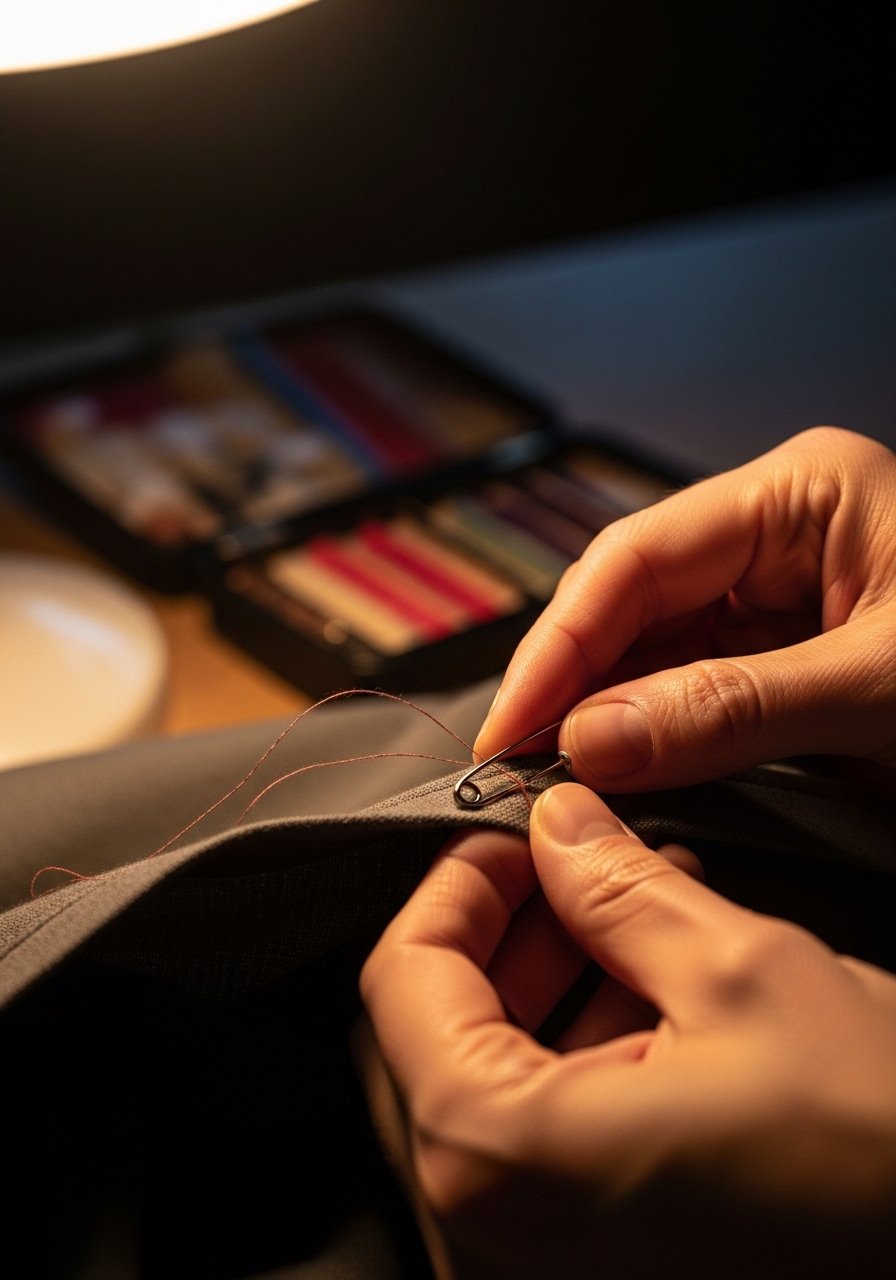
Tiny things sell the look. Press seams so the fabric sits clean, tuck stray threads, and check the hem hit. For midi dresses aim to have the hem hit mid-calf or just above the ankle depending on your height. A quick fabric spray or light steaming changes how fabric drapes and sounds when you move. I tested fabric sprays and a small steam for three months and the difference in how the dress settled was obvious. My first attempt was bad. The second was barely better. The third one clicked.
Mistake to Avoid: Skipping pressing and leaving crumpled fabric that reads casual instead of carefully worn.
Fashion Tips
Swap Sneakers for Loafers: If you want a daytime dressy look, a polished loafer with a slight heel reads more intentional than sneakers. Try pointed loafers.
Use a Slim Belt for Long Dresses: A slim belt at the waist breaks long proportions and adds polish. See slim leather belt.
Compact Clutch Over Big Tote: A structured clutch balances flowy fabrics and keeps the silhouette clean. Try evening clutch.
Layer a Silk Camisole: For thin knits or semi-sheer dresses, a silk camisole gives a luxe underlayer and improves how light hits the fabric. Try silk-slip-camisole.
Add One Tailored Piece: A tailored blazer or cropped jacket immediately reads formal next to a casual dress. See tailored-blazer.
Polish with Jewelry: Choose one jewelry focal point, typically ears or wrist, not both. Statement-earrings work well.
Mind Your Hair: A low bun or sleek pony feels refined and complements the polished elements. Use a simple hair-tie set to finish the look.
Make It Polished
Styling a casual dress up is mostly about intention. Start with one change, like a belt or shoe swap, and stop fiddling. Try the proportion rule for your body type and pick one area to be bold. After rotating pieces and testing mixes for a full season, you will learn what reads elevated on you. Final tip: take a quick photo before you leave. The camera shows proportions differently and will tell you if one more tweak is needed.
