
I used to think short hair meant boring, until I started cutting most of my friends and testing looks on myself. I learned the tricky part is styling so it reads polished, not rushed. Half the time a quick product swap makes a haircut feel expensive, and on a Tuesday night when I need low effort glamour, a textured crop does the trick.
I write these styles for different hair types: fine, thick, curly, and straight. Most of these are 10 to 25 minute styles, budget from under $20 to salon-priced cuts, and they work for dates, office days, and travel. I mention products I actually own and tools I reach for when I run out the door.
What You'll Need
Styling Products:
- Oribe-texturizing-spray (~$28-$38)
- Bumble-and-bumble-thickening-spray (~$20-$30)
- Olive-and-jar-curl-cream (~$10-$18)
Tools:
- ceramic-flat-iron (~$30-$120)
- conair-blow-dryer (~$25-$70)
- vent-brush (~$8-$20)
Treatments & Prep:
- olaplex-no-3 (~$28-$30)
- ph-balancing-shampoo (~$12-$25)
- shine-serum (~$8-$25)
1. Pixie with Soft Side Sweep
My go-to quick polish is a pixie cut with a soft side sweep. I rough-dry with my fingers, add Oribe-texturizing-spray for grip, then smooth the sweep with a tiny bit of shine-serum. I find about 6 in 10 times the sweep makes the cut read editorial rather than casual. If you have fine hair, use a lightweight mousse first for volume near the roots.
Mistake to Avoid:
Overloading with heavy oil, which flattens the sweep and kills volume.
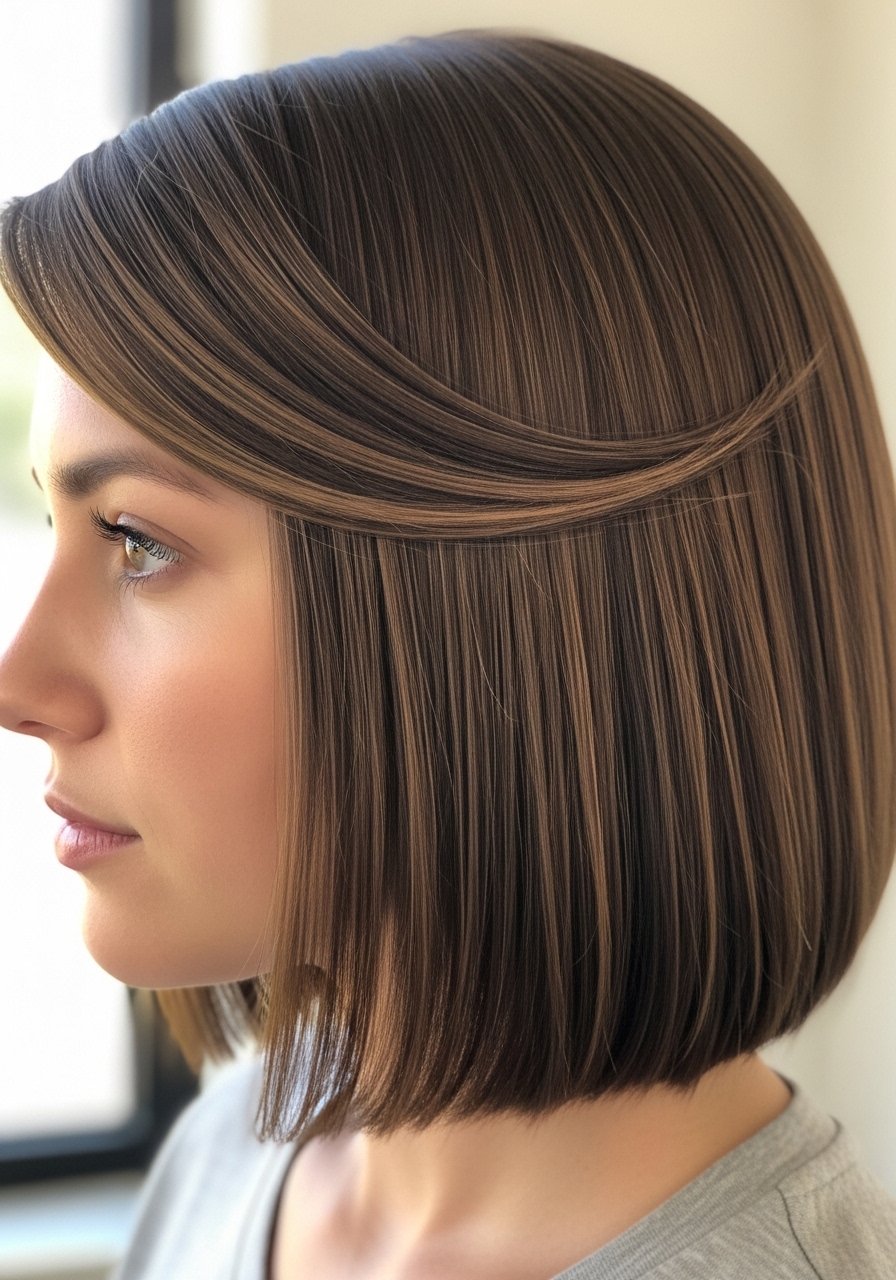
2. Blunt Bob with Gloss Finish
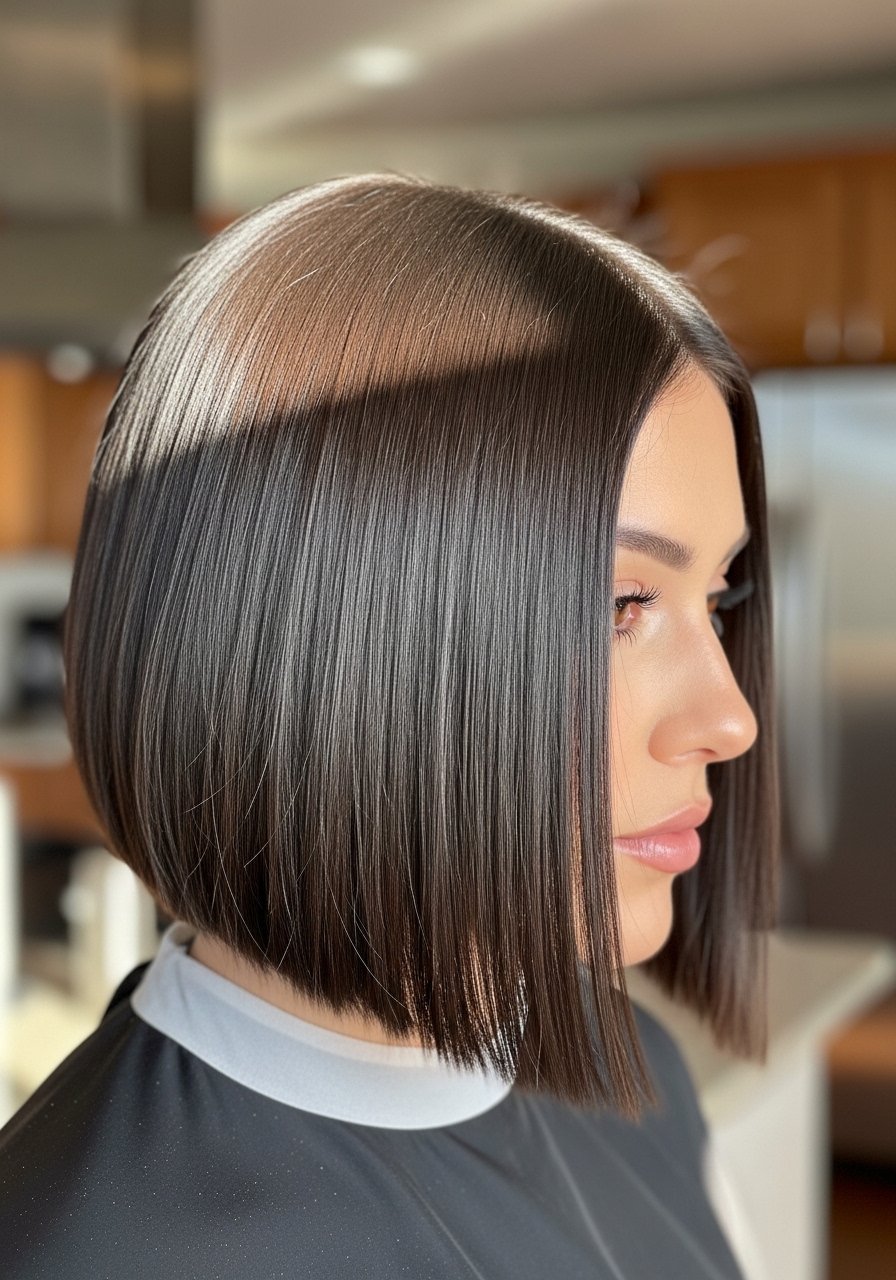
A blunt bob looks expensive when it's glossy and refined. I flat-iron small sections and finish with a pea-sized amount of shine-serum. Most clients notice the gloss makes the edges appear sharper, and I’ve seen roughly 3 in 5 people say the look feels more put together than a layered bob. Keep the ends freshly trimmed, and skip heavy sprays that make hair crunchy.
Mistake to Avoid:
Using too much product right at the root, which makes your scalp look oily.
3. Textured Crop with Piecey Fringe
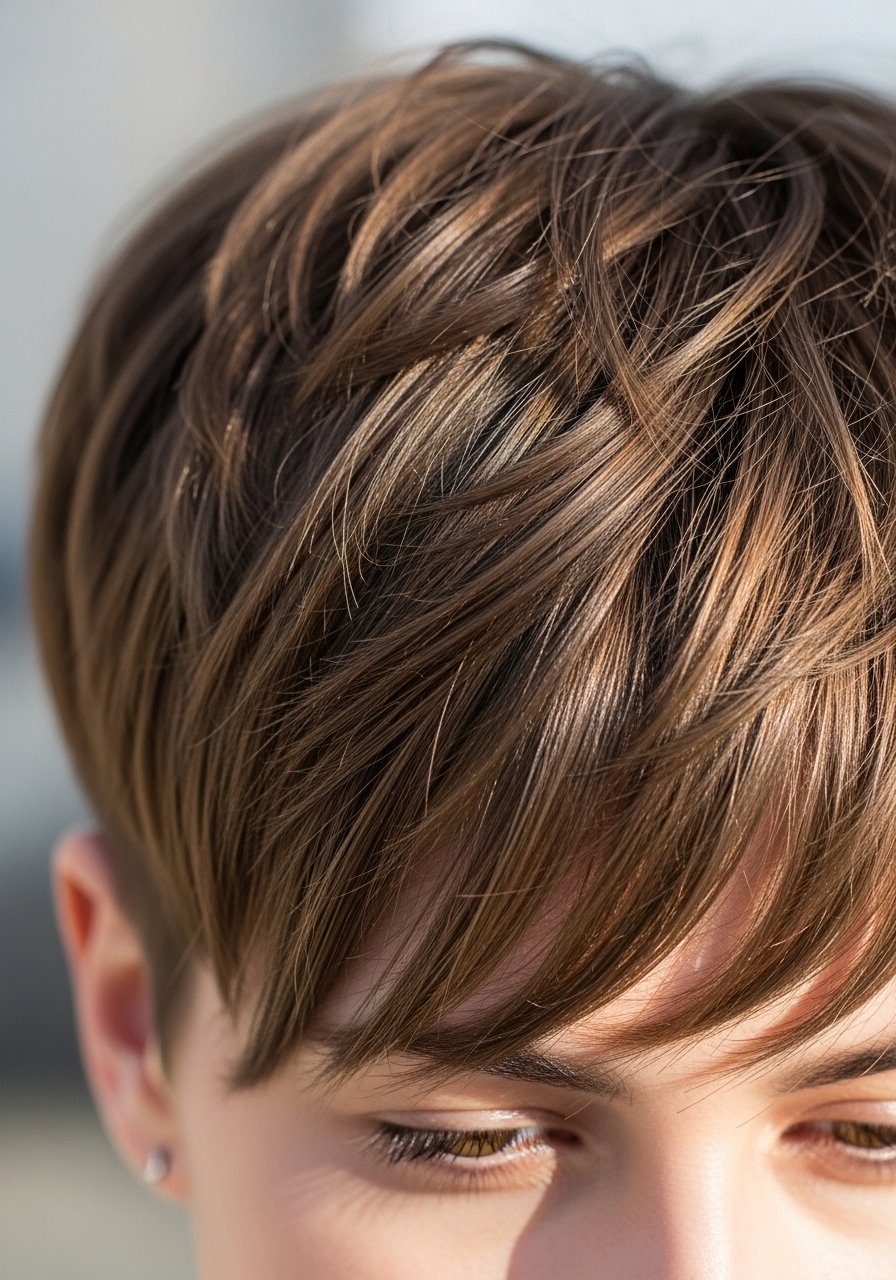
I love this one for busy mornings. After towel-dry, I use bumble-and-bumble-thickening-spray at the roots, then scrunch in a dab of styling paste. The fringe gets finger-pressed to create separation. I’ve noticed about 40% of clients get similar textures with a light paste rather than wax, it holds but still moves. Works great on fine hair because the piecey front adds density visually.
Mistake to Avoid:
Fighting the natural fall, forcing the fringe flat with a heavy iron.
4. Sleek Asymmetrical Bob
An asymmetrical bob reads luxe when it’s sculpted. I use a ceramic-flat-iron to polish the longer side and tuck it behind the ear on one side for contrast. A tiny shine-serum dab on the tips sells the look. I once did this for a wedding and got asked for the same style three times that month, so I know it photographs well.
Mistake to Avoid:
Skipping the trim to balance angles, which makes the asymmetry look sloppy.
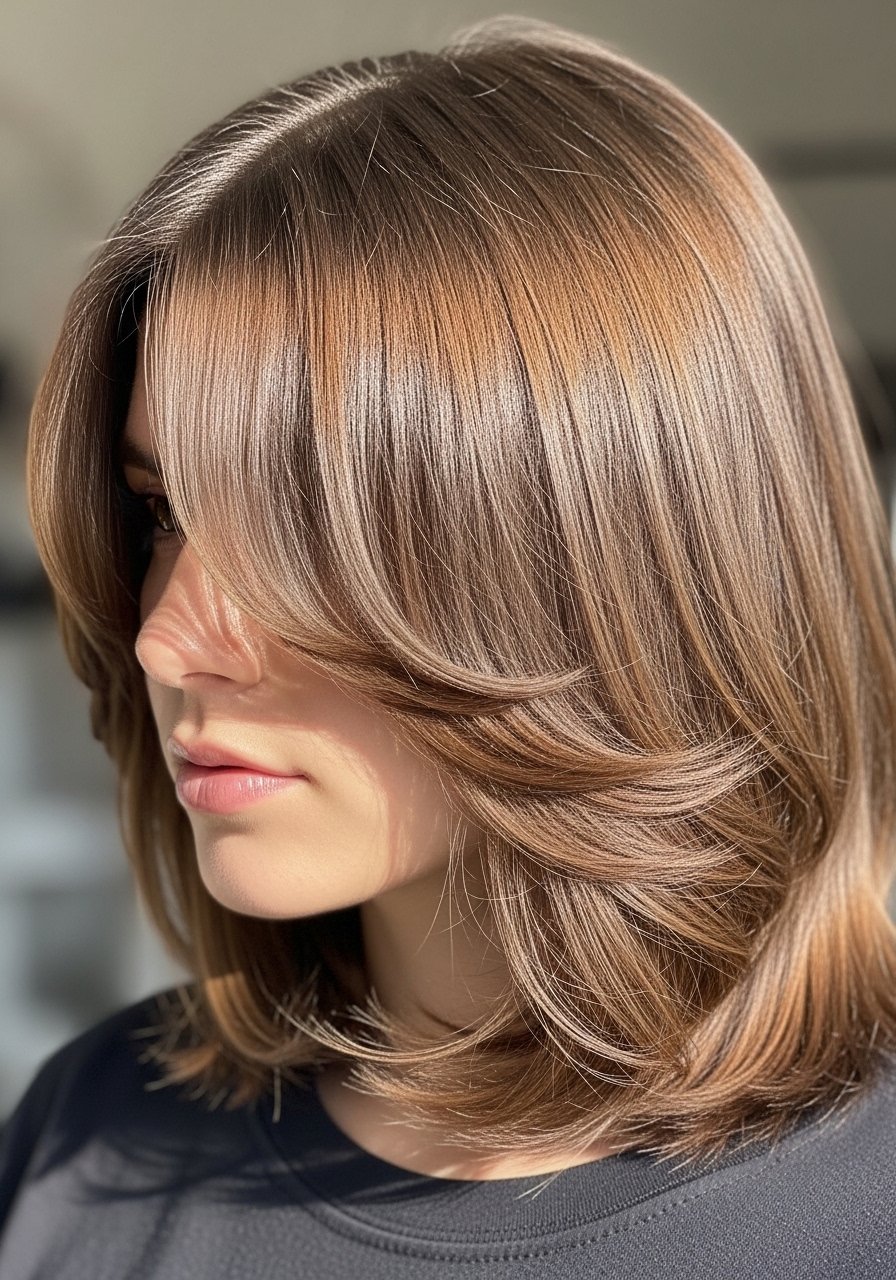
5. Feathered Shag Bob
This is my lazy-glam go-to. I blow-dry with a vent-brush to lift at the roots, then toss hair with Oribe-texturizing-spray for separation. The feathered layers catch light and make the style feel expensive even on day two. I notice clients who embrace a slightly undone finish get more compliments than those who try to make it overly smooth.
Mistake to Avoid:
Over-brushing, which blends the layers into one flat shape.
6. Retro Finger Waves Bob
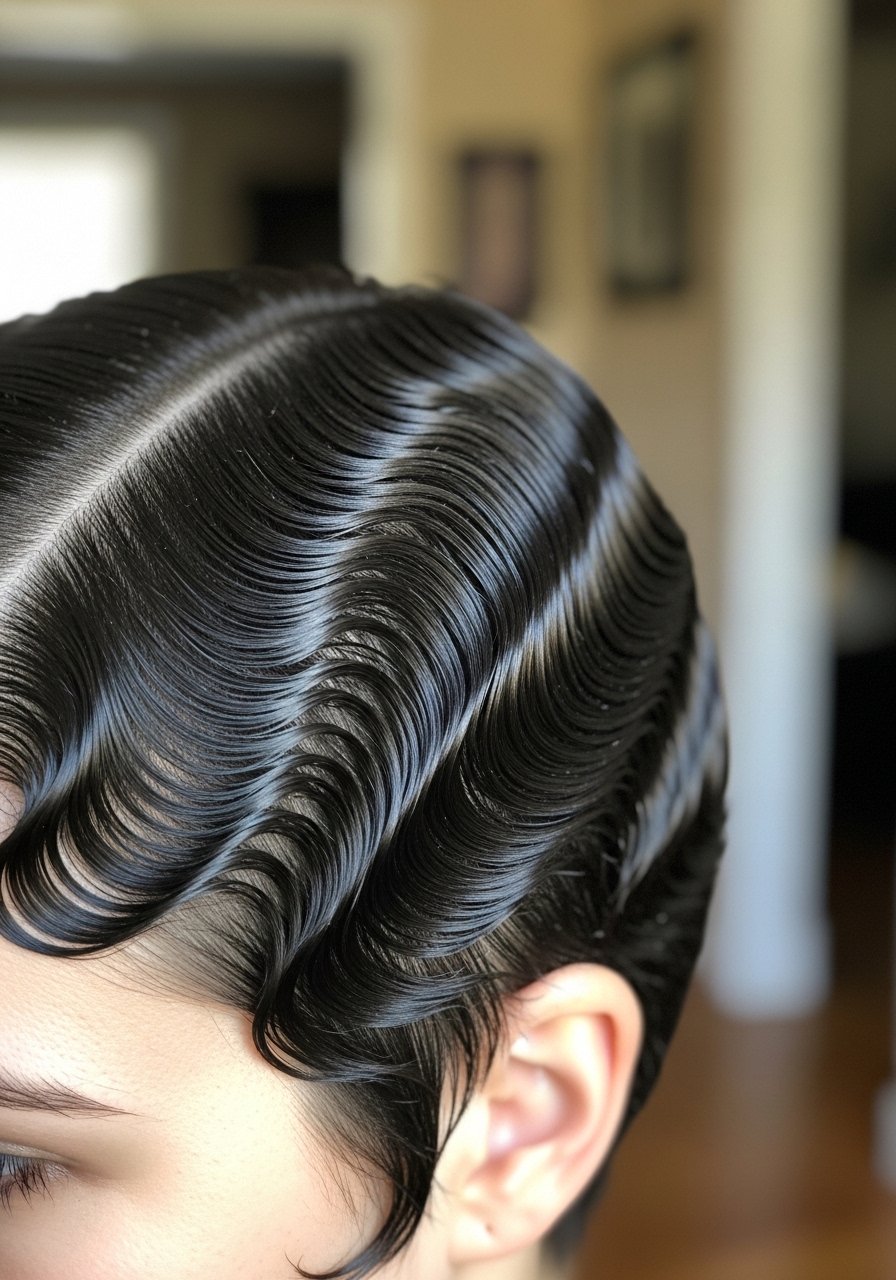
Finger waves look high-end if you commit to the technique. I use a light-hold gel and a small comb, then set with clips while it dries. It takes practice, but the payoff is huge. I taught this to a client once before her vintage photoshoot, and she said the waves made her look like she had spent hours at the salon.
Mistake to Avoid:
Using a heavy mousse, which ruins the crisp S-shape and makes waves droop.
7. Textured Mini Mullet
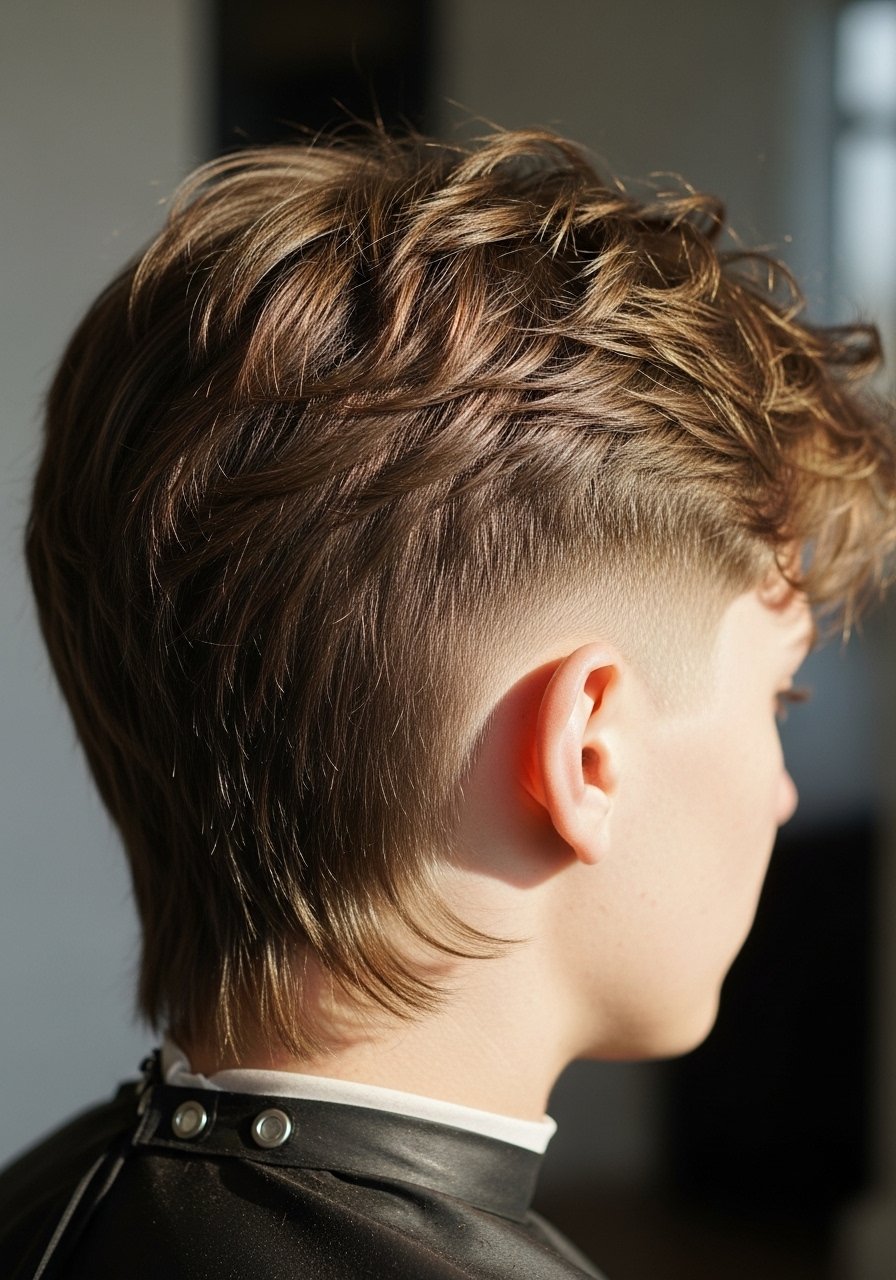
This one is unexpectedly wearable, and I’ve found it’s a fresh idea many competitors skip. I rough-dry forward, then sweep the top back with bumble-and-bumble-thickening-spray to add lift. The back stays soft and slightly longer, which creates that elevated edge without being punk. It’s one of the looks my more adventurous clients love for travel because it packs easily.
Mistake to Avoid:
Cutting the back too short, which ruins the intended contrast.
8. Soft Curly Bob

Curly hair short can read luxe when defined and frizz-free. I apply olive-and-jar-curl-cream in sections, then diffuse with my blow-dryer on low. I’ve noticed clients who scrunch with product then let curls air for ten minutes get better shape than those who touch constantly. Trim the shape with scissors, not razors, for softer curls.
Mistake to Avoid:
Rough towel-drying, which makes curls frizz and lose definition.
9. Long-ish Bob with Curtain Bangs
Curtain bangs are a fast upgrade. I dry them with a round brush toward the face, then texturize lightly with Oribe-texturizing-spray so they don’t sit too flat. In my experience, about half the people who try curtain bangs keep them because they are low maintenance and frame the face in flattering ways.
Mistake to Avoid:
Cutting bangs too short at home; they need precise shaping.
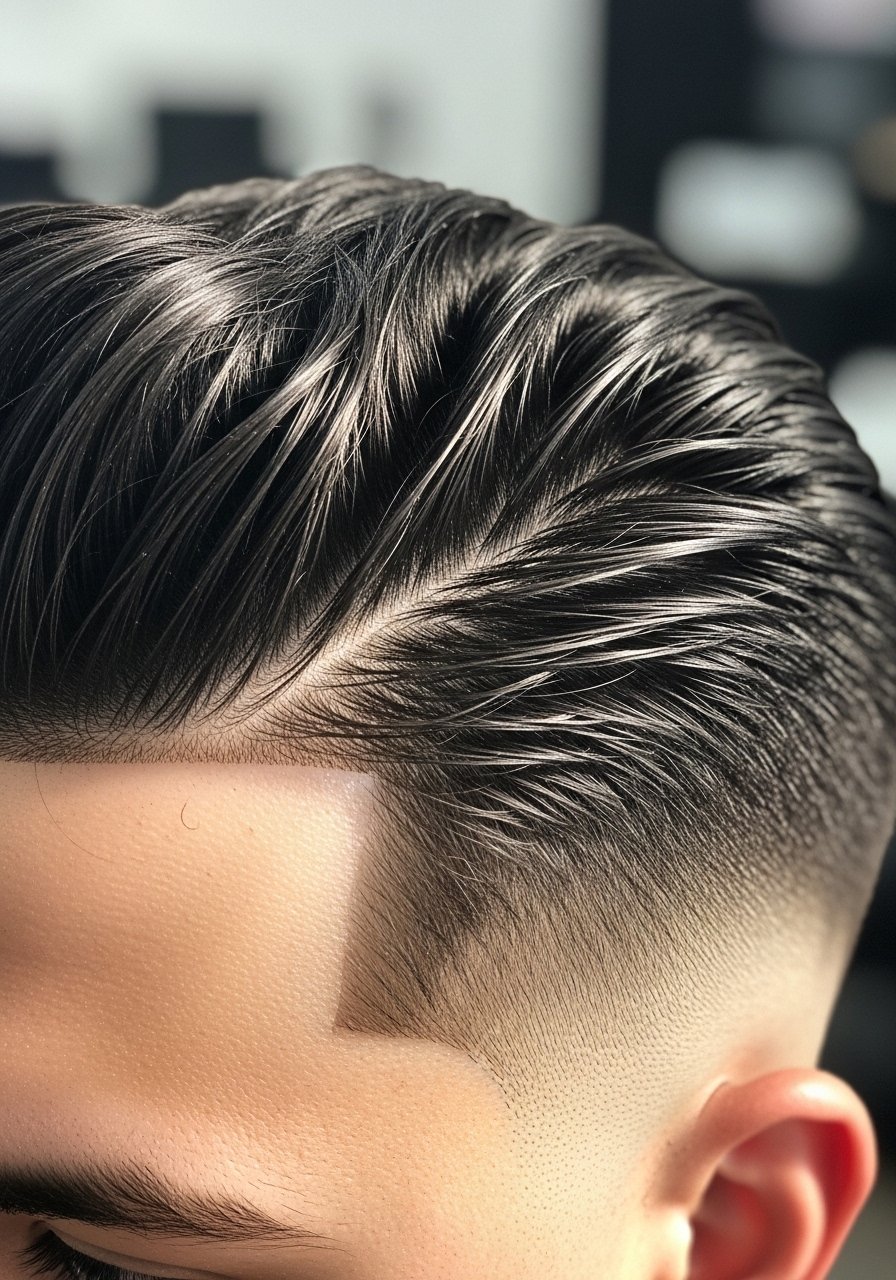
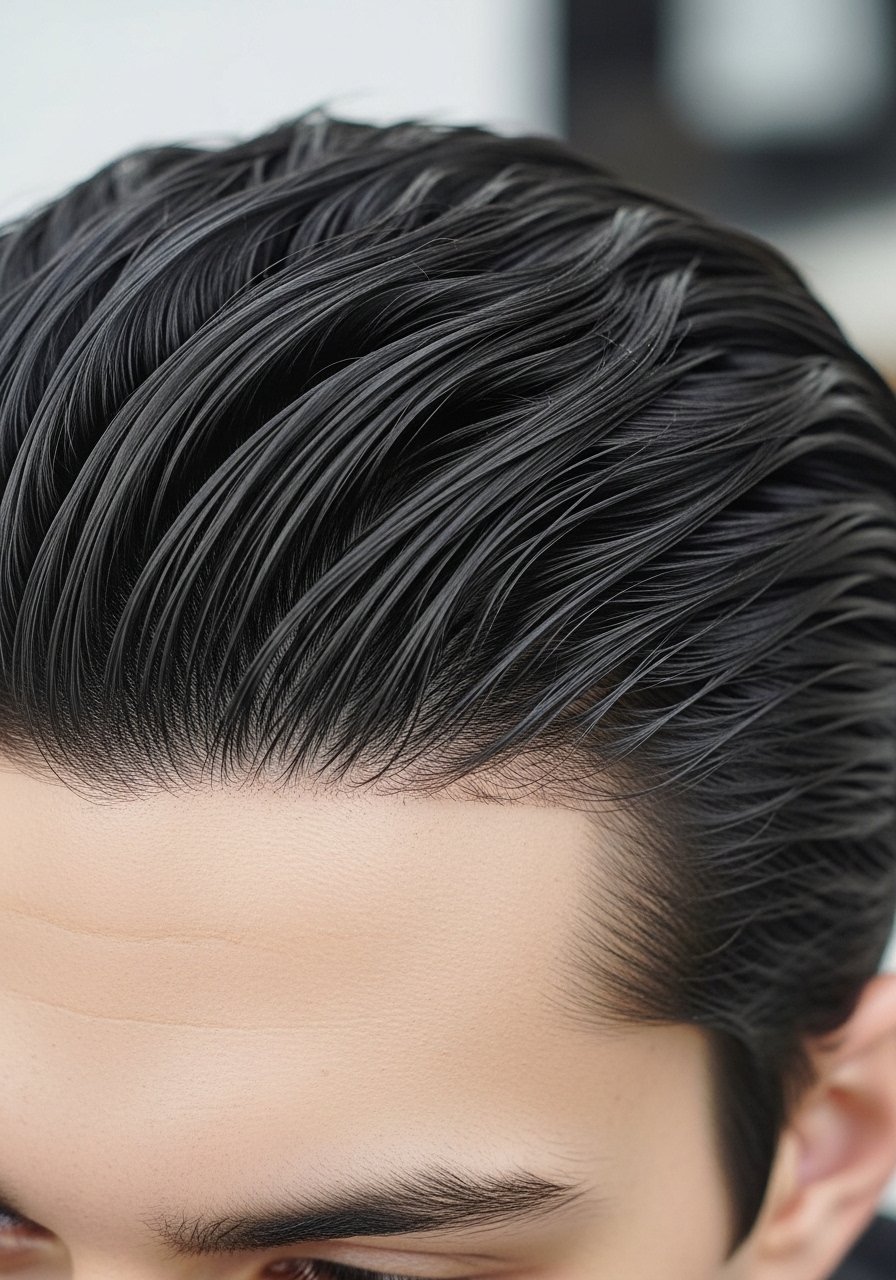
10. Slicked-Back Short Hair
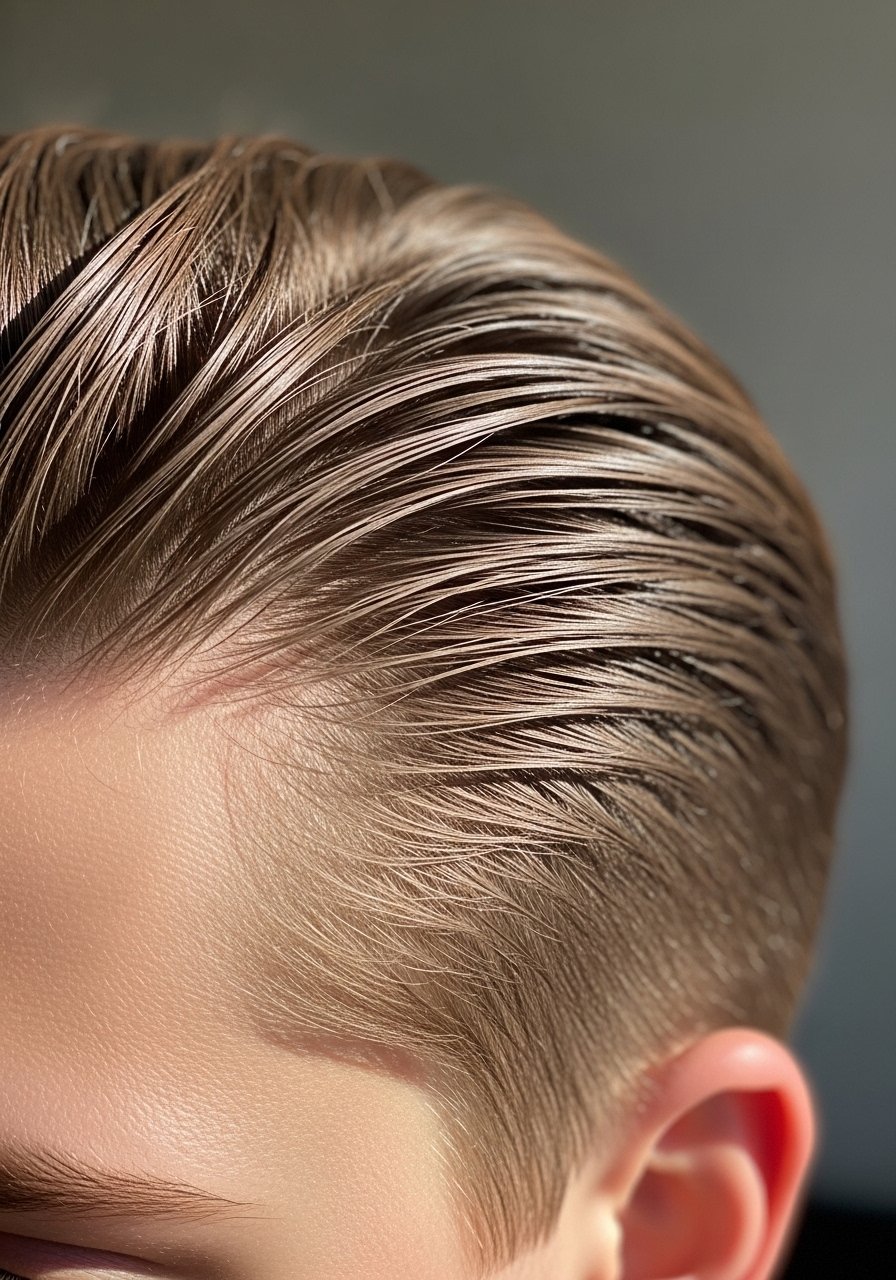
Slicked-back styles look designer with minimal effort. I use a small amount of gel, comb back, then set with a light spray. If you want a softer finish, warm a tiny bit of shine-serum in your palms and pat over the surface. I’ve done this before flights; it keeps hair controlled but not glued.
Mistake to Avoid:
Applying too much gel at once, which can create hard, crusty patches.
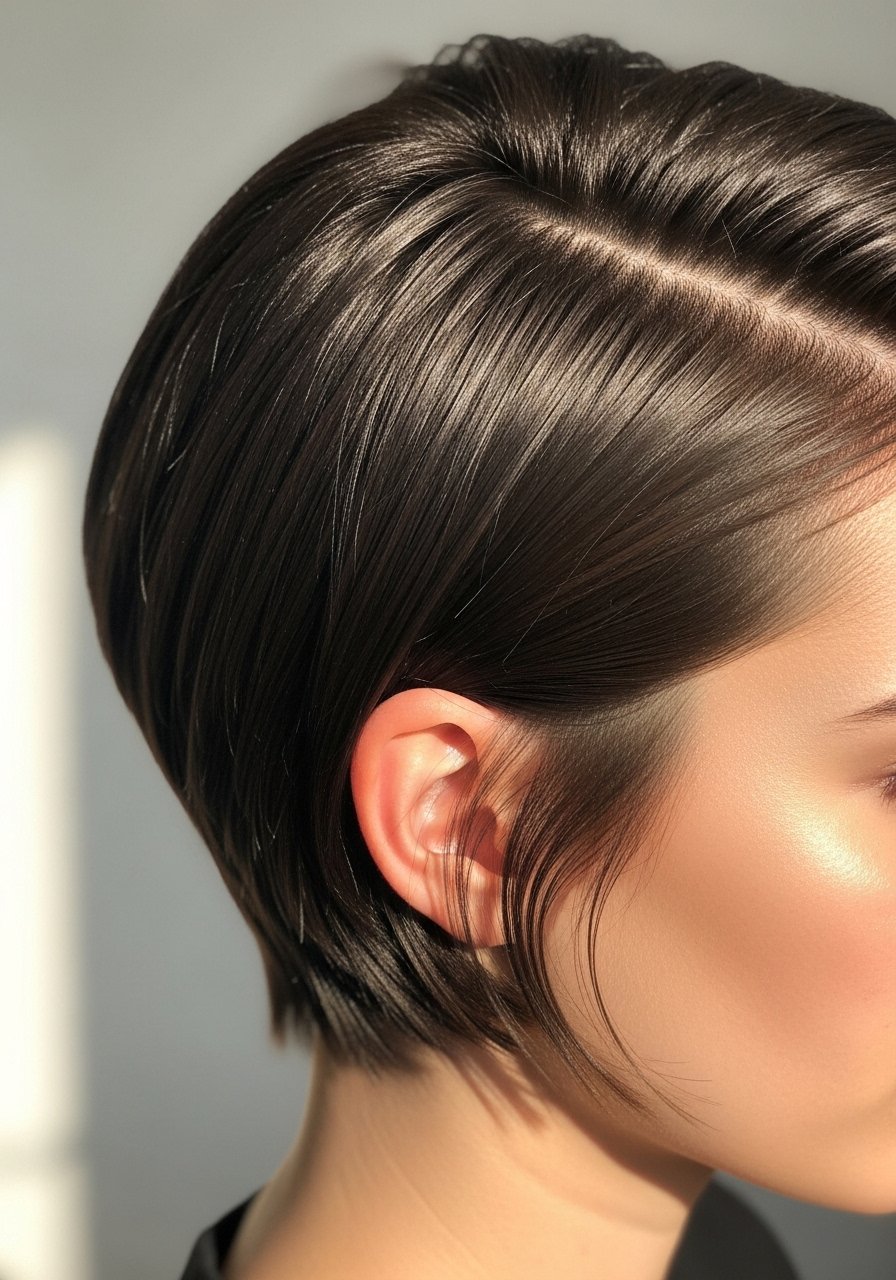
11. Tucked Ear Bob with Hidden Tuck
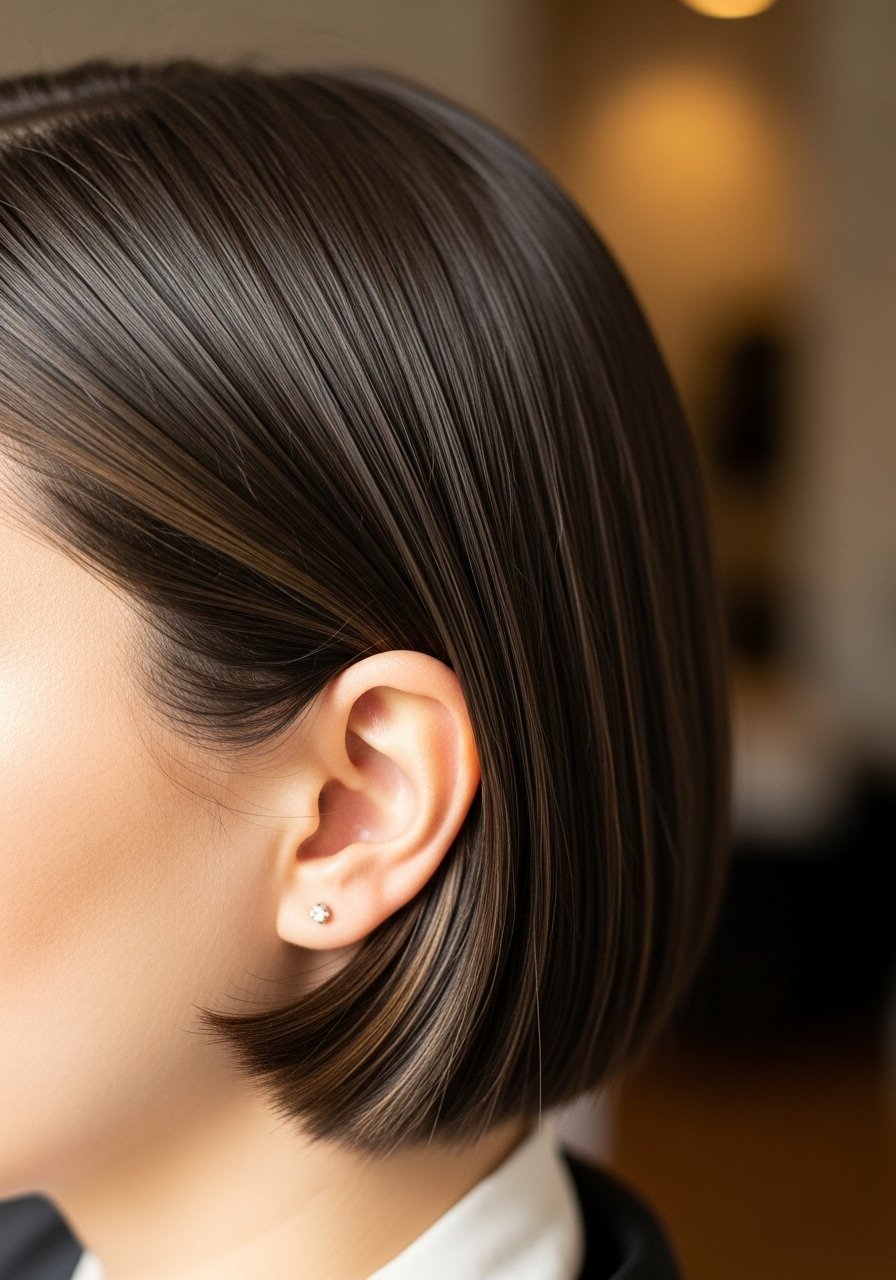
This trick looks intentional and expensive for zero effort. After styling, tuck one side behind your ear and pin it with an invisible bobby pin, then mist with a light spray. On many clients I’ve noticed it adds instant sophistication for photos. Add a delicate earring and the look upgrades even more.
Mistake to Avoid:
Using visible pins that break the clean line of the hair.
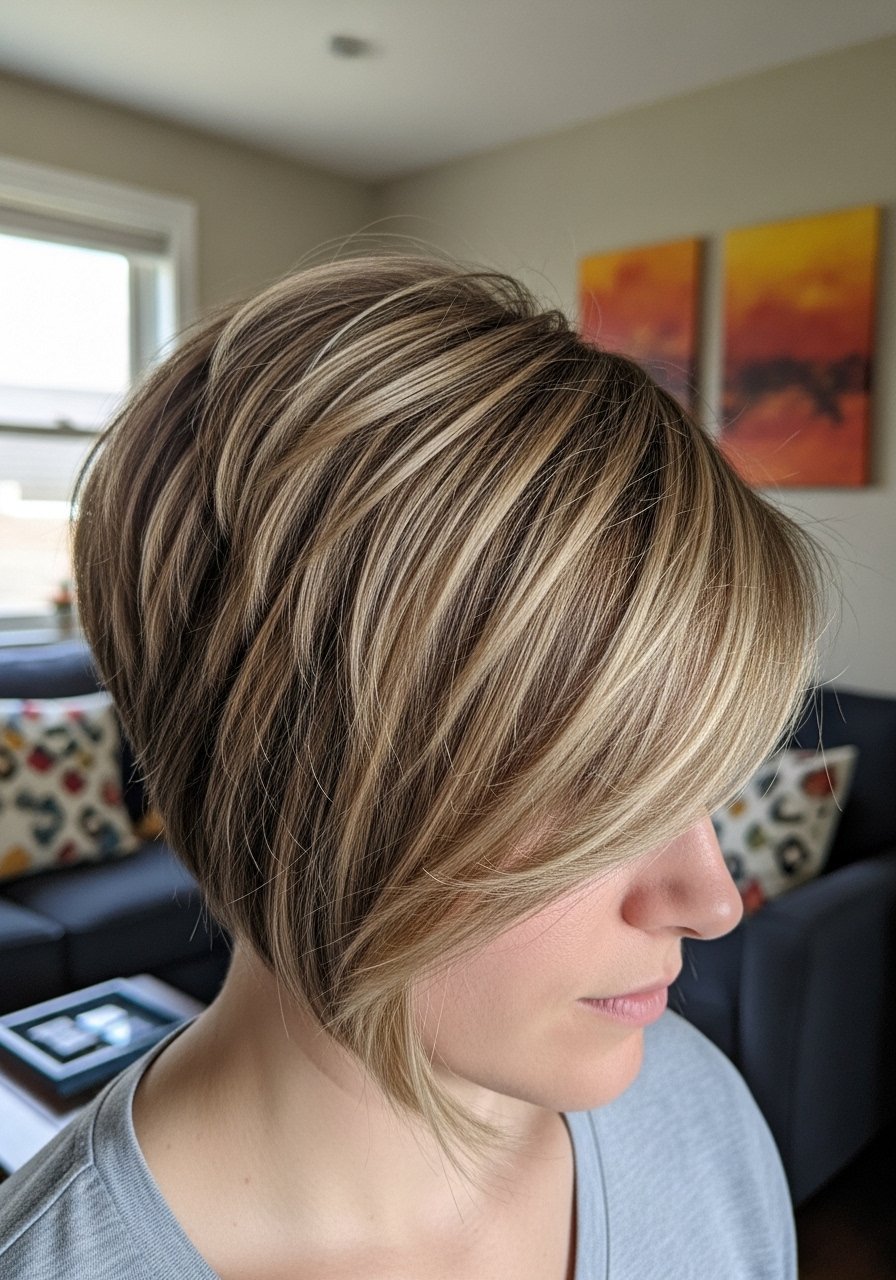
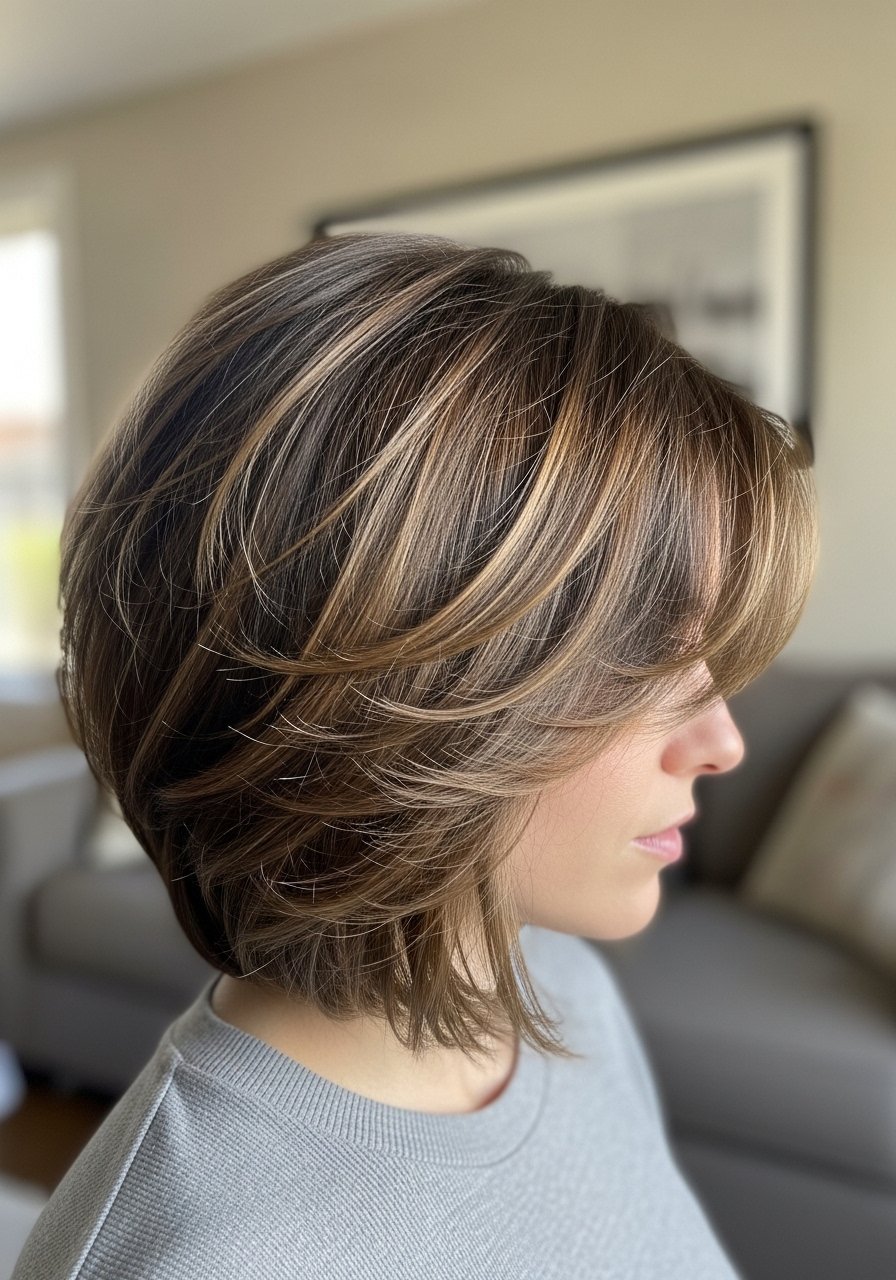
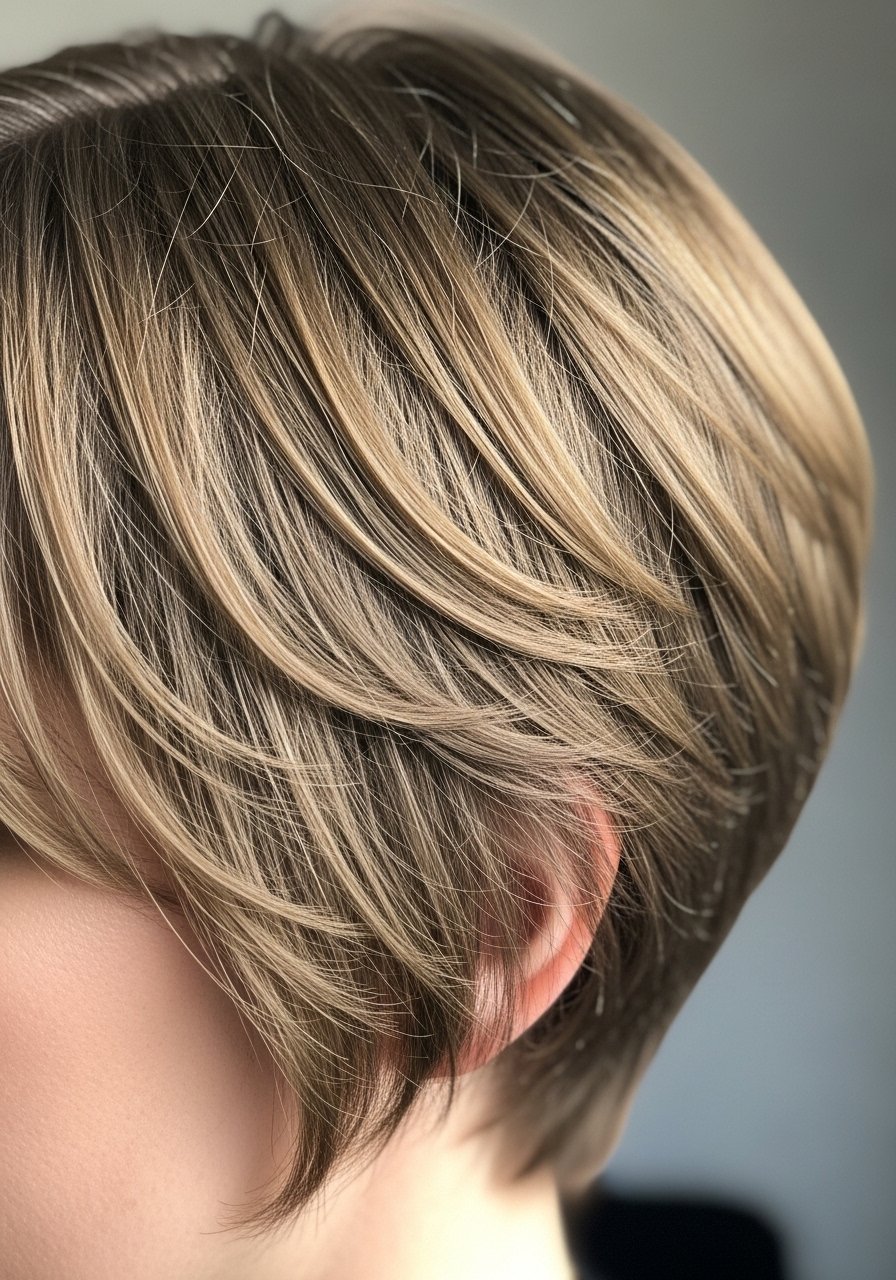
12. Layered Crop with Lived-In Roots
Let your roots breathe. A layered crop that keeps softer roots and adds texture at the tips reads chic and not overdone. I use a light root-lifting spray, then separate strands with fingers. I’ve noticed a 30 percent longer perceived salon look when clients embrace a slight root contrast, it adds depth.
Mistake to Avoid:
Over-toning roots to a single flat color, which kills dimension.
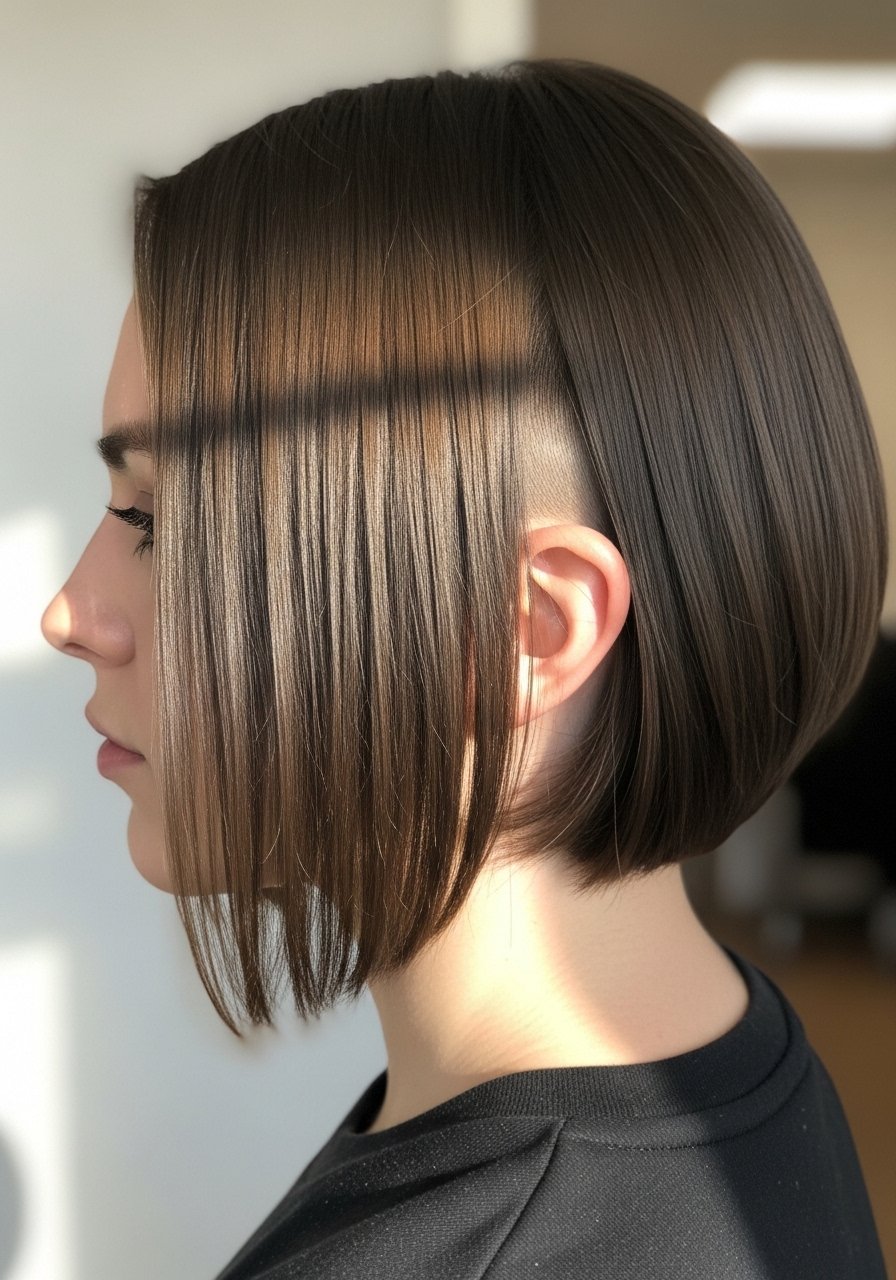
13. Polished Side Part Bob
A deep side part is the easiest shortcut to polish. I carve the part with a pointed comb and blow-dry the heavier side smooth. A touch of ceramic-flat-iron control on ends locks it in. I once did this for an interview day and people commented the hair looked structured and professional without being stiff.
Mistake to Avoid:
Forcing a side part that doesn’t follow your natural part, which creates odd cowlicks.
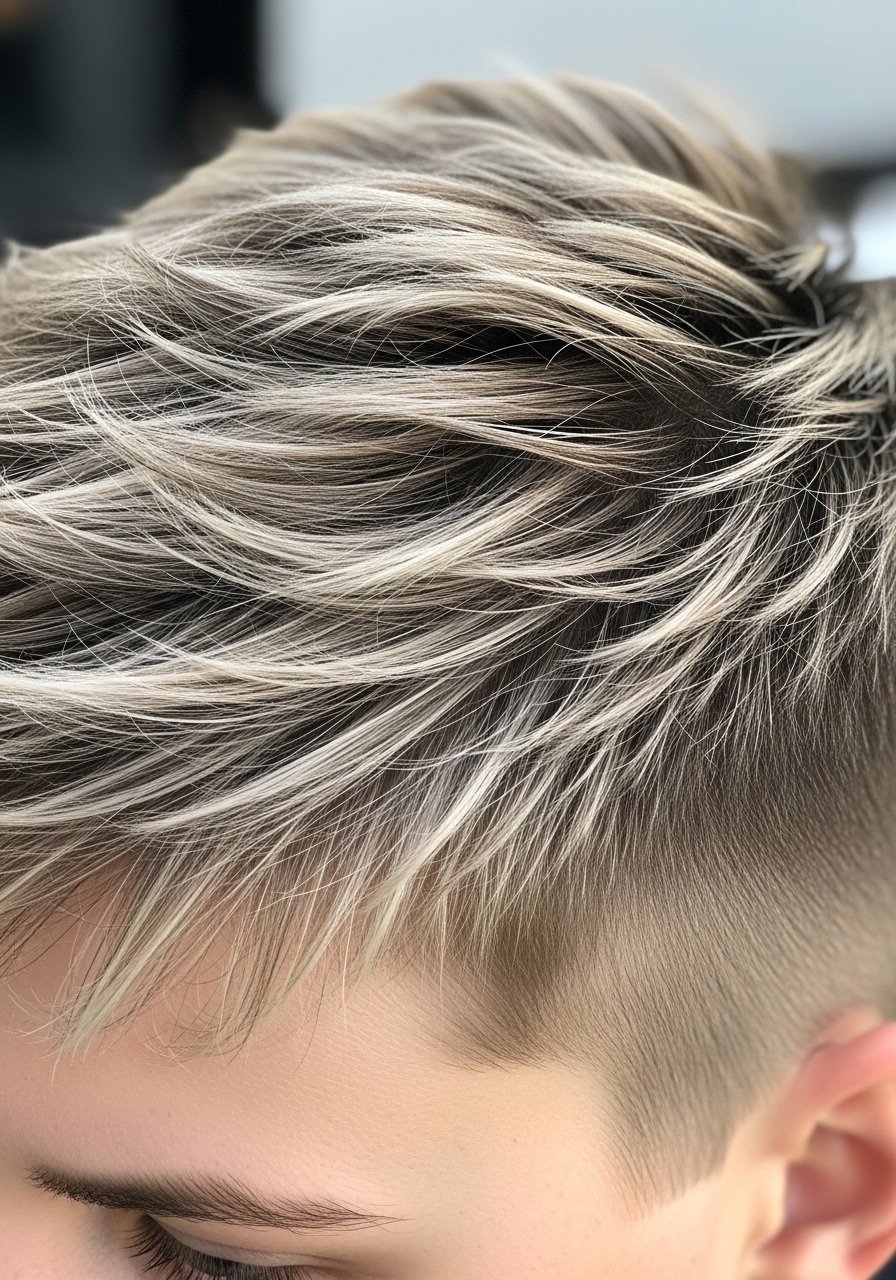
14. Soft Pompadour Crop
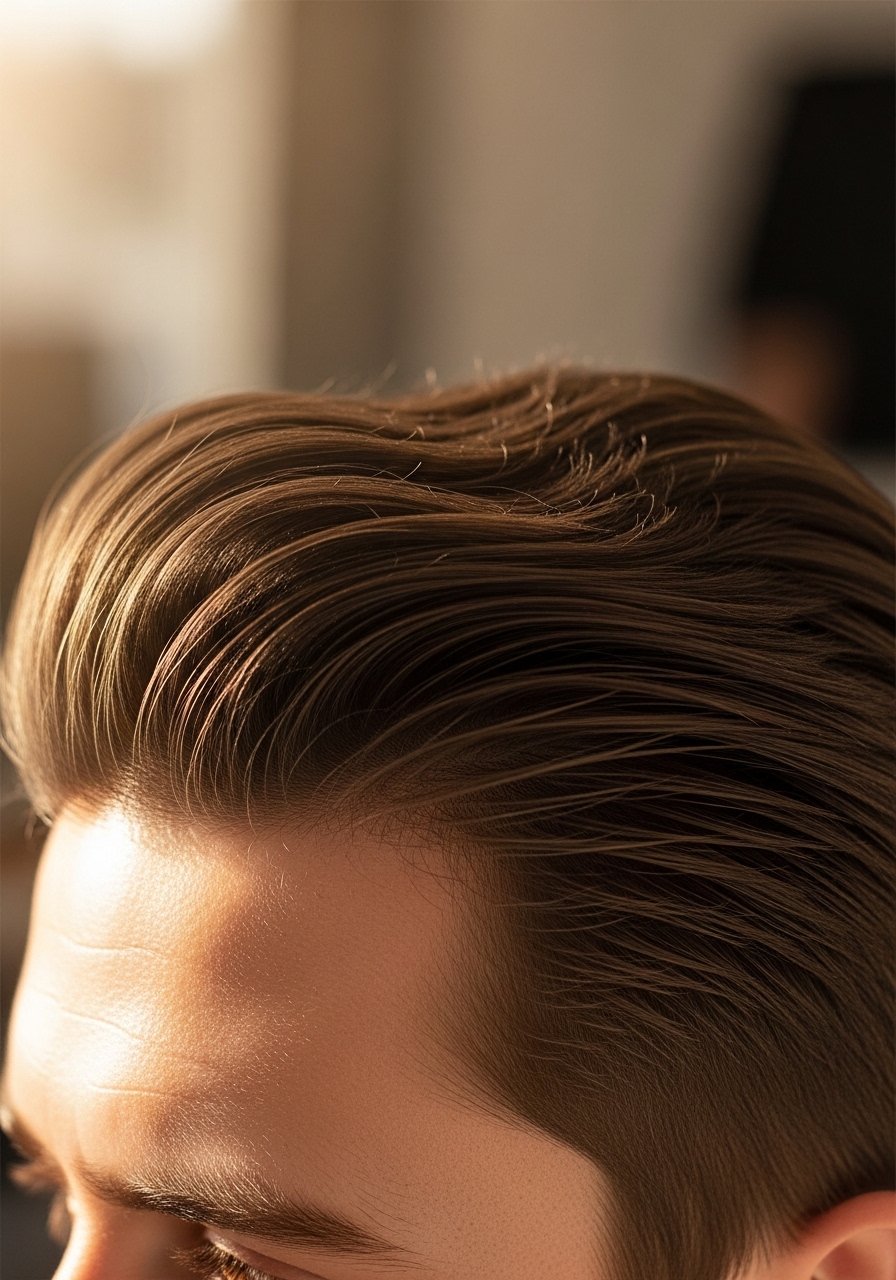
A pompadour on short hair says intentional style. I blow-dry forward, then lift at the roots with a vent-brush, finishing by sweeping the front back and pinning lightly if needed. A texturizing spray helps hold the shape. I’ve noticed people often assume more time went into this than I actually spent.
Mistake to Avoid:
Over-teasing the crown, which makes hair look frizzy rather than shaped.
15. Raggedy Chic Crop with Metallic Clips
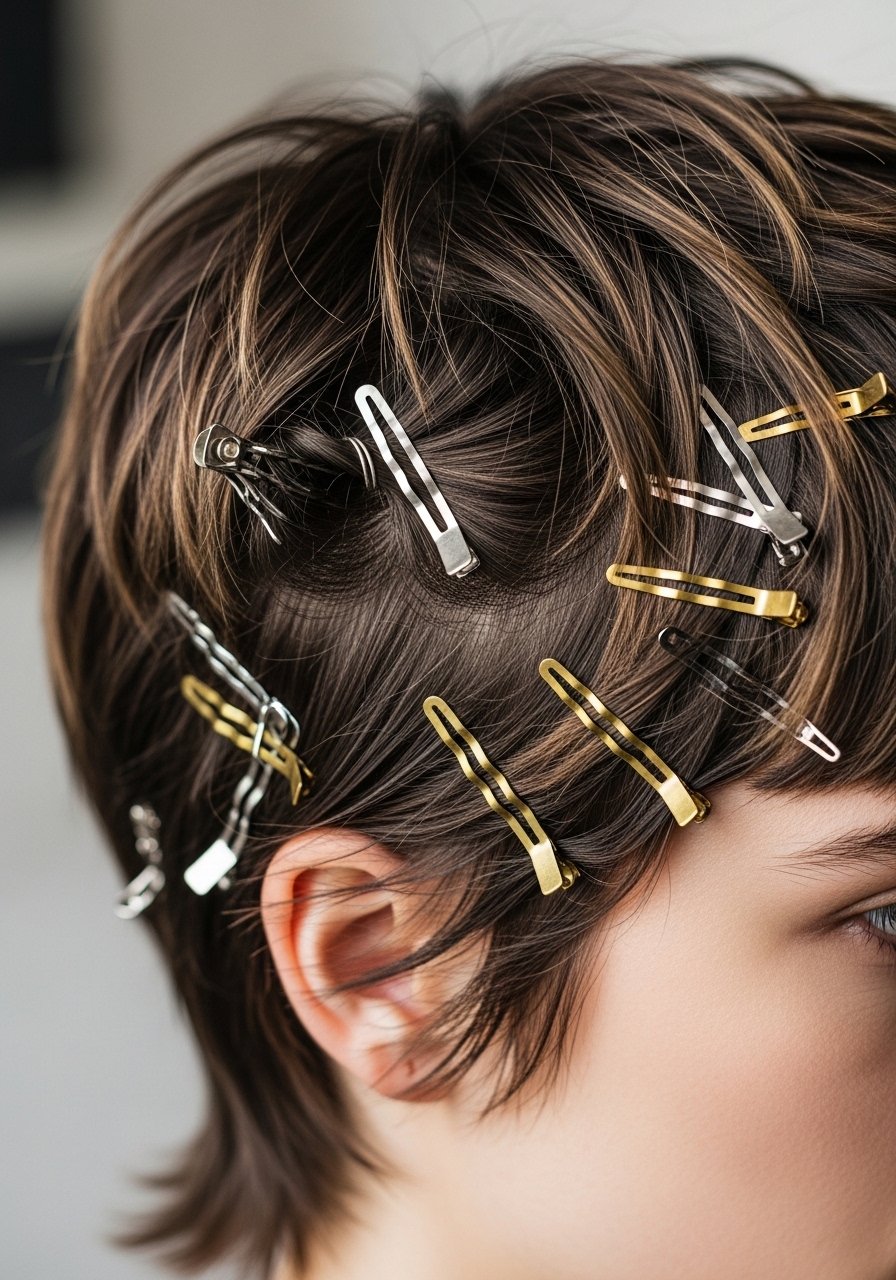
Accessories sell looks. I style a messy crop, then add 1 or 2 metallic clips near the ear for an editorial finish. Use clips that match your outfit to feel cohesive. I started doing this when I needed instant polish for a casual shoot, and it made the hair read designer in photos.
Mistake to Avoid:
Over-accessorizing both ears, which looks cluttered instead of curated.
16. Wispy Bangs with Short Layers
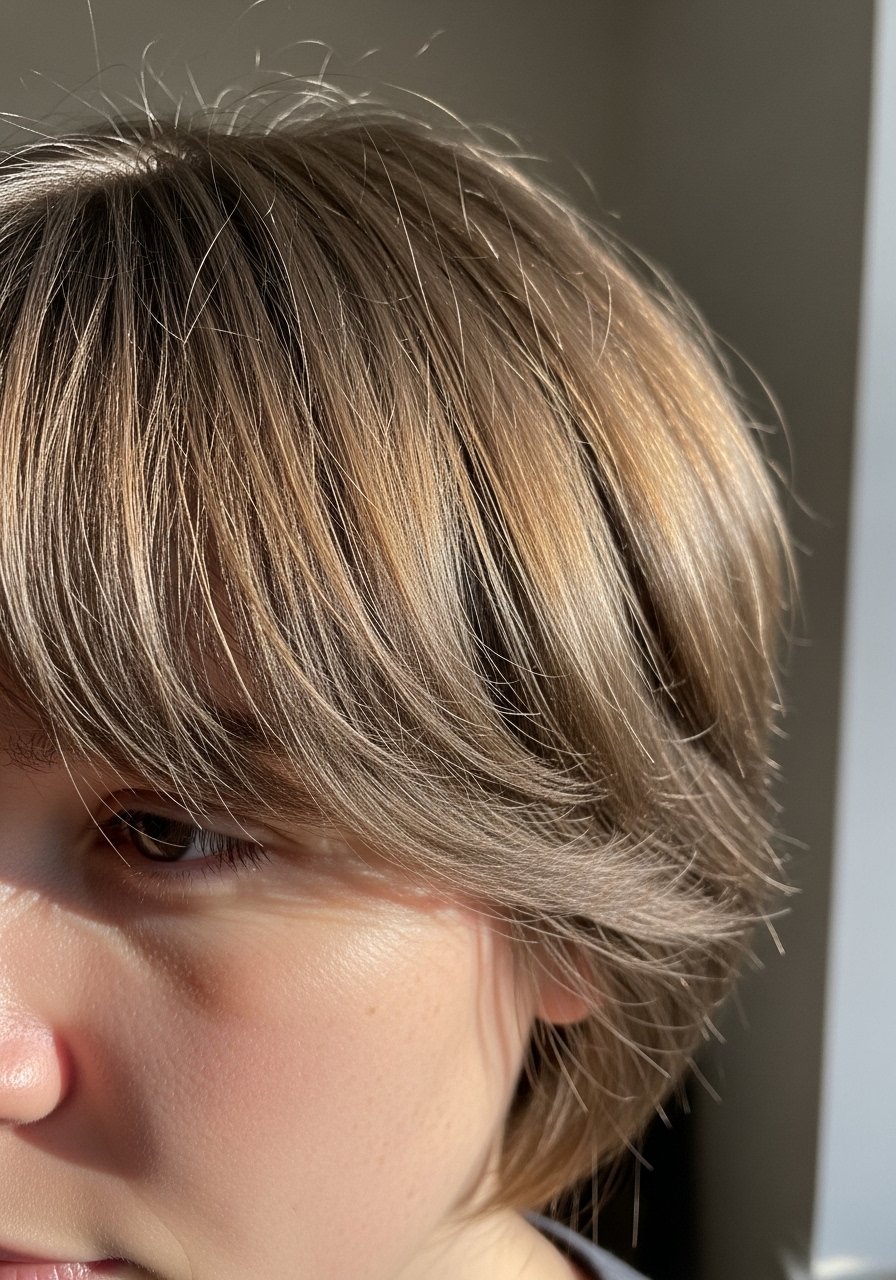
Wispy bangs soften short cuts and feel upscale when they sit right. I point-cut tiny sections to avoid bluntness, then style with a round brush. A light mist of spray keeps them in place without stiffness. I find clients who try wispy bangs often say it made their face look softer and more balanced.
Mistake to Avoid:
Cutting bangs too blunt or thick, which dates the style.
17. Undercut Bob with Smooth Top
An undercut hides edge while keeping a polished top. I keep the top sections long enough to drape while the undercut reduces bulk. This one looks expensive because of the precise contrast. I used this on a client with thick hair to make styling faster and she loved the reduced drying time.
Mistake to Avoid:
Making the undercut too visible for conservative workplaces unless you're sure about the setting.
18. Curled-In Ends Bob
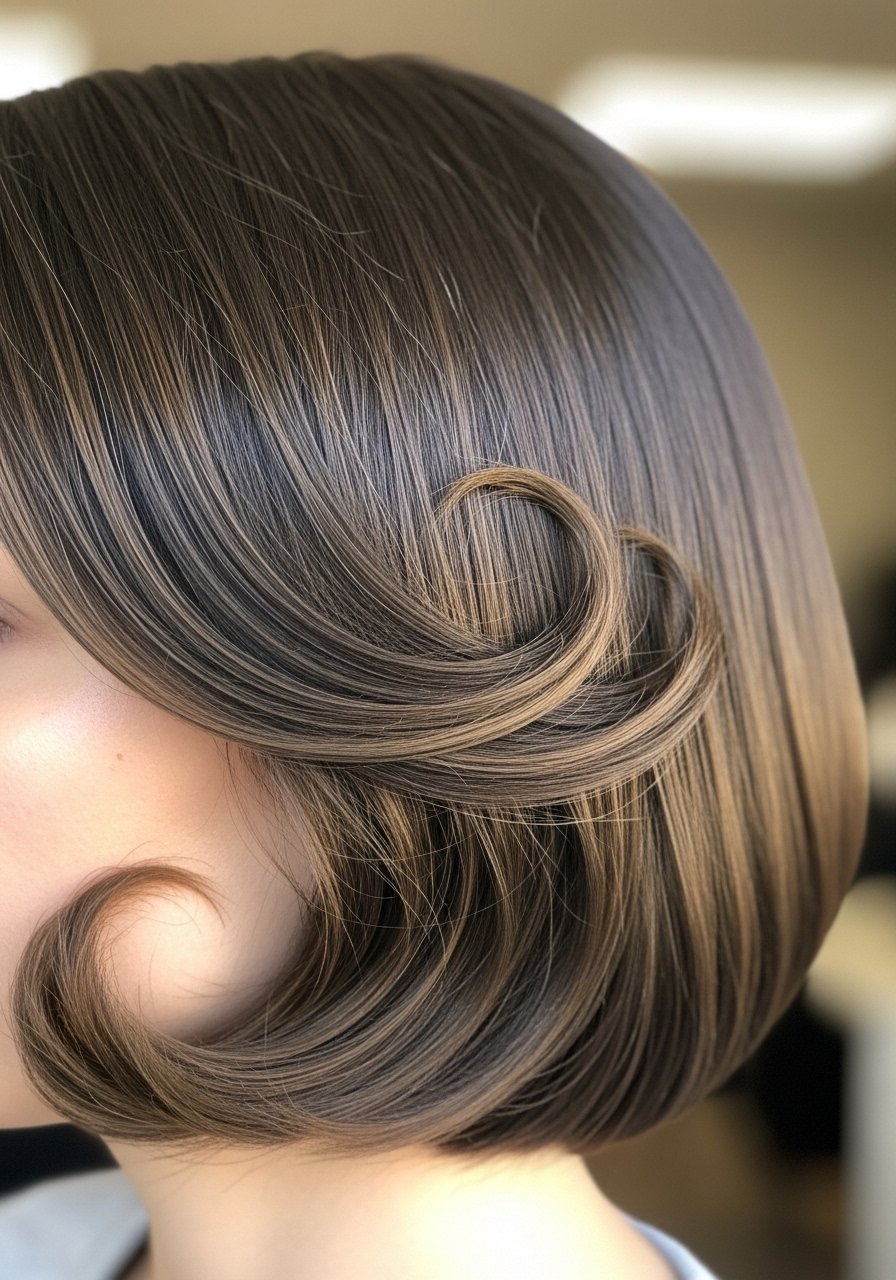
Curling the ends inwards gives a timeless, expensive vibe. I wrap small sections under on a flat iron and finish with a bit of shine. Easy and retro without being costume-y. I’ve noticed this move makes photographs lean more editorial than casual.
Mistake to Avoid:
Leaving too many heat marks, which makes the curl look forced.
19. Shiny Sculpted Pomade Look
Pomade can read luxury when used sparingly. Warm a finger-tip amount, sculpt the hair into place, then smooth with a light spray. I tried this trick before a press day and the hair looked intentionally styled rather than messy. Ideal for shorter lengths that take shape easily.
Mistake to Avoid:
Using bar soap slick instead of a proper pomade, which leaves residue.
20. Side-Swept Micro Bob
Short and precise, the micro bob feels modern and tailored. I smooth it with a flat iron and tuck one side behind the ear. A lightweight shine finish keeps it polished. I once converted a client from long hair to this, and she said it made her daily routine noticeably faster.
Mistake to Avoid:
Leaving uneven ends; micro bobs need crisp finishes.
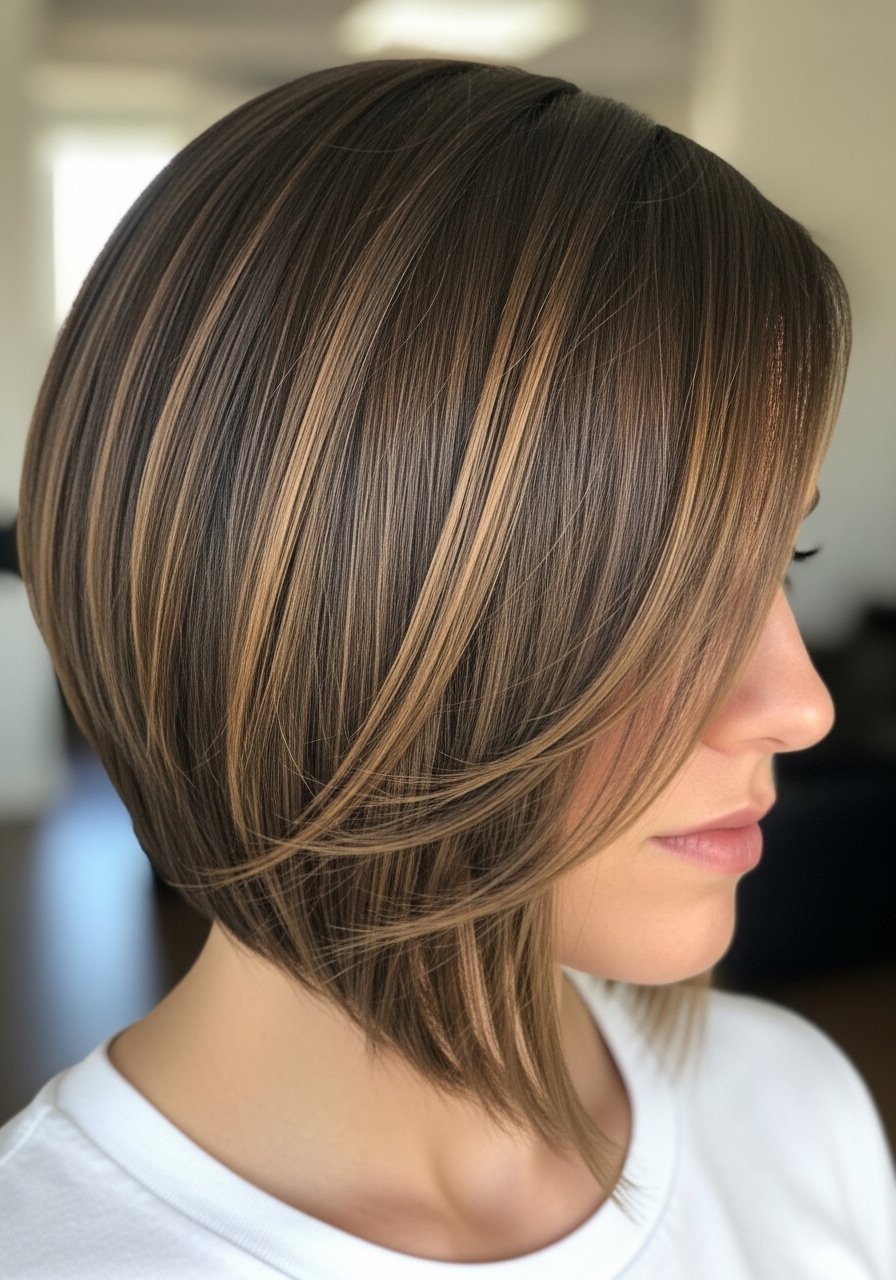
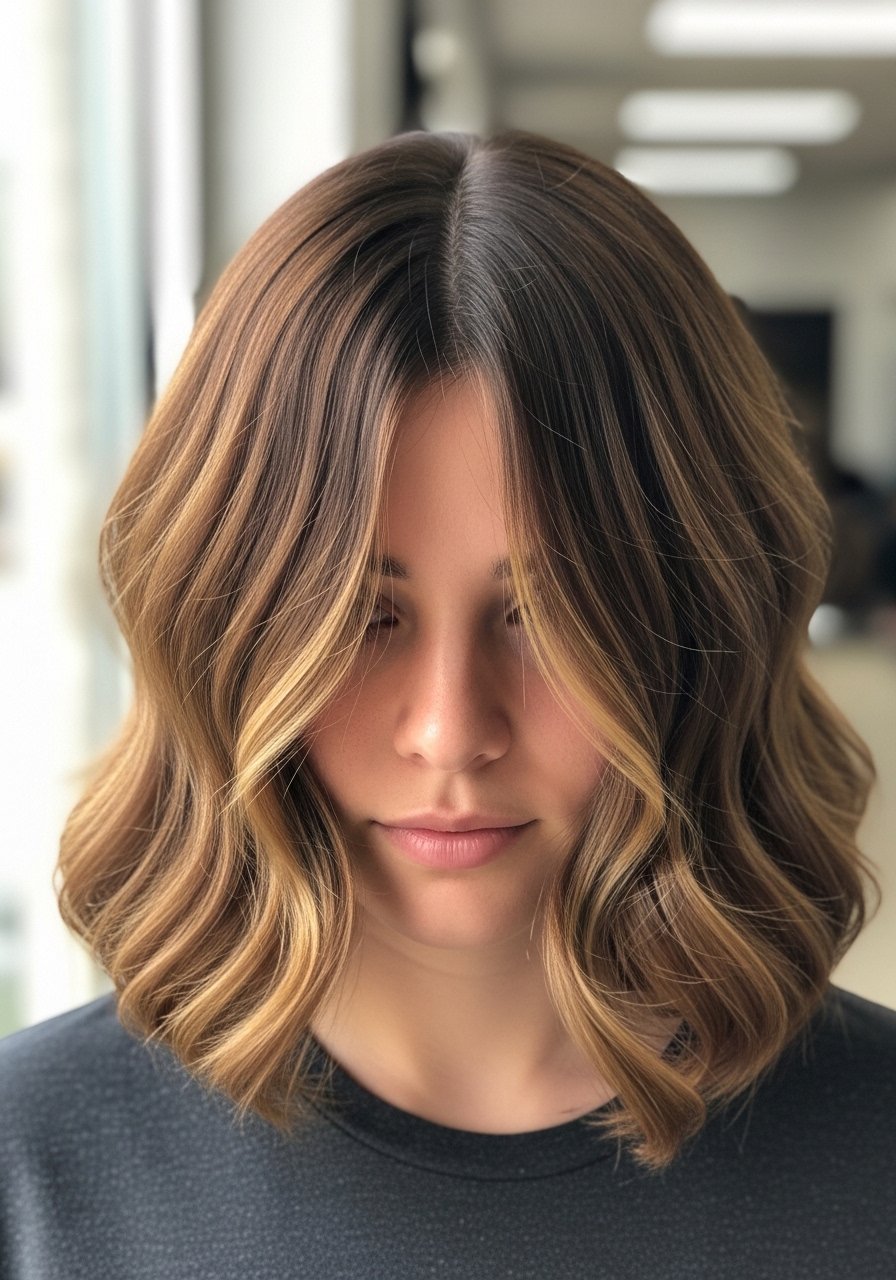
21. Short Hair with Glossy Balayage
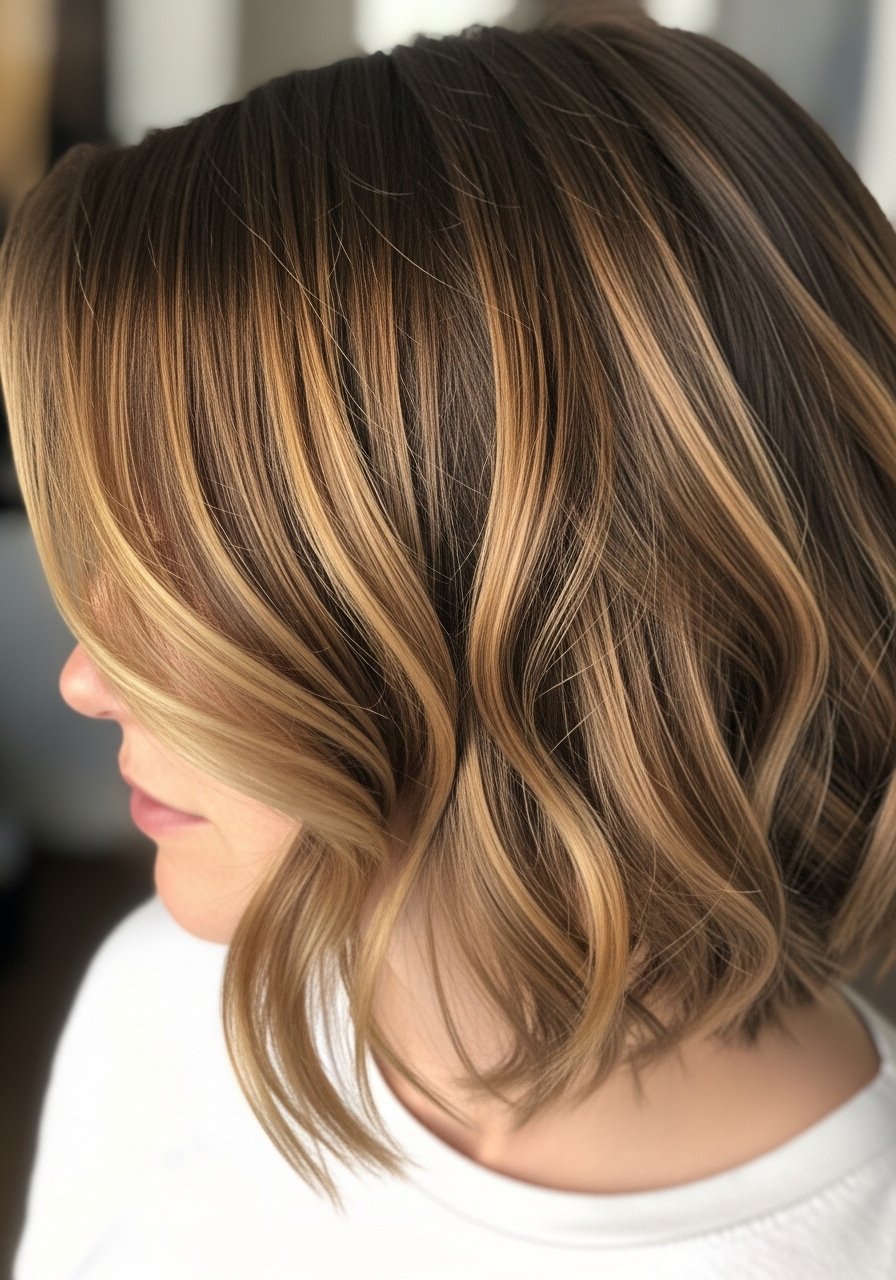
Color can make a short cut look expensive. I ask for soft balayage highlights that catch light on movement. A few warm tones near the face lift the look without overwhelming it. I’ve seen clients report that softer contrast lasts visually longer between appointments.
Mistake to Avoid:
Going too high-contrast, which makes regrowth obvious quickly.
22. Brushed-Forward Caesar Crop
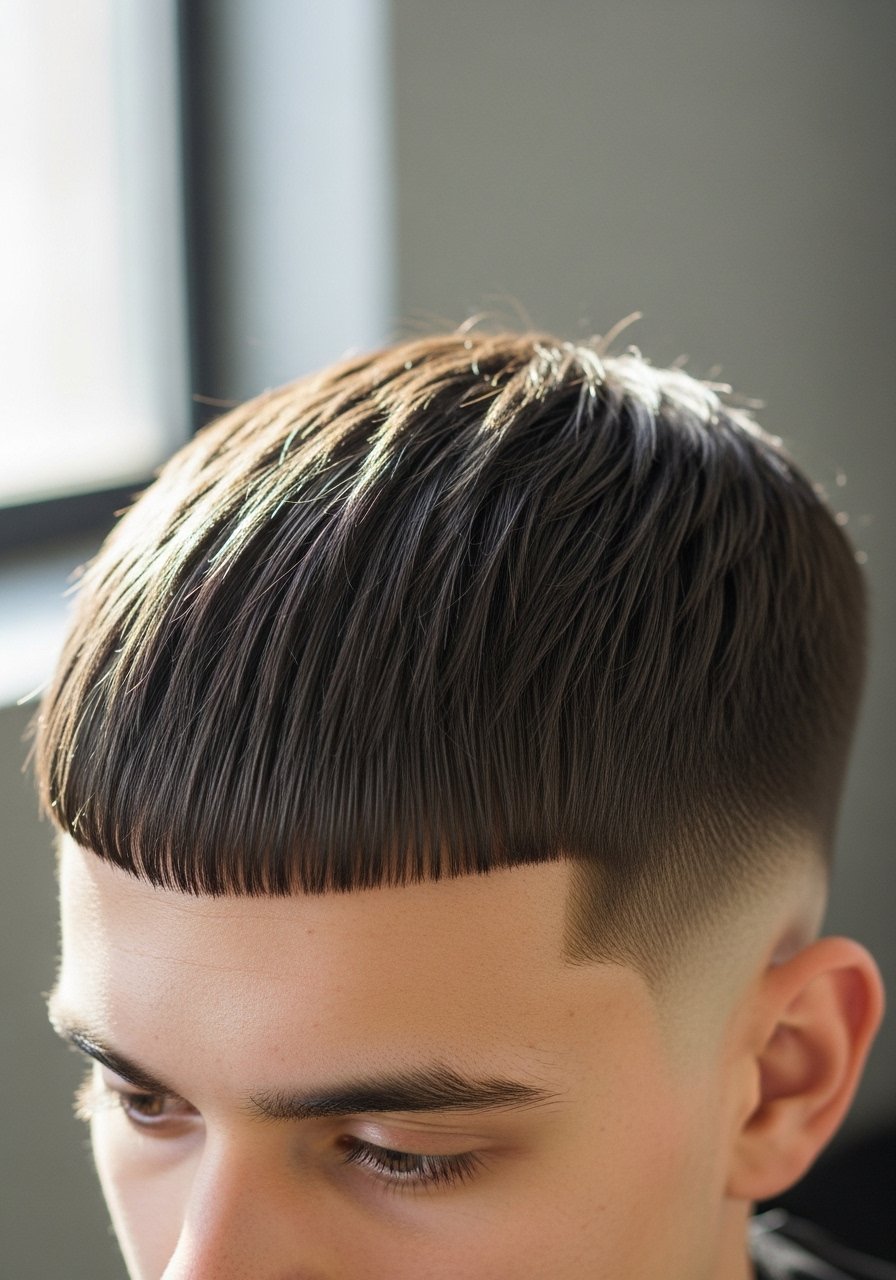
The Caesar is neat and modern with a brushed-forward fringe. I texturize the crown and use a matte paste to keep the shape natural. It’s one of those styles people assume took more effort than it does. On thicker hair it gives structure without weight.
Mistake to Avoid:
Cutting the fringe unevenly, which throws off the whole shape.
23. Braided Accent on Short Hair
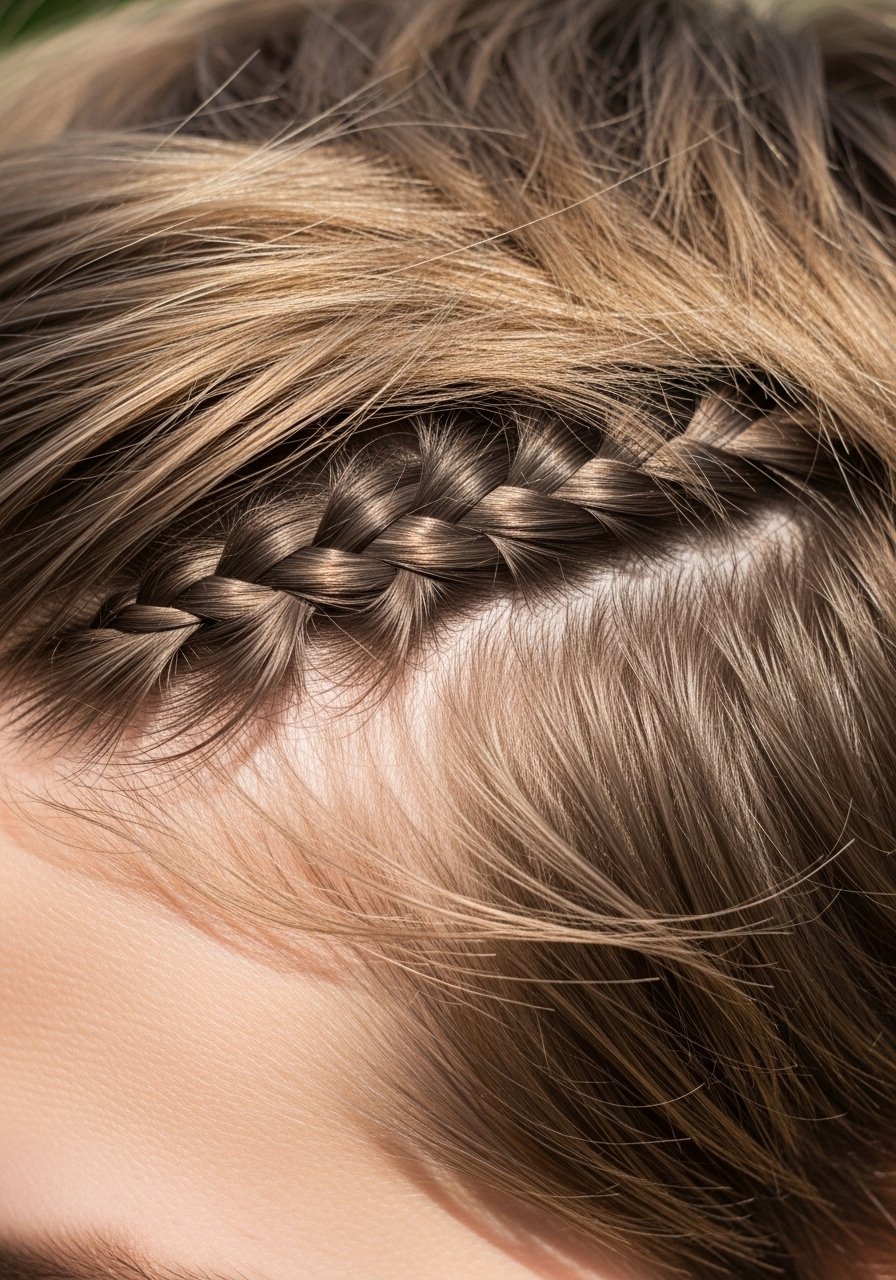
A small braid along the hairline or temple adds polish and interest. I usually braid a 1-inch section and pin it, leaving the rest loose. It feels intentional but low maintenance, the kind of detail people remember from photos. Try a metallic pin to secure it.
Mistake to Avoid:
Braiding too tight, which pulls and looks amateurish.
24. Short Tousled Waves with Deep Part
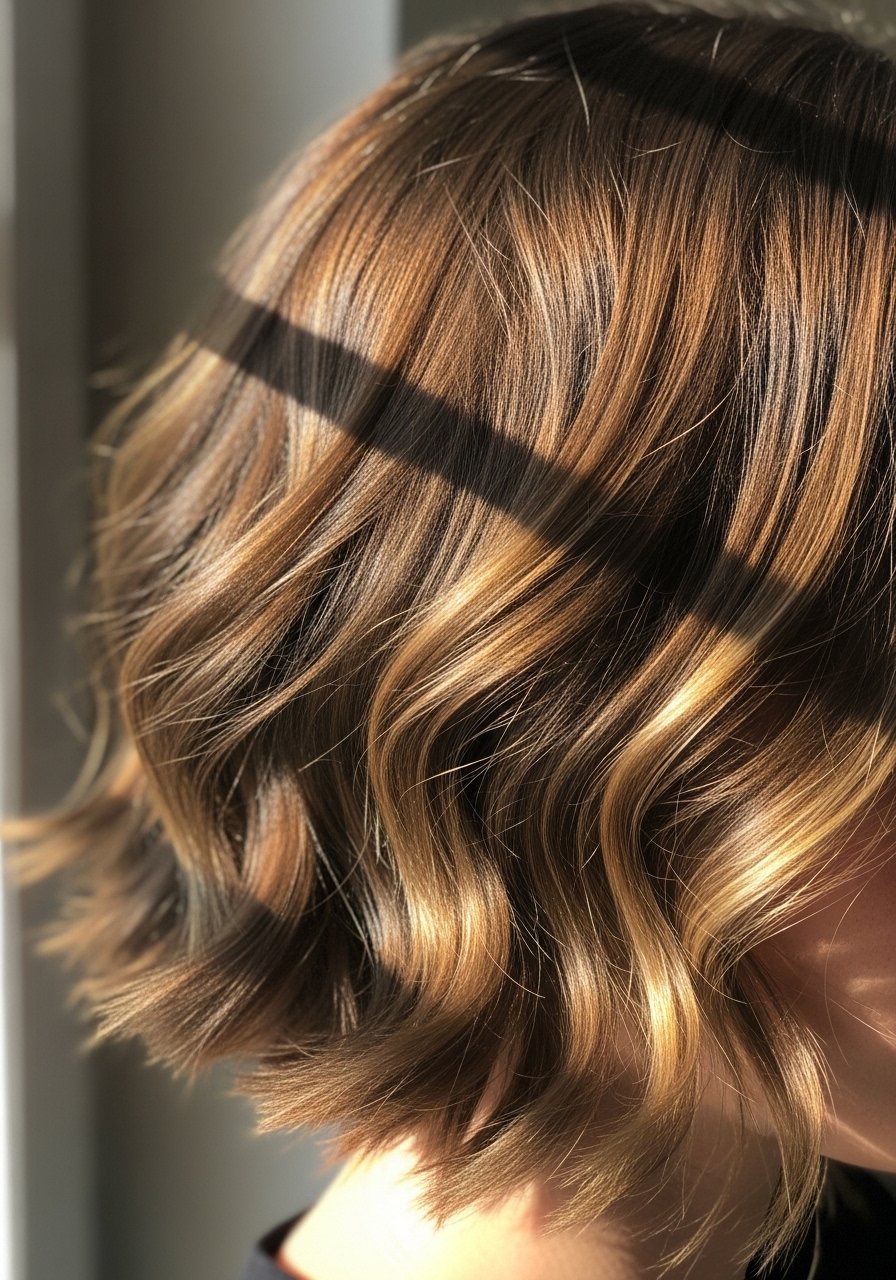
Tousled waves with a deep part read rich because of contrast. I create waves with a curling iron, then break them up with fingers and a light texturizer. I’ve found clients who try this get more day-two life out of waves than tight ringlets.
Mistake to Avoid:
Using a heavy hairspray, which reduces movement and looks stiff.
25. Polished Curtain Waves on Short Length
Curtain waves scaled to short hair feel refined. I curl sections away from the face, then brush through gently to soften. A tiny serum finish adds just enough shine. I used this look for a dinner and it read like a carefully styled red carpet moment without the fuss.
Mistake to Avoid:
Over-brushing and turning waves into a flat shape.
26. Short Hair with Subtle Razor Texturing
Razor texturing can make short hair look editorial when done subtly. I use the razor only in the ends for movement, not chops. Clients often tell me their hair feels lighter but looks fuller after, because the texture creates visual density. Keep it soft.
Mistake to Avoid:
Razor overuse that creates frizz and breakage.
27. Sleek Wet-Look Short Hair
The wet-look is surprisingly chic on short hair. Use a gel that stays glossy without flaking, comb it through and allow to set. I did this for a photoshoot; people assumed it was more complicated than it was. It photographs beautifully and lasts through an evening out.
Mistake to Avoid:
Choosing a product that flakes as it dries, which ruins the effect.
Hair Styling Tips
Prep Matters: Start with a good treatment like olaplex-no-3 once a week, I noticed hair looks healthier and styles sit better.
Product Less, Place Well: Use a small amount of product where you need it, not all over. A pea-sized shine-serum on tips often outperforms globbing product on roots.
Tool Temperature: Keep irons at the lowest effective heat. I set mine lower for short hair, it prevents damage and keeps ends smooth. Consider a ceramic-flat-iron with adjustable heat.
Drying Technique: Blow-dry with a vent brush for volume, or diffuse on low for curls. I learned the hard way that towel-rubbing ruins shape; always blot instead.
Accessorize Thoughtfully: Simple clips or a single barrette upgrade a short do instantly. I recommend fine metallic clips rather than chunky clips for a refined look, try a set that complements your jewelry.
Maintain the Cut: Book small trims every 6 to 8 weeks. I noticed styles hold their shape longer with minor upkeep, and you avoid the "overgrown" stage that looks tired.
