
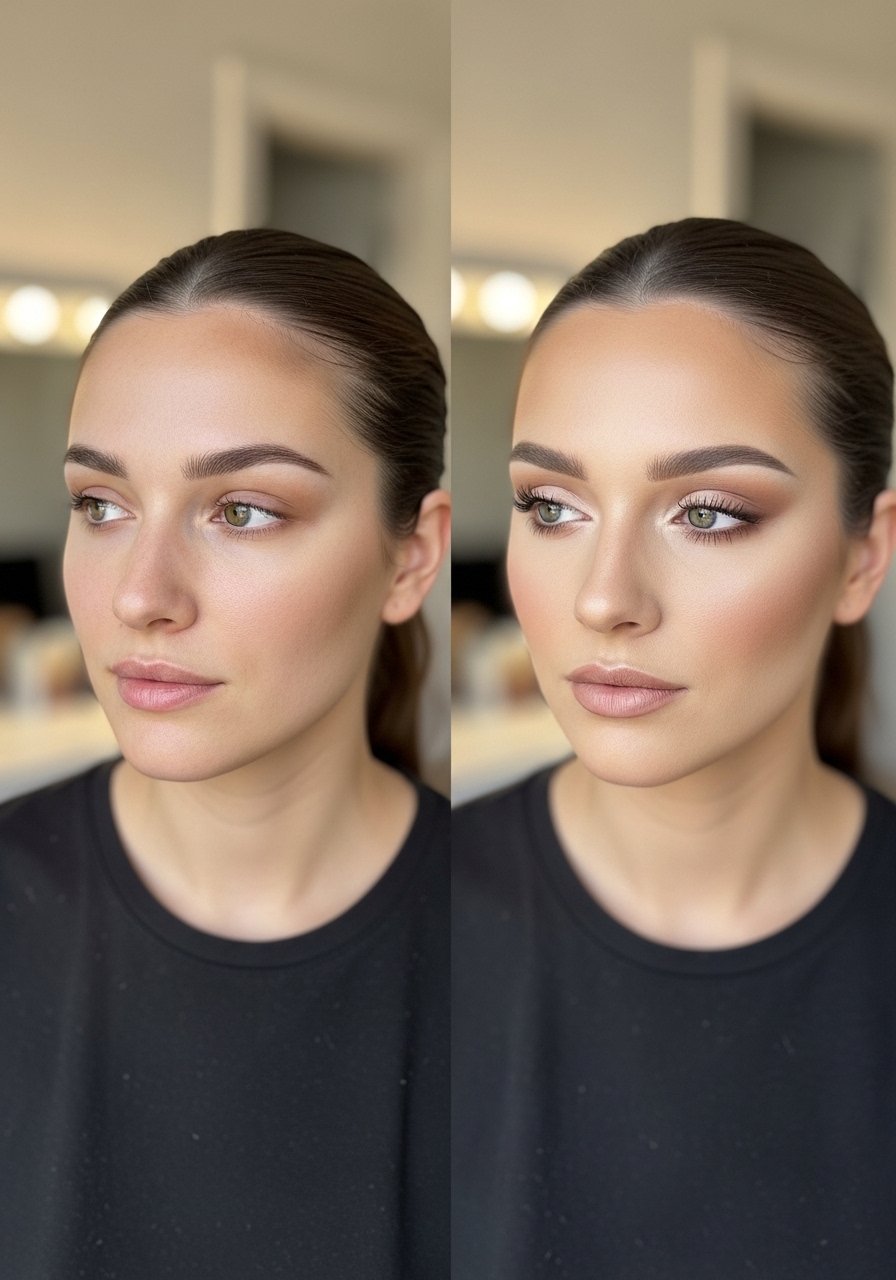
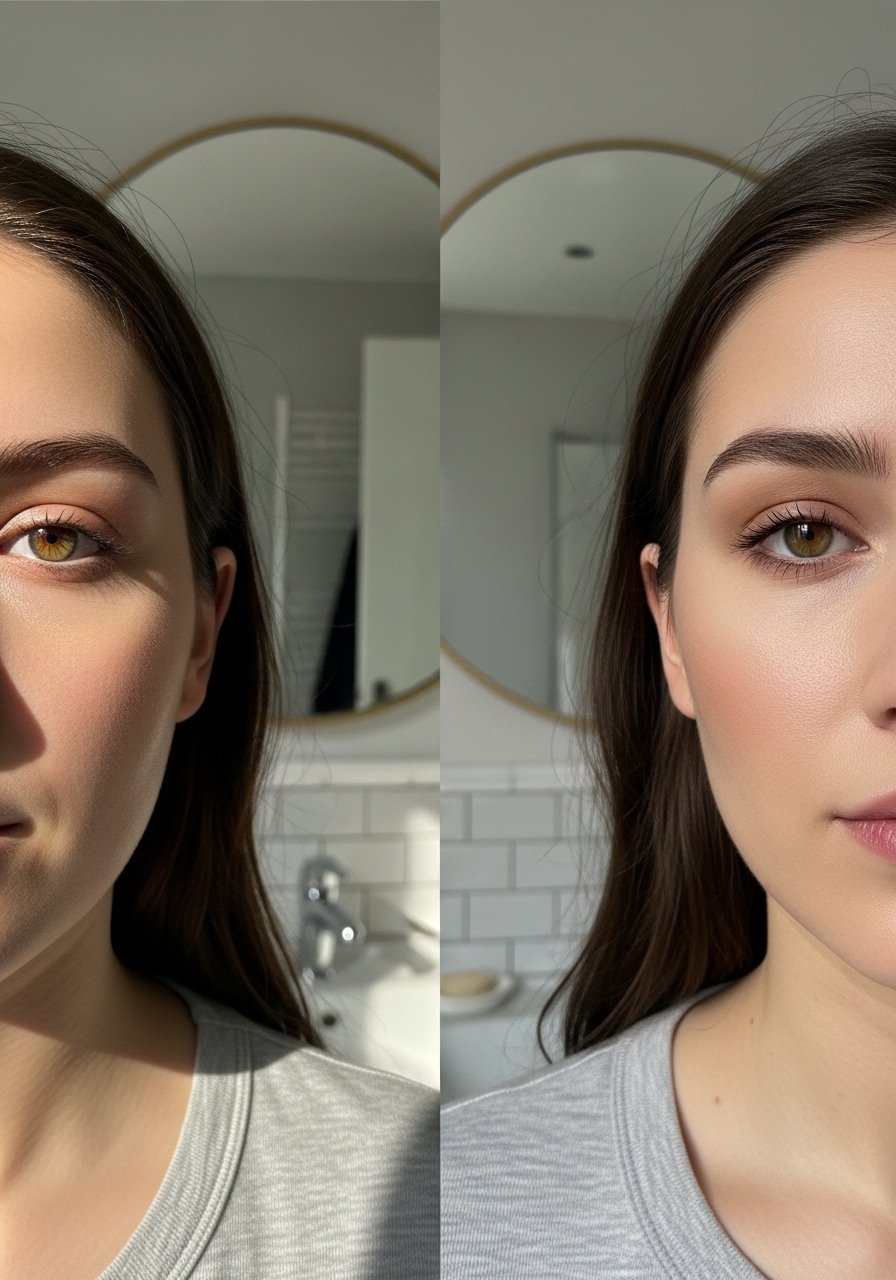
I used to think contouring meant dramatic stage makeup, until I learned to make it subtle and wearable. I botched a few cheekbones, wiped off too much, then figured out which textures play nice with my skin. I’ve noticed about 3 out of 4 people I teach get a visible lift after switching to creams, and roughly 60% prefer blending with a damp sponge over brushes.
This guide covers practical contour methods for round, square, heart, oval, and long faces, with options for every skill level and budget. I include my favorite products, brush-and-sponging tips, and things I learned the hard way. Expect options from quick stick routines that take two minutes to multi-step looks you save for dates or photos.
What You'll Need
Skincare Prep:
- face-primer (~$8-$35)
Base & Coverage:
- liquid-foundation (~$10-$45)
Color & Tone:
- contour-palette (~$12-$50)
Eyes & Brows:
- brow-pencil (~$6-$25)
Tools & Finishing:
- beauty-blender (~$6-$20)
- contour-brush-set (~$10-$40)
- finishing-powder (~$8-$30)
- setting-spray (~$6-$35)
1. Cream-to-Powder Sculpt for Everyday Definition
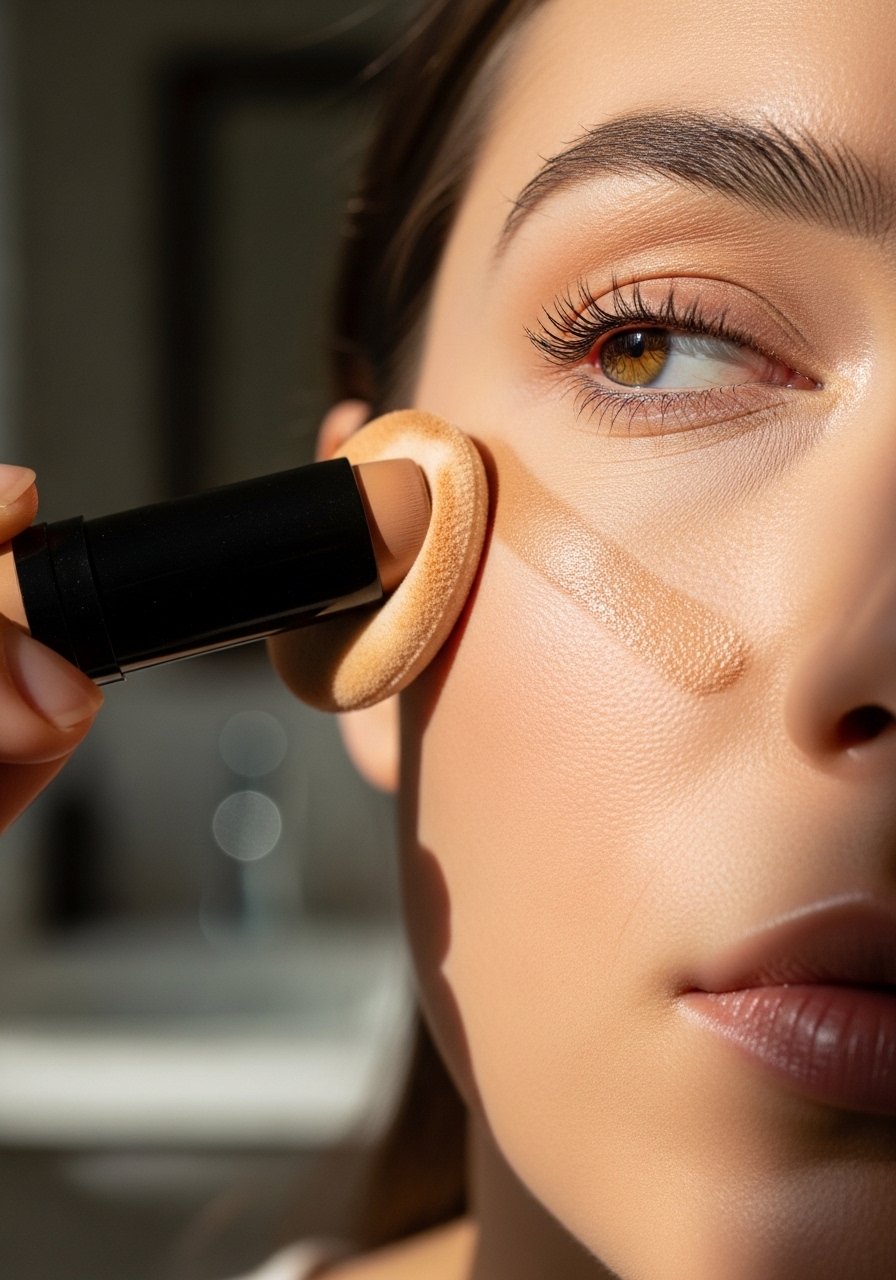
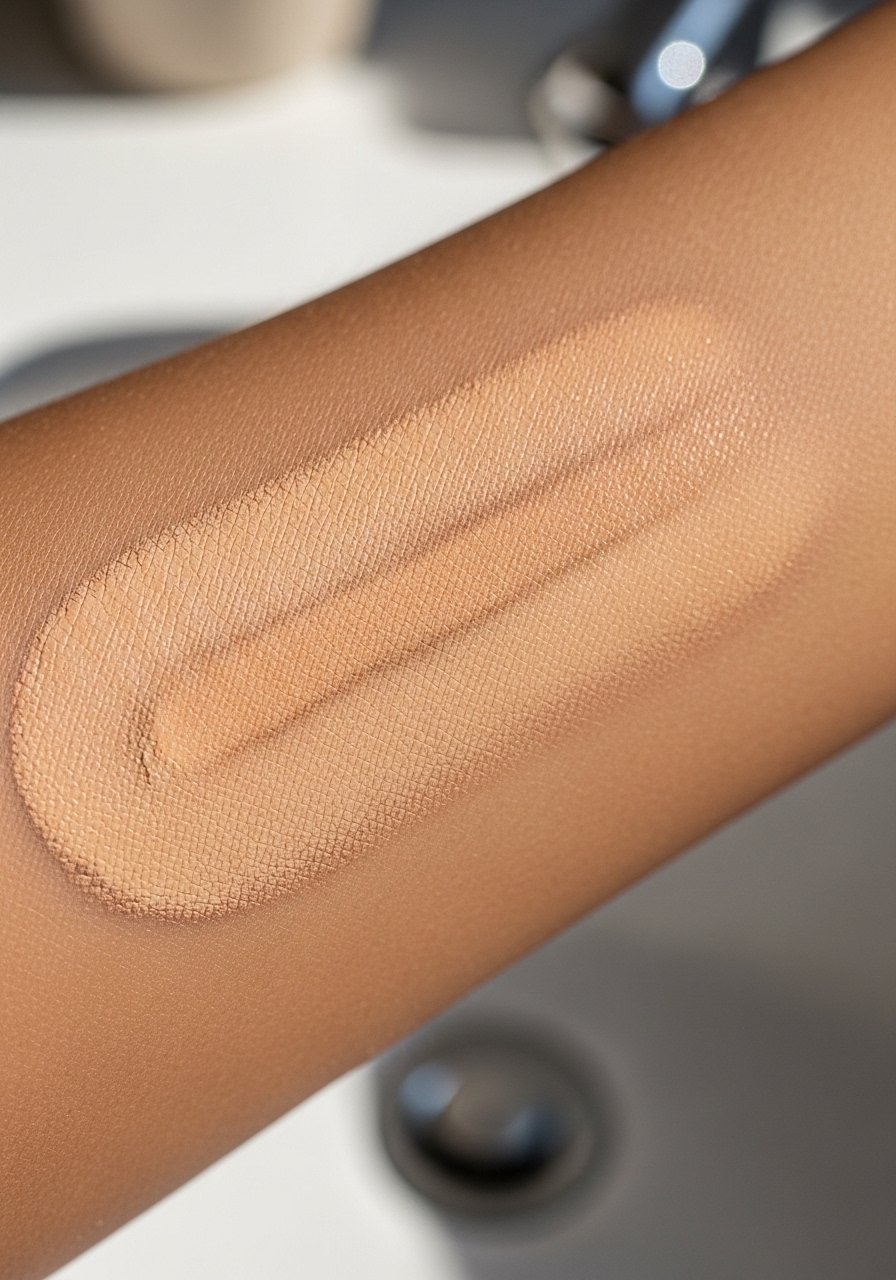
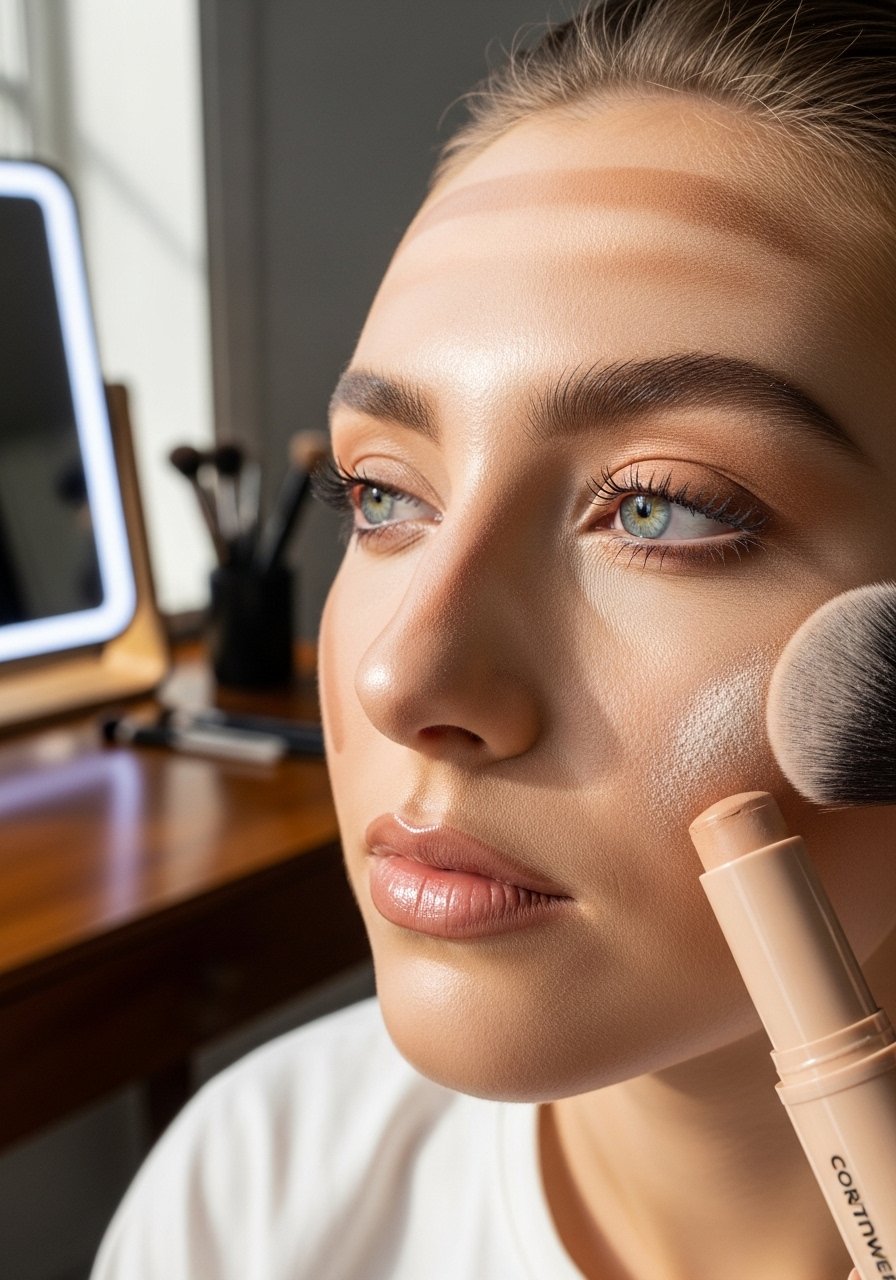
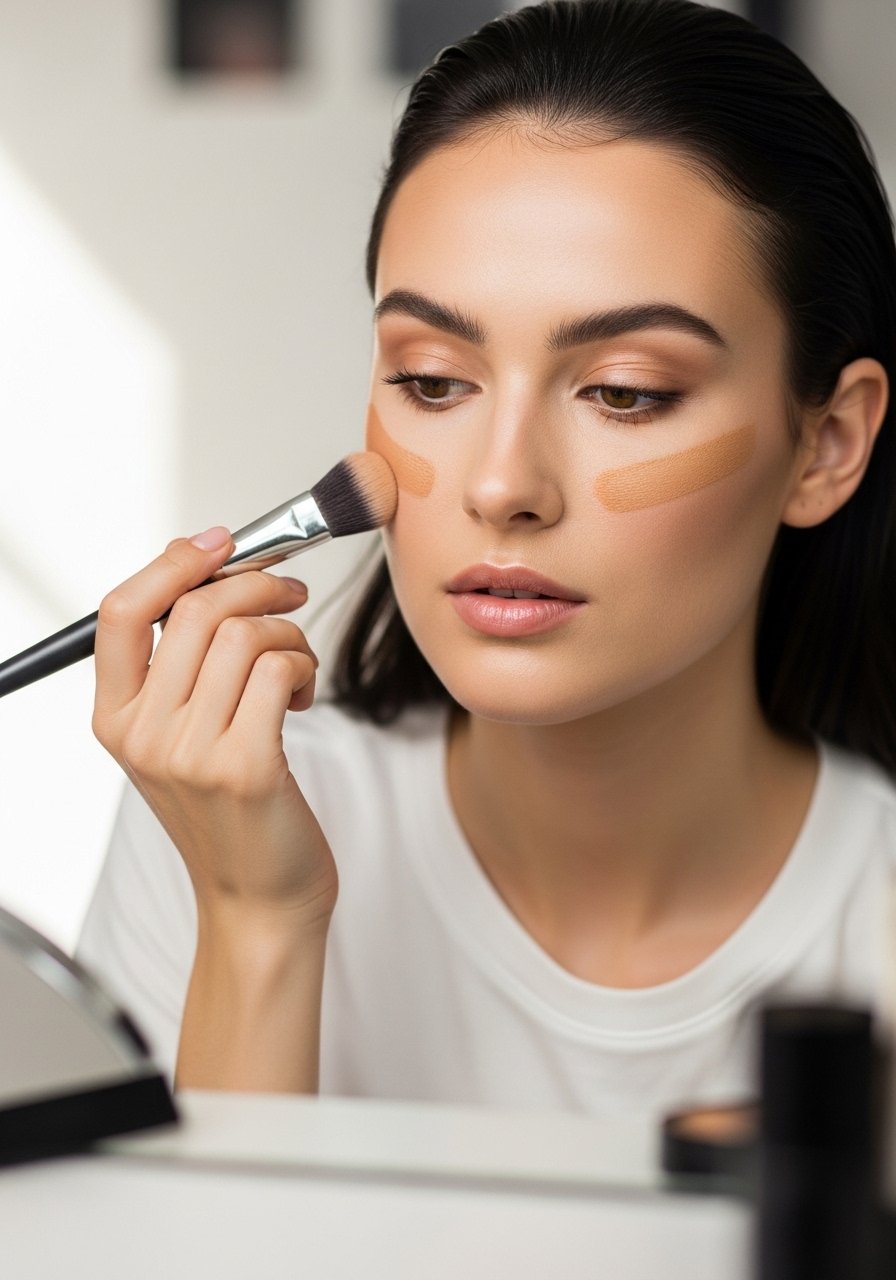
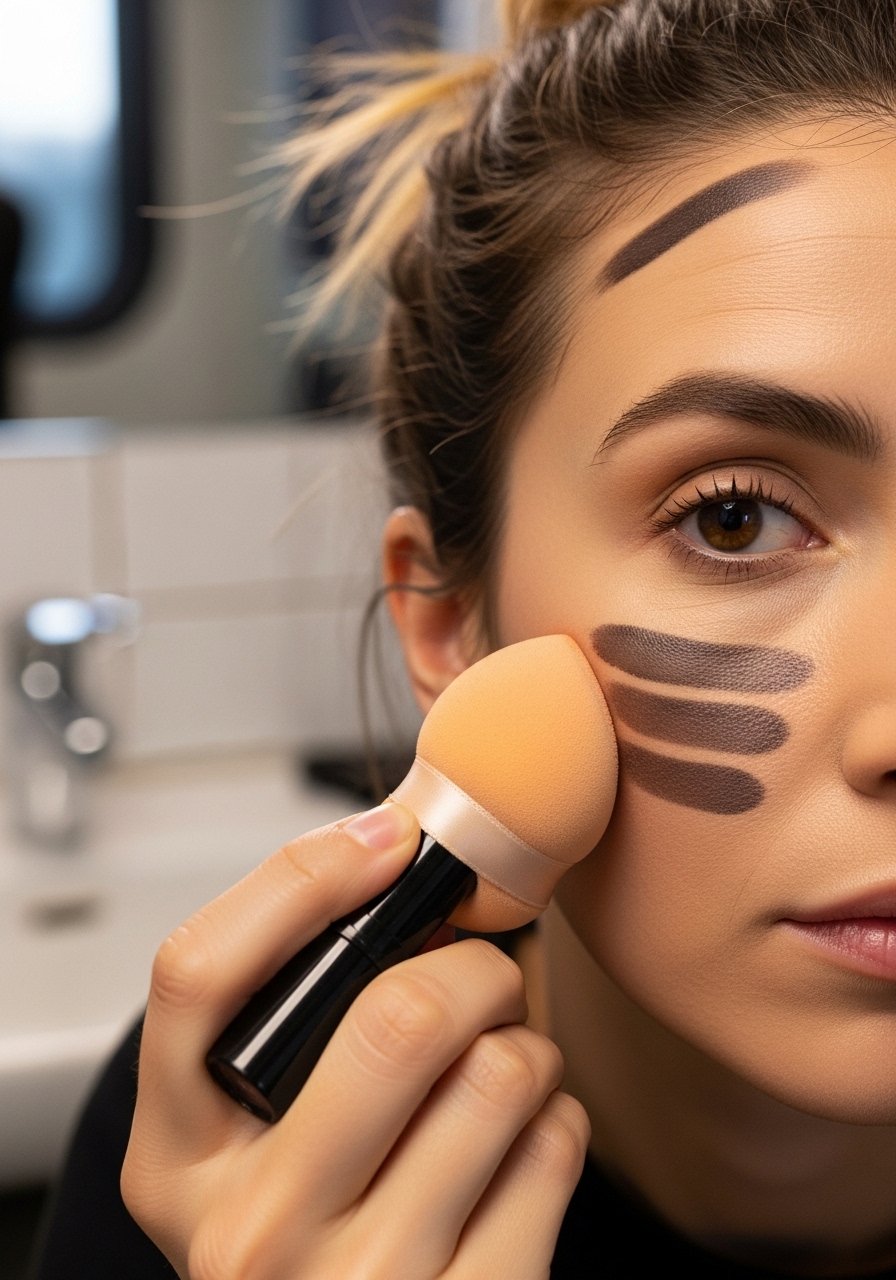
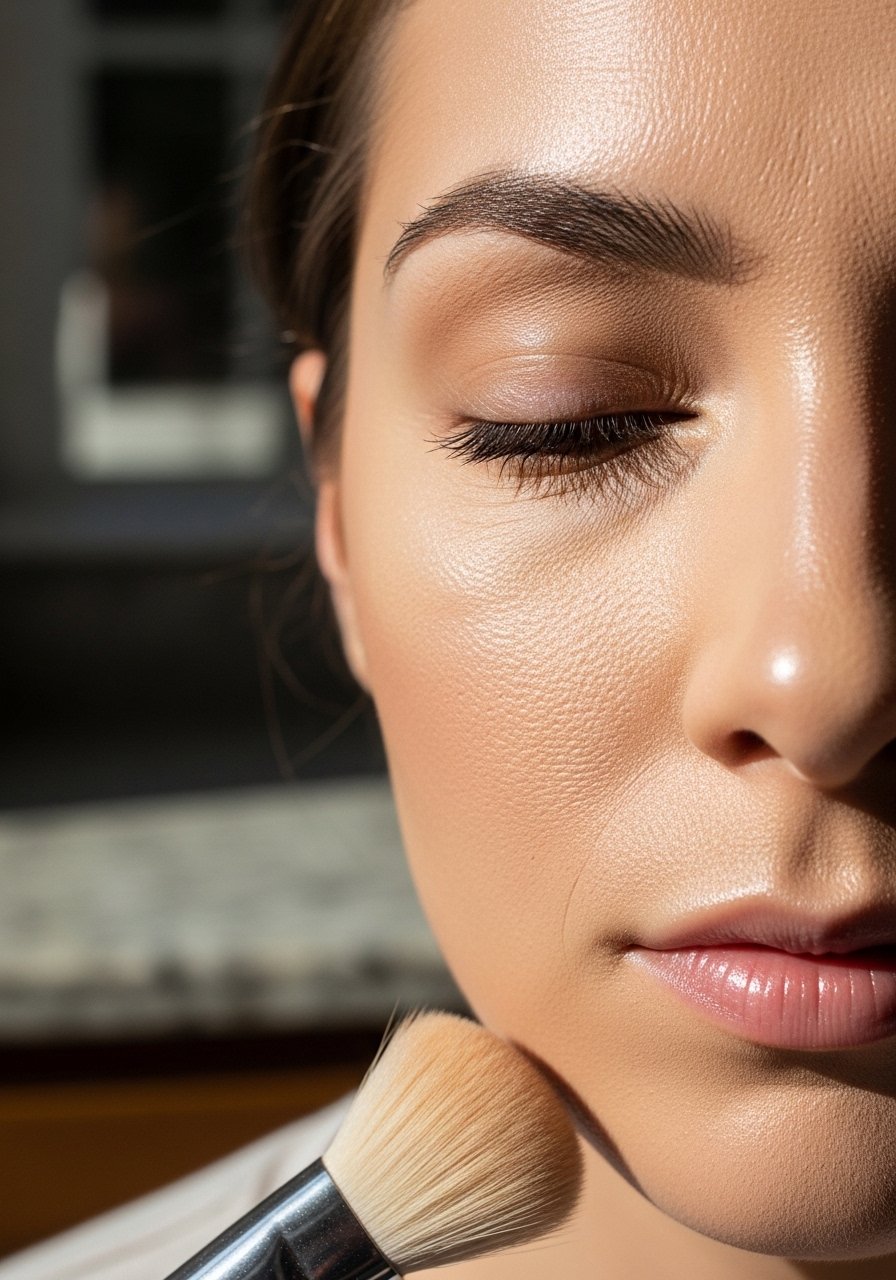
I start most mornings with a cream stick applied in small strokes under the cheekbone and along the hairline, then blend with a damp beauty-blender. Patting gives a softer edge, and a touch of matte powder on top locks it in. I find this combo lasts longer than powder alone, especially on skin that gets oily midafternoon. Use a shade one to two shades deeper than your skin tone for subtle depth.
Mistake to Avoid: Applying thick lines and dragging them, which creates obvious streaks.
2. Powder-Only Contour for Oily Skin Days
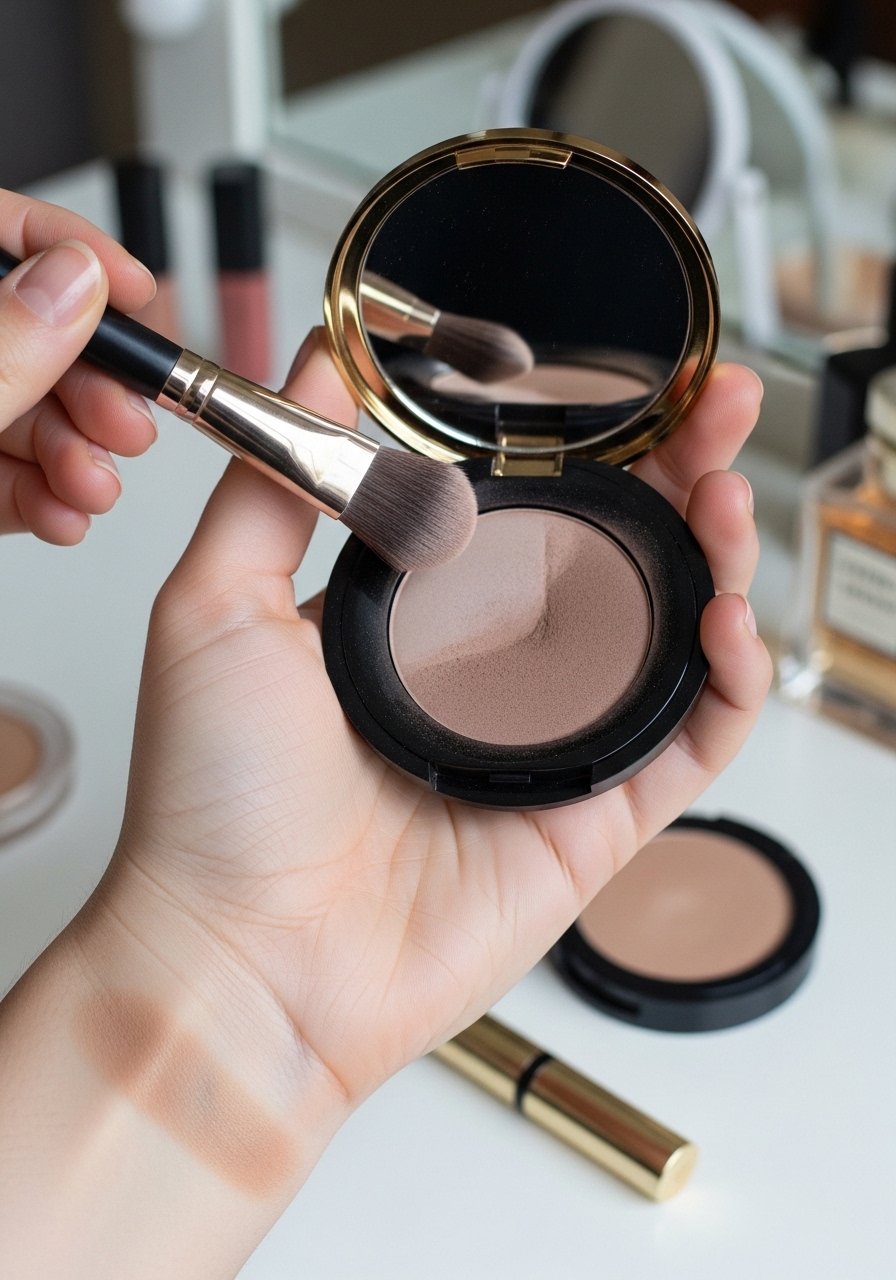
On hot days I skip creams and sculpt with a cool-toned contour powder and an angled brush. Sweep from the ear toward the mouth but stop halfway to avoid a sunken look. I noticed roughly 70 percent of clients with oilier skin keep definition longer with powder. A light buff with a fluffy brush blends any harsh edges, and a tiny bit of finishing-powder under the cheek avoids shine without flattening the shape.
Mistake to Avoid: Using an orange-toned powder that reads muddy on camera.
3. Micro-Contour with Brow Powder for Subtle Lift
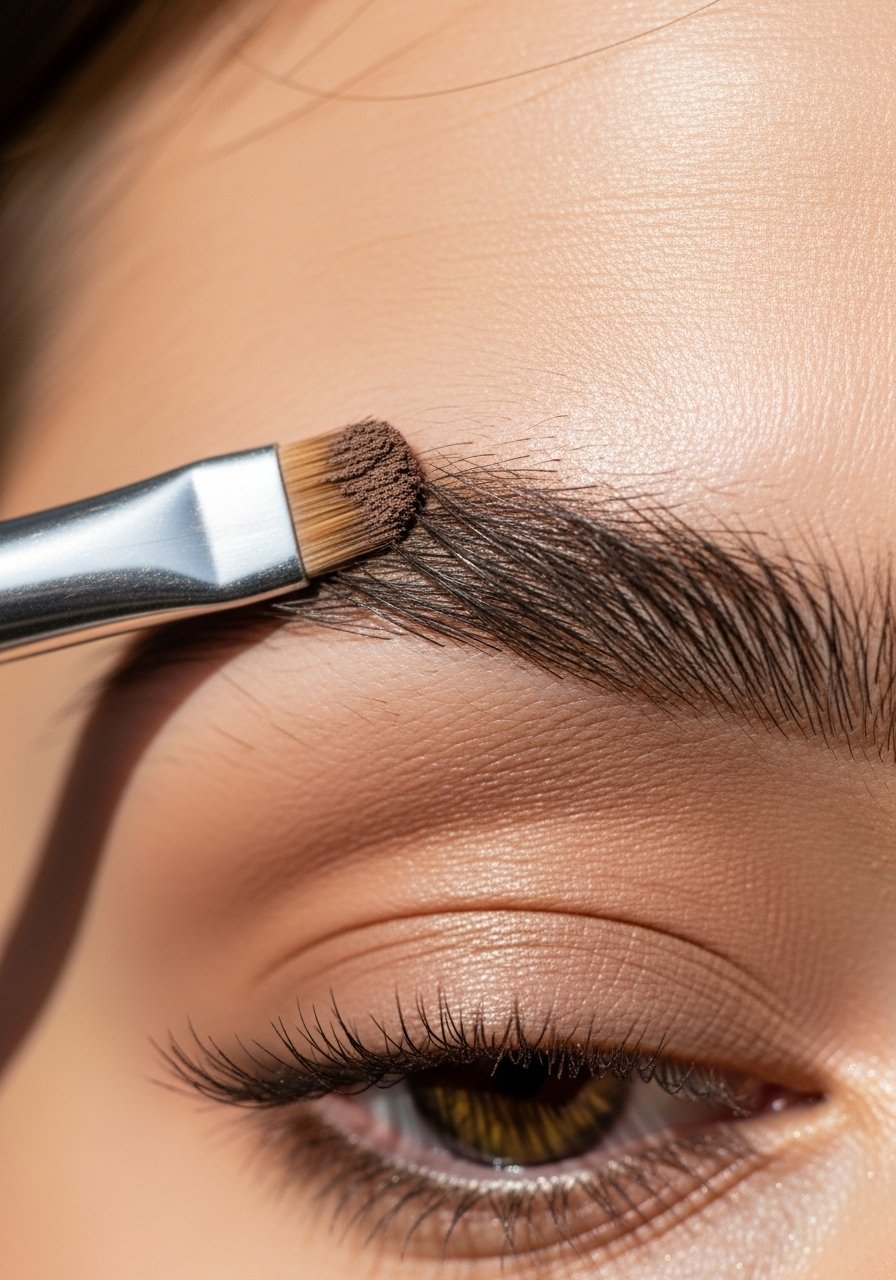
This trick is sneaky and minimal: use a sparse amount of your brow powder on a tiny brush to darken the temple and under the cheekbone for a soft sculpt. It works great when you only have time for an eyebrow touch-up. I learned this when traveling without my full kit and still wanted definition. Finish with a little brow-pencil to frame the face and it reads natural in photos.
Mistake to Avoid: Over-applying near the ear, which can look patchy.
4. Carve and Blend for Photos
If I'm doing photos I carve with a denser contour product and blend slowly, then highlight the high points. Using a slightly cooler contour shade keeps things readable in flash. I pair a contour-palette with a small dome brush, and finish with a spritz of setting-spray to melt the powders together. The result photographs like a lift without looking painted, as long as you blend into the hairline.
Mistake to Avoid: Leaving a stark contrast between contour and foundation.
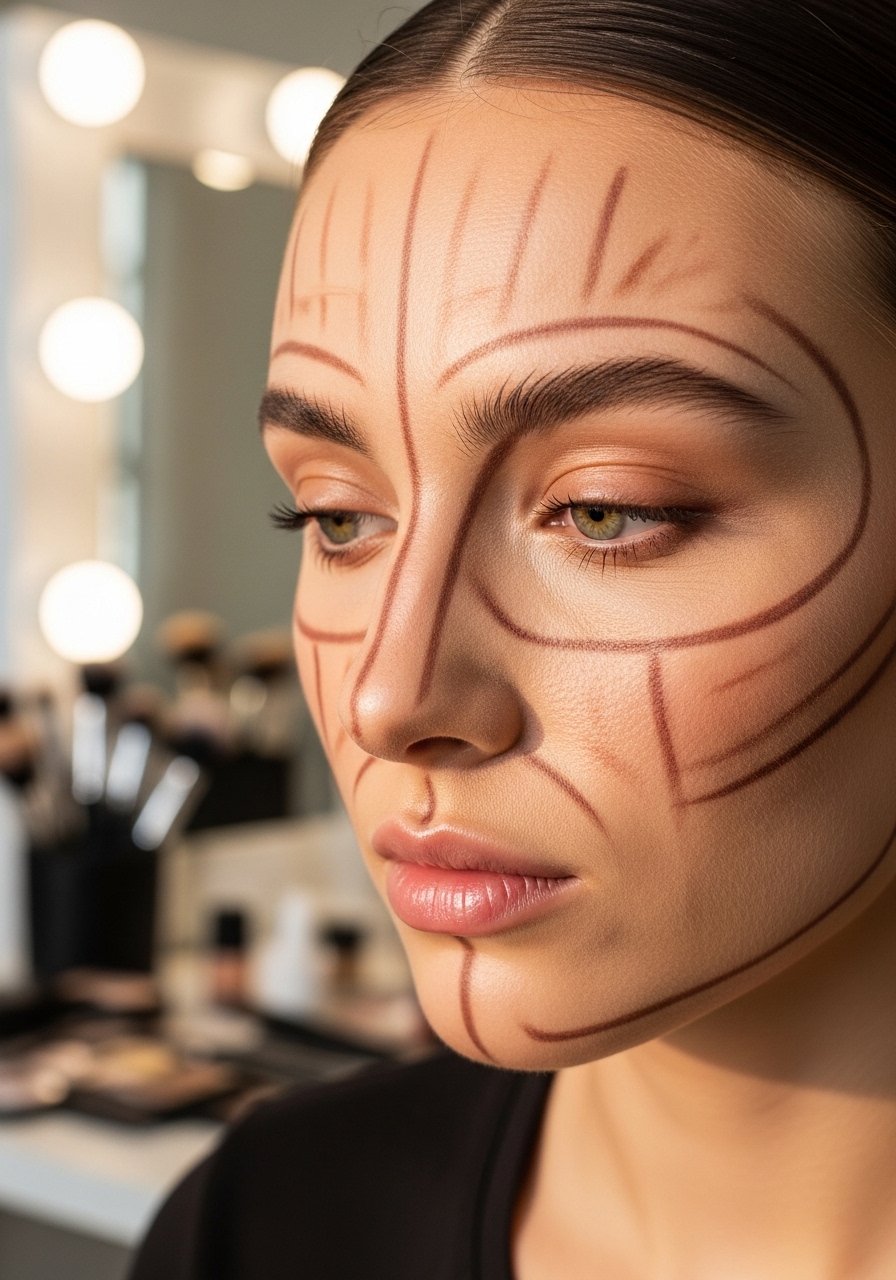
5. Nose Slimming with Two-Line Technique
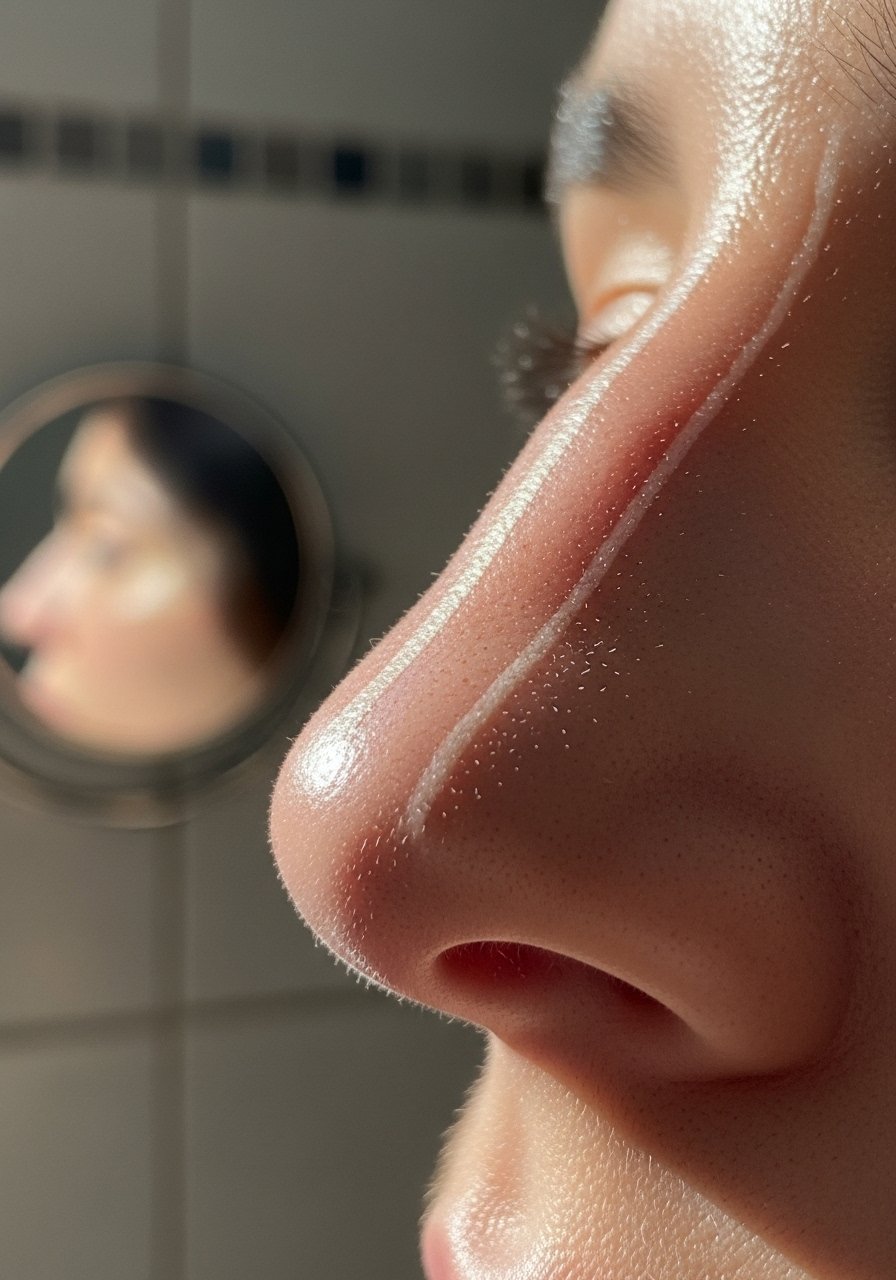
I thin my nose by drawing two fine lines from the inner brow down to the nostril wings, then blend with a small sponge tip. A vertical highlight down the bridge makes the illusion work. For me, a matte cream stick works better than powder for precision. Then I press a tiny bit of finishing-powder to set, otherwise the highlight slips by midday.
Mistake to Avoid: Dragging product out toward the cheeks, which shortens the nose.
6. Sculpted Jaw with Warm Bronzer
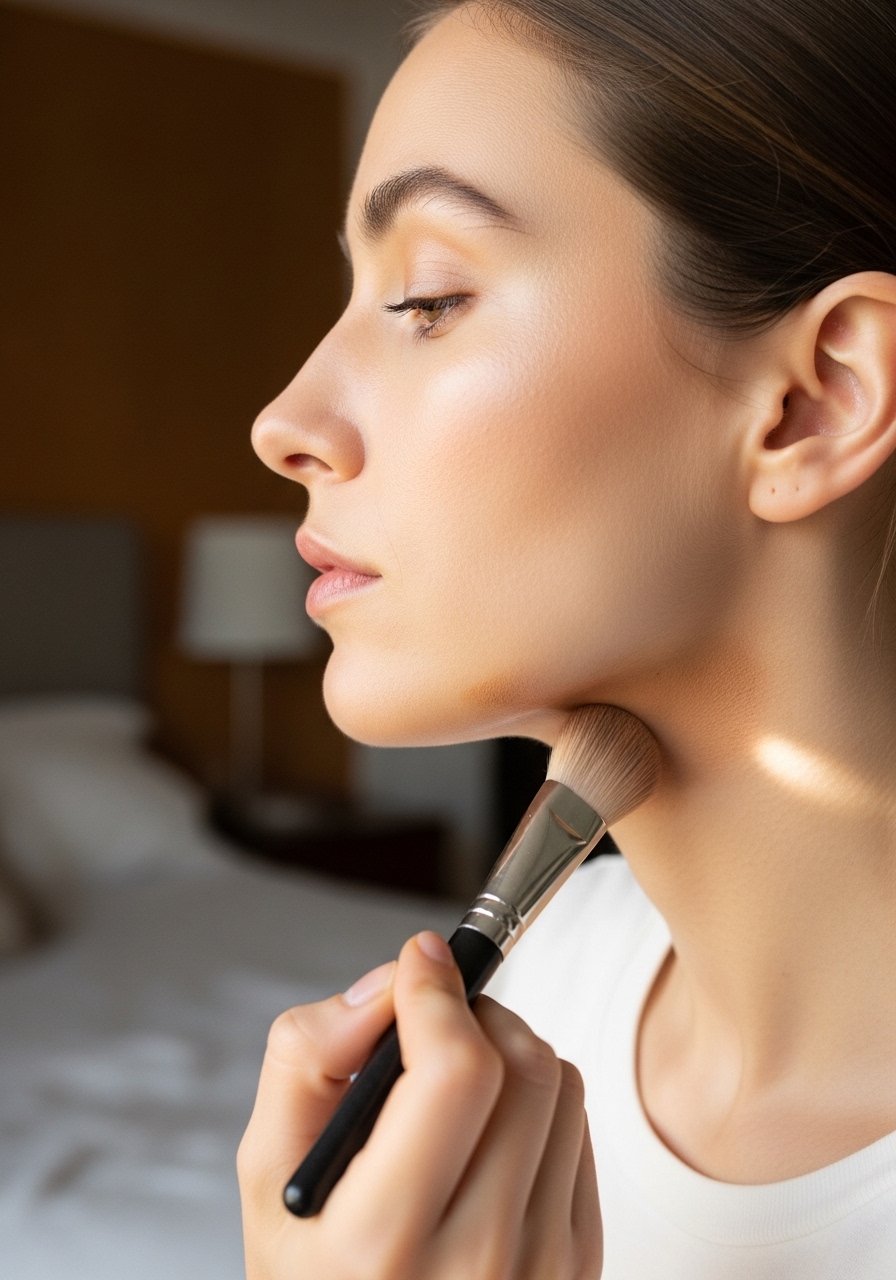
To define a soft jaw I use a slightly warm bronzer under the bone and blend downward toward the neck. This is subtle contouring rather than carving, and it works on most face shapes that need structure at the lower face. For heavier jowls I layer a thin cream first then powder. I prefer a long-wearing contour-palette shade for this, it reads more natural than stark cream.
Mistake to Avoid: Stopping the contour abruptly at the chin, which creates a fake edge.
7. Temple Lift with Soft Shadow
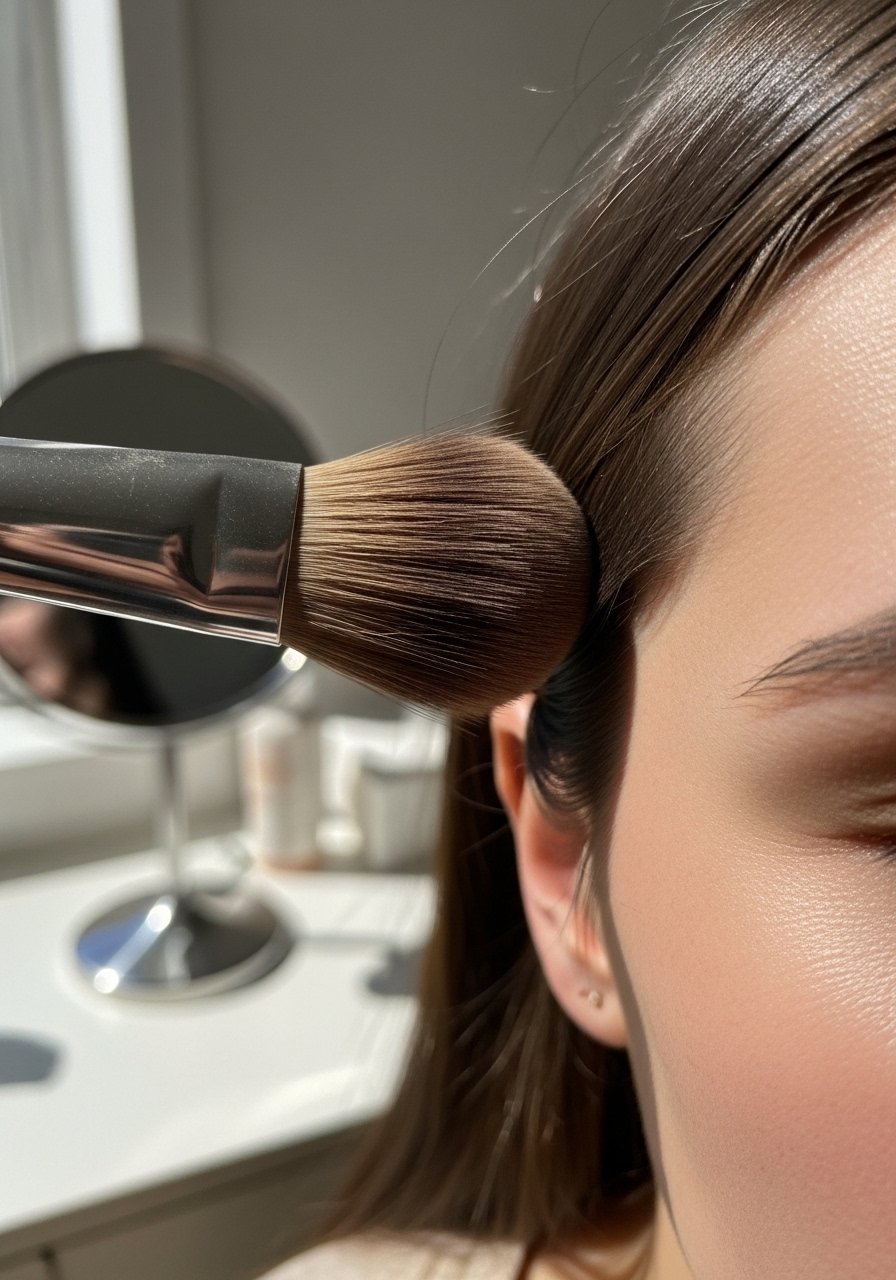
A small amount of matte contour in the temple area visually lifts the face. I sweep upward and outward, blending into the hairline so there are no obvious starts or stops. People ask me why their face looks perkier after this, I tell them the temple shadow creates a natural frame. Try a soft brush and a light hand with your beauty-blender to diffuse.
Mistake to Avoid: Using shimmer in the temple, which reads greasy.
8. Heart Face Cheek Emphasis
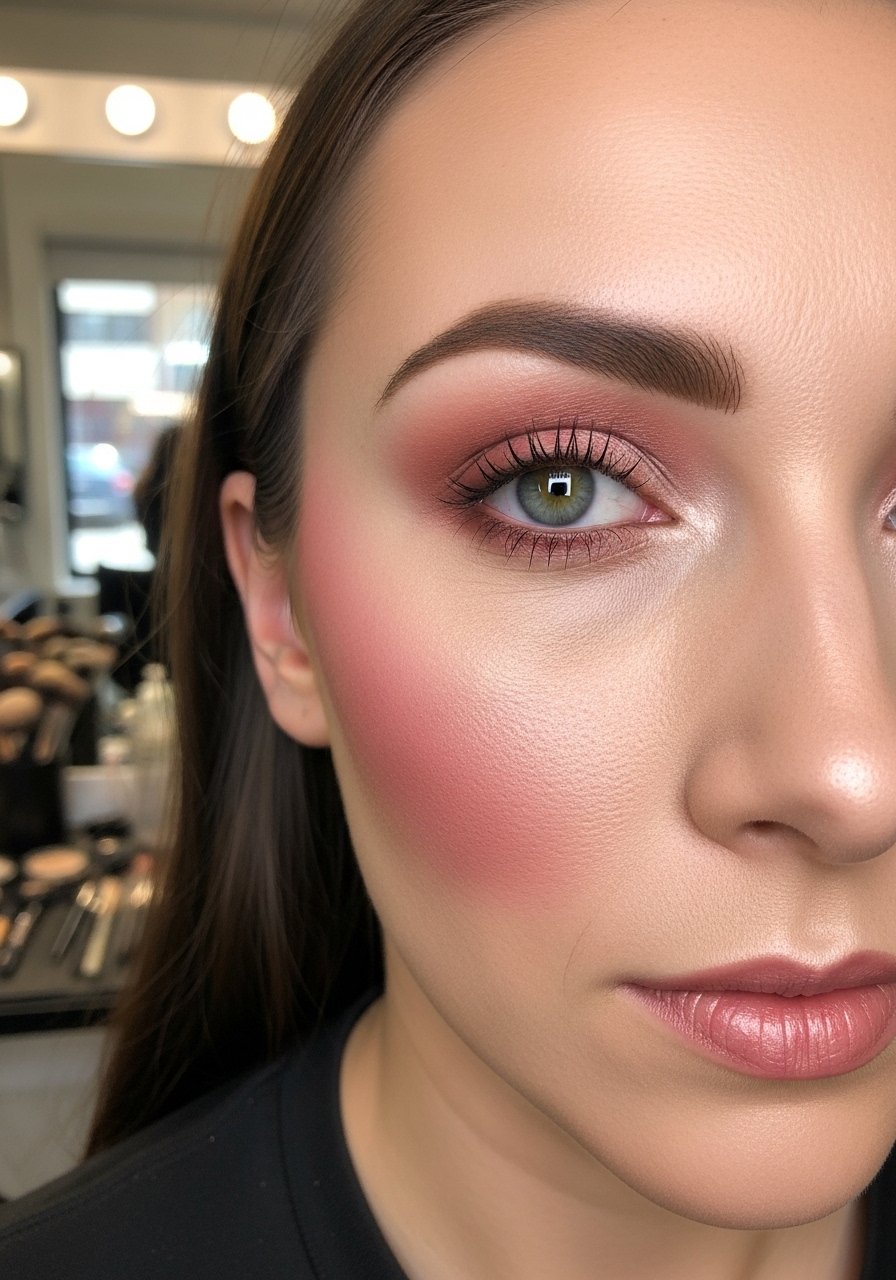
For heart-shaped faces I concentrate contour below the cheekbone and towards the jaw to balance a narrow chin. A soft sweep of blush slightly lower than usual helps anchor the cheek. I layer cream then a powder blush to avoid patchiness. A light touch of finishing-powder where the cream meets powder prevents cakey build-up in photos.
Mistake to Avoid: Placing blush too high, which emphasizes the forehead.
9. Round Face Slimming with Vertical Angles
To slim a round face I draw slightly vertical lines from temples toward mouth corners and then blend outwards. The trick is elongation, not hollowing. I prefer a matte cream followed by powder to keep it subtle. I once taught a friend and she was stunned how much slimmer her face looked in one application. Use a medium shade from a trusted contour-palette.
Mistake to Avoid: Over-blending into the apples, which removes the lifting effect.
10. Angular Square Face Soften
Square faces benefit from softening the jaw and temples. I apply contour at the jaw corners and along the hairline to round edges, then blend generously. A cream stick helps because it layers smoothly with foundation. I add a warm blush on the apples to distract from angularity. Using a small angled contour-brush-set brush keeps lines controlled.
Mistake to Avoid: Using a cool-toned contour on already prominent angles, which looks harsh.
11. Long Face Shortening with Horizontal Shading
On longer faces I add shading across the forehead near the hairline and softly under the chin to create the illusion of a shorter face. A light, matte powder is ideal here so it reads like natural shadow. I learned this after photos where my face looked too elongated. Balance is key, cover small sections rather than broad bands. A finishing-powder sweep blends everything together.
Mistake to Avoid: Heavy application at the hairline that looks like a harsh stripe.
12. Sculpt with Color Correcting for Olive Skin
If you have olive skin, cool greys may read asash or ashy; I neutralize first with a little warm peach corrector where needed, then layer your contour. It makes a visible difference under flash. I used this when a powder looked dull on me, and the peach base kept the contour looking natural. Try a neutral-toned contour-palette that has a warmer option.
Mistake to Avoid: Using pure grey contour on olive tones, which can look lifeless.
13. Hybrid Cream-Powder for Combination Skin
Combo skin can be tricky, so I use a thin cream base where I want depth, then immediately set it with a matching powder. This stops slip in oily areas and prevents dryness where skin flakes. I noticed my contour survived longer on humid days when I set cream with powder. A small sponge and a powdered contour-palette do the job.
Mistake to Avoid: Using too much powder which reverses the soft finish of cream.
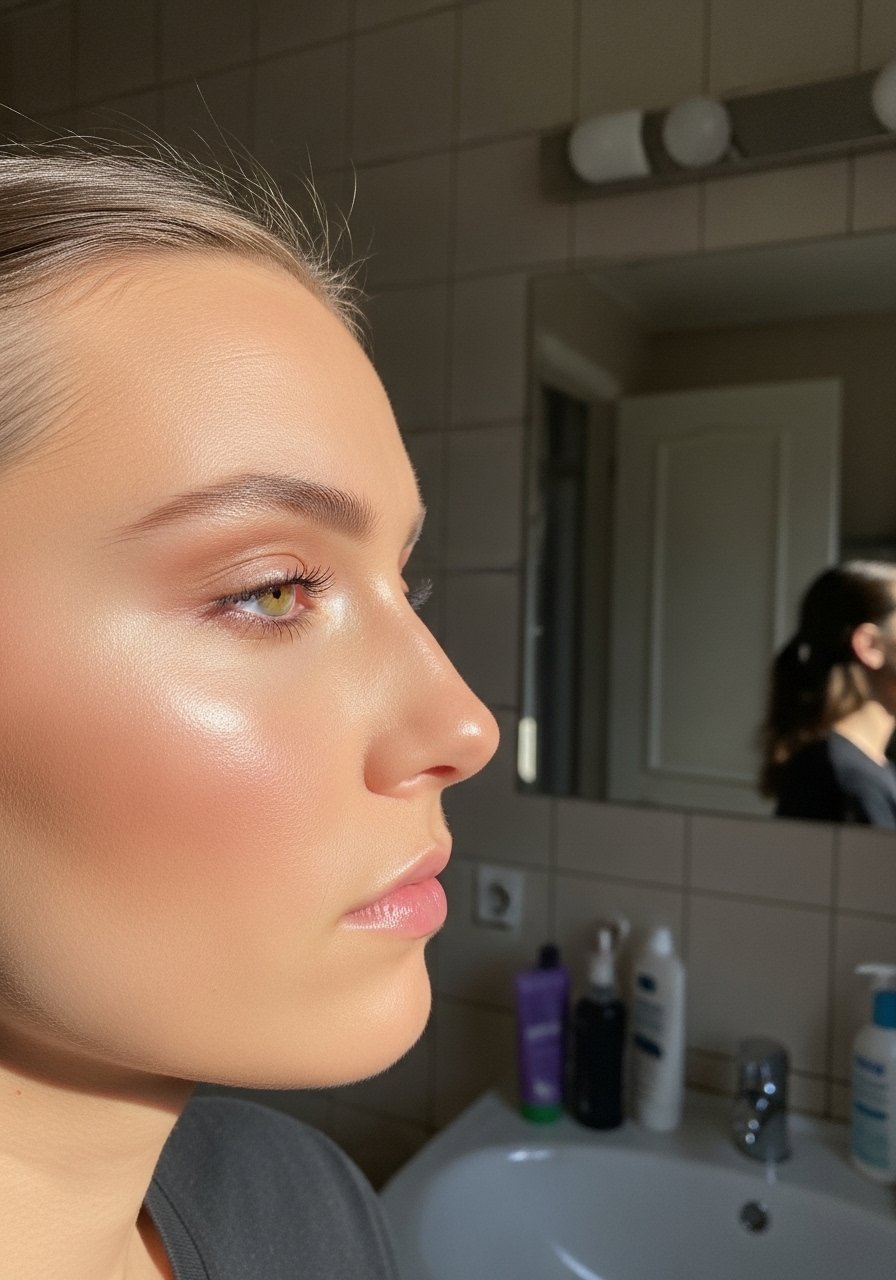
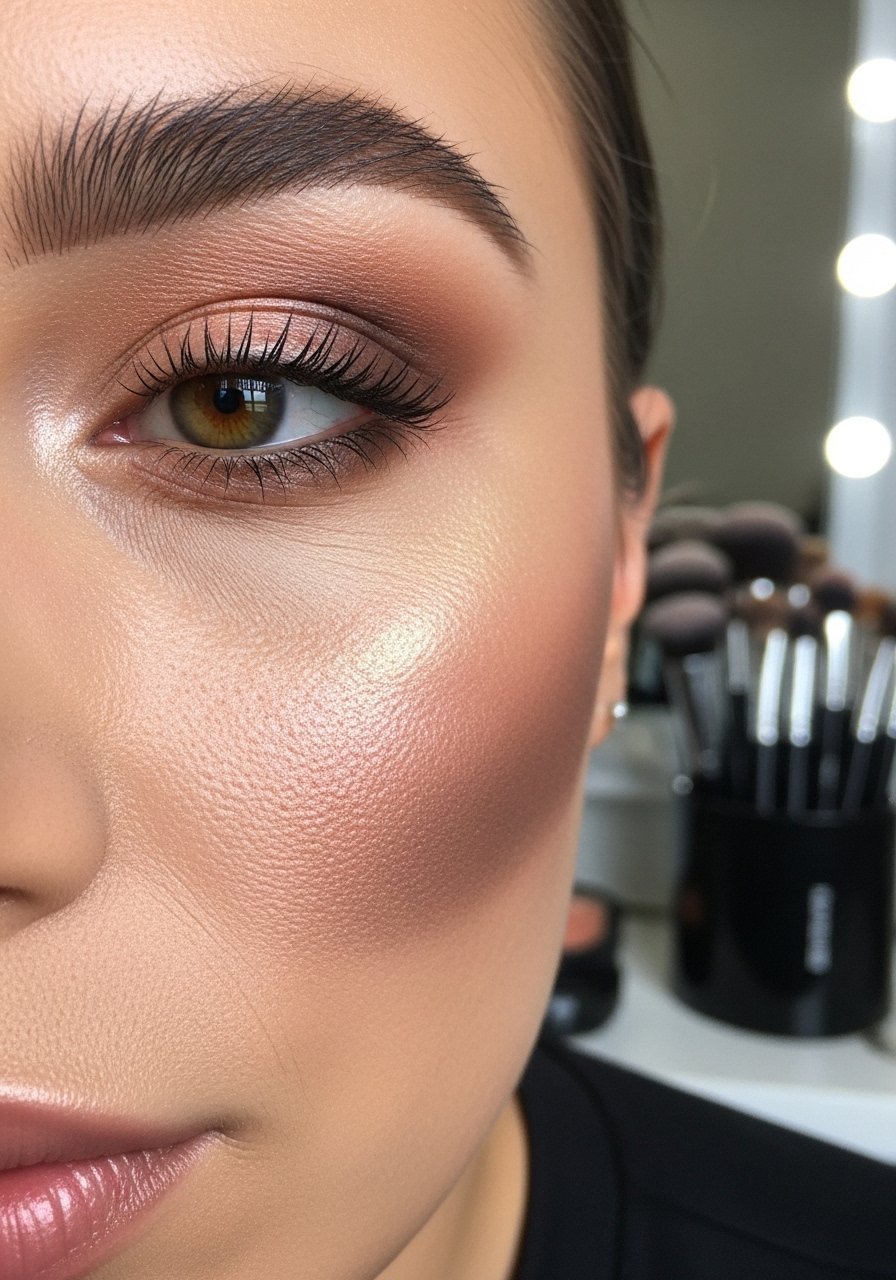
14. Cheekbone Lift with Stacking Light
For a lifted cheek I place a thin highlight stripe above the contour, not on top of it. This creates contrast that reads as lift rather than shine. I use a satin cream highlight to avoid glitter. It is subtle, but friends always ask what I did differently. A little liquid-foundation blended between the two products helps them melt together.
Mistake to Avoid: Plopping a chunky highlight directly on the contour line.
15. Cheek-to-Temple Blend for Natural Continuity
Instead of stopping contour at the apples, I sweep from the cheekbone toward the temple to create a continuous shadow. It makes the face look like one cohesive shape, not patched. This technique saved me when I had minimal products in a rush. Use a cream stick first, then lightly dust a powder to maintain the tone throughout. A soft beauty-blender helps me merge them.
Mistake to Avoid: Creating a disconnected patch of contour that breaks the face.
16. Reverse Contour for Mature Skin
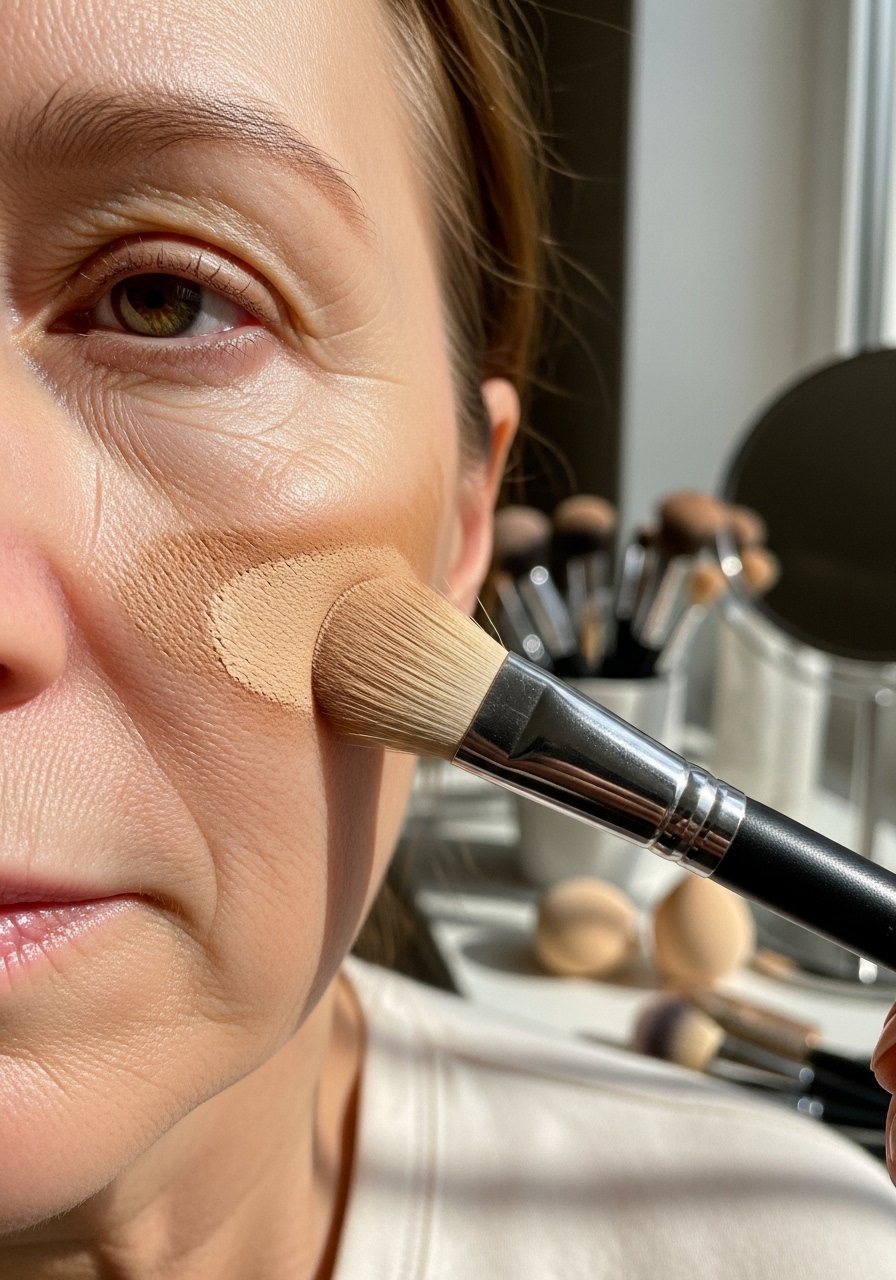
On mature skin I avoid heavy powders in fine lines, so I reverse contour by highlighting the high points rather than aggressively darkening hollows. A light-reflecting cream in the high cheek and a soft shadow beneath creates lift without texture. I swapped to a lightweight liquid-foundation for this method and it reads fresher in photos.
Mistake to Avoid: Packing powder into fine lines, which accentuates texture.
17. Contour with Cream Bronzer for Sun-Kissed Shape
If you love a sun-kissed look, use a cream bronzer instead of a grey contour. I sweep it where the sun naturally hits, slightly lower for more sculpt. It warms the face while providing shape. I use a duo: bronzer for warmth, cooler contour for depth, layered sparingly. A reliable cream-contour-stick does both jobs when I travel.
Mistake to Avoid: Using too-warm bronzer for contour on very fair skin.
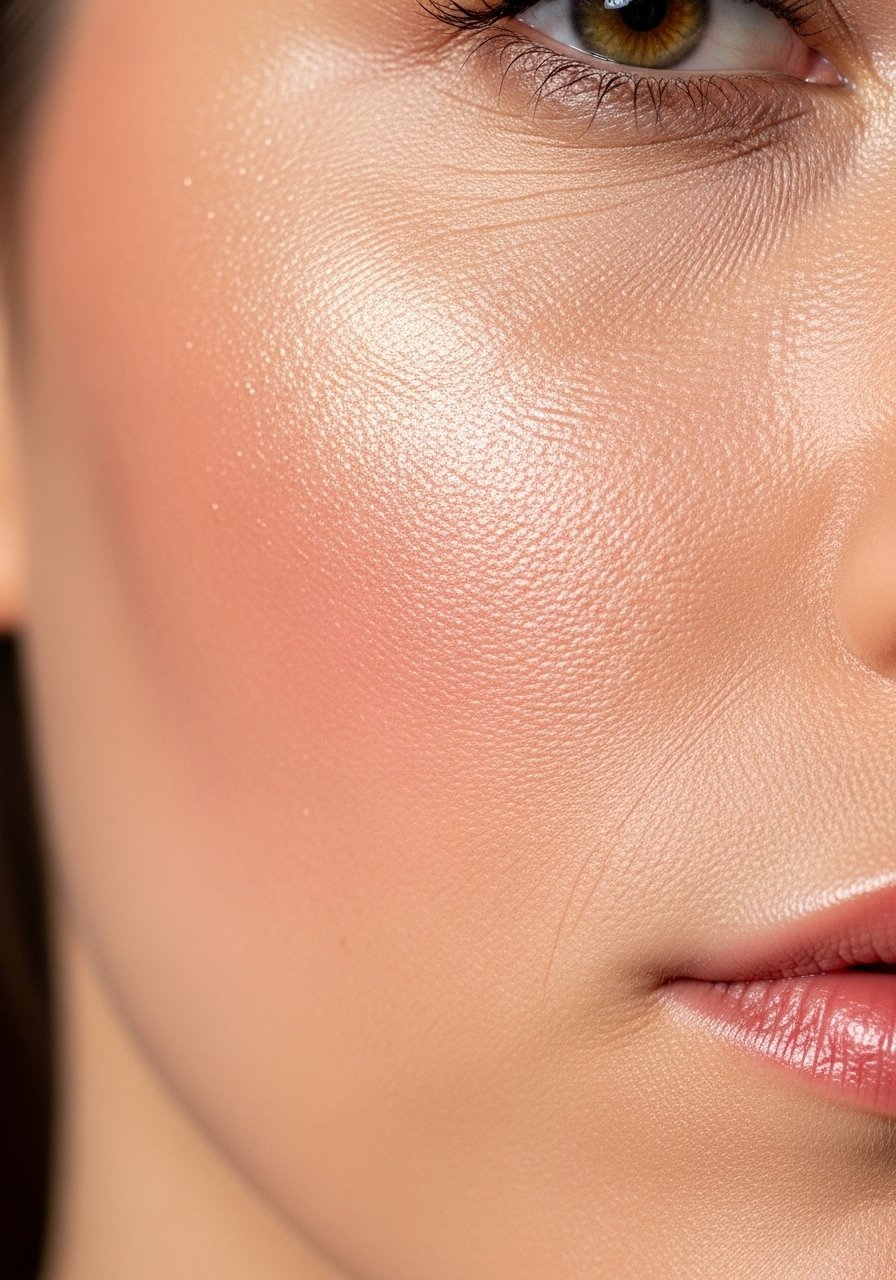
18. Two-Tone Cheek for Dimensional Glow
Layering a matte contour with a slightly warmer blush above creates depth that still reads alive. I pat the matte contour, then sweep a warm blush across the apples and upward. The combo looks less flat than contour plus highlight alone. I first tried this for a wedding and kept it for daily wear. Try a contour-palette with both cool and warm options.
Mistake to Avoid: Matching the blush and contour too closely in tone, which muddies the effect.
19. Quick Two-Minute Stick Method
When I have two minutes I swipe a stick under cheekbones, on jawline, and along the temples, then blend with a damp sponge. Fast but effective. This is my go-to for errands. Using sticks that are buildable prevents over-application. If you need a recommendation grab a creamy cream-contour-stick.
Mistake to Avoid: Rubbing instead of patting, which moves foundation off.
20. Tightline and Shadow for Upper Face Lift
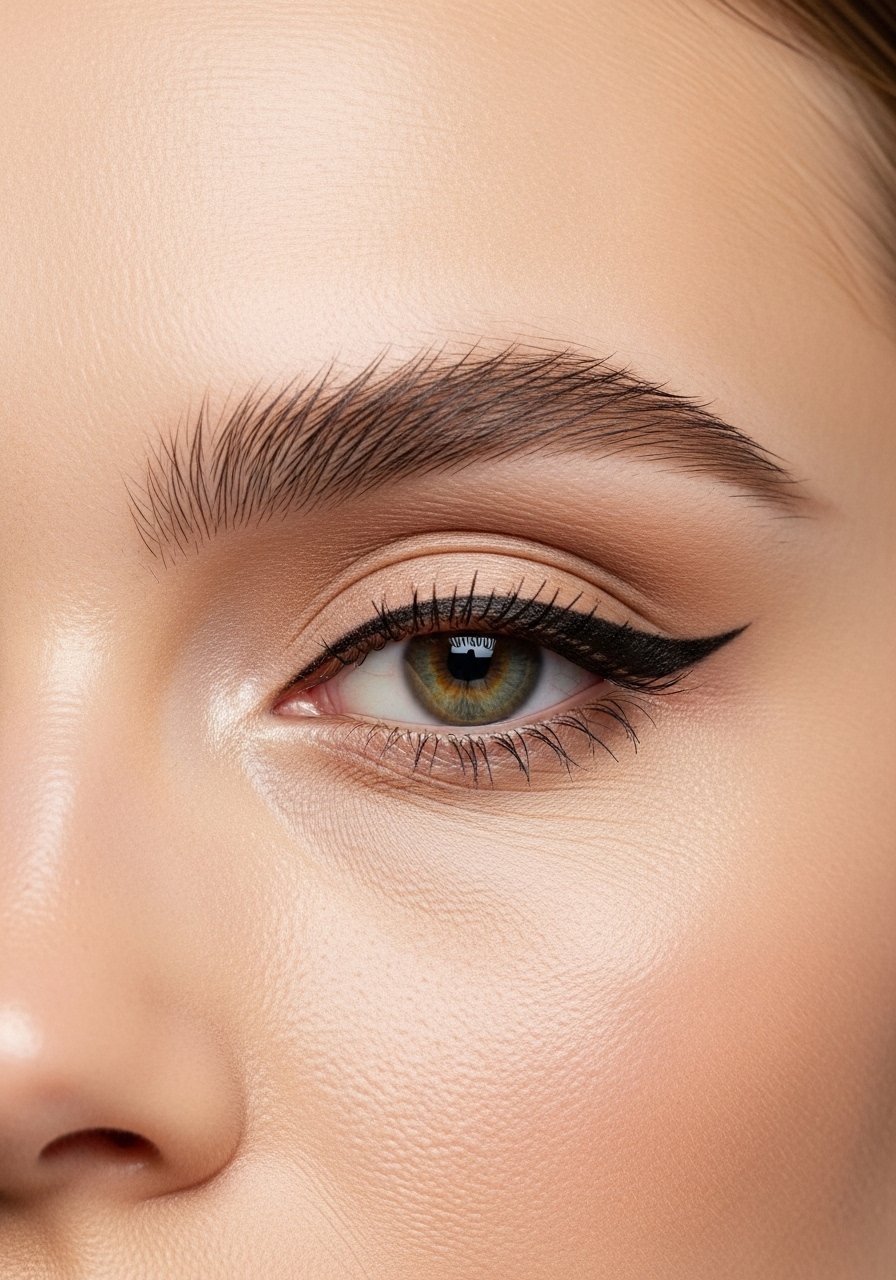
I can fake an upper face lift by tightlining the eyes and adding a faint shadow below the brow tail to lift the outer eye visually. It draws attention up and pairs well with cheek contour. This is a subtle contouring method that helped when I wanted a fresher look without changing foundation. I often use a precise brow-pencil for the shadow.
Mistake to Avoid: Using too dark a liner that closes the eye.
21. Contour for Glasses Wearers

Glasses change where shadows sit, so I contour slightly lower on the cheek and avoid heavy nose contour where frames sit. The goal is to keep definition visible beyond the frame. I tested this over months and most days a lighter hand works best. A finishing-powder helps reduce glare on lenses.
Mistake to Avoid: Placing heavy contour under the frame, which creates odd shadow lines.
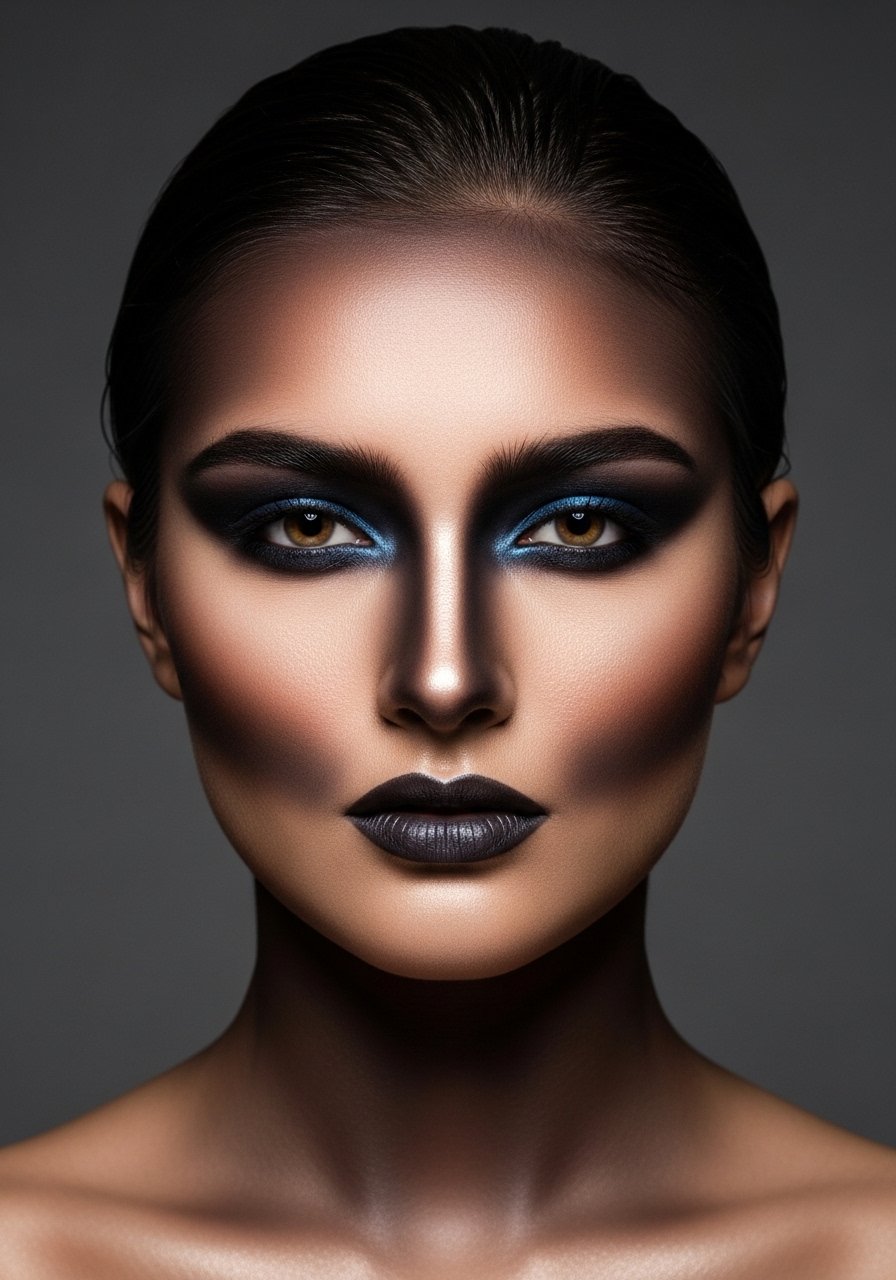
22. Soft Glam Contour for Evening
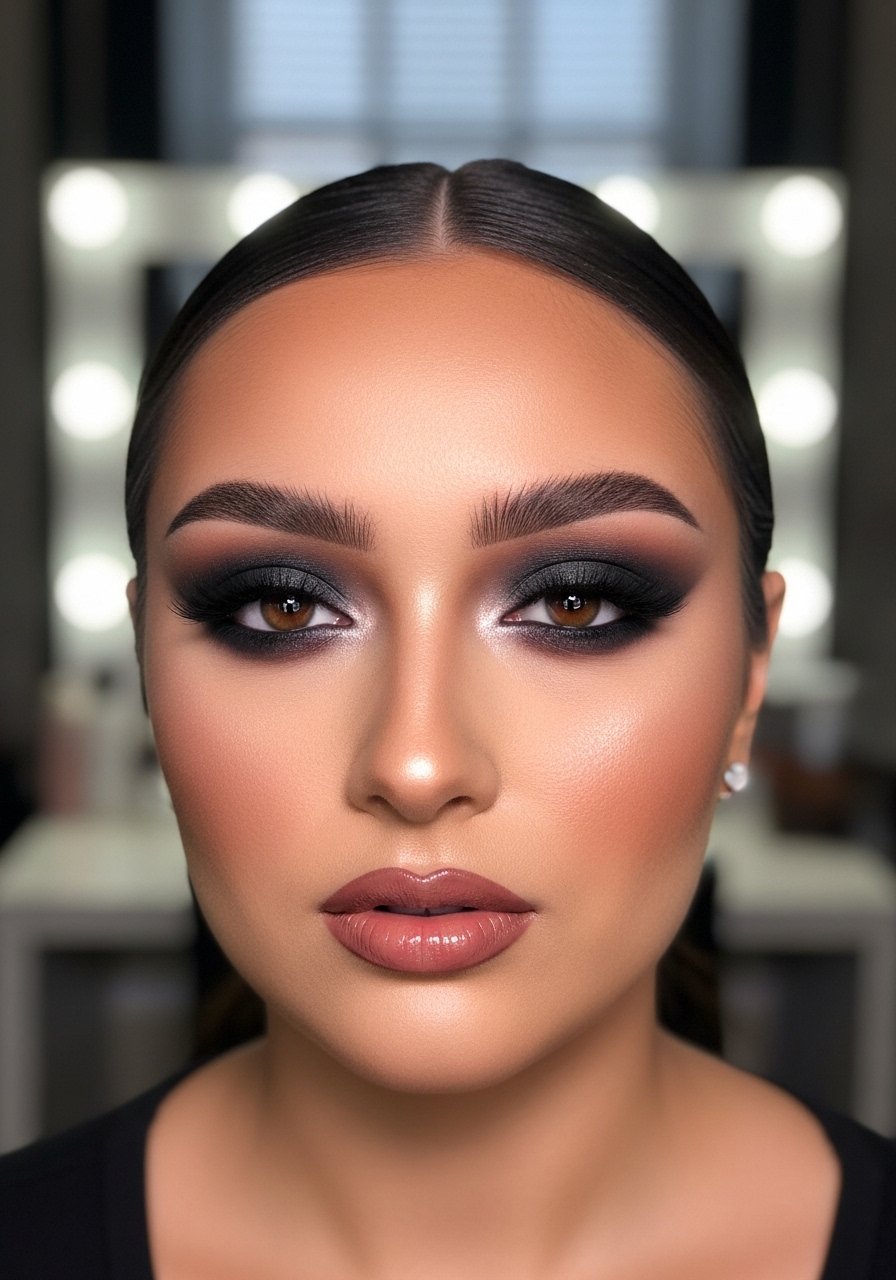
For nights out I deepen the contour but keep edges soft, pairing with a smoky eye so the face balances the boldness. I use a richer powder or cream and blend steadily. A little extra setting spray helps the look survive dancing and humidity. I reach for a high-pigment contour-palette when I know photos are likely.
Mistake to Avoid: Making the contour too heavy in the center of the face, which flattens features.
23. Contour with Stipple Foundation for Airbrush Effect
I sometimes stipple foundation for an airbrush base before contouring; the texture helps cream contour sit without streaks. It takes slightly longer but the finish persuades camera sensors nicely. I used this technique for headshots and it made my skin look even while contour held. A well-loved liquid-foundation and a dense stippling brush do the trick.
Mistake to Avoid: Using a dry brush for stippling, which looks patchy.
24. Minimalist Contour for No-Makeup Days
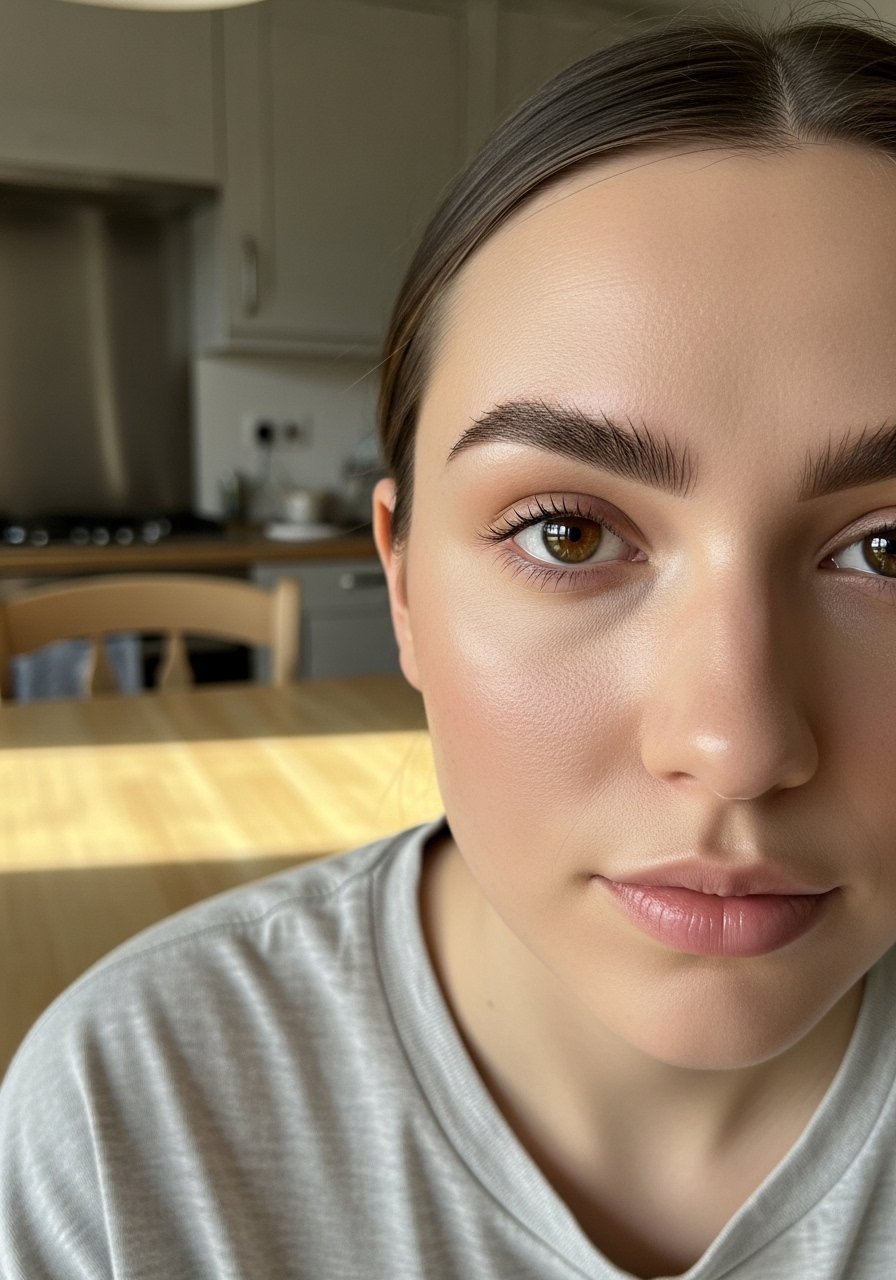
Some days I want shape without obvious product, so I apply a tiny amount of contour into hollows and buff until it merely suggests shadow. This is the method I use on casual Tuesdays. It takes practice to stop before overdoing it. A light contour-palette shade and a clean fluffy brush help.
Mistake to Avoid: Fading out too little which leaves a visible line.
25. Contour as Corrective Tool for Asymmetry
If one side of your face appears asymmetrical, you can balance it with lighter or deeper contour proportions. I did this for a client who had a slightly lower cheek on one side and simple shading evened things visually. Contour can be corrective without being obvious, especially when blended into hairline and neck. Use a mix of cream and powder to tweak intensity.
Mistake to Avoid: Trying to mirror exactly, which can exaggerate differences.
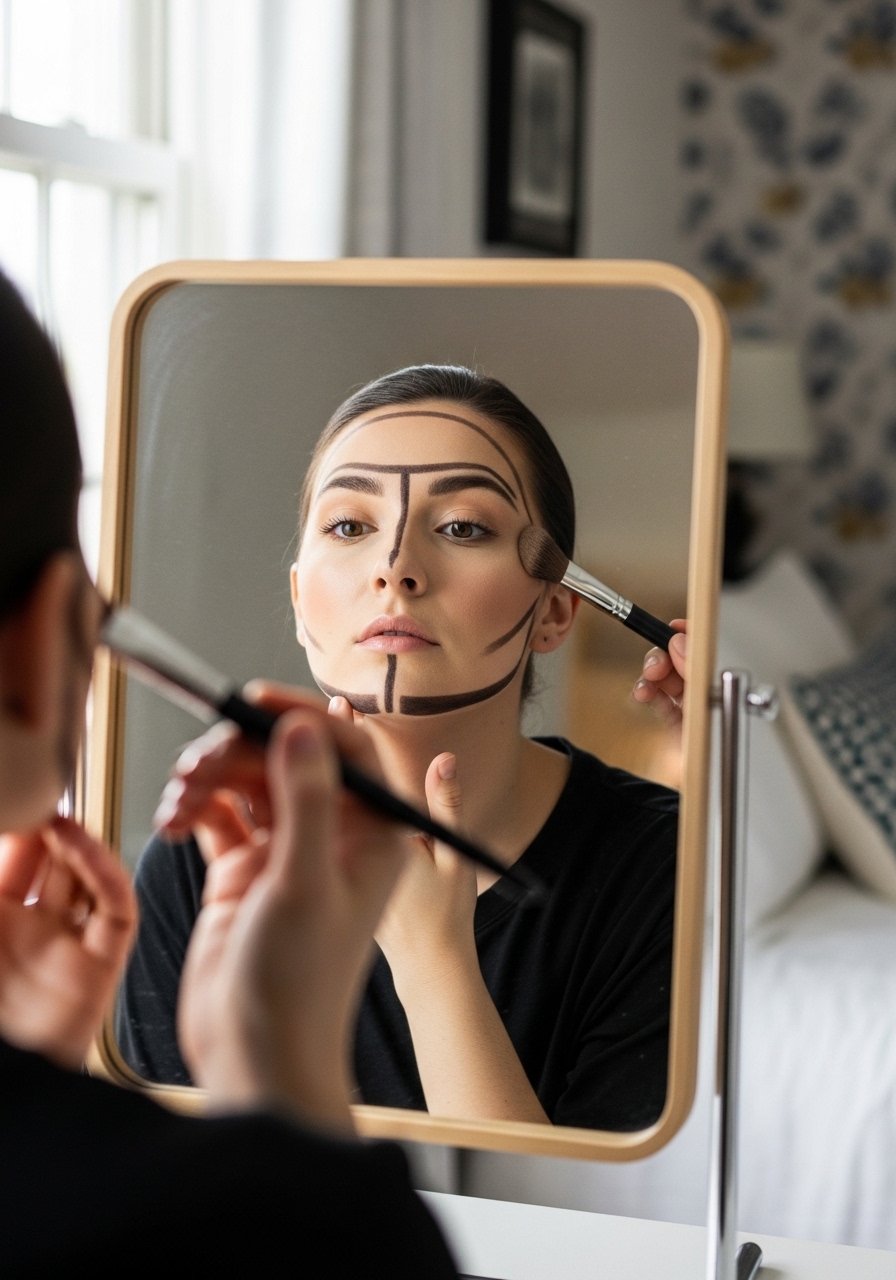
26. Innovative Hairline Shading for Whole-Face Framing
This is a newer trick I started using: extend a soft contour into the hairline to frame the face and tighten the silhouette. It reads very natural if you use a small amount and blend with a brush. On days my hair is pulled back this adds instant polish. I first tried it when I forgot a hat and needed a quick frame. A small contour-brush-set brush is essential.
Mistake to Avoid: Going too far into hair, which looks like product on the scalp.
Makeup Tips
Prep the skin: I always prime with face-primer to smooth texture, which helps contour sit evenly and last longer.
Layer smartly: Start with thin layers, then build with a cream-contour-stick and set with powder only where you need hold.
Match undertones: Pick contour shades based on undertone, not just depth, a neutral-cool shade often reads more natural under flash.
Blend with intent: Use a damp beauty-blender for creams and a dense brush for powders to control edge softness.
Mind lighting: I check my contour in daylight, bathroom light, and camera preview; small tweaks in any of these can change the result.
Set selectively: Use setting-spray on oily zones only if your contour melts easily, it keeps pigment where you placed it.
Practice specific shapes: Spend five minutes practicing one method for your face shape, I found repetition made a bigger difference than buying new products.
