
I used to panic when my gel started lifting midweek, so I learned how to remove it at home without wrecking my nails. I’ve found roughly 60% of DIY removals go too fast and damage the nail plate, and about 30% leave thin, sensitive nails if you don’t rehydrate afterward. These are the practical, safe ways I rely on when I cannot get to the salon, plus the little tricks that actually save my nails.
What You'll Need
Tools & Brushes:
- orangewood-sticks (~$5-$10)
- glass-nail-file (~$5-$12)
Base & Top Coat:
- peel-off-base-coat (~$6-$15)
Polishes & Designs:
- nail-buffing-block (~$4-$10)
Finishing & Extras:
- pure-acetone (~$6-$15)
- cuticle-oil (~$5-$12)
- acetone-removal-clips (~$8-$18)
- aluminum-foil-sheets (~$3-$8)
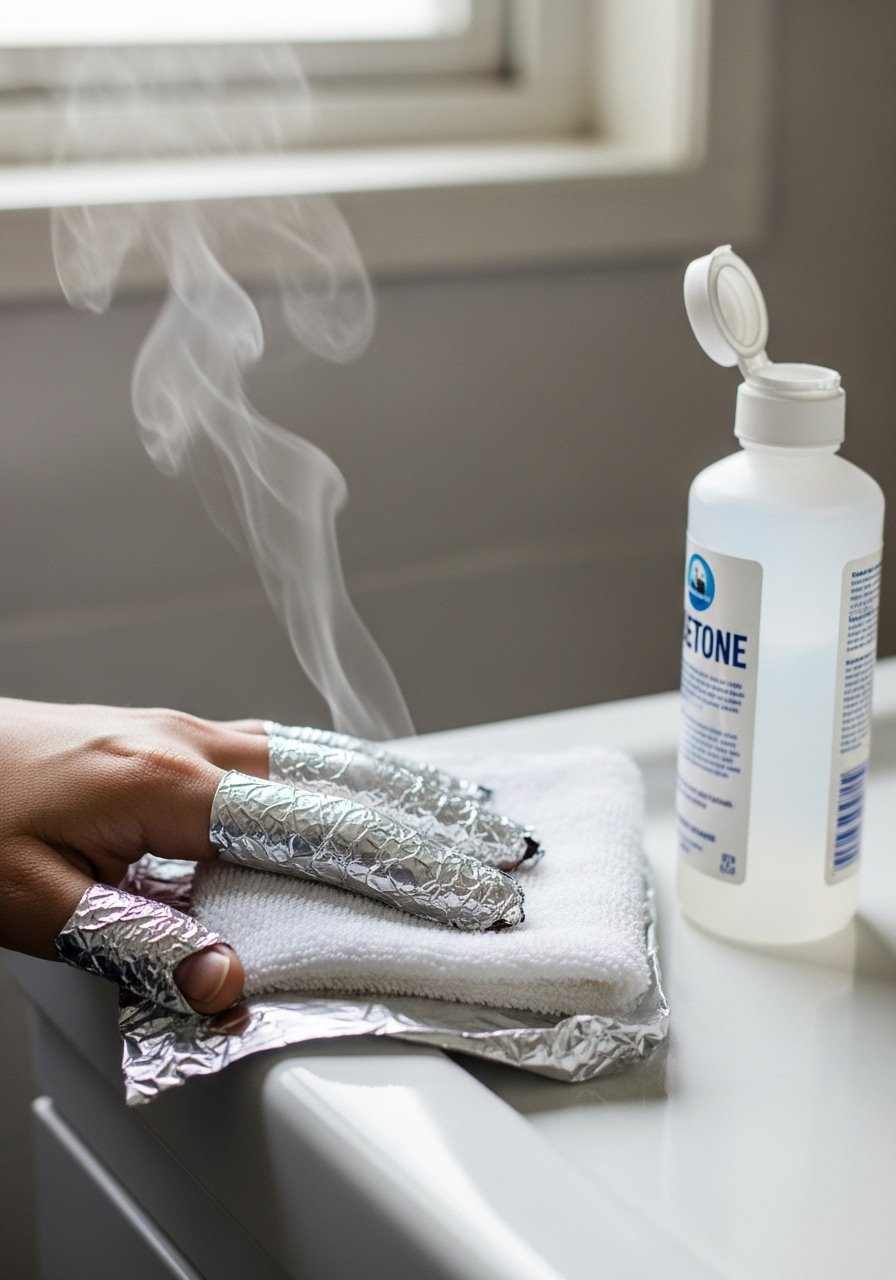
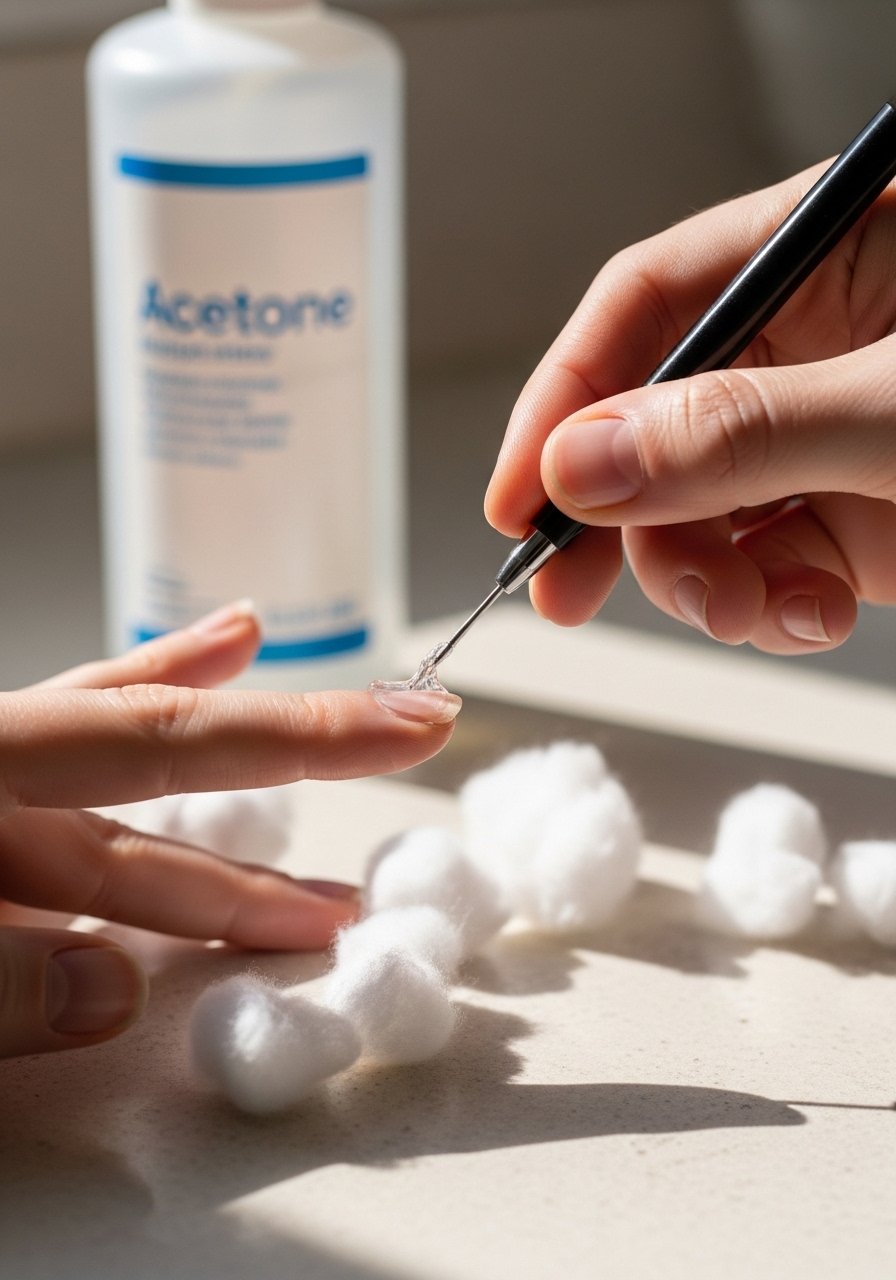
1. Classic Foil Soak with Cotton Pads
Style/Vibe: Practical, low-mess
Best For: Full-set gel, medium-thick layers
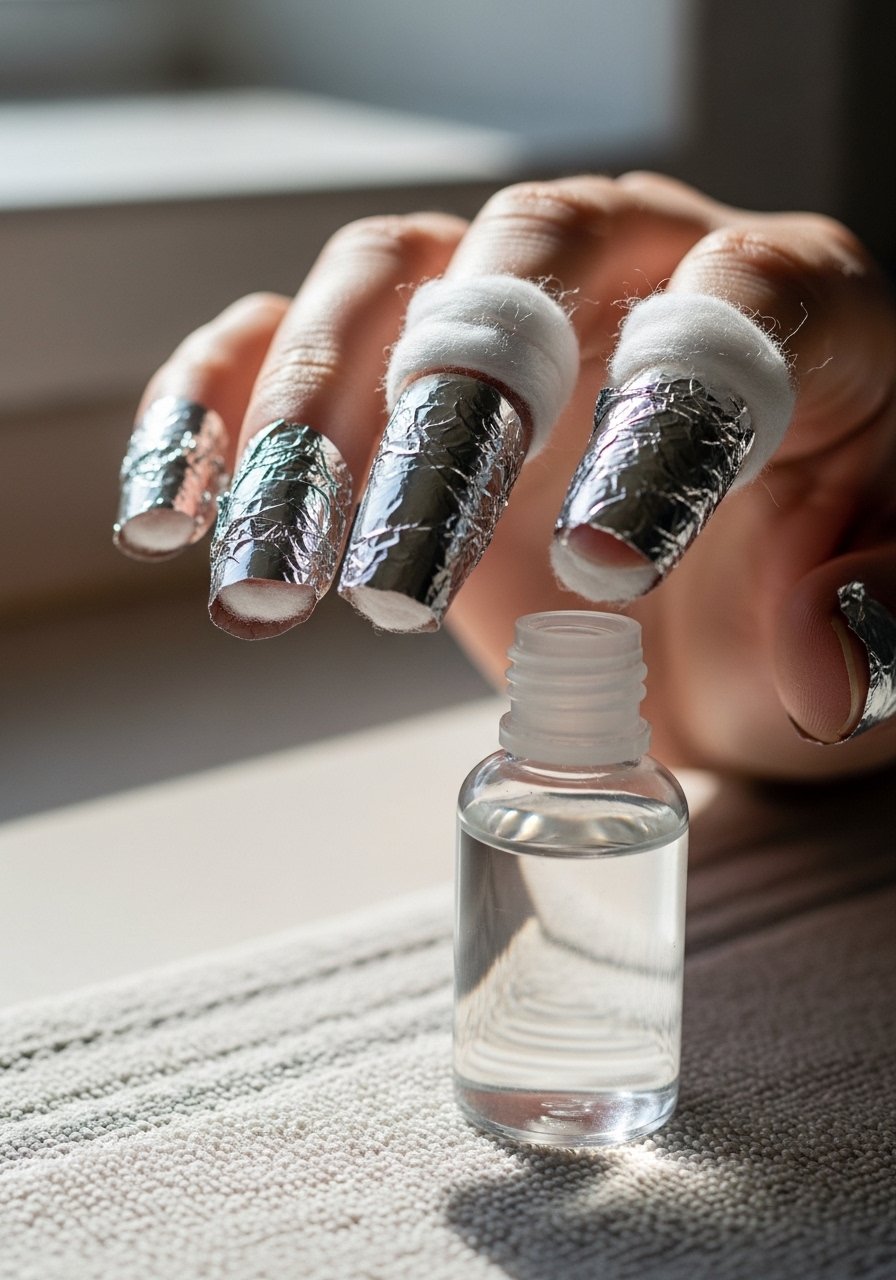
I do this when I need predictable results. File the shiny top lightly, place a cotton pad soaked in pure-acetone on each nail, wrap with aluminum-foil-sheets, wait 12 to 15 minutes and gently push off softened gel with an orangewood-sticks. I’ve noticed this works about 80% of the time on a first soak. Finish with cuticle oil to rehydrate.
Mistake to Avoid: Do not peel or force the gel off if it resists, keep soaking in 5-minute increments instead.
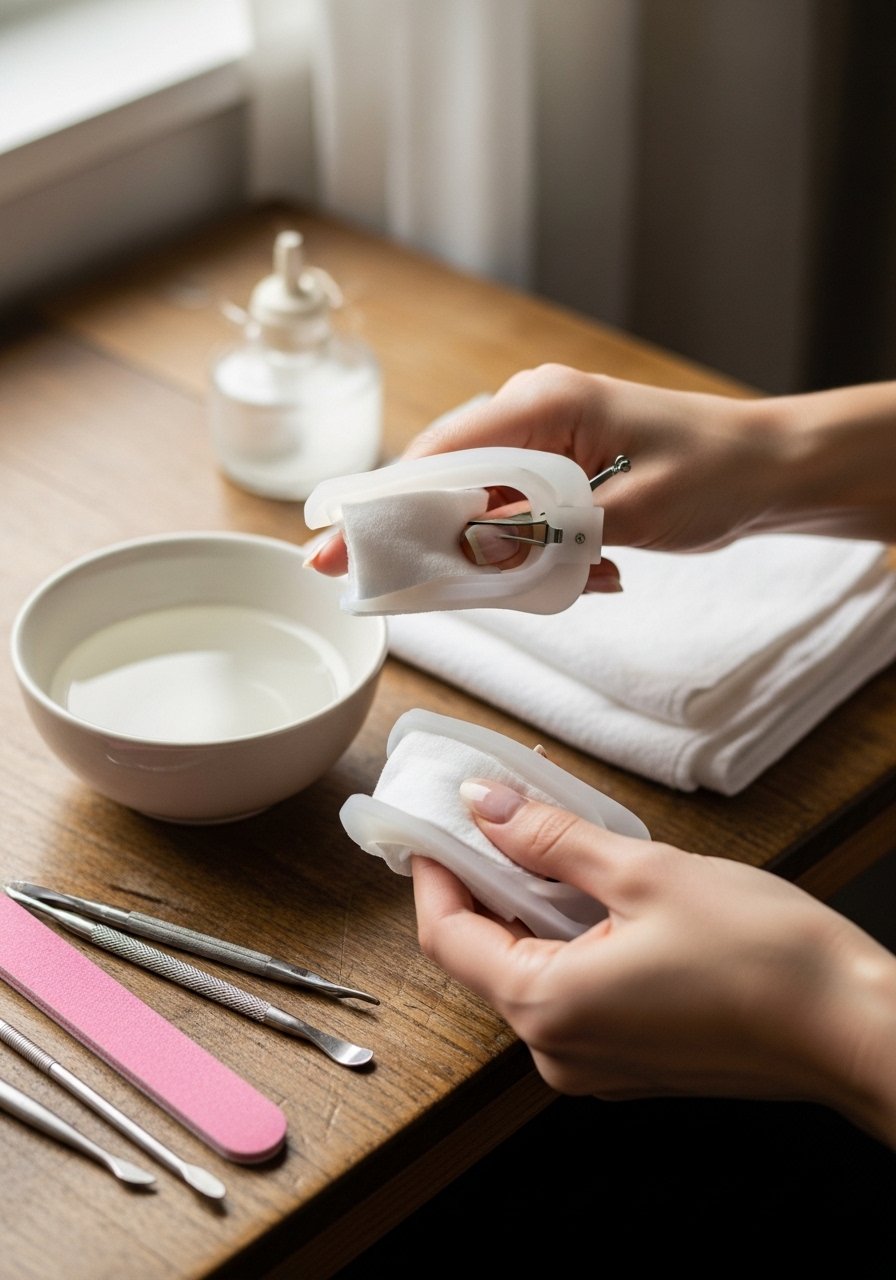
2. Reusable Acetone Clips for Zero-Fuss Soaks
Style/Vibe: Efficient, tidy
Best For: Busy evenings, multiple hands at once
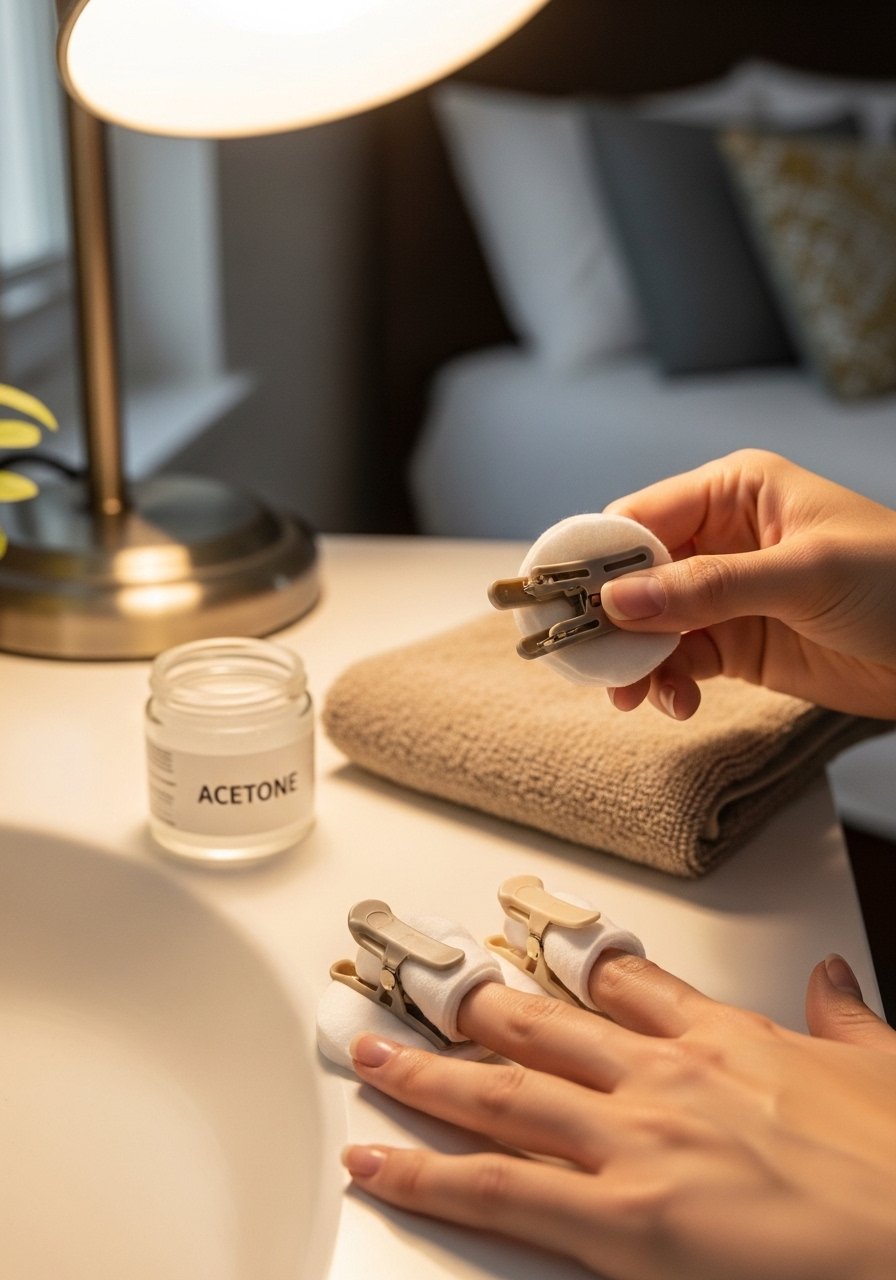
When I want less foil cleanup I swap to acetone-removal-clips. Same idea as the foil method but cleaner and faster, especially when I’m doing both hands. Pop on clips for 10 to 15 minutes, then check one nail. I find clips cut down drying time and mess, useful if you remove gel about every three weeks.
Mistake to Avoid: Don’t overfill the cotton, excess acetone can drip and irritate skin.
3. Glass Bowl Soak for One-Hand Convenience
Style/Vibe: Home-spa, relaxed
Best For: Single-hand touch-ups, short sessions
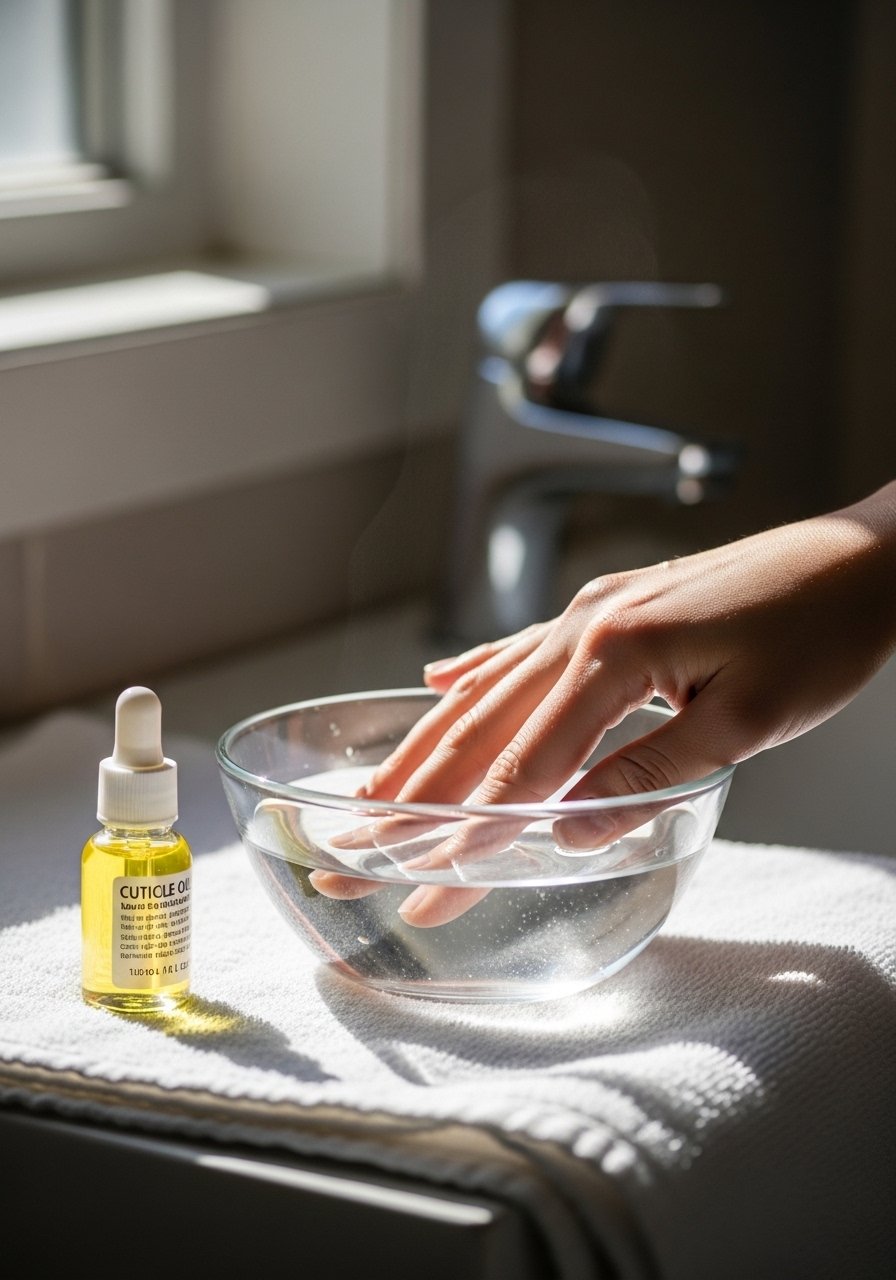
I use a small glass-nail-file and a shallow glass bowl when I only need one hand done. Warm the acetone slightly by placing the bowl in hot water, then soak fingertips 8 to 10 minutes. It’s faster than full wraps when you’re fixing a lift. It’s saved me on a Tuesday night more than once.
Mistake to Avoid: Never heat acetone directly in a microwave or over a flame, it is flammable.
4. Pre-Soak Pads and Commercial Wipes
Style/Vibe: Travel-friendly, minimal
Best For: Quick fixes, travel or festivals
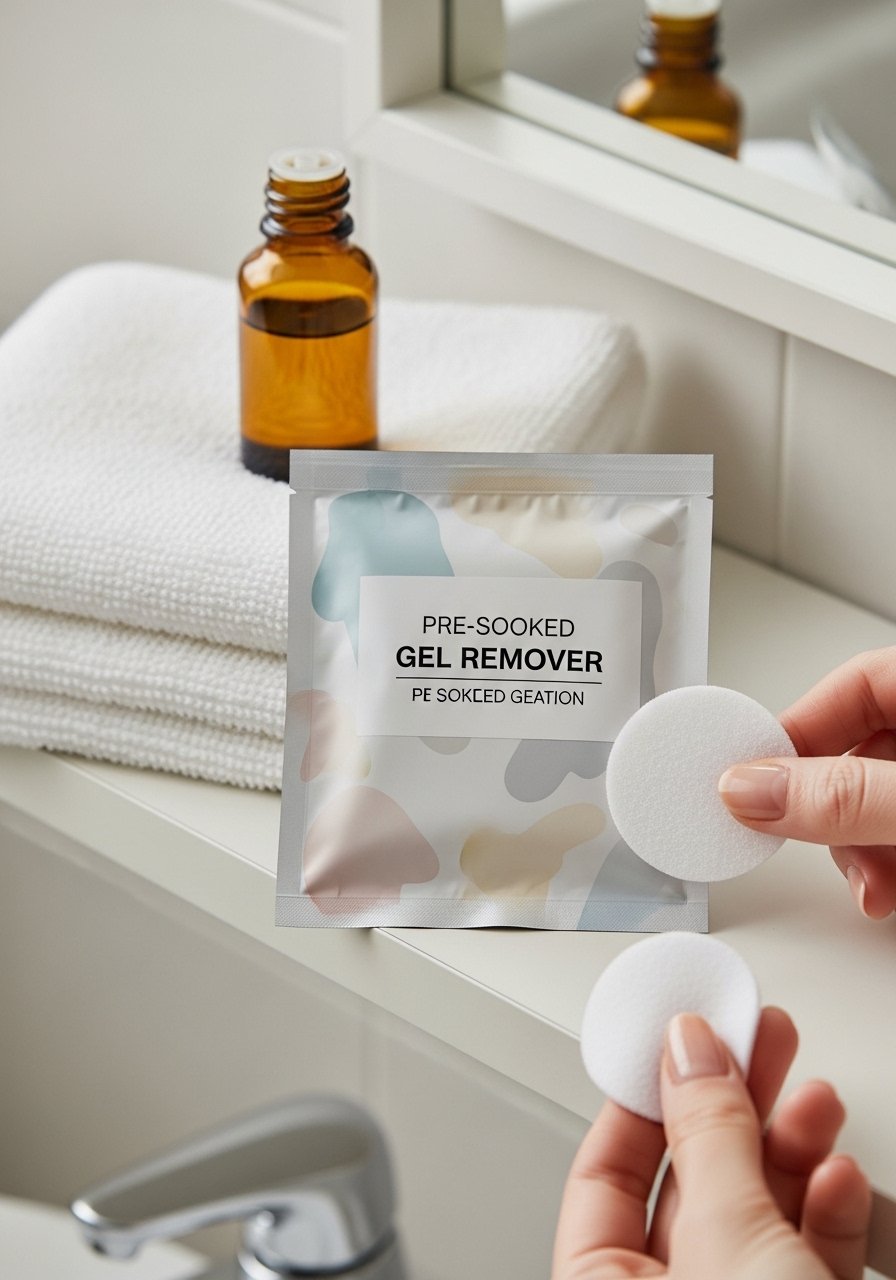
I keep a pack of gel remover pads in my travel bag. Brands labeled gel or soak-off will save time when you do not have foil and foil. Rub the pad gently, let it rest 10 minutes, then push with a pusher. For last-minute touch-ups these pads are clutch, and they cut down the stink compared with open acetone jars.
Mistake to Avoid: Do not scrub hard, that wears the nail plate down faster than you think.
5. Peel-Off Base Coat Removal Strategy
Style/Vibe: Preventive, clever
Best For: Short-term gel looks, easy salon-free removal
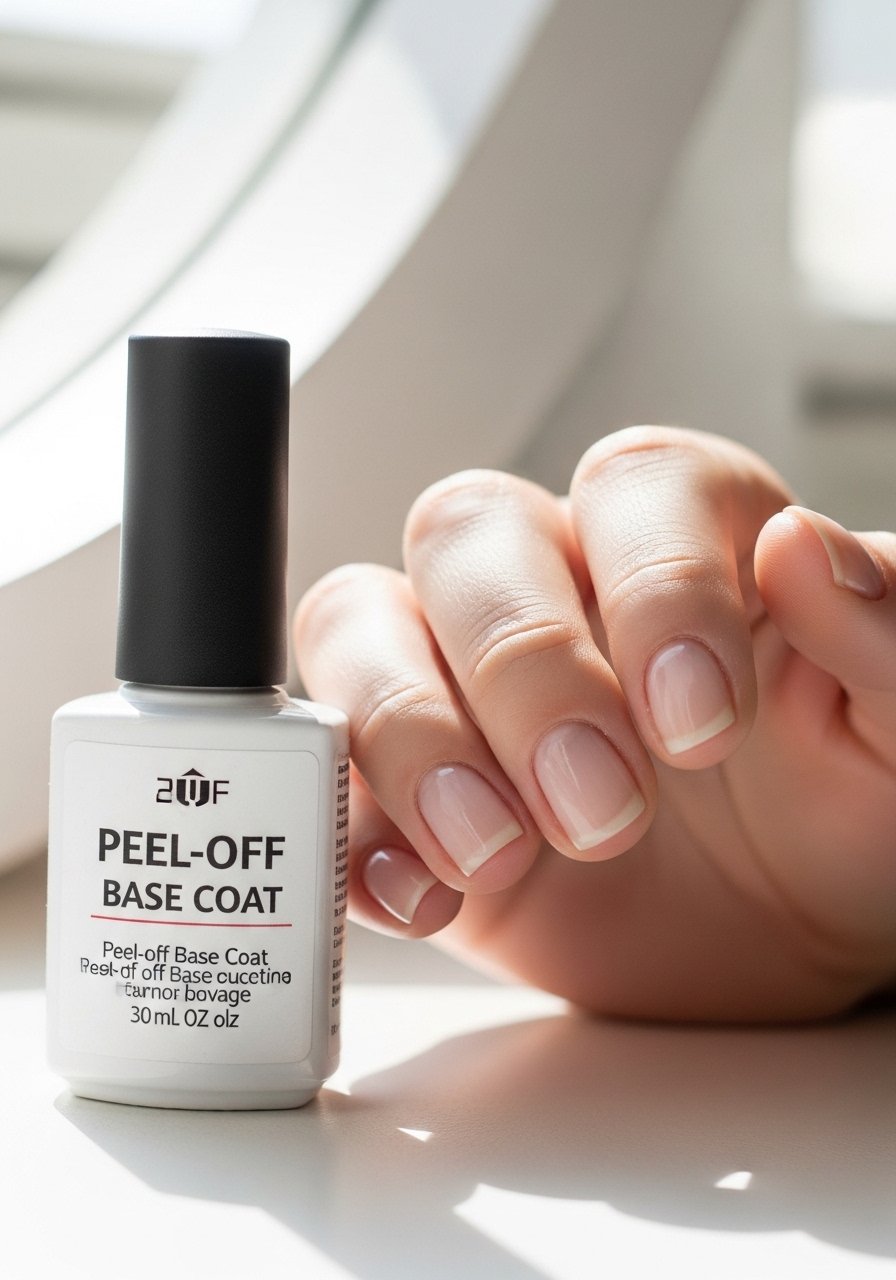
If I know I’ll want to remove polish fast, I start with a peel-off-base-coat. When it is time to remove, lift a corner with an orangewood stick and peel slowly. This one changed weekends for me: about 40% of my friends prefer this for short vacations and it avoids acetone completely.
Mistake to Avoid: Do not use this under long-wear gel meant to last weeks, it will lift prematurely.
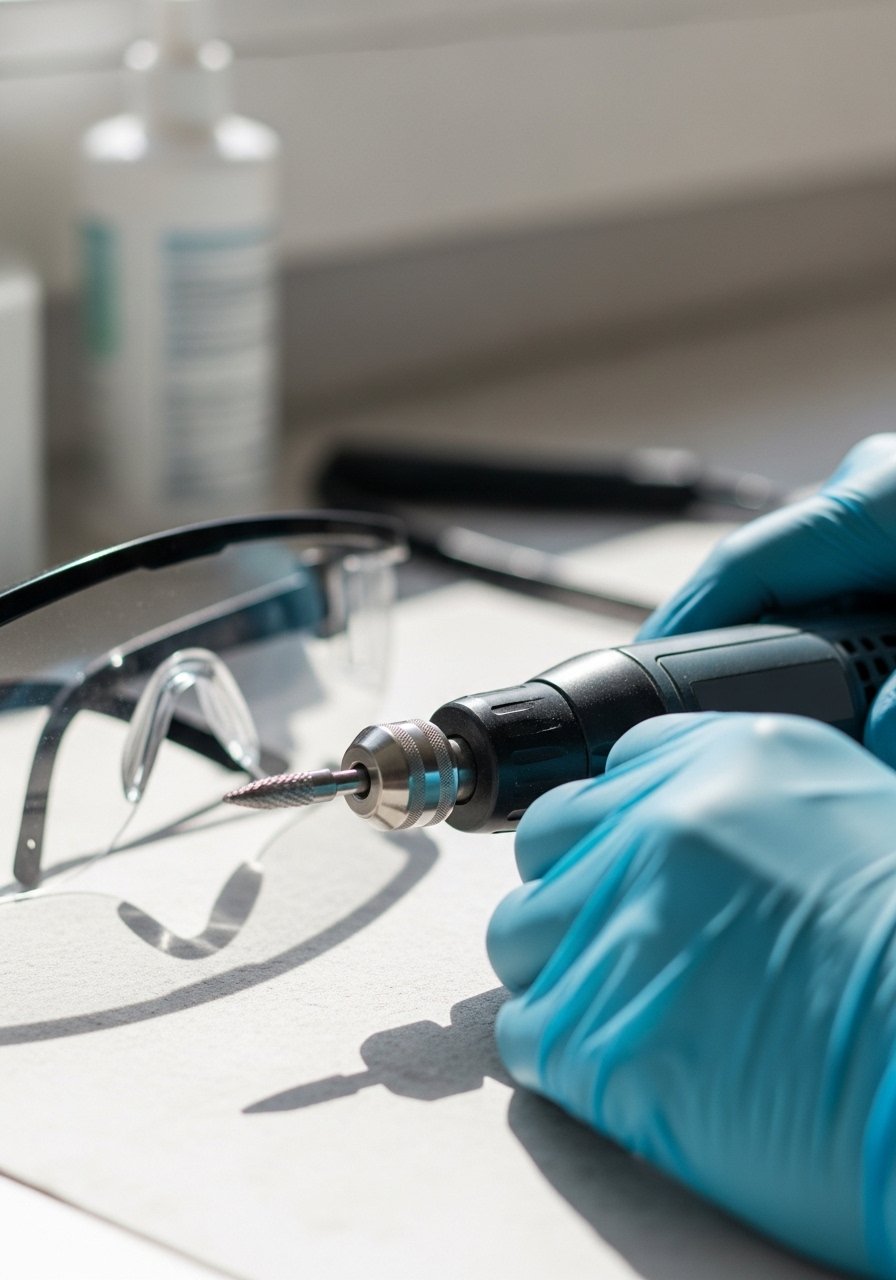
6. Electric File Thinning by Experienced Hands
Style/Vibe: Salon-leaning, precise
Best For: Thick builder gels, professionals at home
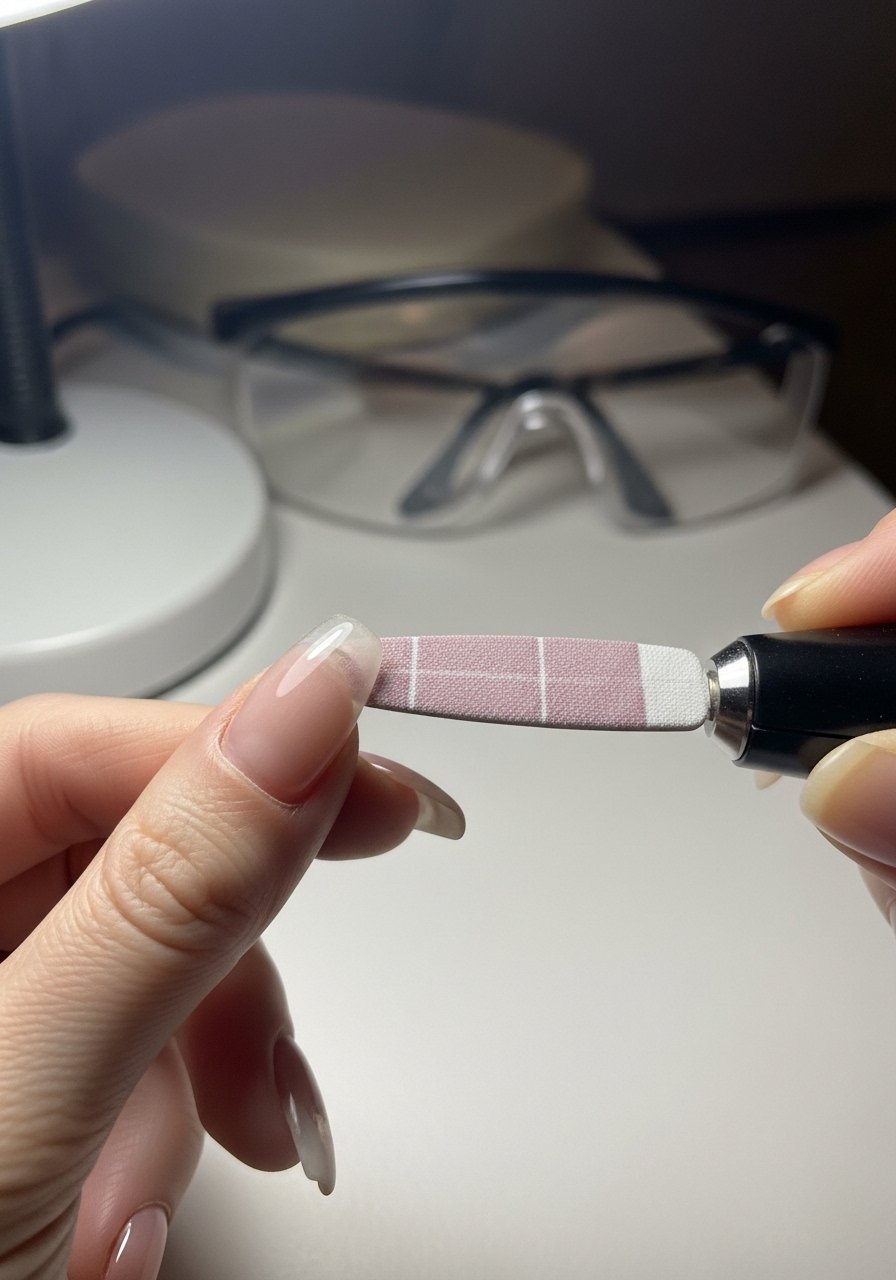
I only use an electric-file on low speed and after practice. Thinning the top layer first saves acetone and speeds softening. This method can be fast and neat, I’ve noticed experienced DIYers remove gel in half the time compared to soaking alone. If you lack steady control, skip this and use manual filing.
Mistake to Avoid: Do not use high speed or aggressive bits, you will heat and thin the natural nail.
7. Manual Filing to Thin Shiny Layer, Then Soak
Style/Vibe: Slow but safe
Best For: Those avoiding power tools, thin gel layers
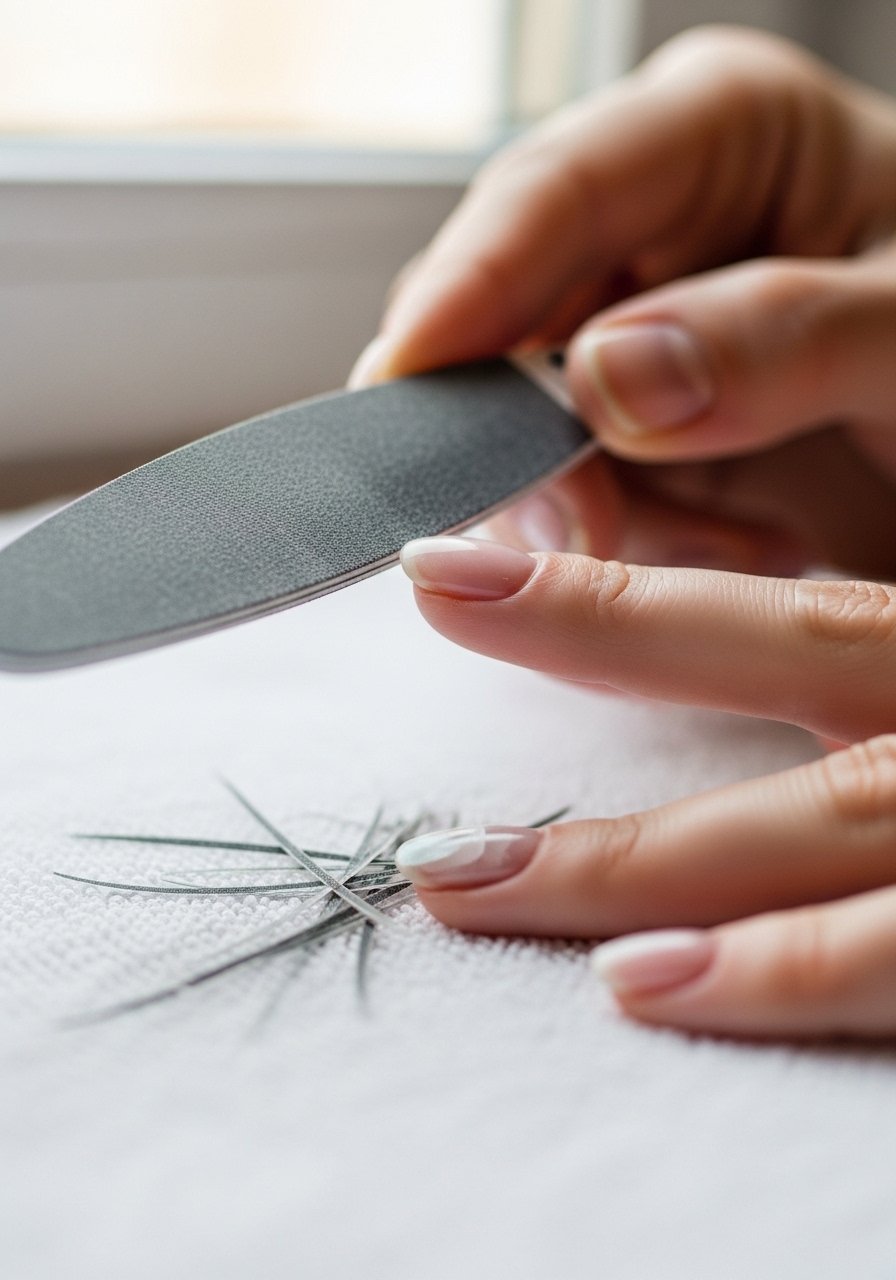
I take a 180 to 240 grit file and gently remove the shiny topcoat before any soak. That lets acetone penetrate faster, cutting soak time and exposure. Pair this with a nail-buffing-block to tidy edges. It is slower but I’ve found it reduces the number of repeat soaks.
Mistake to Avoid: Avoid over-filing across the same spot, that makes nails paper-thin.
8. Warm Oil Soak for Gentle Breakdown
Style/Vibe: Nourishing, low-odor
Best For: Sensitive skin, minor lifting
When I’m trying to be gentle I warm a little coconut or olive oil and soak nails for 20 to 30 minutes. It softens edges and lifts the gel just enough to push off with an orangewood-sticks. I use this when skin reacts to acetone. It takes patience, but about 25% of my small removals are done this way now.
Mistake to Avoid: Do not expect this to remove a full fresh set, it is for softening and small lifts.
9. Hot Towel Over Foil for Faster Soaks
Style/Vibe: Cozy, efficient
Best For: Quick breakdown, colder rooms
I add a hot towel on top of foil wraps to keep acetone warm and effective, especially during winter. Heat speeds softening and reduces the number of repeated soaks. I reheat the towel a couple of times for stubborn nails. Works well when I only have 20 minutes instead of an hour.
Mistake to Avoid: Do not use overly hot towels, protect skin and avoid burns.
10. Shower Steam Softening Then Gentle Push
Style/Vibe: Low-effort, realistic
Best For: Small lifts, midweek maintenance
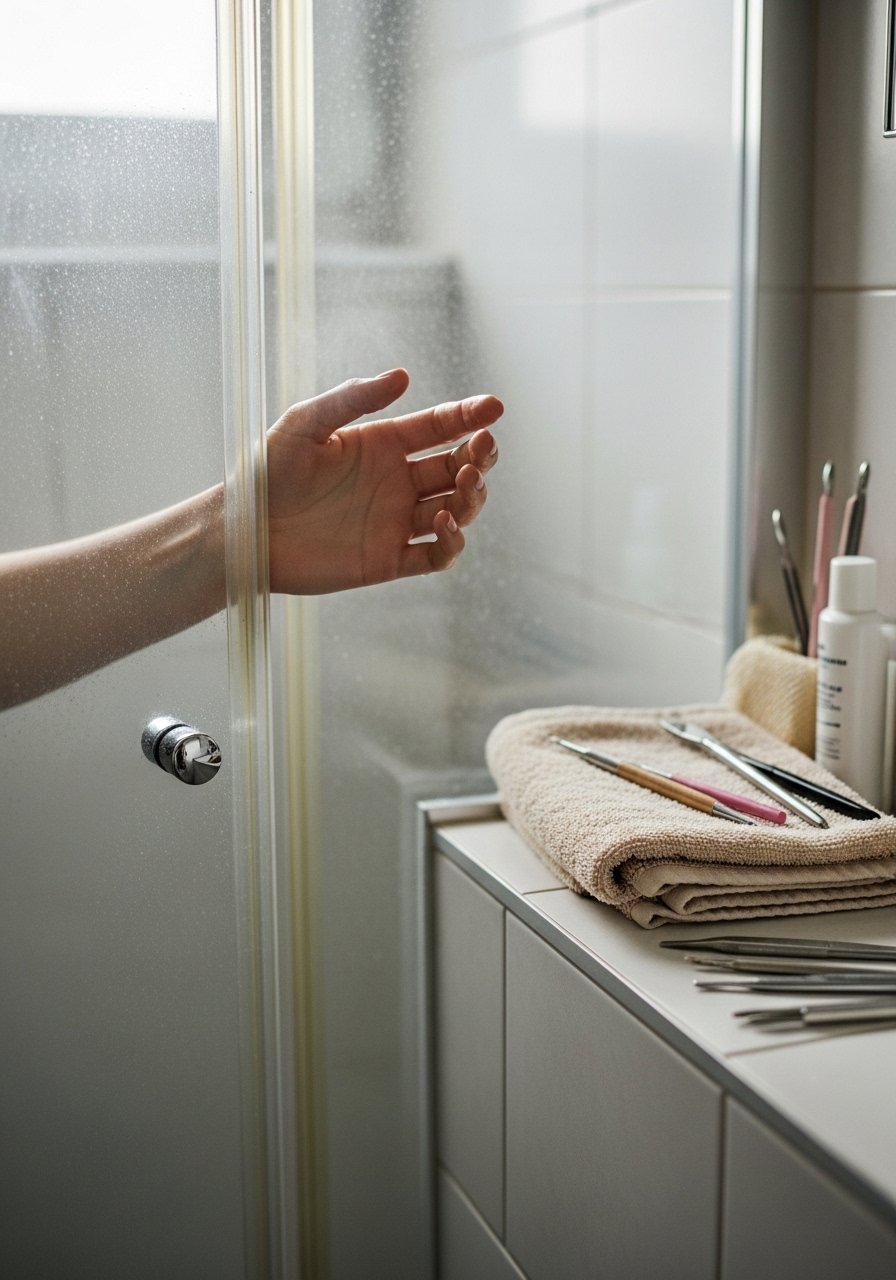
I occasionally skip acetone and use the shower steam to soften gel edges, then gently push with a pusher. It’s not for full removals, but on a Tuesday when one nail lifts, steam plus a light file usually does the job. I like it when I want minimal chemicals around my sink.
Mistake to Avoid: Do not pry aggressively after steam, that will tear the nail plate.
11. Citrus D-Limonene Based Removers
Style/Vibe: Low-chem, fragrant
Best For: Light gel layers, sensitive noses

For those bothered by acetone odor I use citrus-based removers with d-limonene. They take longer but are gentler on my skin. I soak cotton pads and cover with foil for 15 to 20 minutes. I’ve noticed these work best on single-layer gel or polish, not builder gels.
Mistake to Avoid: Do not assume citrus removers work as fast as pure acetone, plan for extra soak time.
12. Overnight Soak for Stubborn Sets
Style/Vibe: Lazy-routine, effective
Best For: Extremely stubborn or layered gels
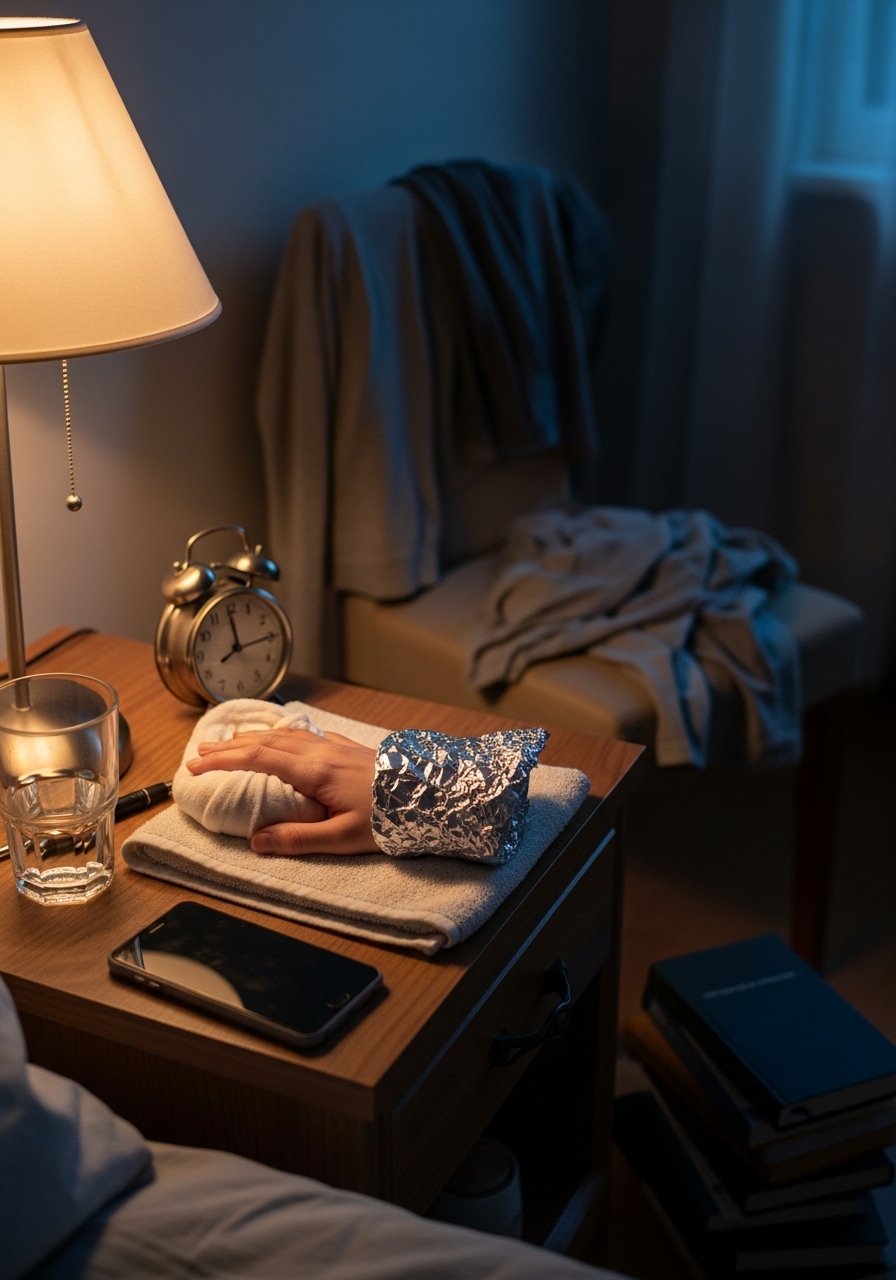
Some gels need longer. I’ll do a light foil wrap and sleep with gloves or a towel underneath for an overnight soak. Next morning much of the gel lifts right off with a pusher. I only do this occasionally; it takes dedication and patience but has rescued a stubborn set when nothing else worked.
Mistake to Avoid: Do not sleep with loose foil that can puncture bedding, use a towel barrier.
13. Micro-Paddle Tool for Scraping Softened Gel
Style/Vibe: Precise, targeted
Best For: Spot removal, edge lifts
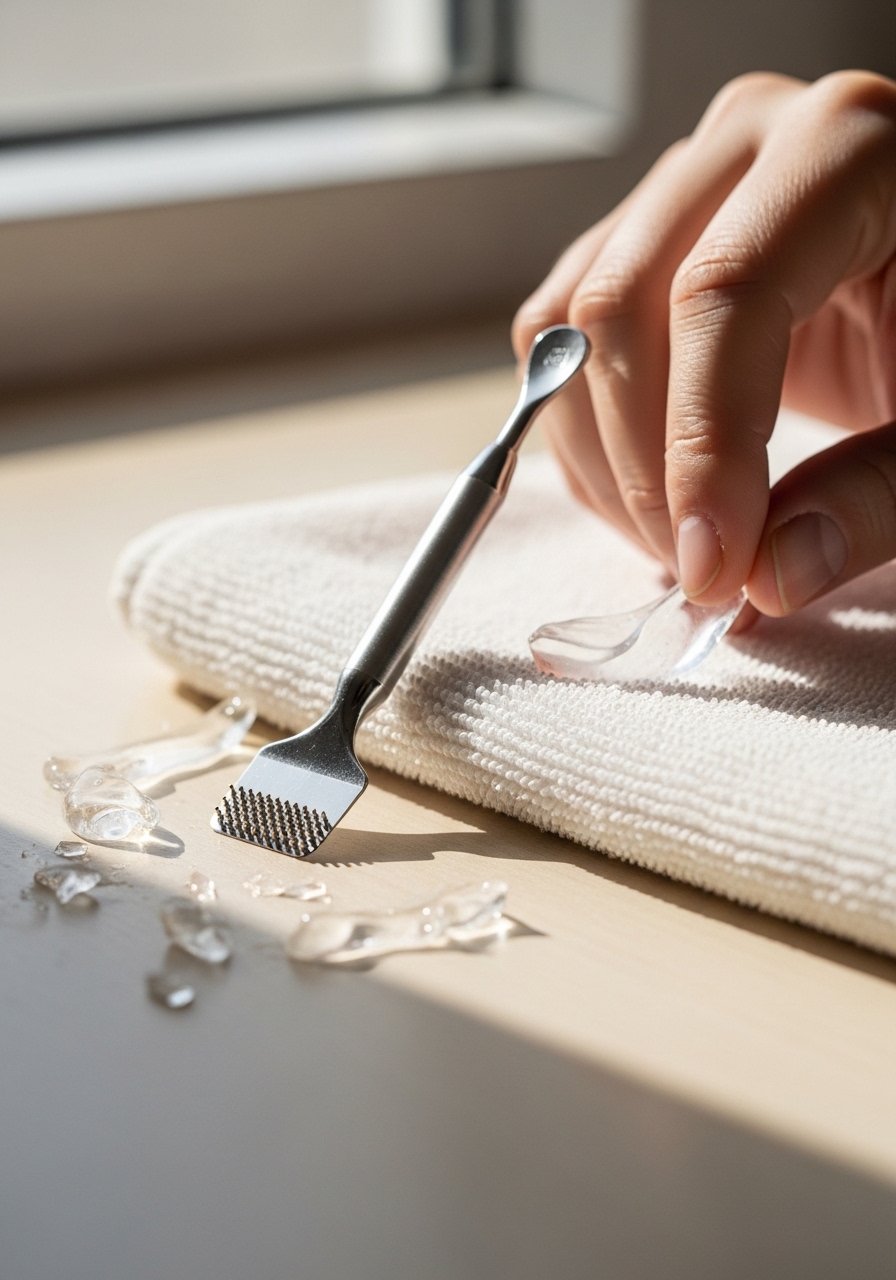
After a soak I use a micro-paddle or ceramic scraper to gently remove loosened gel, especially at the cuticle zone. The tool gets under edges without gouging. Pair it with a light file and cuticle oil afterward, and you’ll be surprised how clean the nail plate looks. I picked one up after nearly ruining a nail.
Mistake to Avoid: Do not use metal blades or force the paddle under tight gel, take another soak instead.
14. Controlled Nail Drill by a Trained Friend
Style/Vibe: Salon-level, careful
Best For: Thick builder gel, worn enhancements
If someone you trust knows drill techniques, a controlled thinning session with a nail-drill-bit-set can remove bulk before soaking. I had a friend do this once and it cut my acetone time in half. Only try if the operator is experienced and uses low speed.
Mistake to Avoid: Do not let an untrained person use a drill, it is easy to over-file and heat the nail.
15. Shorten Length First, Then Soak
Style/Vibe: Practical, damage-limiting
Best For: Long, snag-prone nails
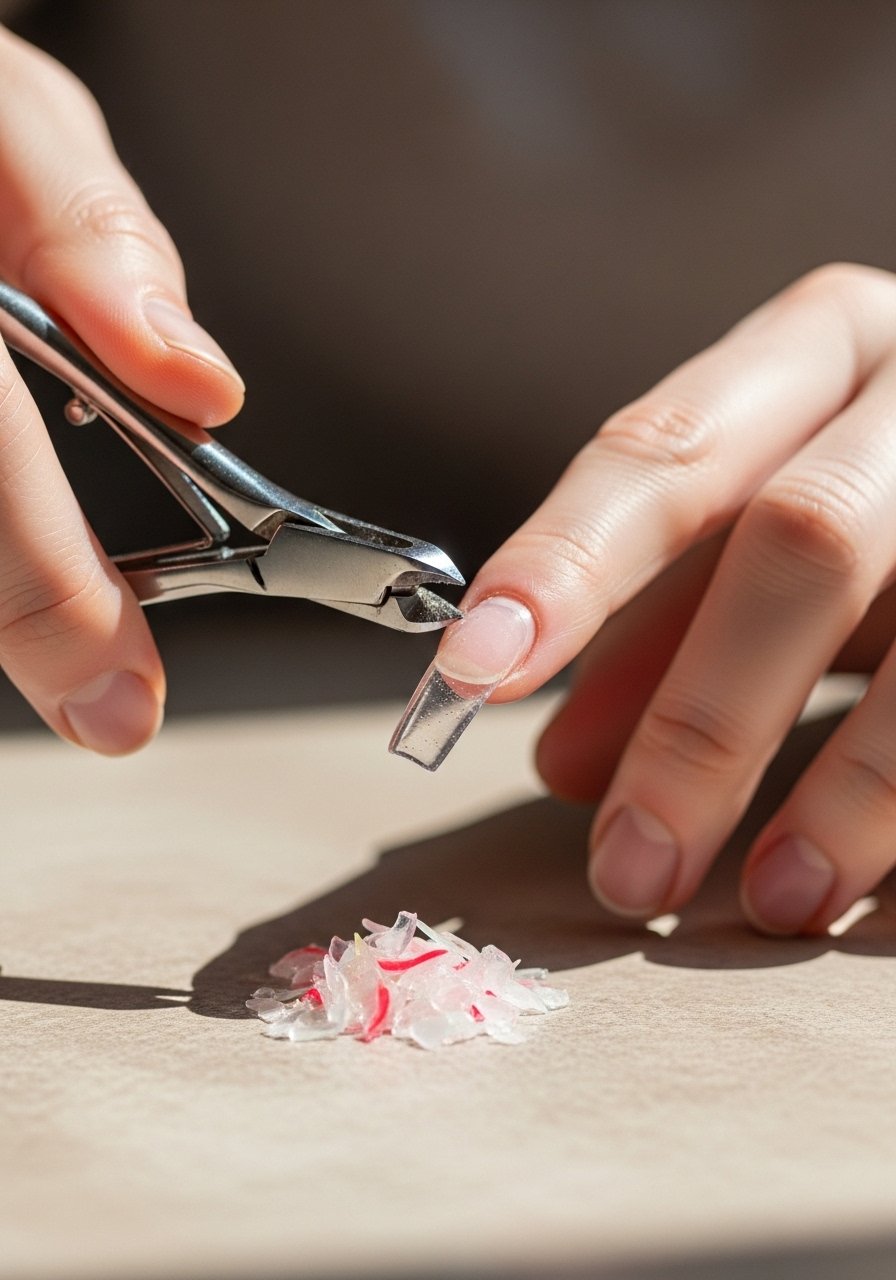
I trim long gel tips first to reduce leverage and snagging, then proceed with soaking. Shortening helps when a tip keeps catching on clothes and reduces the chance of an accidental rip. After clipping I file the edges smooth and follow with a standard acetone or oil method.
Mistake to Avoid: Do not clip too close to the natural nail edge, leave a small buffer for safe soaking.
16. Buff-Only Method for Thin, Older Gels
Style/Vibe: Low-chemical, patient
Best For: Thin gel layers, careful hands
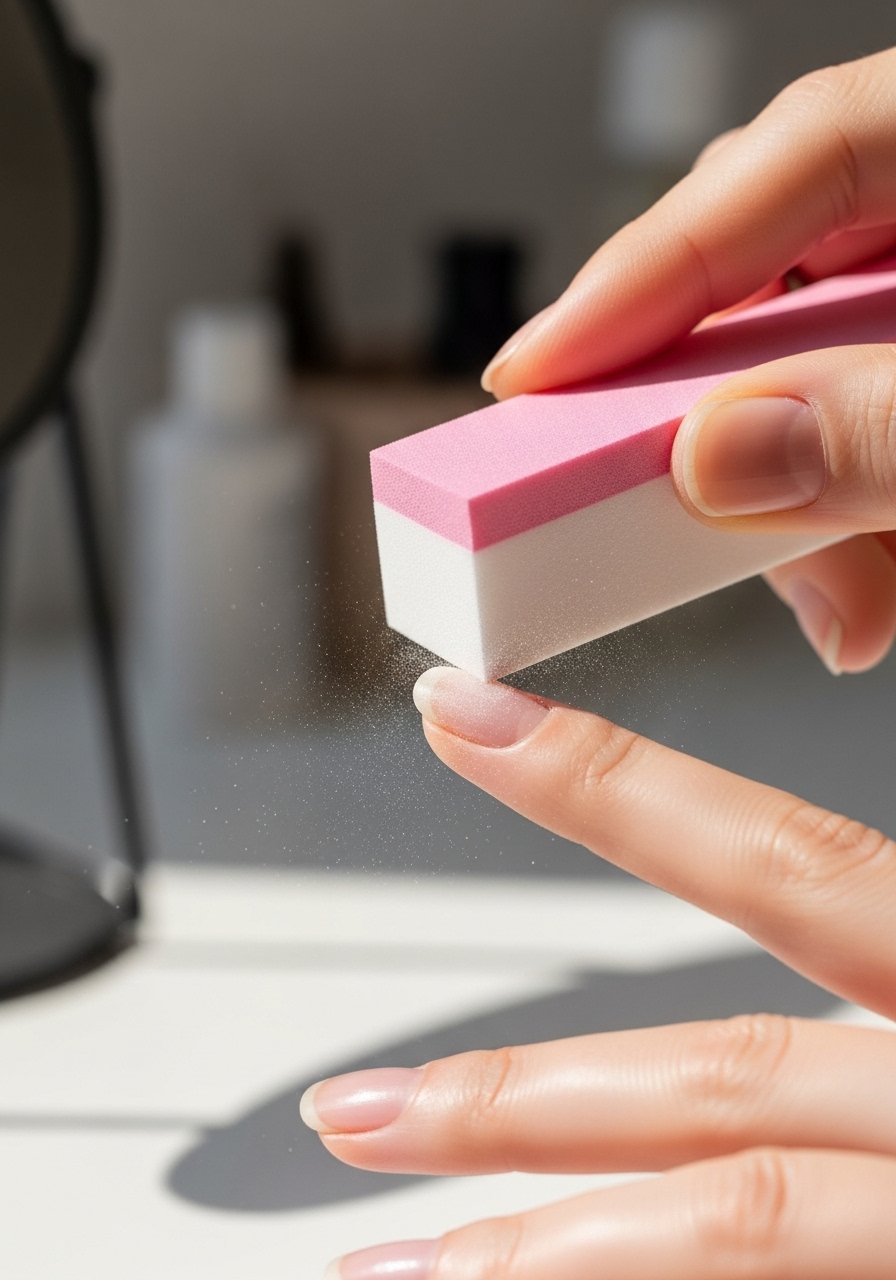
If the gel is already lifting or very thin, I gently buff the surface with a nail-buffing-block until it softens and flakes away. This is time-consuming but avoids acetone. I count this as a last resort for delicate nails or when I am out of solvent and need to protect nail health.
Mistake to Avoid: Don’t over-buff, you will thin the natural nail and increase sensitivity.
17. Peelable Gel Polish Brand Removal
Style/Vibe: Quick-change, experimental
Best For: Short-lived looks, festival nails
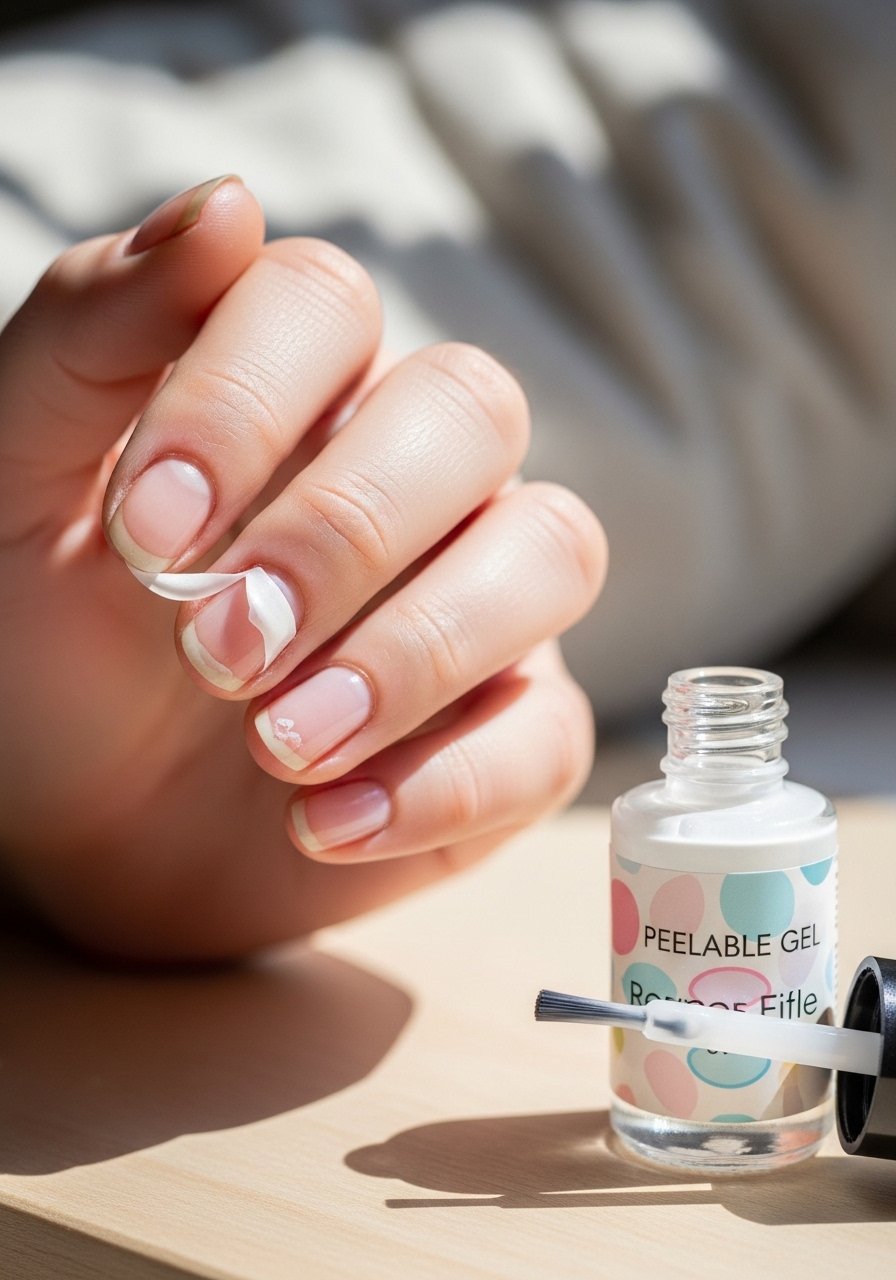
Some gel polishes are designed to peel after a lift. I try peelable gel formulas for weekend looks. You start a corner and pull slowly, the whole polish can come off cleanly without solvents. I use this when I know I will change colors within a few days.
Mistake to Avoid: Do not use peelable underlays with serious gel overlays; they will cause premature lifting.
18. Silicone Wraps and Pre-Soaked Pads Combination
Style/Vibe: Eco-conscious, neat
Best For: Frequent removers, those avoiding foil trash
I like reusable silicone wraps paired with pre-soaked pads for a less wasteful foil-free option. They hold pads tight against the nail and keep acetone from evaporating, so soak times are stable. This combo is tidy and saves on buying foil repeatedly, which I appreciate after many at-home sessions.
Mistake to Avoid: Do not reuse a pad multiple times on different nails, cross-contamination and weakening result.
19. Hot Water Plus Baking Soda Softening
Style/Vibe: Kitchen-hack, gentle
Best For: Very minor lifts, quick fixes
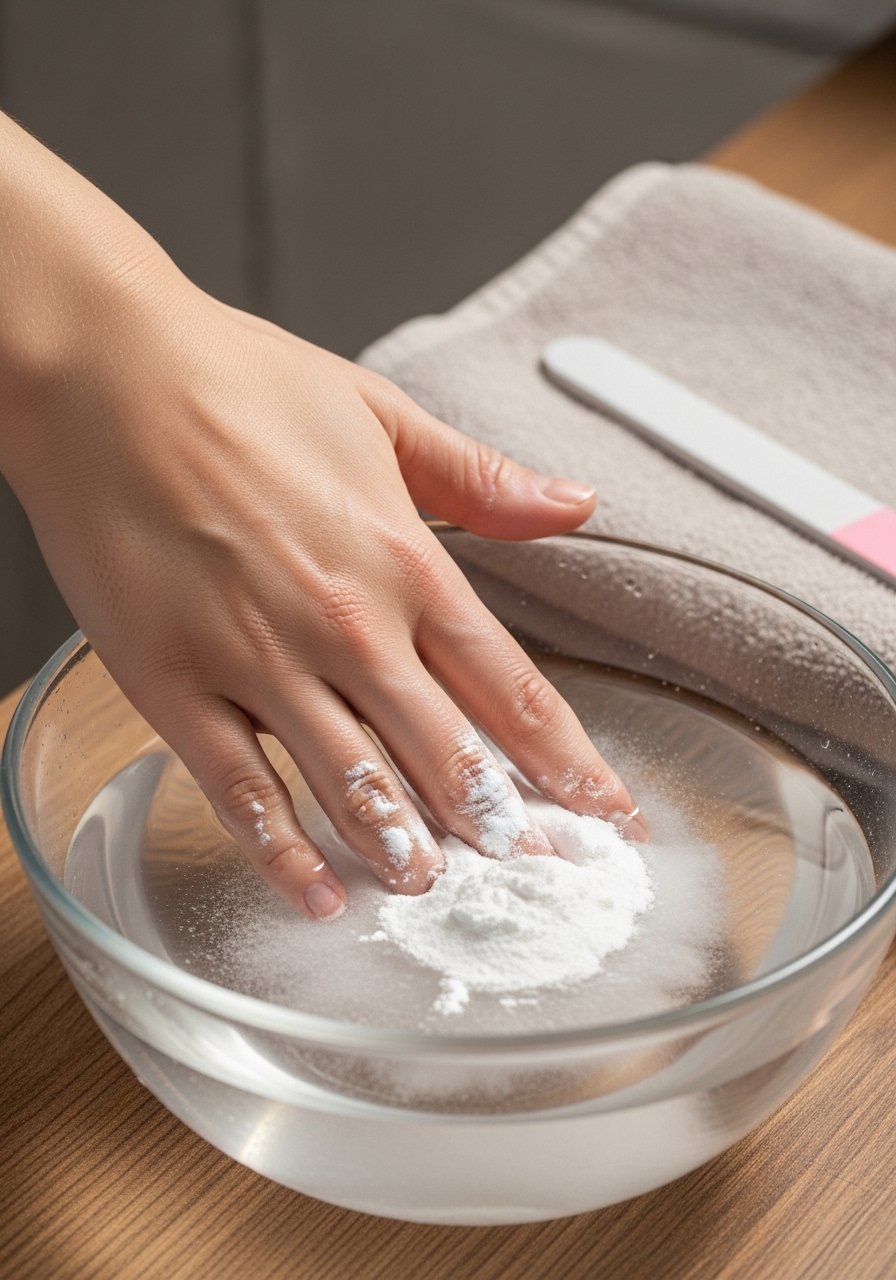
For small lifts I dissolve a teaspoon of baking soda in hot water and soak for 15 to 20 minutes. It softens the edge a bit and lifts some gels, and I use it when I need a low-chemical fix. Not a replacement for acetone on full sets, but it helps in a pinch.
Mistake to Avoid: Do not expect this to remove a full, fresh gel application, it is only for small fixes.
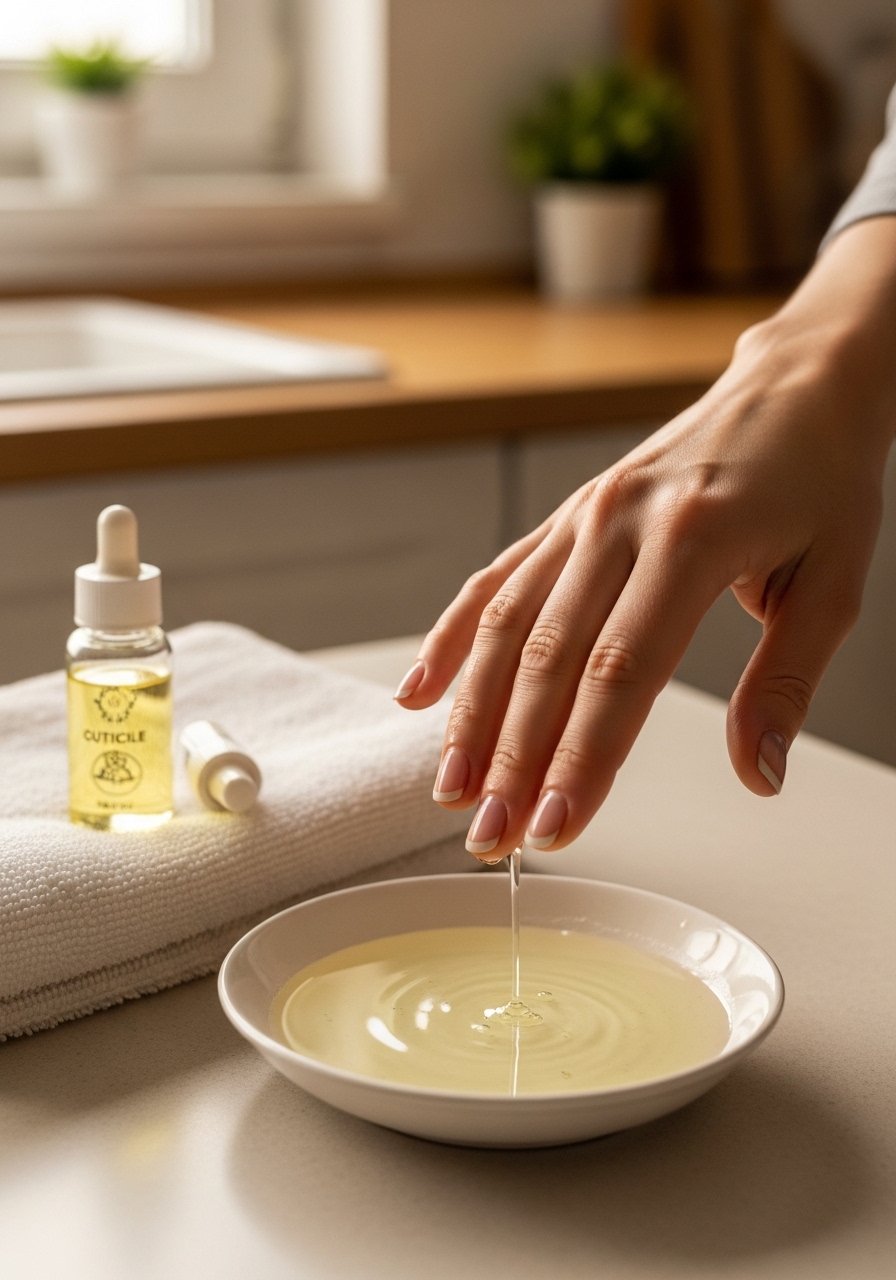
20. Cuticle Oil Soak then Gentle Push
Style/Vibe: Restorative, slow
Best For: Sensitive cuticles, minimal lifting
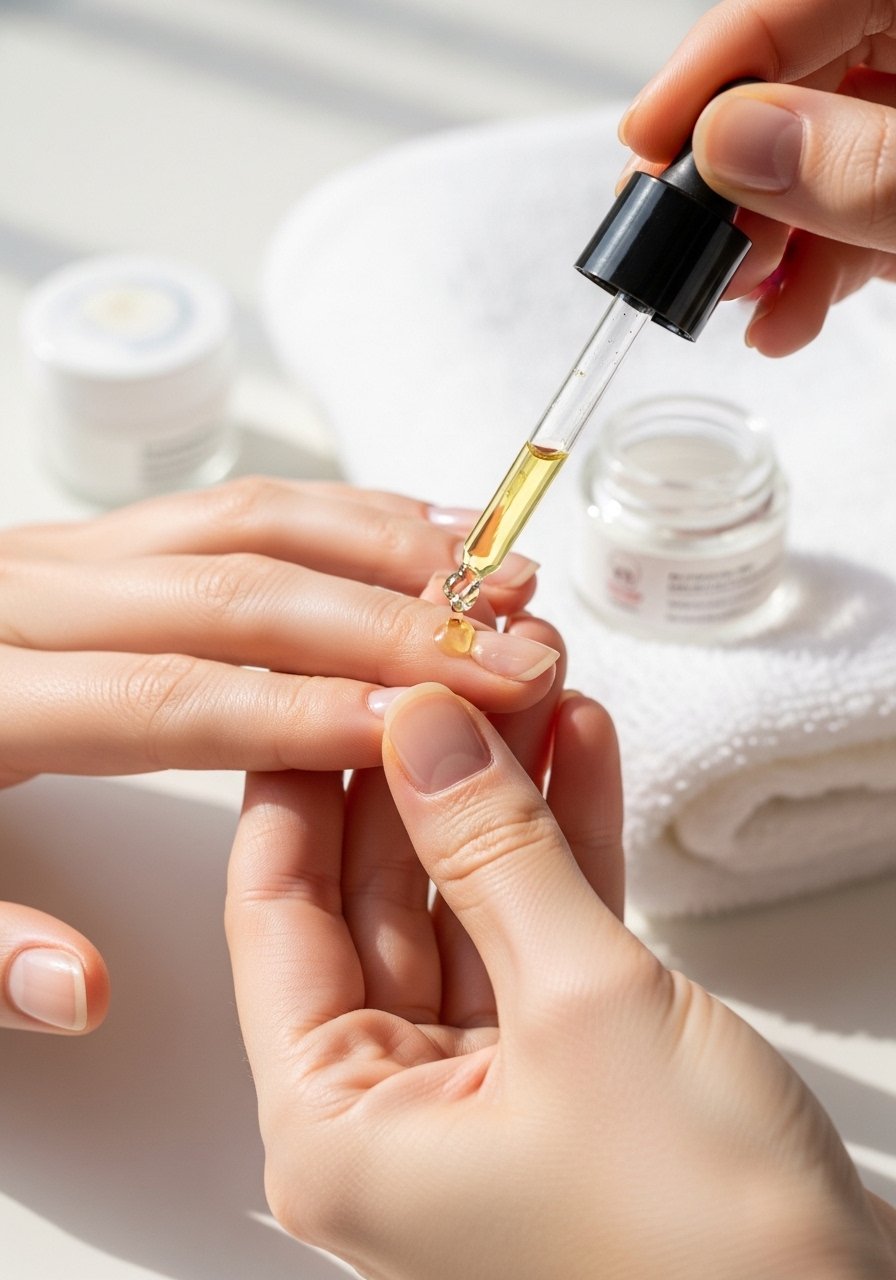
I often do cuticle oil soaks before any pushing. Apply warm oil to each nail, wait 10 minutes, then gently push softened gel with an orangewood-sticks. This method is about protecting the skin and prevents the dryness that makes nails peel after removal. It takes a little longer but feels kinder to nails.
Mistake to Avoid: Do not push on brittle, dry nails without oil, you will cause splitting.
21. Home-Use Acetone Pot with Temperature Control
Style/Vibe: Techy, efficient
Best For: Frequent at-home removers, salon-style at home
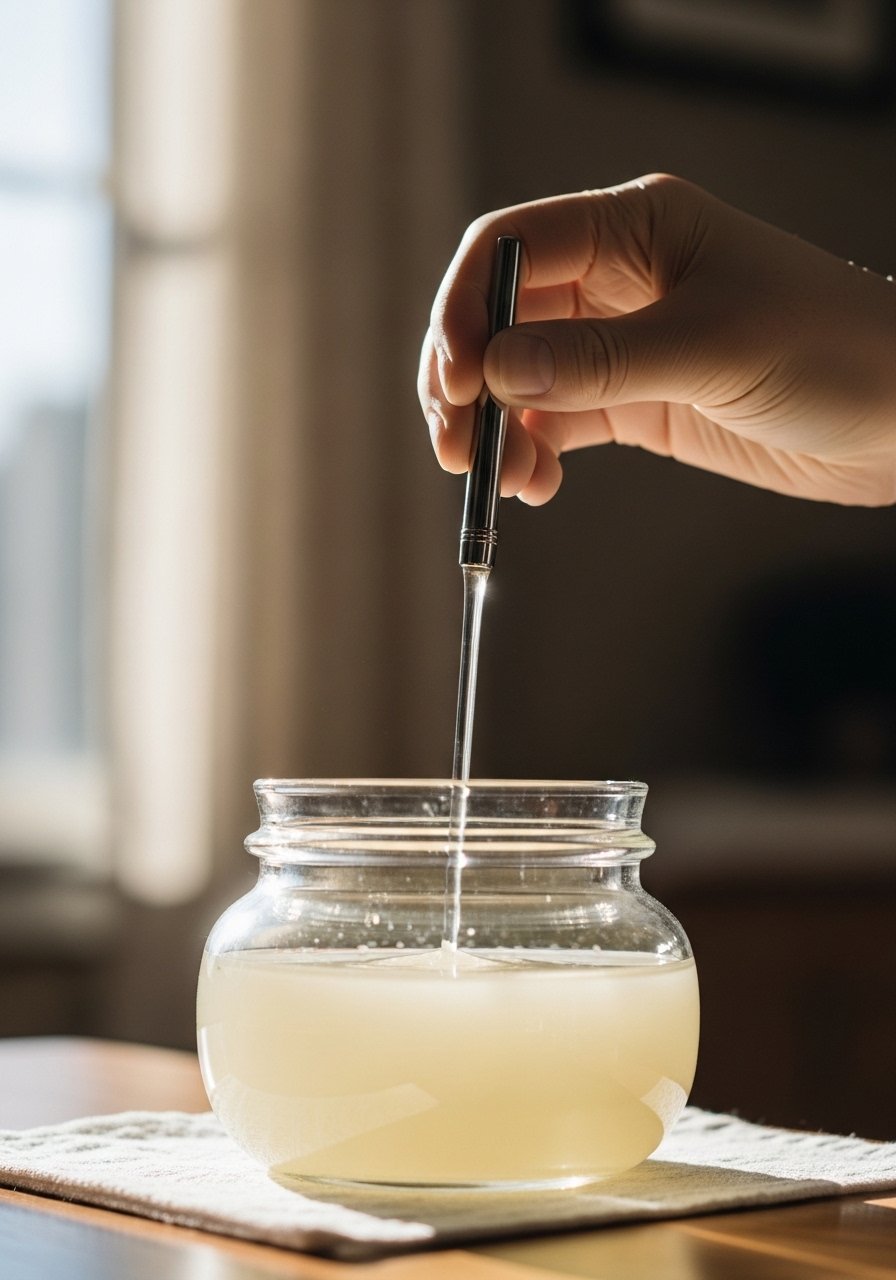
I once used a small acetone pot designed for home use. It keeps acetone at an even temperature which reduces soak time and evaporation. If you remove gel every few weeks this is an investment that saved me time. Always use in a ventilated area and follow product safety instructions.
Mistake to Avoid: Do not leave the pot unattended while in use, and keep it away from children and pets.
22. Steam with Eucalyptus Oil for Soften and Calm
Style/Vibe: Spa-like, calming
Best For: Sensitive skin, fragrance preference
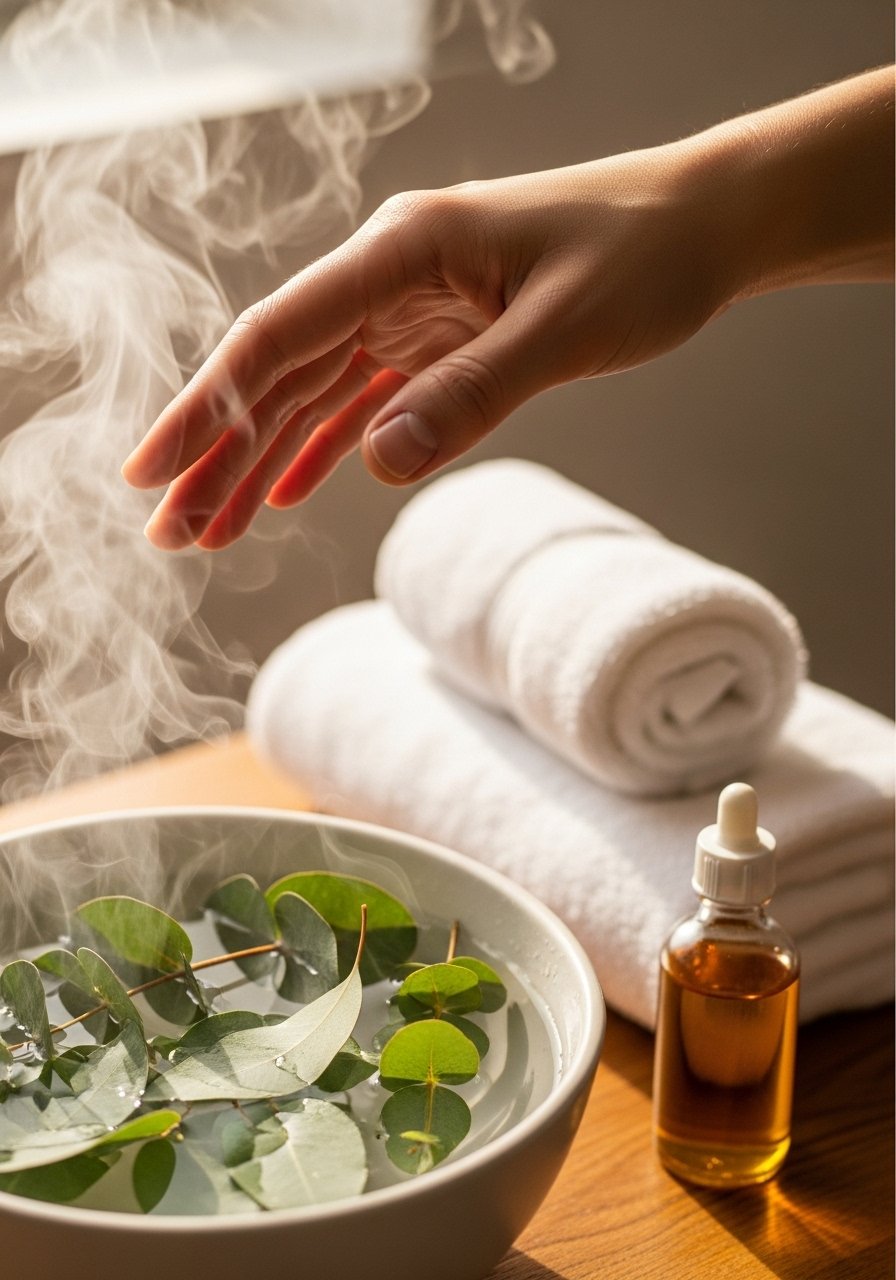
I discovered steam plus a drop of eucalyptus oil softens gel edges and calms irritated cuticles. Hold fingertips over steam for short bursts, then use a light file and oil. It is gentle and gives a spa feeling while helping removal. I use it when my cuticles are inflamed after a week of heavy work.
Mistake to Avoid: Do not lean too close to the steam, protect your face and eyes from hot steam.
23. Petroleum Jelly Skin Barrier Before Soaking
Style/Vibe: Protective, simple
Best For: Allergy-prone skin, frequent acetone use
I slather petroleum jelly around my fingertips before acetone soaks to protect skin from irritation. It makes cleanup easier and reduces sore dryness. This small step has cut my post-removal redness noticeably, a trick I learned after many messy attempts.
Mistake to Avoid: Do not put jelly on the nail surface, only on surrounding skin, or the acetone will not penetrate properly.
24. Slow Natural Breakdown: Oil, Patience, Repeat
Style/Vibe: Ultra-gentle, time-based
Best For: Very fragile nails, allergy to solvents

For truly fragile nails I use repeated oil soaks over several days, alternating warm olive oil and cuticle oil. I gently buff flakes away each day and let nails rest, reapplying oil nightly. It is slow but safe, and after a week most of the polish loosens enough to remove without acetone. I’ve done this twice when my nails were splitting.
Mistake to Avoid: Do not expect immediate results, this method demands patience and daily care.
Nail Tips
Trim and File First: Shorten tips with clippers, then file edges smooth, it reduces snagging and accidental rips, pair with glass-nail-file.
Hydrate Post-Removal: Immediately massage cuticle-oil into nail beds for at least a week, I do this nightly and notice faster recovery.
Limit Acetone Exposure: Use the minimum soak time needed, try citrus alternatives like d-limonene-remover for light sets when possible.
Protect Skin: Apply petroleum jelly around nails before any soak to stop acetone from drying the skin, I always do this on my thumbs.
Use Gentle Files: Start with 180 grit, finish with a nail-buffing-block to smooth, avoid coarse files close to the nail plate.
Go Slow with Tools: If you try an electric-file, practice on tips or consult a pro first, it saved me from a few painful thin spots.
Plan Ahead: For vacation looks, use a peel-off-base-coat so removal is a five-minute task when your trip ends.
