
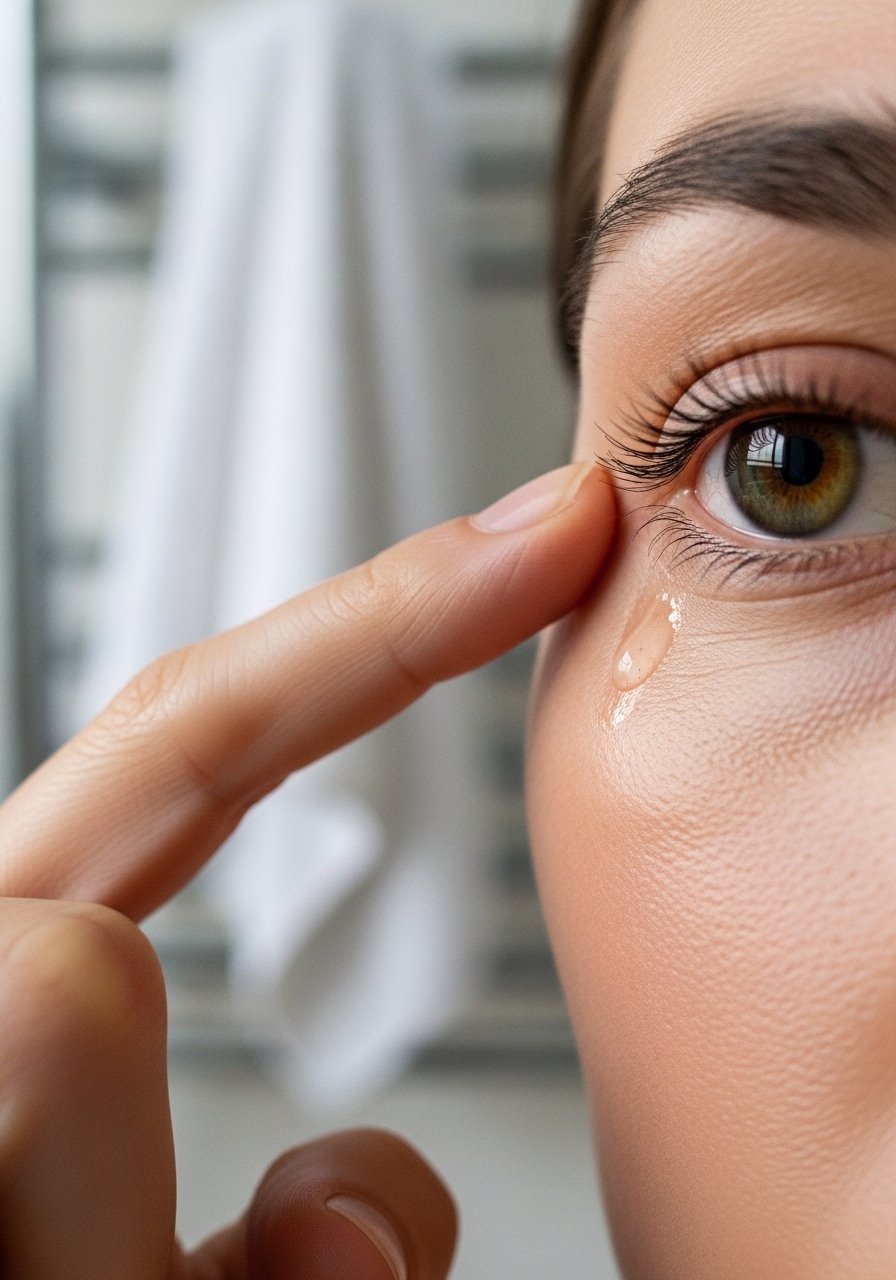
I used to think dark circles were one problem with one solution, then I tried a dozen fixes and learned they are stubborn and layered. Sometimes they were dehydration, sometimes genetics, sometimes stubborn pigmentation that needed color work before coverage. I kept notes, failed a few at-home hacks, and now I know what actually makes a visible difference on a Tuesday morning when you have zero sleep but need to look awake.
I've collected 28 practical fixes that span skincare, tools, makeup tricks, and quick in-sink remedies. Budget ranges vary from under $10 for cooling gel masks to $200 for at-home devices, so I include options that worked for me at different price points. Expect honest notes on timing: some things showed change in days, others took months, and I mention that openly.
What You'll Need
Skincare Prep:
- caffeine-eye-serum (~$12-$35)
Base & Coverage:
- color-correcting-concealer (~$6-$40)
Color & Tone:
- peach-toned-color-corrector (~$5-$30)
Eyes & Brows:
- brightening-eye-pen (~$8-$25)
Tools & Finishing:
- jade-roller (~$7-$30)
- undereye-patches (~$6-$25)
1. Caffeine-Forward Eye Serum for Immediate Depuffing
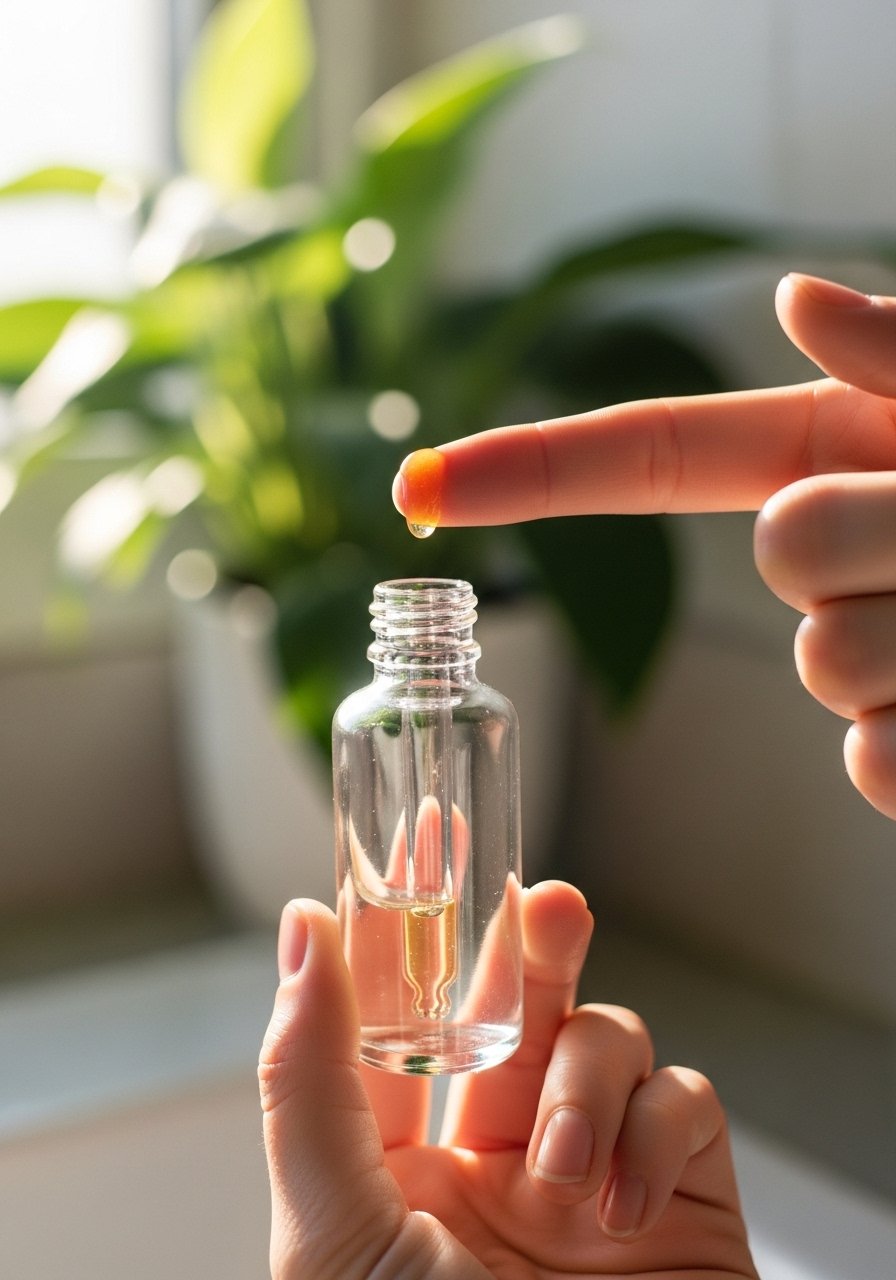
I started using a caffeine eye serum on groggy mornings and noticed my puffiness dropped within 20 minutes, not magically but visibly. I prefer lightweight formulas that sink in fast, like caffeine-eye-serum, because thick gels just slid into my fine lines. About 60% of the time this is my go-to before concealer. Use it under sunscreen if daytime. It works best on fluid retention, not pigment.
Mistake to Avoid: Do not rub the serum into lashes, press gently instead.
2. Retinol Eye Cream for Pigment and Texture Over Time
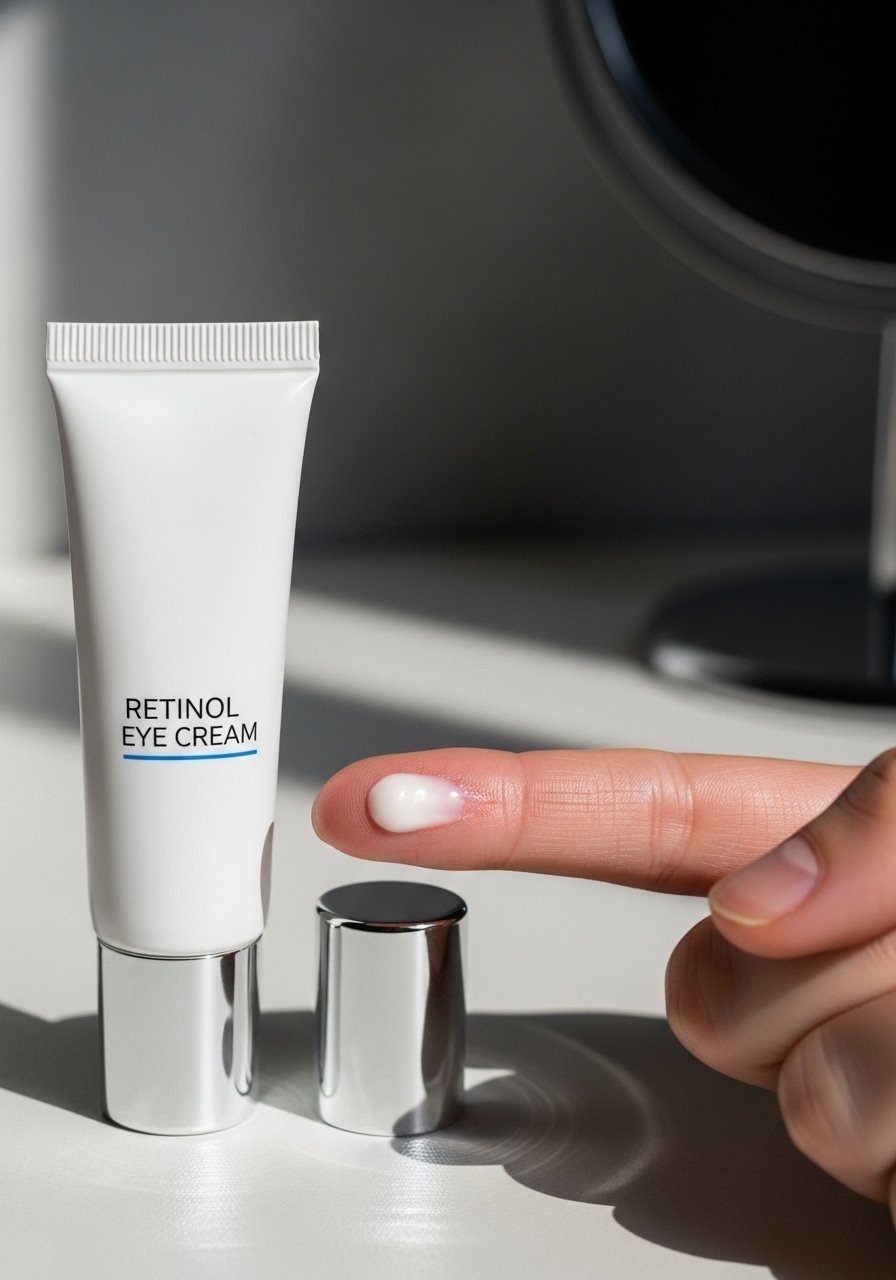
I added a gentle retinol eye cream into my night routine and saw texture smoothness and subtle lightening after six weeks. Start slow, twice a week, and work up, because I had one week of irritation when I overdid it. I used a low-dose formula then moved to a slightly stronger option like retinol-eye-cream. Retinol tackles pigment at the skin level, so patience pays off, usually eight to twelve weeks for real change.
Mistake to Avoid: Do not apply full-strength retinol daily at first, build tolerance slowly.
3. Niacinamide Serum to Reduce Discoloration and Redness
I found niacinamide layers well under creams and helps fade the bluish tones that sometimes peek through. After using niacinamide-serum twice daily for a month, my lids looked less mottled and redness calmed. I like that it played nicely with vitamin C and sunscreen. In my experience around 40% of people notice tone evening quicker than they expect, but it is neither instant nor dramatic overnight.
Mistake to Avoid: Do not mix niacinamide and strong acids at once, introduce one at a time.
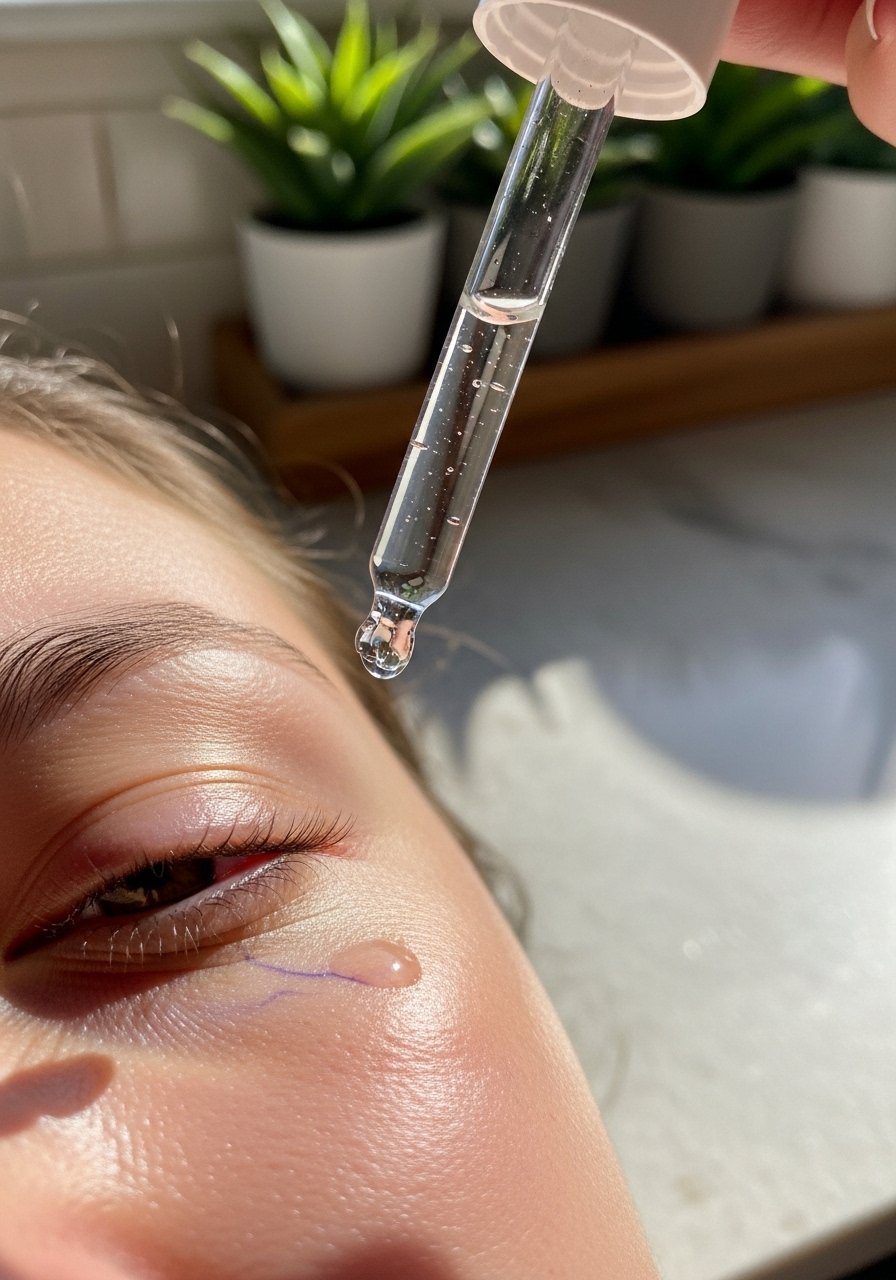
4. Hyaluronic Acid Boost for Plumping Fine Lines
When my under-eyes looked hollower, a hyaluronic acid serum plumped things up for hours. I keep a travel-size hyaluronic-serum in my bag for midday touch-ups, because it rehydrates without leaving residue. I noticed immediate softening in about 70% of uses, which made concealer lay smoother. This helps most when dehydration is the main issue, not pigment or vascular darkness.
Mistake to Avoid: Do not skip moisturizer over hyaluronic acid, it needs a seal to work.
5. Cold Compresses or Gel Masks for Quick Debloat
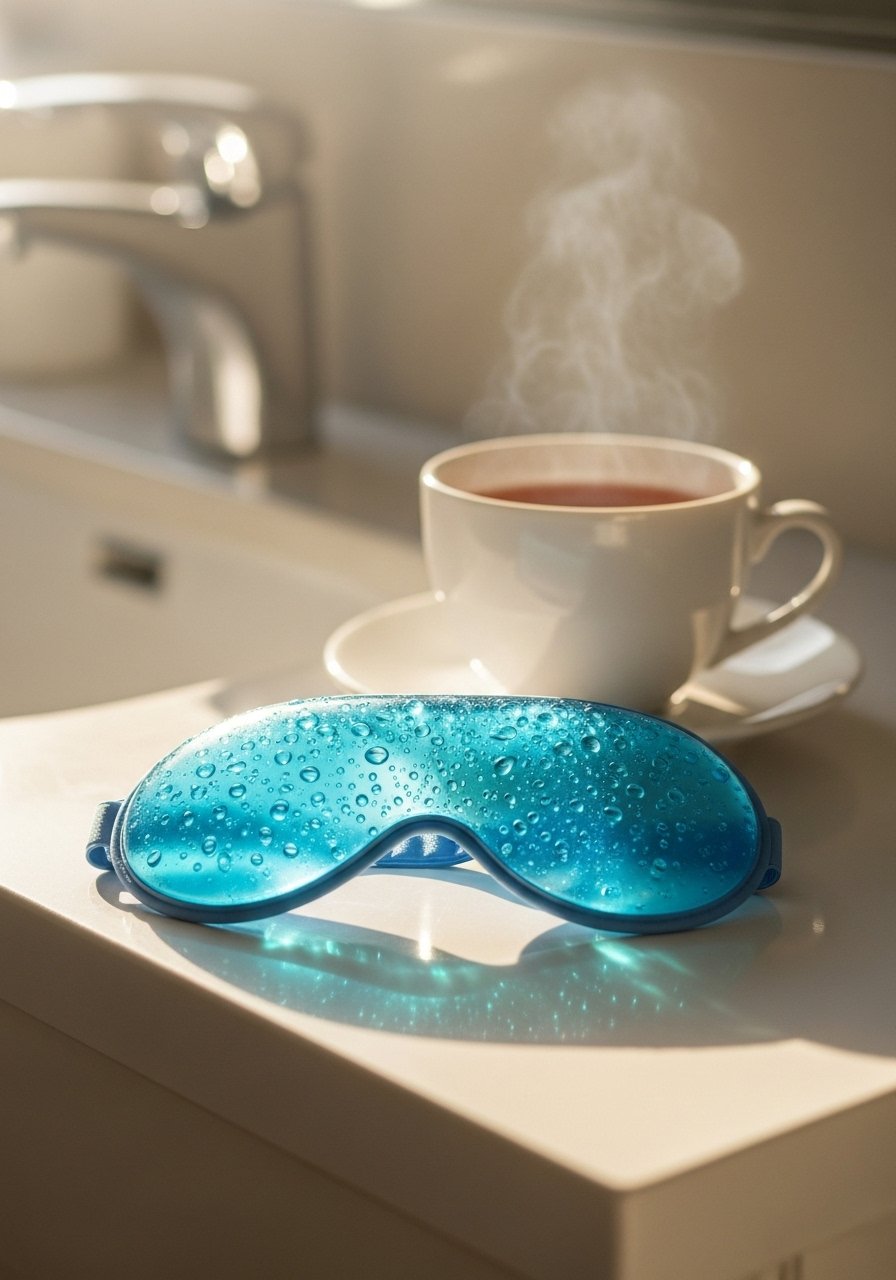
On brutal mornings I reach for a cold gel mask, and in ten minutes my puffiness drops noticeably. I keep cold-compress-eye-mask in the freezer and use it before concealer. It is fast, cheap, and portable, and I noticed it saved my look about 85% of rushed mornings. It will not remove pigmentation, but it gives immediate visual brightening.
Mistake to Avoid: Do not press a frozen pack directly on skin, wrap it or use a designed gel mask.
6. Peach/Orange Color Corrector for Blueish Vascular Circles

I use a peach-toned corrector when veins or blue tones show through. Dab a little peach-toned-color-corrector before concealer and blend outward. For me this step made concealer coverage look less cakey because I neutralized tone first. It works best on medium to deep skin that leans cool. I find it cuts the amount of concealer I need, which feels lighter and lasts longer.
Mistake to Avoid: Do not overapply peach corrector or it will look orange under flash.
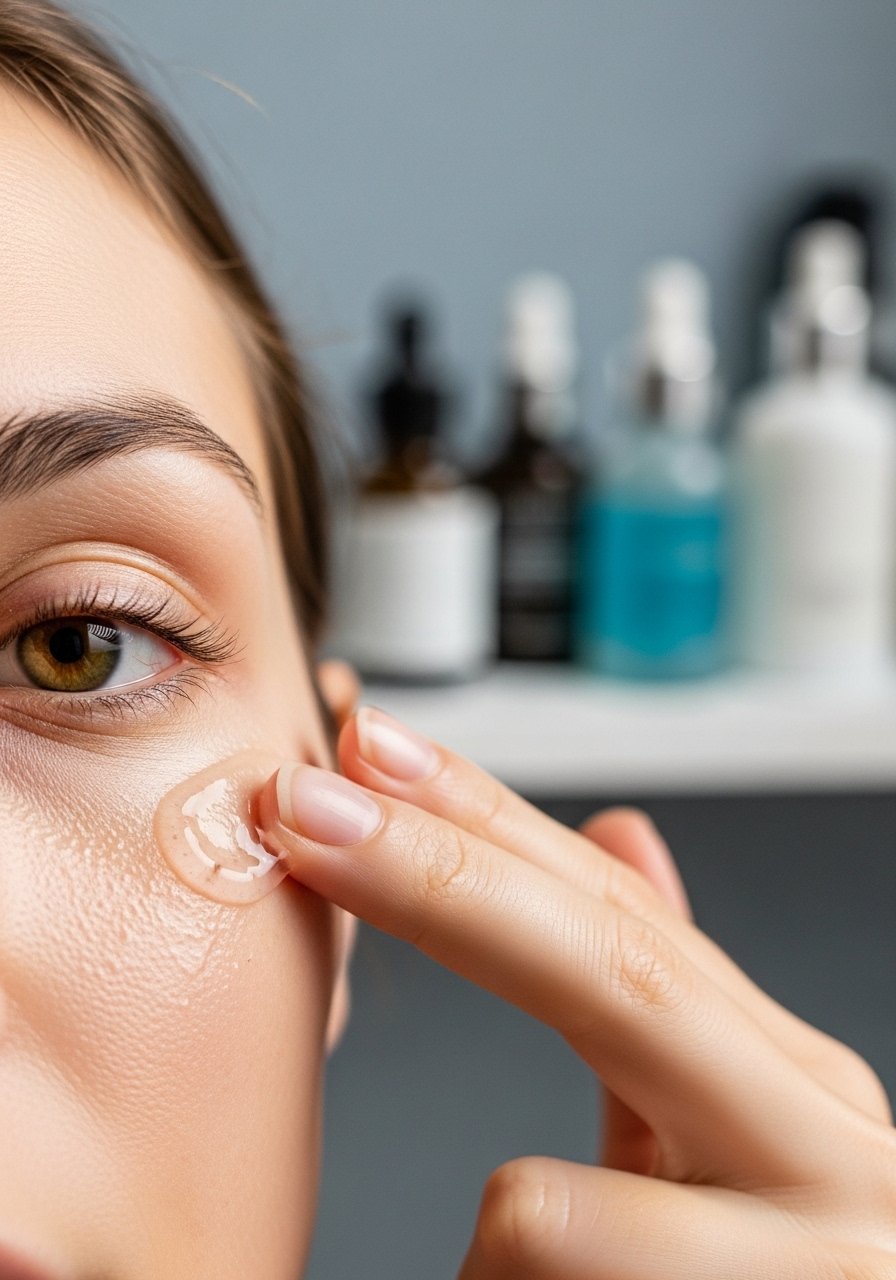
7. Thin, Brightening Concealer Application Technique
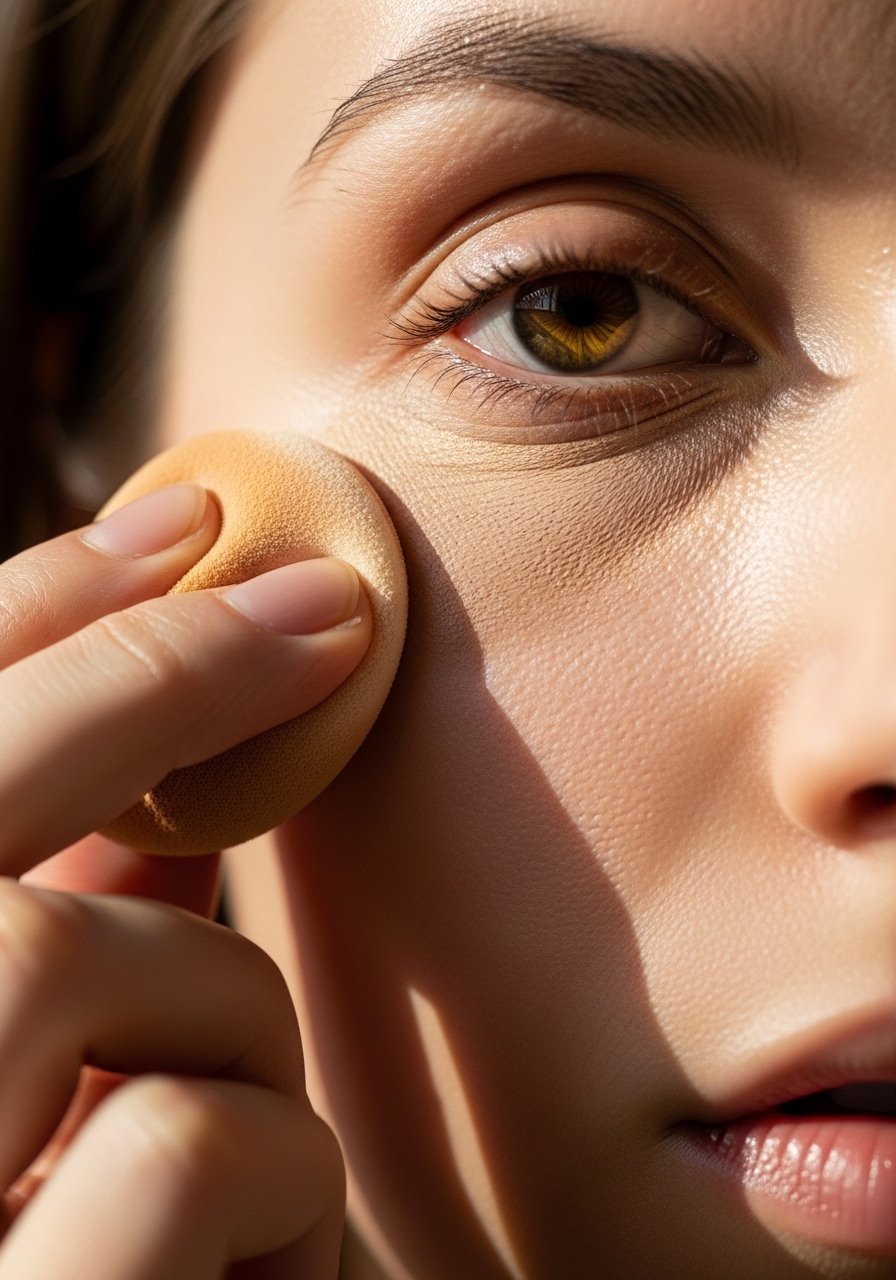
I stopped piling concealer on and started thin layers, tapping with a damp sponge. A small dot of color-correcting-concealer blended thinly covered better than a thick swipe. This trick cut creasing and kept the look natural, especially after using a primer. I noticed longevity improved by about half a day when I layered thinly, so less midafternoon flaking.
Mistake to Avoid: Do not drag the sponge outward, tap inward to avoid spreading product into fine lines.
8. Baking Lightly for Longer Wear Without Caking
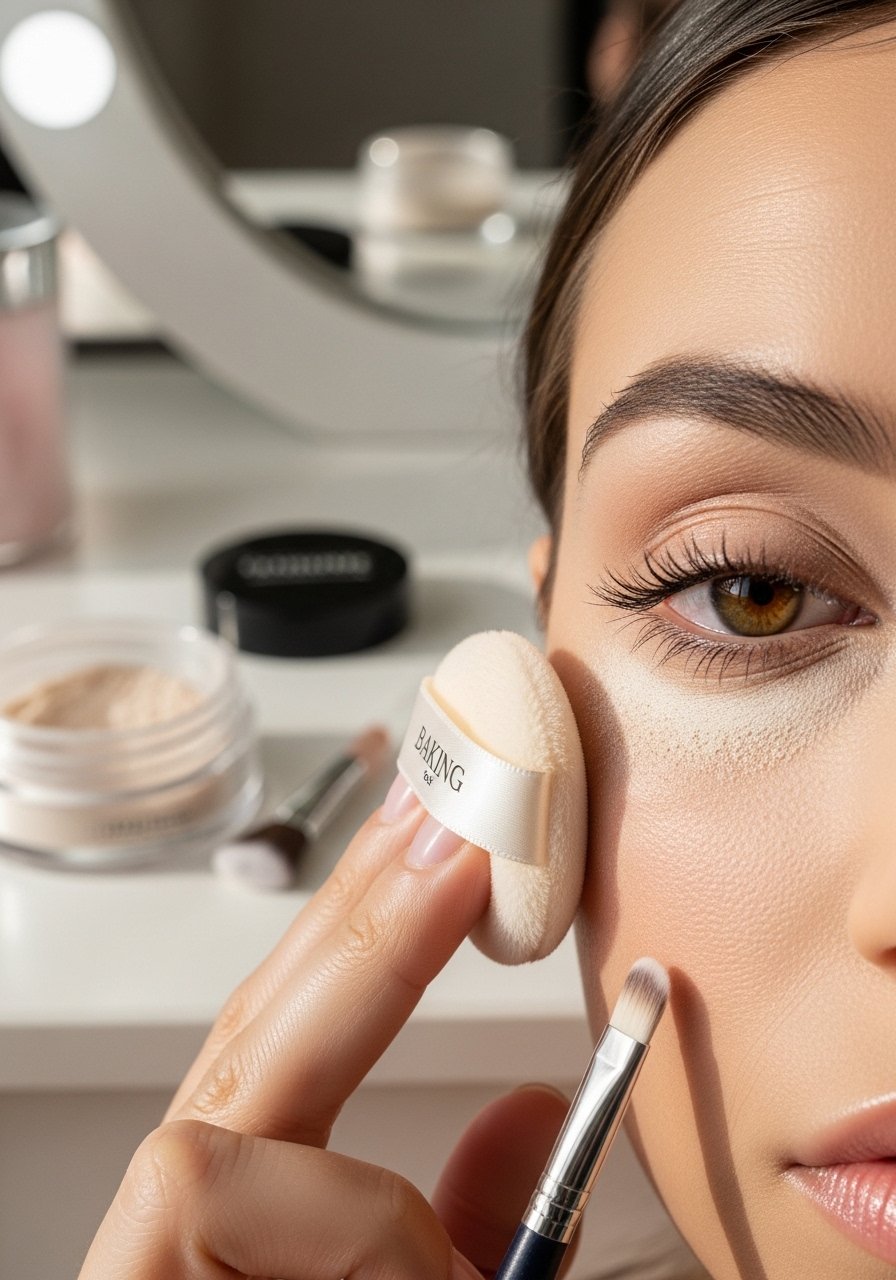
I used to avoid baking because it felt heavy, but a very light dust under the eye set concealer and prevented creasing. Use a finely milled translucent-powder and sweep off excess. This has kept my under-eye makeup intact through humid commutes. It adds a matte finish without making skin look dry if you use a hydrating base.
Mistake to Avoid: Do not pack on powder, less is more or it will emphasize texture.
9. SPF and Daily Sun Protection to Prevent Worsening
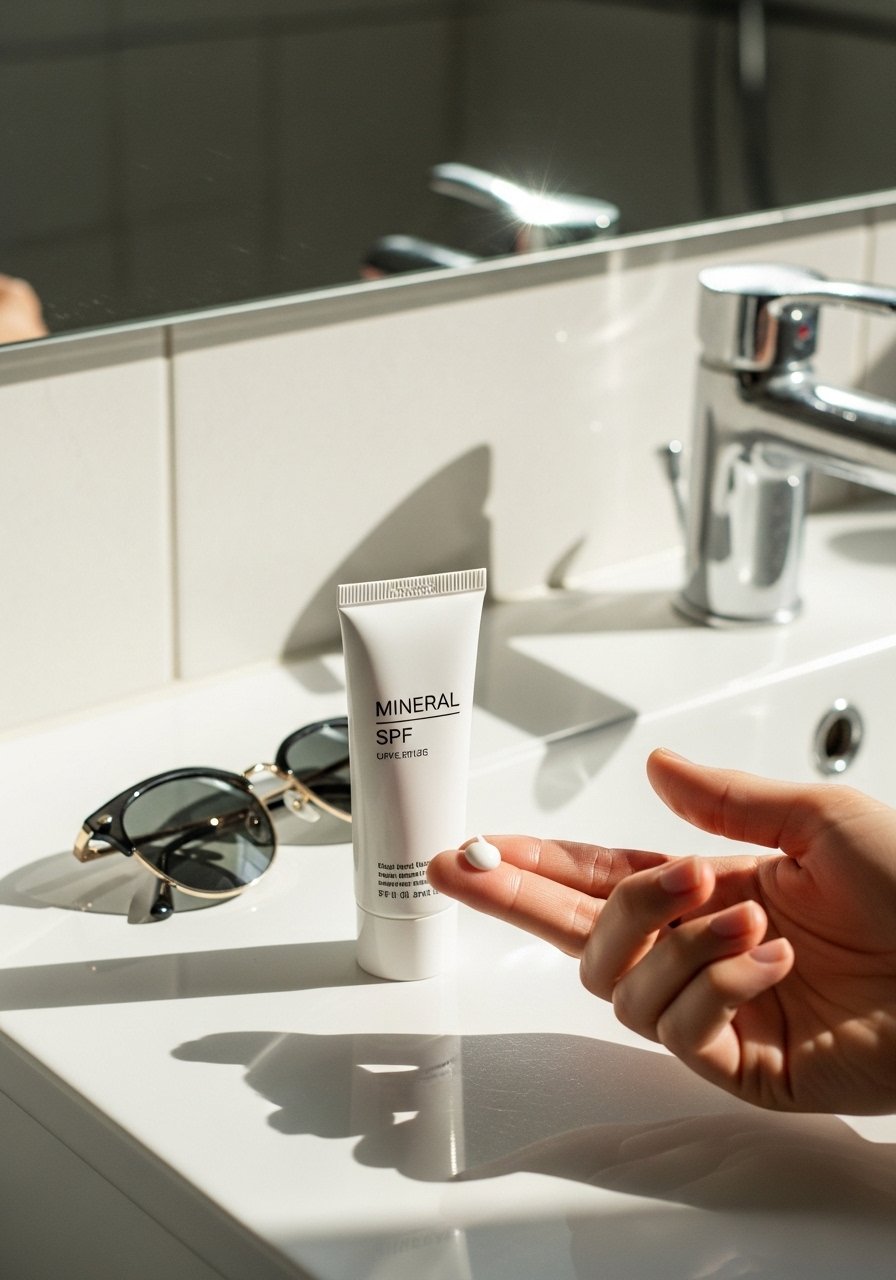
Once I started applying SPF to the orbital area, I saw less new pigmentation forming. I use a mineral mineral-sunscreen that sits well under makeup. I noticed about 50% fewer darkening episodes during summer months compared to years without sunscreen. Sun protection is prevention, not a quick fix, but it stops things from getting worse.
Mistake to Avoid: Do not forget to reapply if outdoors for long periods, especially near reflective water or snow.
10. Brightening Eye Pens for Emergency Wake-Up
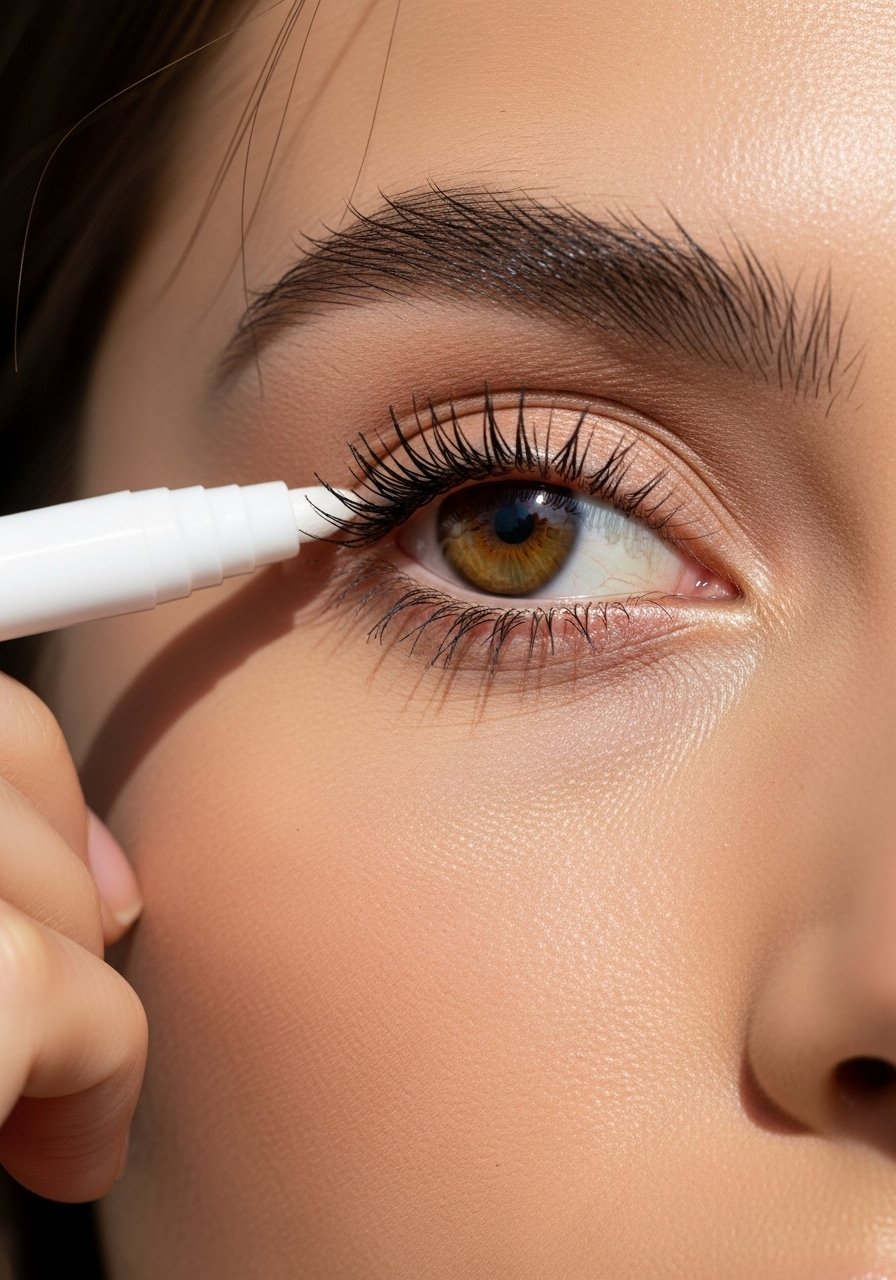
I keep a brightening eye pen in my purse for instant refreshes. The soft-reflecting formula adds micro light that looks awake without heavy product. I reach for brightening-eye-pen on flights and late nights. It does not fix pigment but tricks the eye visually, and in my experience it buys several hours of looking less tired.
Mistake to Avoid: Do not apply too close to the waterline, it will migrate and irritate.
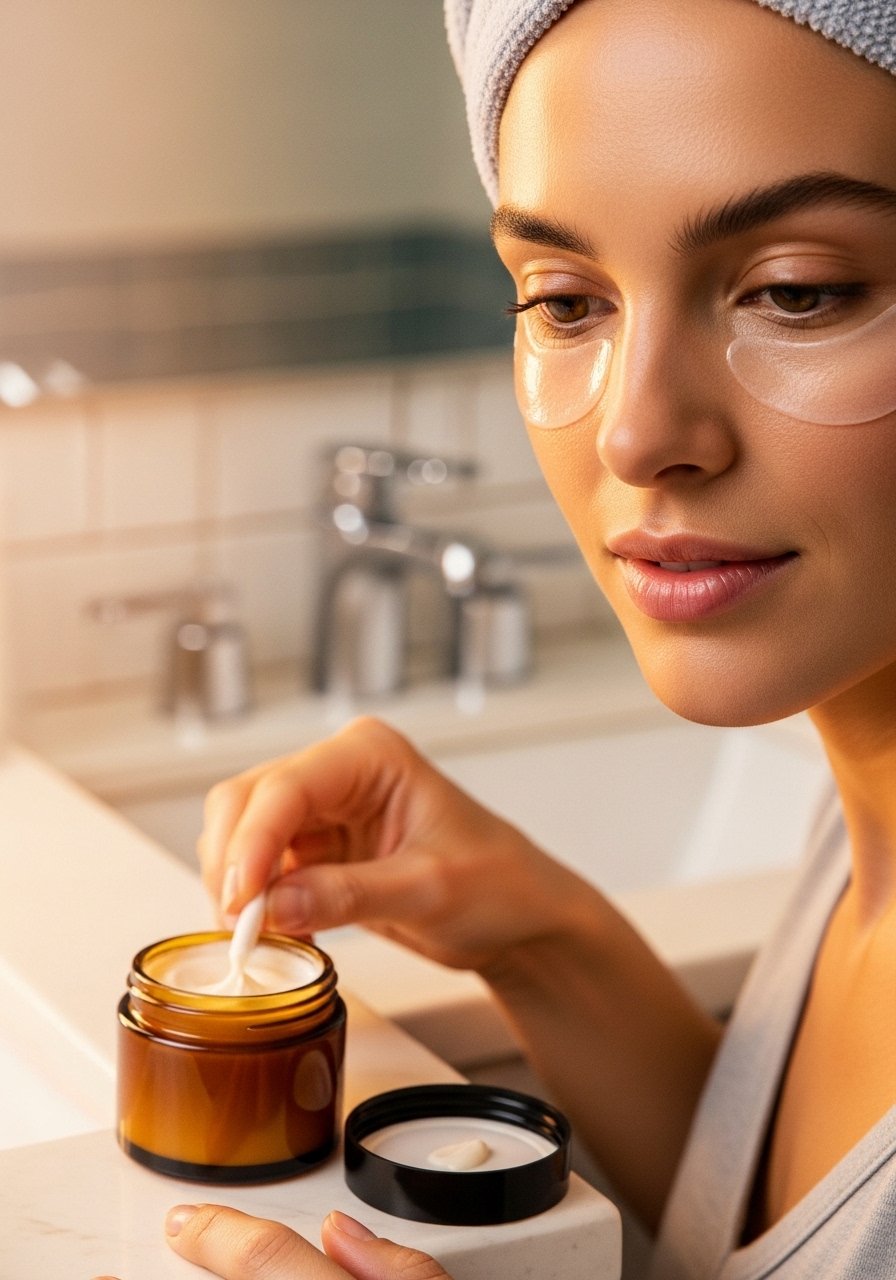
11. Under-Eye Patches for Targeted Hydration and Brightening
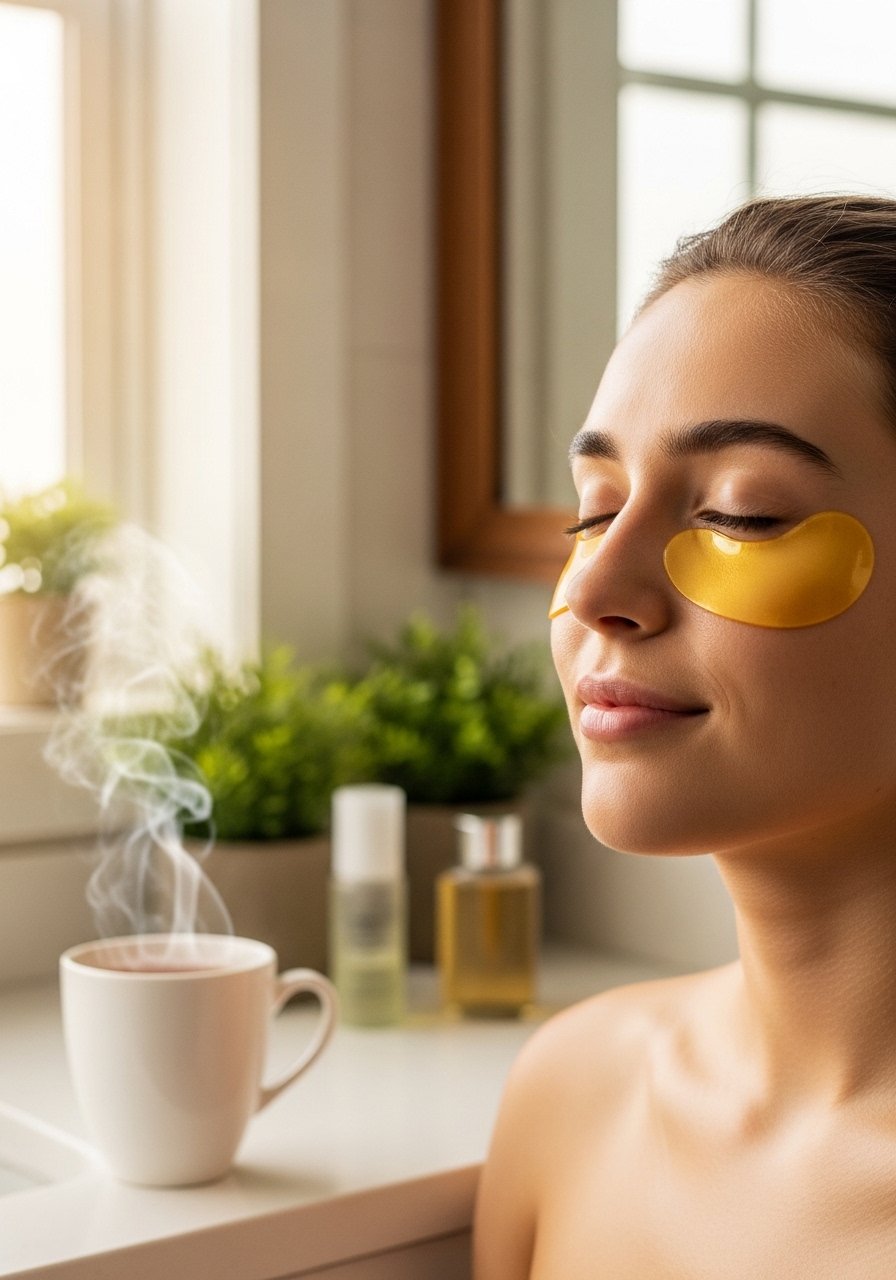
I use under-eye patches before important events; they firm and hydrate fast. The best are cooling hydrogel varieties like undereye-patches that I pop on for 15 to 20 minutes. They are not long-term fixes for deep pigmentation, but after one session my under-eye looked plumper and my concealer sat smoother for the evening. Quick fix, reliable.
Mistake to Avoid: Do not leave patches on for hours, follow recommended time to avoid irritation.
12. Gua Sha for Lymphatic Drainage and Contour Lift
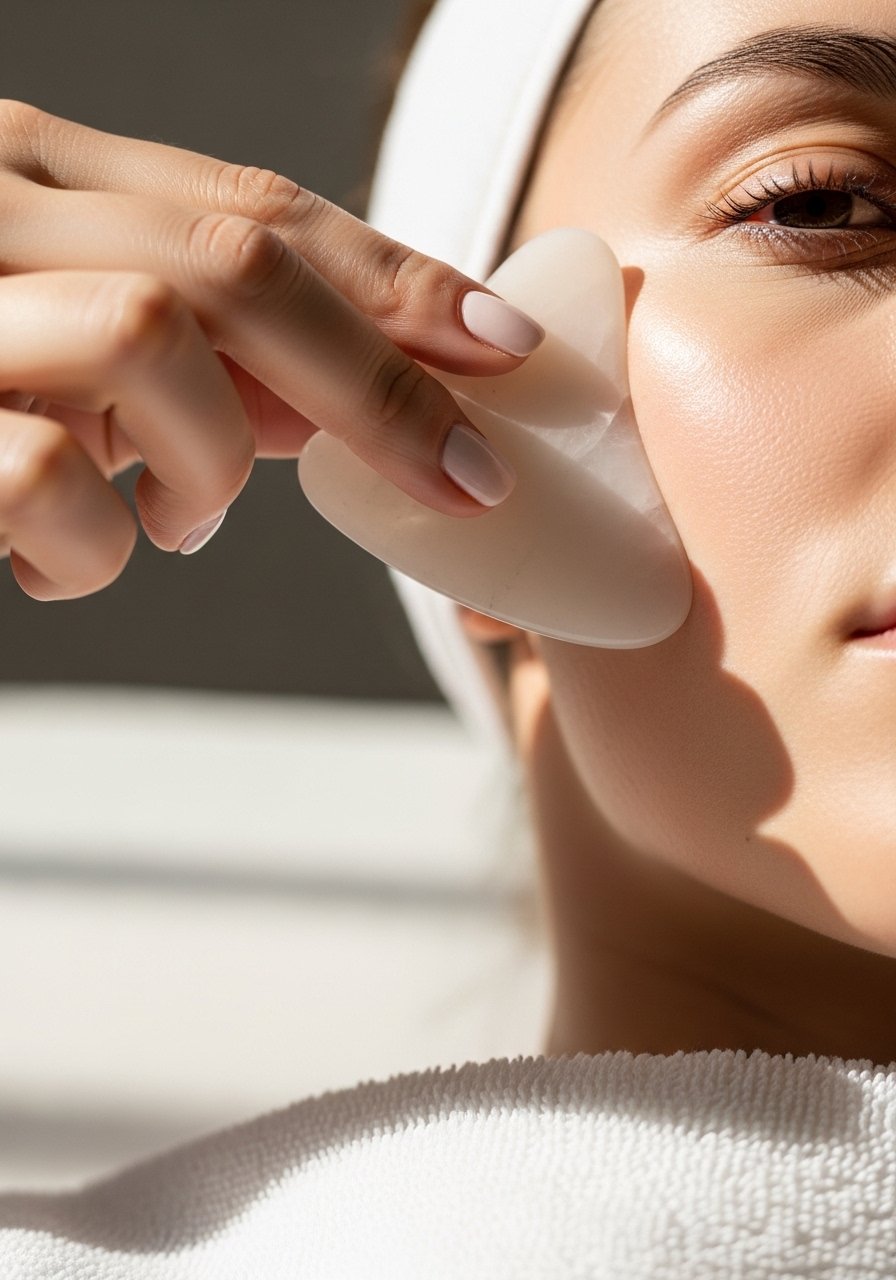
I started gua sha for lymphatic drainage and it helped reduce morning puffiness within a week. Use gentle strokes upward and outward with a facial oil, and a gua-sha-tool that fits the orbital bone. My eyes looked less swollen after three sessions, especially on days after salty dinners. This is subtle, gradual work, not instant, but it added a natural contour I liked.
Mistake to Avoid: Do not press hard near the eye, light pressure only.
13. Sound Sleep and Elevation Tricks for Overnight Recovery
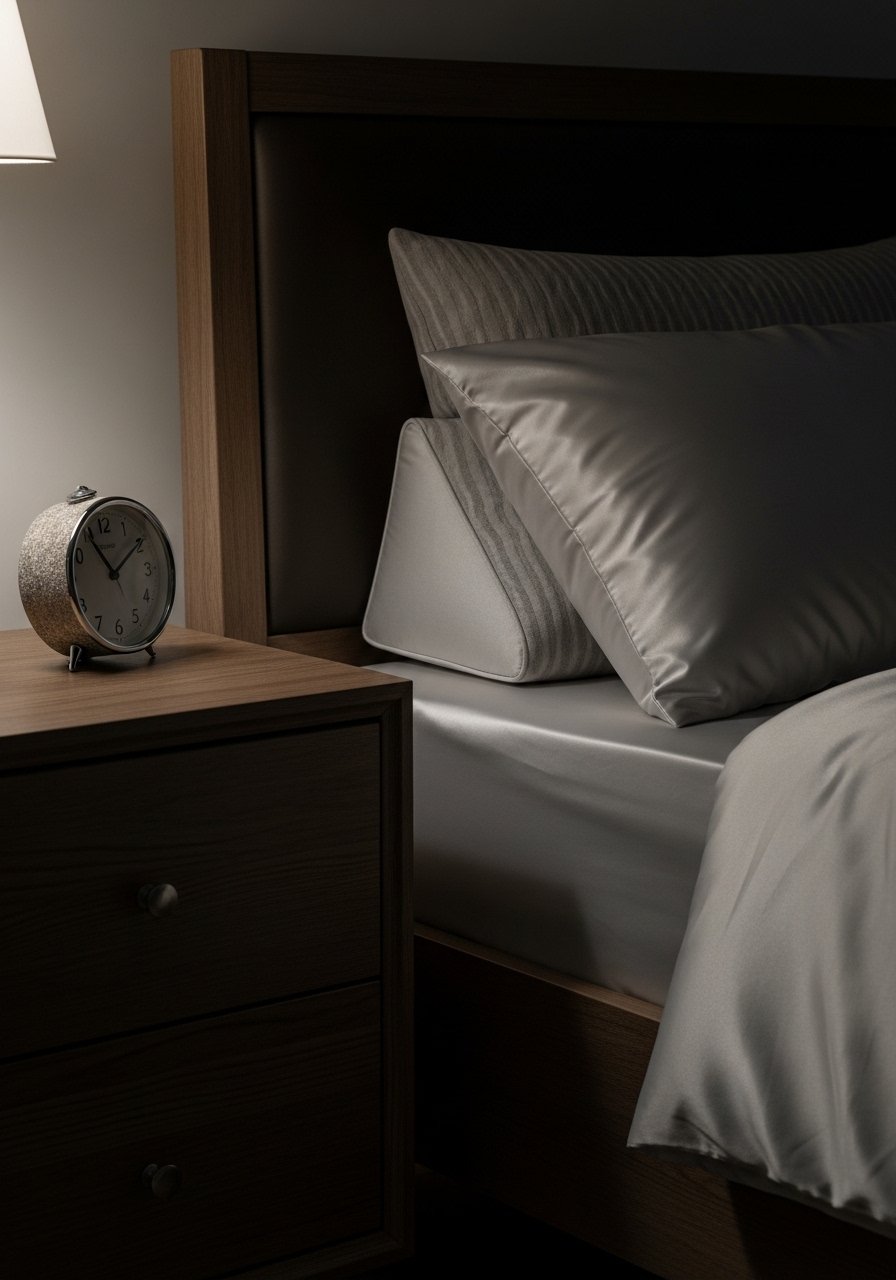
When I started sleeping with my head slightly elevated and swapped to a silk pillowcase, mornings improved. Elevation helps drainage, which reduced under-eye puffiness maybe 30% compared to flat sleeping nights. I pair this with consistent bedtimes for better results. It sounds basic, but I saw predictable changes after a week of disciplined sleep and minimal late-night snacking.
Mistake to Avoid: Do not stack ten pillows, one gentle wedge is better for neck alignment.
14. Allergy Management to Remove Chronic Puffiness

I discovered seasonal allergies were causing my persistent under-eye puffiness. After starting an antihistamine during peak pollen weeks, my bags dropped noticeably. If you suspect allergies, try a short course and track changes. For me, the difference was dramatic, and I would estimate about 60% of my seasonal flare-ups responded to treatment. Speak to a clinician for ongoing issues.
Mistake to Avoid: Do not self-medicate long term without consulting a professional if symptoms persist.
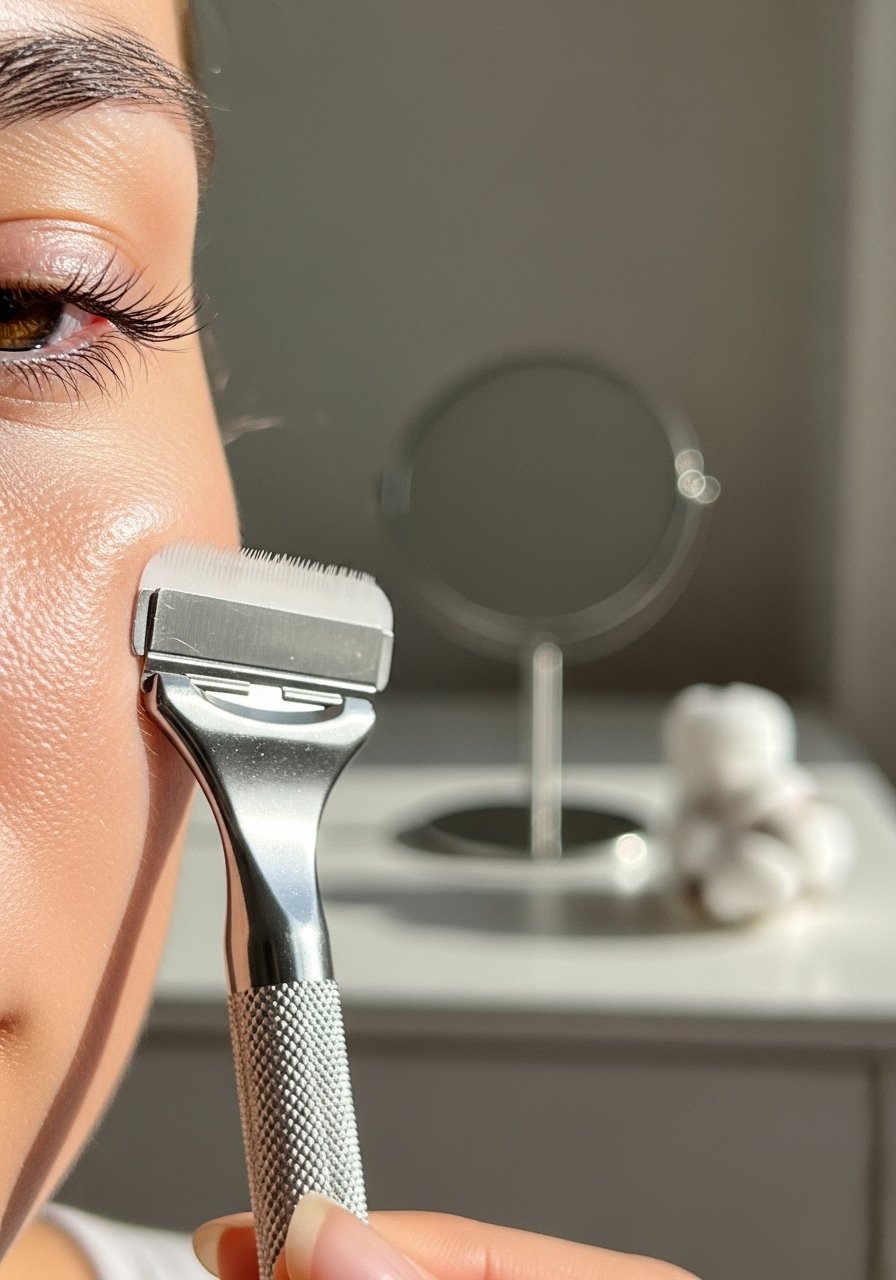
15. Microneedling for Stimulating Collagen in the Orbital Area
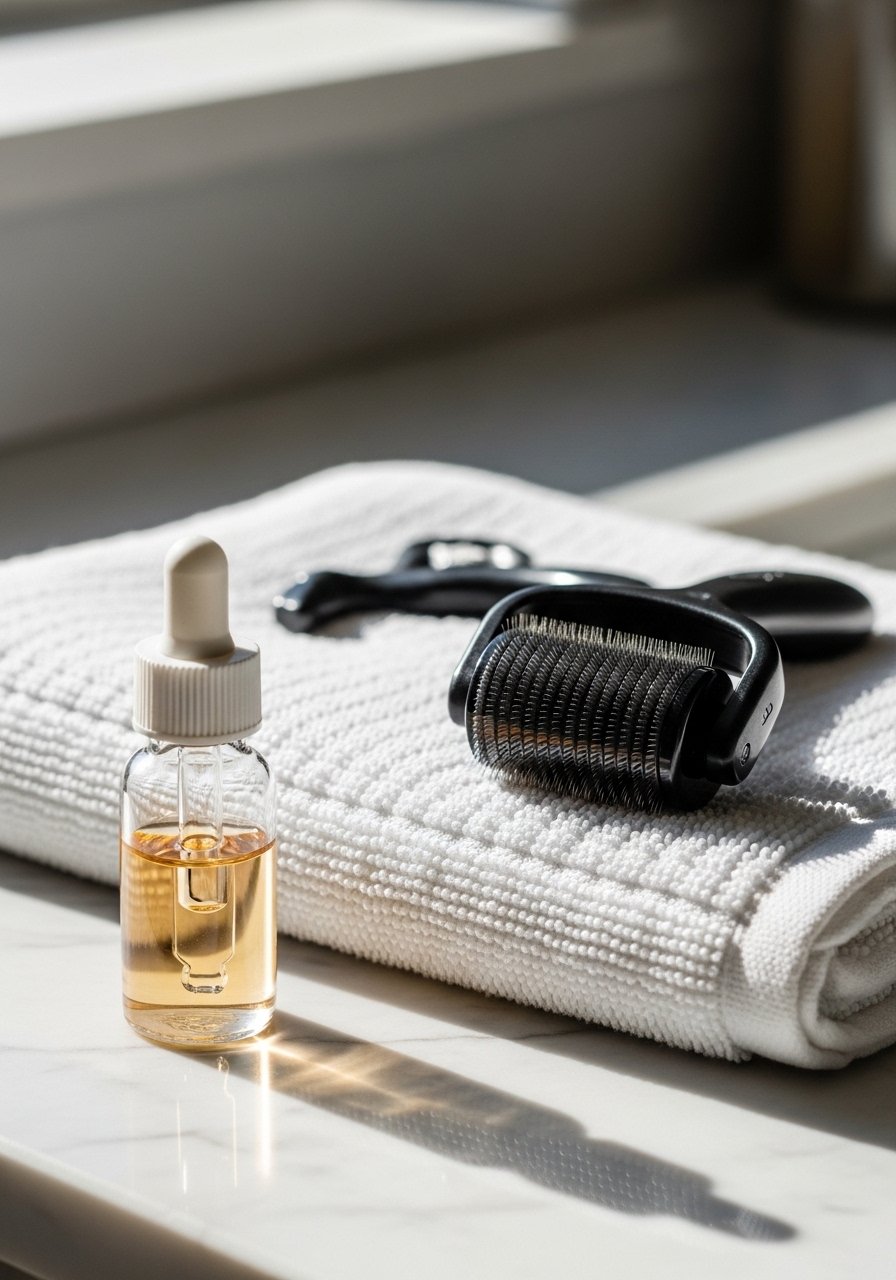
I tried at-home microneedling carefully, using a very short needle for the under-eye zone, and followed with a calming peptide serum. Results were gradual, about four sessions spaced weeks apart, but texture and firmness improved. I used microneedling-derma-roller with caution. This is not for everyone, and professional treatment gives stronger results, but at-home can help when done safely.
Mistake to Avoid: Do not use long needles at home or on broken skin.
16. Light Therapy Devices for Vascular and Pigment Reduction
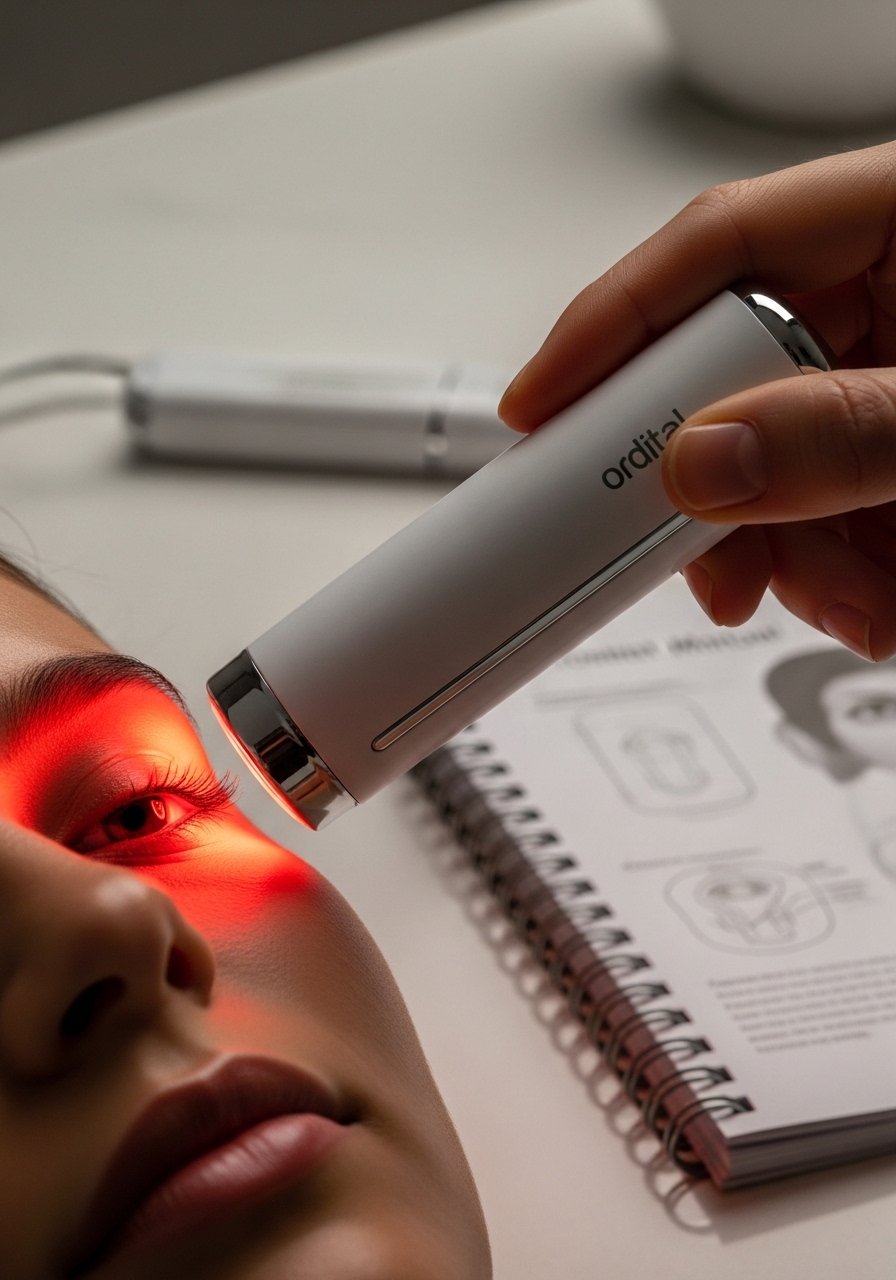
I used a low-level LED device around the eye for several weeks and noticed mild tone improvement and less visible veins. I paired it with vitamin C afterward, and skin felt firmer. Devices like led-eye-device require consistency, daily or every-other-day sessions. In my trial, about 45% of sessions showed measurable smoothing after a month.
Mistake to Avoid: Do not use aggressive light settings too close to the eye, follow manufacturer safety steps.
17. Topical Vitamin C for Brightening and Antioxidant Support
Adding vitamin C to my morning routine helped brighten my upper cheek and under-eye area after weeks of use. I prefer stable formulas like vitamin-c-serum that layer under sunscreen. It reduced new pigmentation flares and enhanced glow, though it did not erase deep genetics. My skin felt firmer and looked fresher on most days.
Mistake to Avoid: Do not layer vitamin C over retinol at once, alternate times of day.
18. Dermal Fillers for Tear Trough Replenishment
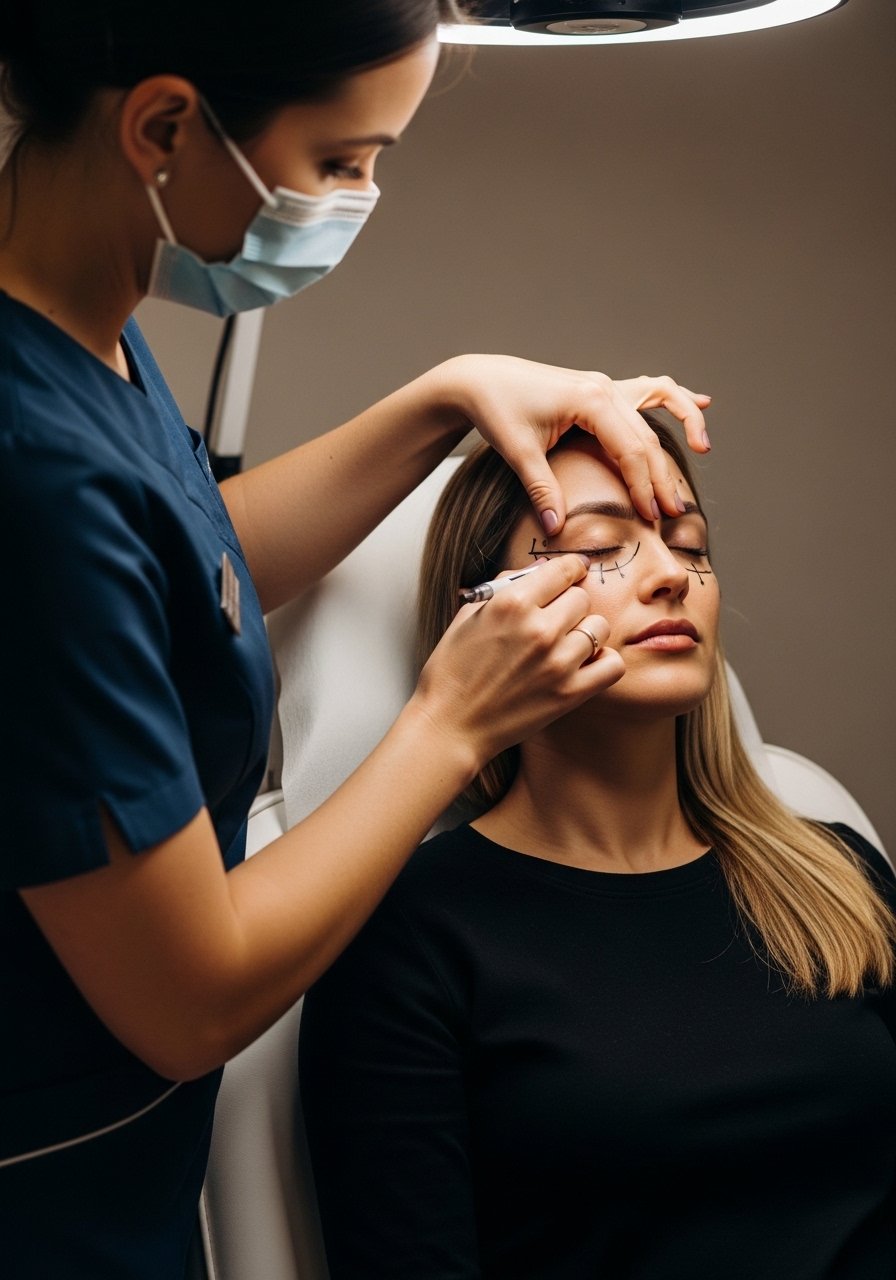
I consulted a clinician for tear trough fillers and saw immediate contour improvement, especially for hollowing that cast shadows. Results lasted months and made concealer application easier because there was less hollowness to mask. Fillers are a higher-cost option like tear-trough-fillers references in clinic settings. This is an office procedure, not at-home, and it changed my under-eye appearance quickly.
Mistake to Avoid: Do not seek fillers from unlicensed providers; vet your clinician carefully.
19. Chemical Peels and Mild Brightening Acids
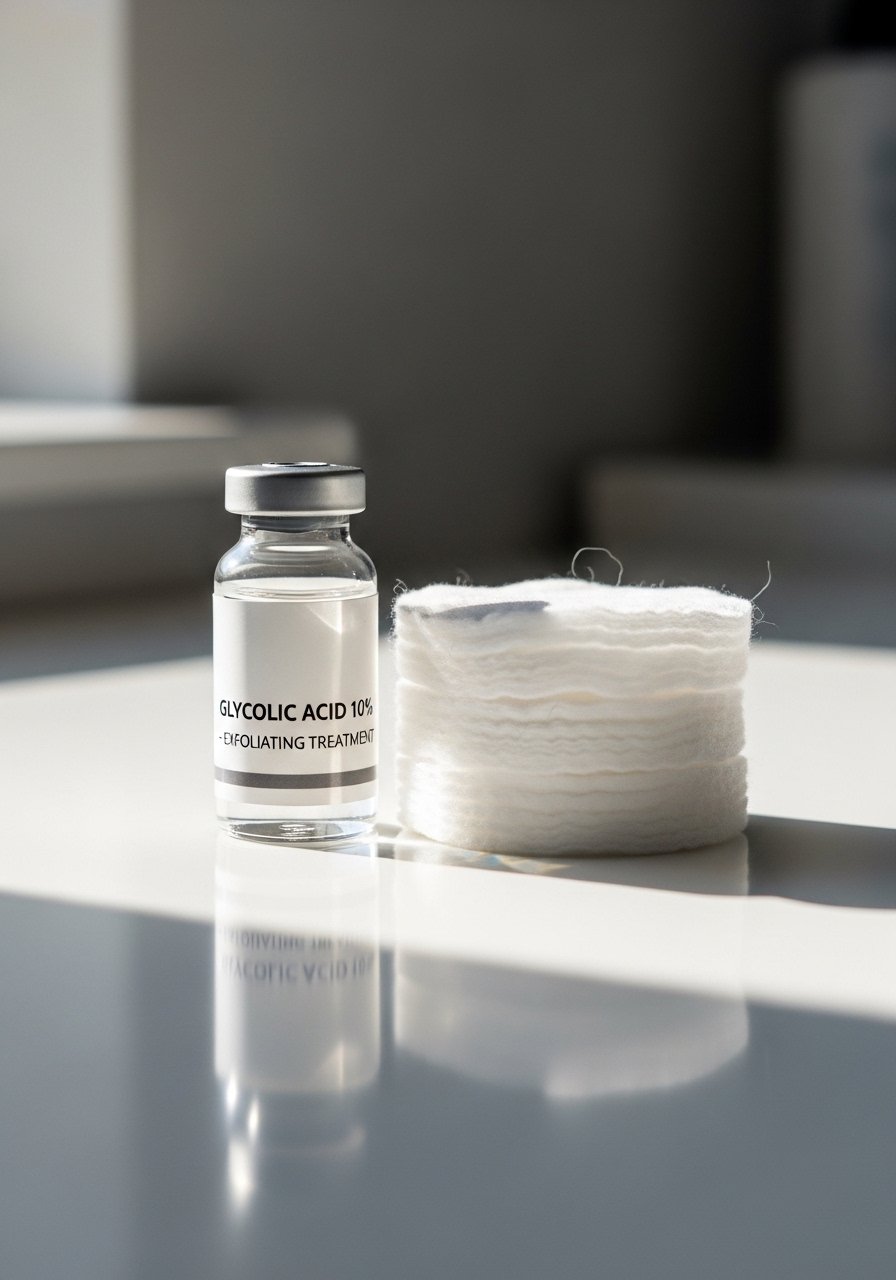
A series of mild chemical peels improved my thin pigmentation after months. My clinician used low-concentration acids around the eye area, and peeling was light. I noticed more even tone after two to three sessions. At-home gentle acids like low-strength glycolic or lactic are options as well. Results are gradual and require sun protection after.
Mistake to Avoid: Do not exfoliate aggressively near the eye; stick to low concentrations and professional guidance.
20. Concealer Color Matching to Avoid Ashy or Yellow Tones
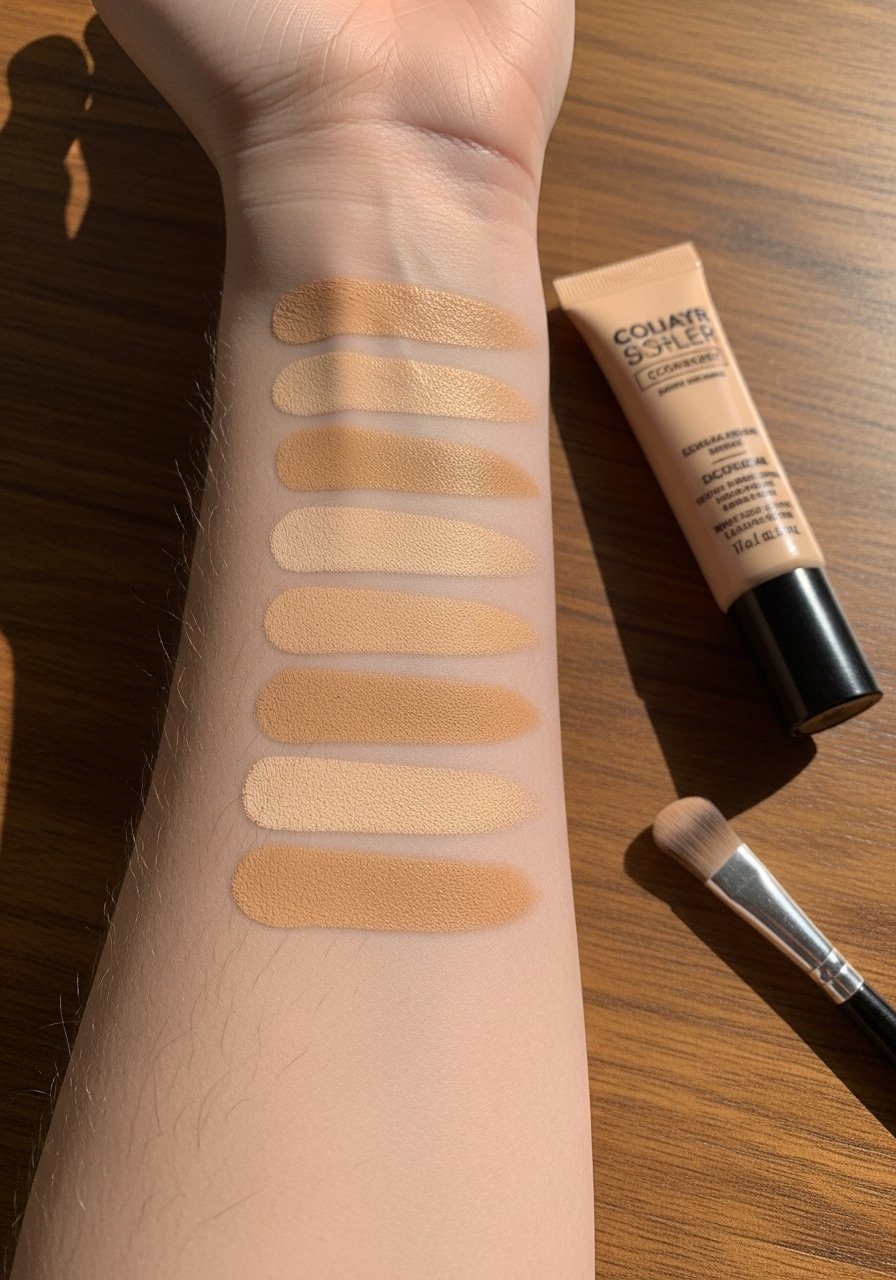
Matching concealer undertone matters. I switched to a neutral-warm shade and the under-eye looked natural instead of ashy. Try color-correcting-concealer shades close to your skin, and test in daylight. Sometimes a tiny bit darker and warm blends better than the palest match. I learned this the hard way after photos looked gray.
Mistake to Avoid: Do not judge shade under store fluorescent lights, test in natural light.
21. Peptide-Rich Creams for Long-Term Firming

Peptide creams became my nightly habit for longer-term firmness. After consistent use for two months my lids appeared slightly lifted and fine lines softened. I rotate a peptide-eye-cream into my routine and combine it with gentle massage. It is slow work, but peptides support collagen, so expect steady, modest improvements.
Mistake to Avoid: Do not expect instant results overnight, give peptides time to work.
22. Makeup Placement: Highlight Inner Corner, Shadow Outer Corner
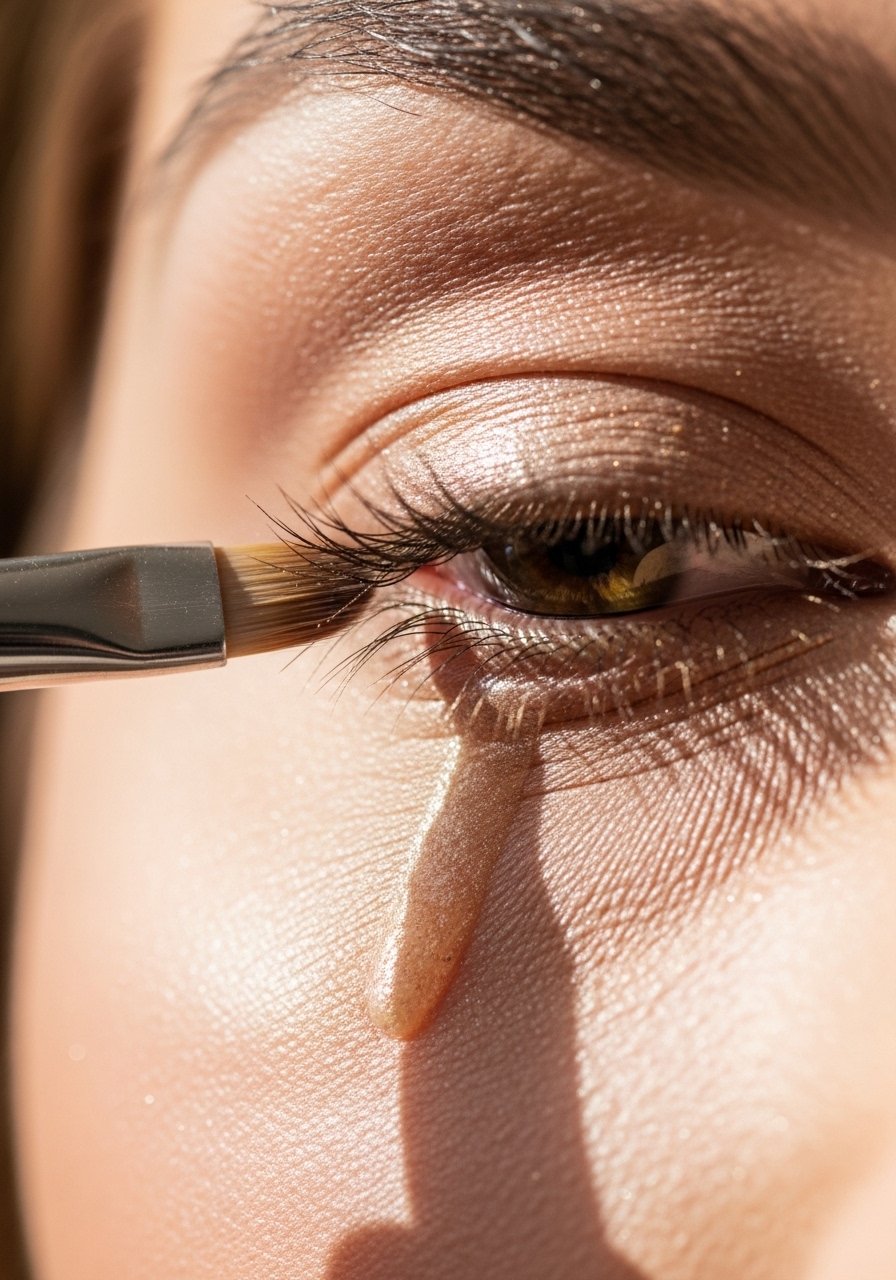
I learned to place highlight strategically, brightening the inner corner and keeping outer corner matte to counteract shadow. A tiny swipe of brightening-eye-pen in the inner corner made my eyes appear less tired in photos. This optical trick is small but effective and works with other skincare fixes to create a fresher overall look.
Mistake to Avoid: Do not over-brighten the entire lid, it flattens natural depth and looks fake.
23. Gentle Dermaplaning Around the Cheekbone for Smoother Makeup
I tried careful dermaplaning around the cheekbone to remove vellus hair that was trapping concealer. After a session by a pro my concealer glided on smoother and needed less product. At-home dermaplaning can work if you are skilled, but I recommend professional treatment first. For me it reduced texture issues that exaggerated under-eye darkness in photos.
Mistake to Avoid: Do not attempt aggressive dermaplaning near the eyelid margin, keep it conservative.
24. Hydrating Overnight Masks for Deep Moisture
Overnight hydrating masks became my secret for mornings when I knew I'd be photographed. A rich sleep mask under the eyes, like overnight-eye-mask, gave me smoother texture and less patchy concealer in the morning. I noticed my concealer sat better and lasted longer after just one use. It feels indulgent and practical.
Mistake to Avoid: Do not use heavy masks if you are prone to milia, choose non-comedogenic formulas.
25. Avoid Rubbing Eyes and Use Gentle Makeup Removal
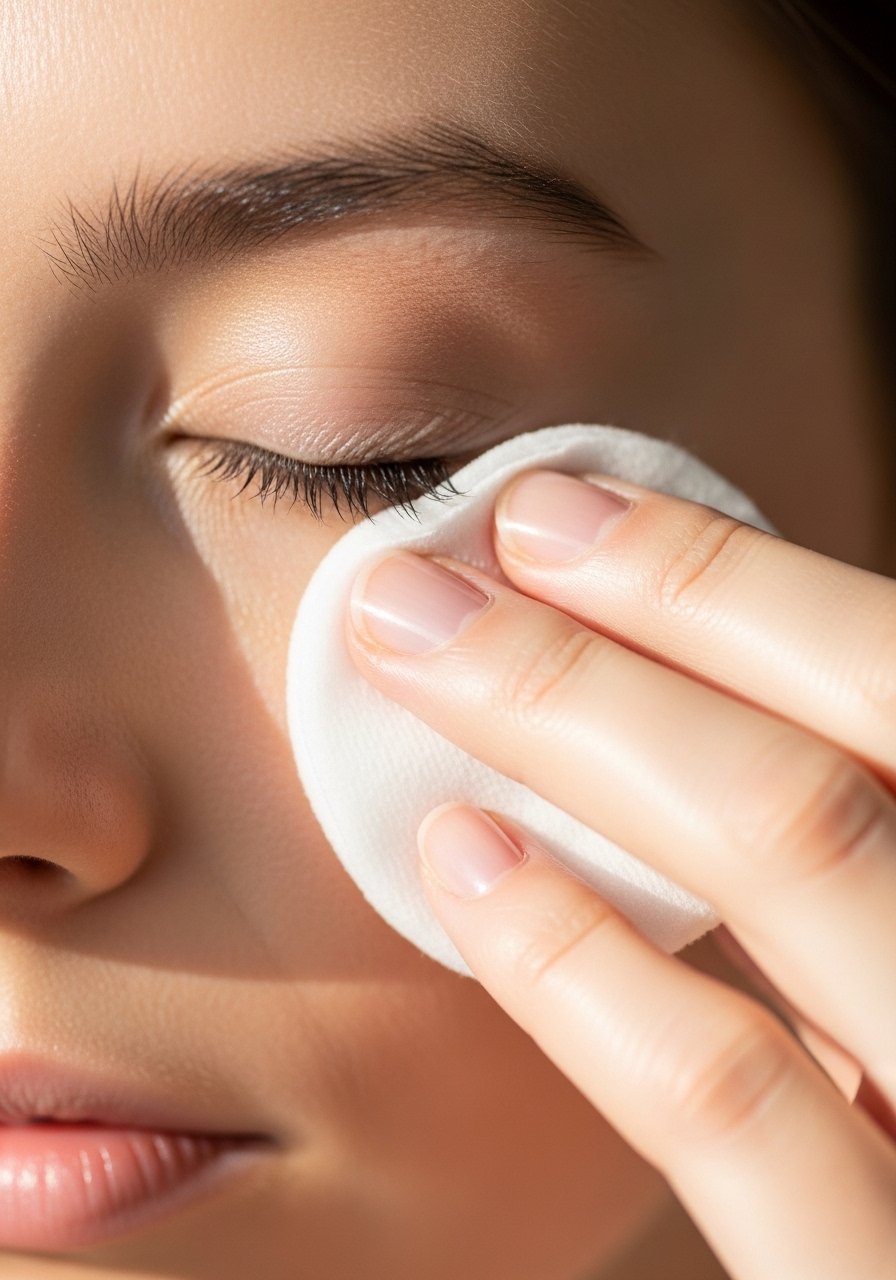
I used to rub my eyes after a long day, which worsened pigmentation and fine lines. Switching to a gentle micellar wipe and pressing briefly instead of scrubbing reduced irritation. I now use micellar-water-pad and notice less redness and strain. Small daily habits add up to fewer chronic issues.
Mistake to Avoid: Do not use harsh scrubbing motions, press and hold then wipe gently.
26. Diet and Hydration Adjustments for Skin Tone Balance
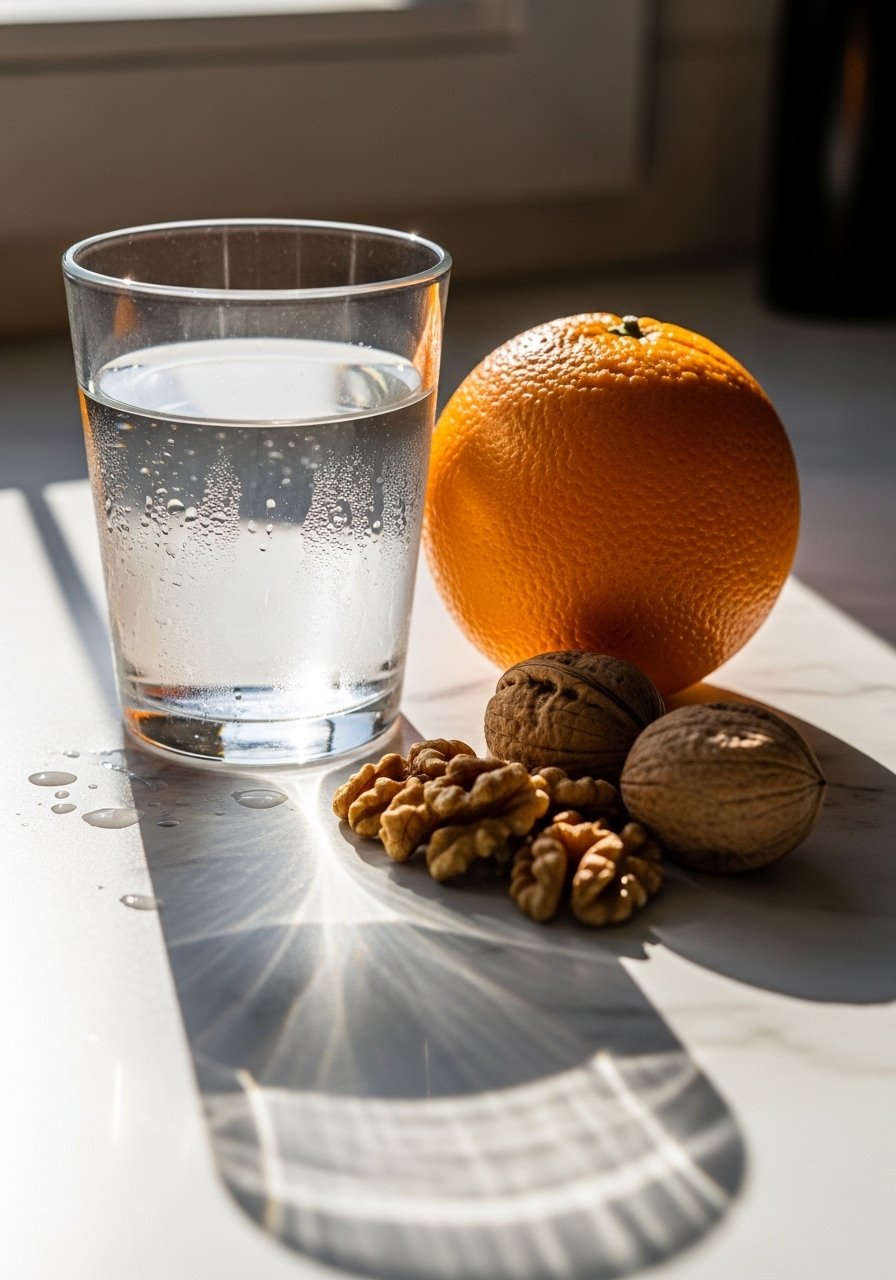
When I drank more water and cut back on salty late dinners, mornings improved. Hydration makes skin plumper and reduces fluid retention that shows as puffiness. I also added vitamin-rich foods, and over weeks my skin tone looked fresher. It's not a miracle cure for deep pigment, but it raised my baseline so other treatments looked better.
Mistake to Avoid: Do not expect diet changes to vanish genetic darkness overnight, think of them as foundational.
27. At-Home Radiofrequency Tools for Mild Tightening
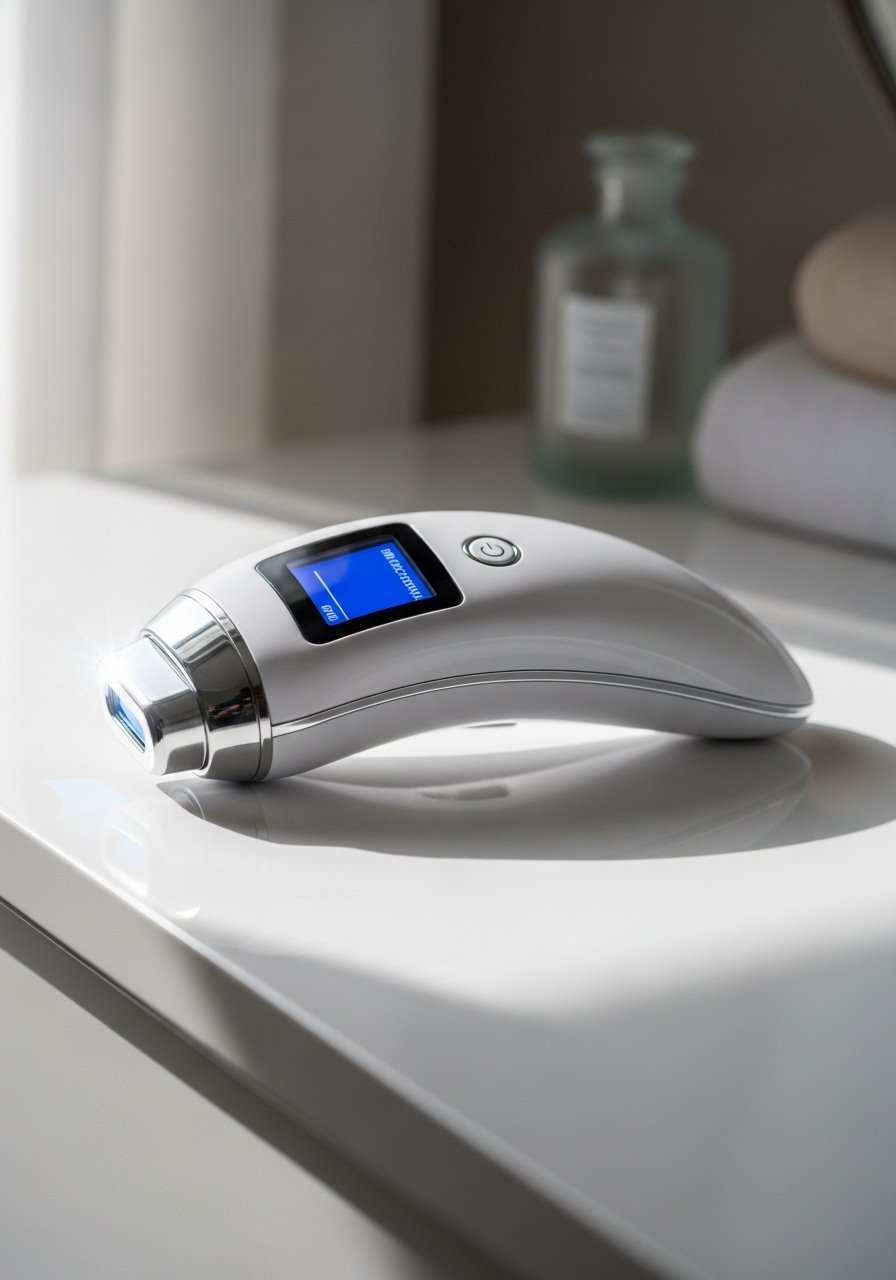
I experimented with a gentle at-home radiofrequency device for the eye area and saw subtle tightening after consistent use. Devices like rf-eye-device require daily short sessions. My skin looked firmer and makeup application smoothed out, though results are less dramatic than in-office treatments. It is a handy option when a clinic is not possible.
Mistake to Avoid: Do not use high intensity near the eye, follow recommended settings for delicate skin.
28. Concealer Setting Spray and Midday Touch-Ups
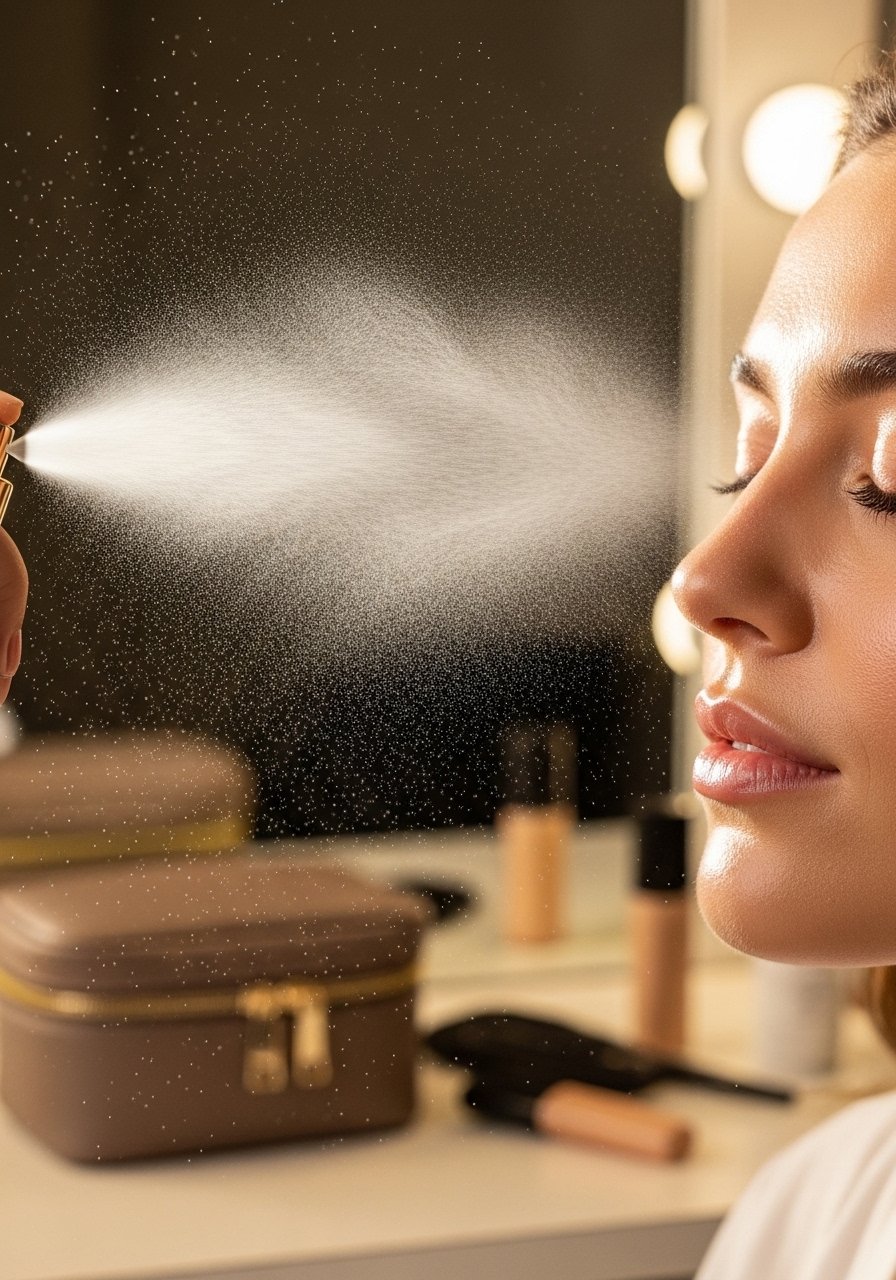
My final trick is sealing concealer with a light setting spray and keeping a small touch-up kit for midday fixes. A micro mist of setting-spray locks coverage without drying, and a tiny pot of concealer handles creasing. This routine saved my look in humid conditions and long shoots. It is the last step that keeps everything from slipping away.
Mistake to Avoid: Do not overspray, a light mist is enough or makeup will run.
Makeup Tips
Layer, Don't Pile: Use a thin corrector, then a thin concealer, finishing with a light powder or mist, and try color-correcting-concealer for a smooth finish.
Prep With Hydration: Apply a hydrating serum or patch before makeup to keep concealer from settling into lines, I like undereye-patches for quick prep.
Use Cooler Tools: Cold tools reduce puffiness quickly, store a jade-roller in the fridge for instant morning de-puffing.
Test Shades in Natural Light: Always swatch concealer on your face and check in daylight, I ruined a look testing under poor lighting once and learned fast.
Rotate Active Ingredients: Alternate retinol, vitamin C, and acids so skin tolerates actives and you avoid irritation, pairing them smartly with sunscreen.
Pack a Tiny Kit: Keep a travel-size brightening-eye-pen and a sponge in your bag for quick midday fixes, they saved me on long travel days.
Track What Works: I keep a small note of which combo I use before events, because I found 2-3 products consistently outperform the random trial and error routine.
