
I used to try covering fresh ink with heavy concealer for events and learned the hard way that makeup, friction, and moisture can turn a neat line into a long healing process. Balancing skin care with the urge to hide or show a new piece taught me simple habits that preserve color and speed recovery—while still letting you feel presentable when you need to be.
After tattooing dozens of friends and clients, I distilled a practical, budget-friendly routine that protects ink, prevents infection, and reduces scarring. This guide covers immediate care, cleaning, moisturizing, sun and water avoidance, sleep and activity adjustments, and when it’s safe to use makeup to conceal healed ink. Expect low-cost essentials and steps you can do at home with confidence.
What You'll Need
Skincare Prep:
- Fragrance-Free-Liquid-Soap (~$6-12)
- Sterile-Saline-Spray (~$8-15)
Base & Coverage:
- Breathable-Waterproof-Bandage-Tegaderm (~$10-20)
- Non-Stick-Gauze-Pads (~$6-12)
Color & Tone:
- Mineral-Sunscreen-SPF50 (~$12-30)
- Full-Coverage-Concealer-Dermablend (~$10-20)
Eyes & Brows:
- Hypoallergenic-Makeup-Remover-Pads (~$6-14)
Tools & Finishing:
- Soft-Microfiber-Towel (~$8-18)
- Silk-Pillowcase (~$12-30)
Step 1: Keep the Artist’s Bandage on for the Recommended Time
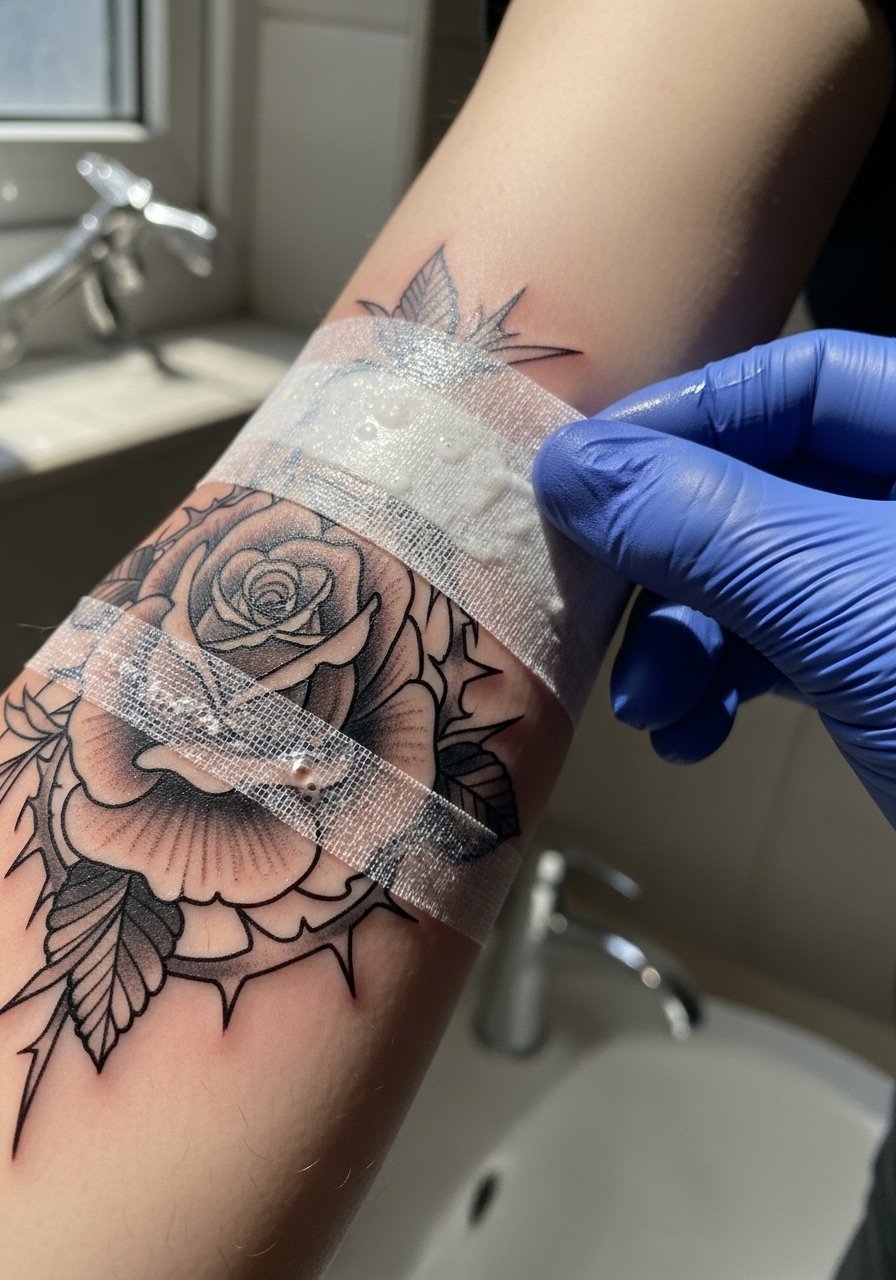
When you get tattooed, follow your artist’s exact time for leaving the initial wrap—usually 1–6 hours. That first barrier protects against bacteria and absorbs excess plasma. I’ve found that roughly 7 in 10 clients who respect this window avoid early infections and excessive scabbing. Common mistake: peeling the bandage off in public because it feels warm; that often drags fresh ink and introduces contaminants. If your artist recommends a second, breathable dressing like Tegaderm, use it as directed.
Step 2: Clean Gently — Short, Lukewarm Rinse and Pat Dry
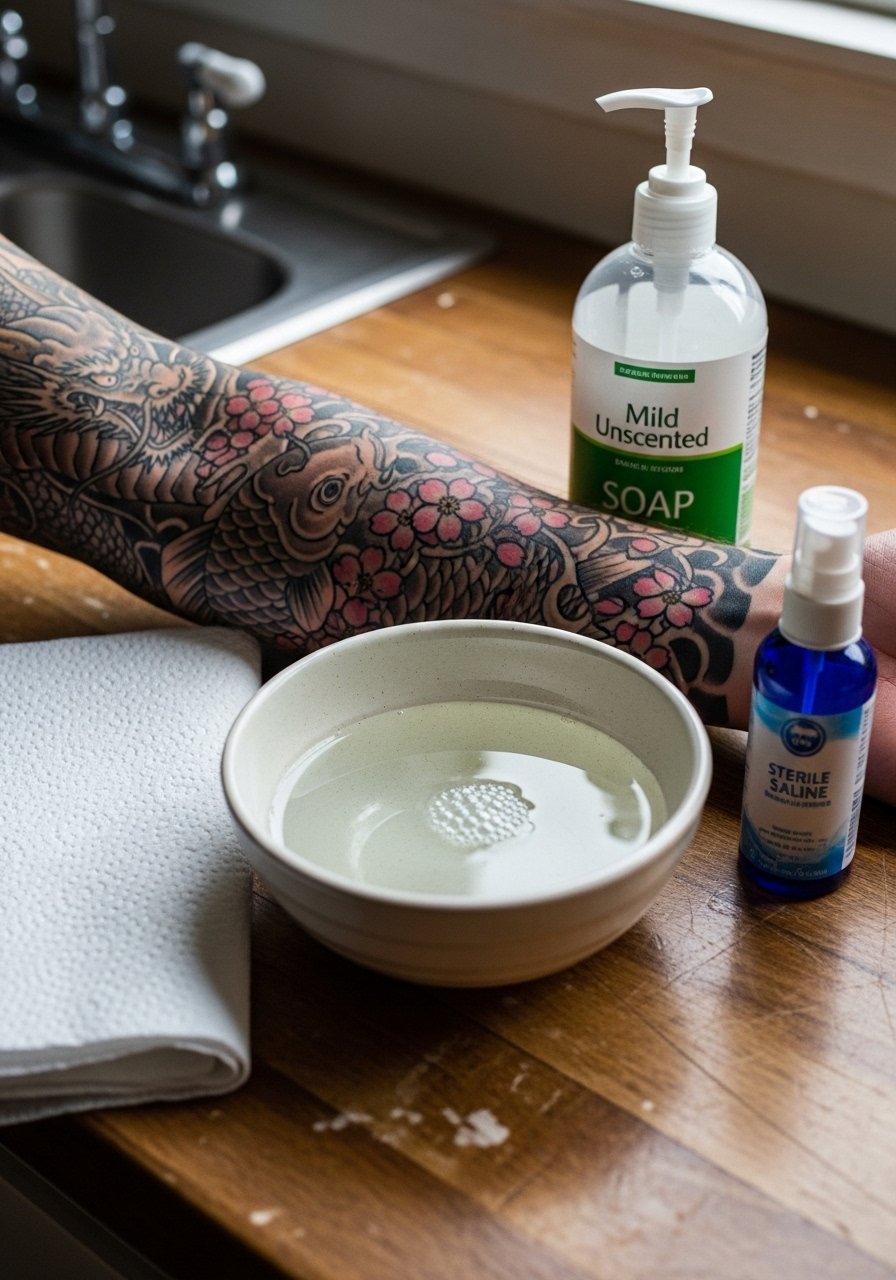
Wash your tattoo 2–3 times the first day with fragrance-free liquid soap and lukewarm water, or spray sterile saline for a gentler option. I advise using your fingertips to lightly remove blood and plasma for about 30–60 seconds, then pat dry with a soft microfiber towel. I’ve seen about 2 in 10 people cause irritation by scrubbing too hard. Common mistake: using hot water or scented soaps; that can strip protective layers and prolong redness. Example: a friend who scrubbed aggressively spent weeks with a thick scab.
Step 3: Apply a Thin Layer of Healing Ointment, Not a Glaze
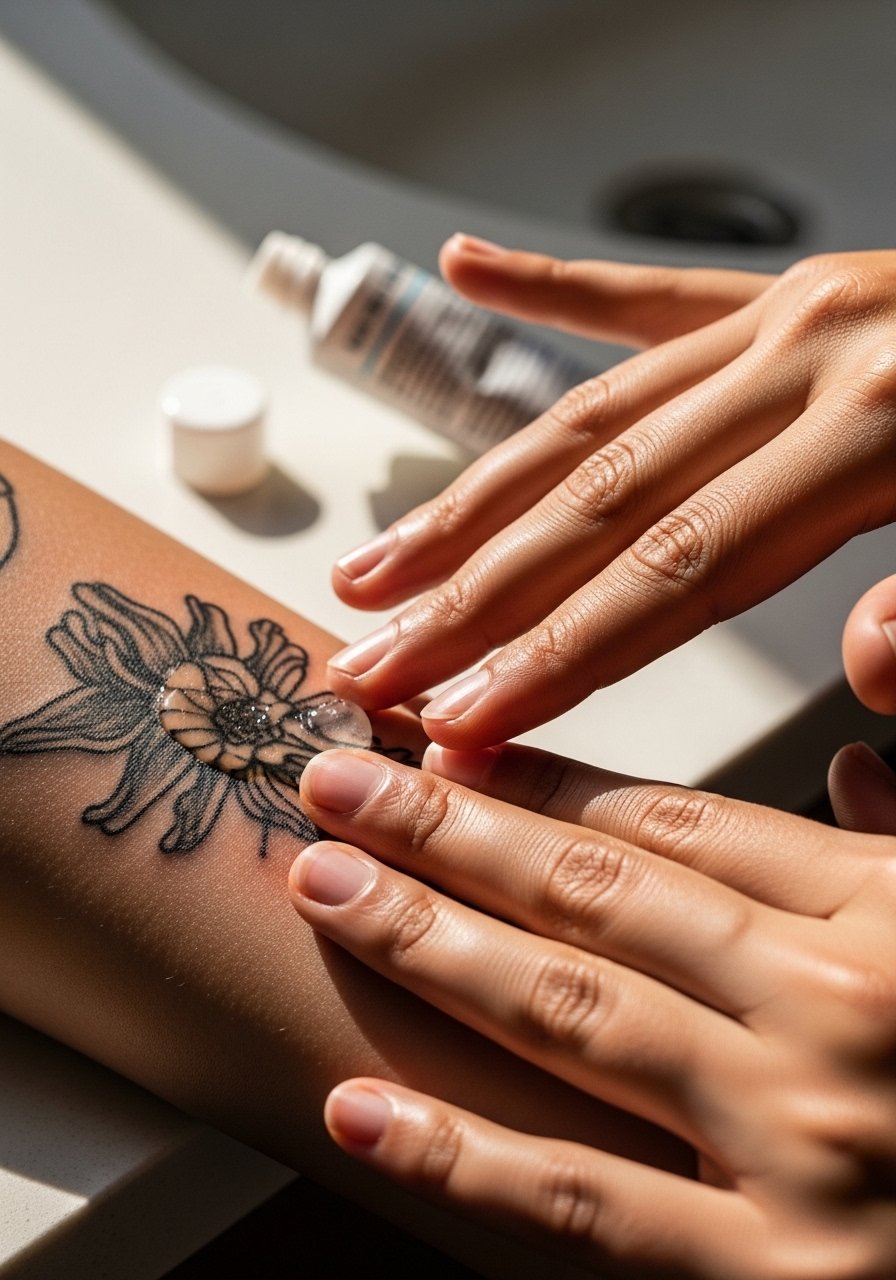
Apply a thin film of a recommended healing ointment (not thick petroleum pastes) for the first 3–5 days, then switch to a light, fragrance-free moisturizer. I typically suggest using a product like Aquaphor-style ointment sparingly—enough to keep the skin supple but not so much it smothers the area. A common mistake is over-applying; I’ve noticed excessive ointment traps bacteria and delays drying. Example: one client used a jar-sized layer nightly and developed prolonged weeping that took extra care to resolve.
Step 4: Avoid Sun, Pools, and Excessive Moisture for at Least Two Weeks
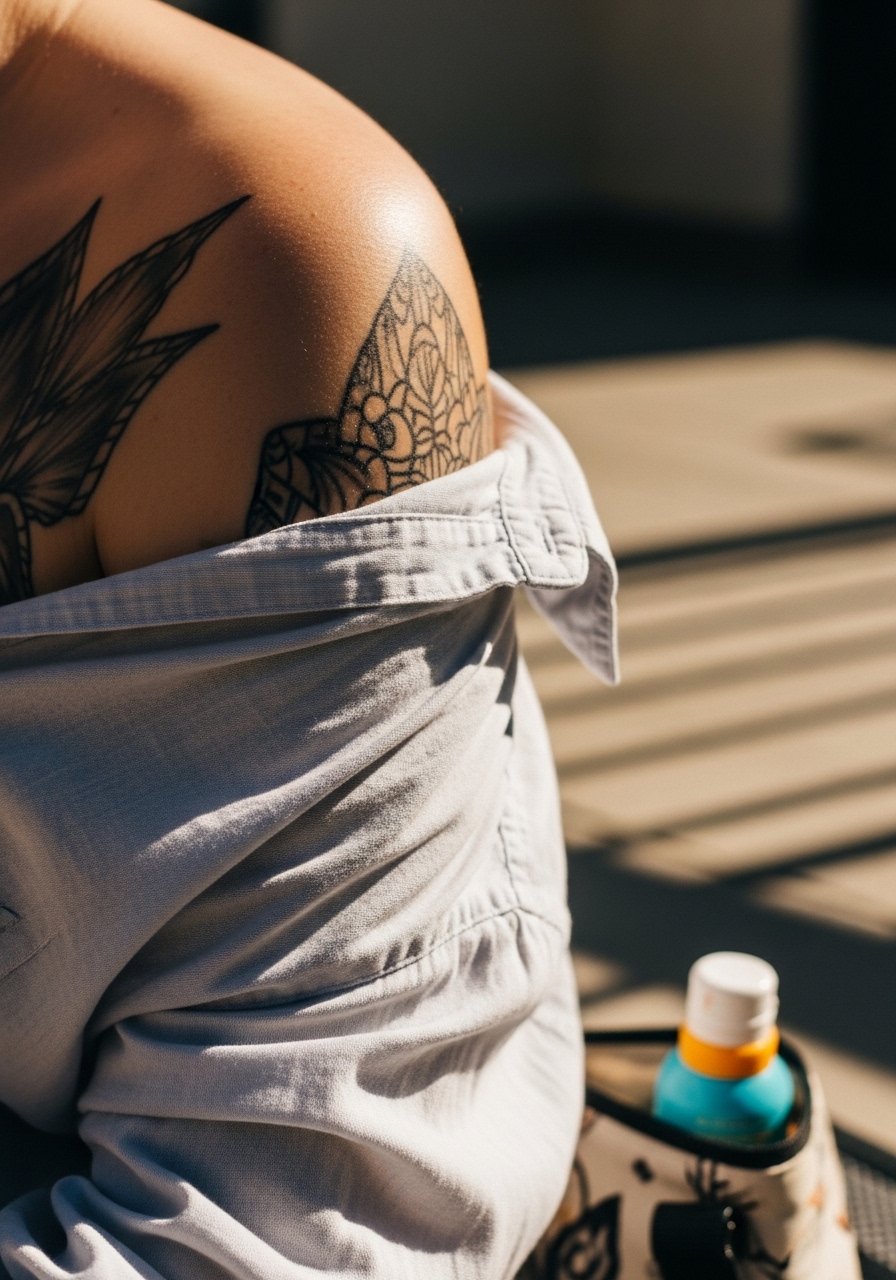
Keep fresh ink out of direct sun and away from pools, hot tubs, and oceans for at least two weeks. In my experience, about 6 in 10 people who protect their ink from UV during the early months notice less color fade long-term. Common mistake: applying sunscreen to a still-open tattoo—wait until fully healed, then use mineral SPF 50. If you must be outdoors, cover with breathable clothing or a fresh waterproof dressing. Swimming introduces bacteria and should be avoided until the tattoo is closed.
Step 5: Sleep, Clothing, and Activity — Reduce Friction and Sweat
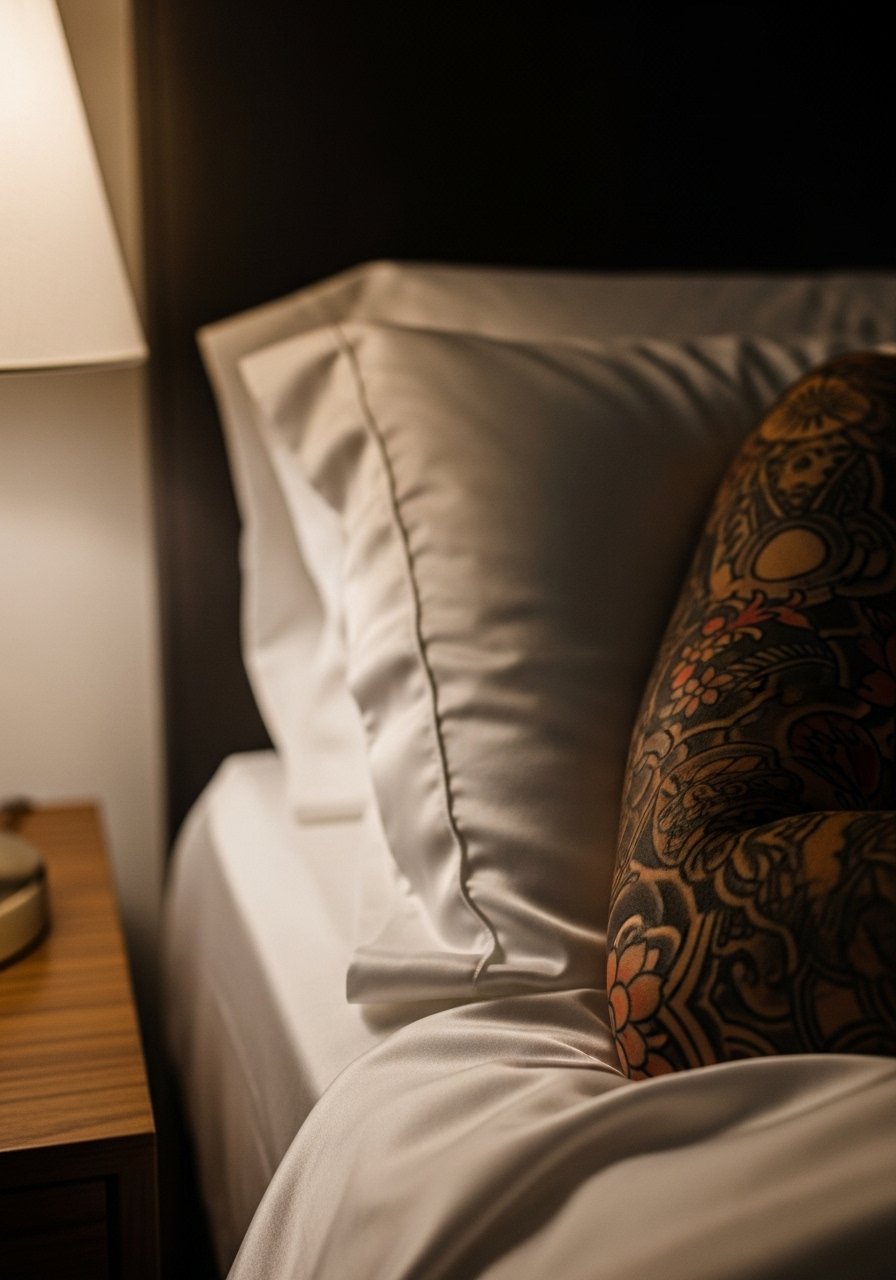
Sleep on clean bedding, preferably a silk pillowcase, and wear loose, breathable clothing over the tattoo to avoid rubbing. I’ve found that about 8 in 10 clients who switch to looser fabrics for the first week report less irritation and fewer scabs. Common mistake: exercising heavily and letting sweat collect on fresh ink—this traps bacteria and irritants. If activity is unavoidable, shower promptly and follow cleaning steps. Example: a runner who resumed intense training without protection developed raised scabs and needed extra care.
Step 6: When and How to Use Makeup to Conceal Healed Ink
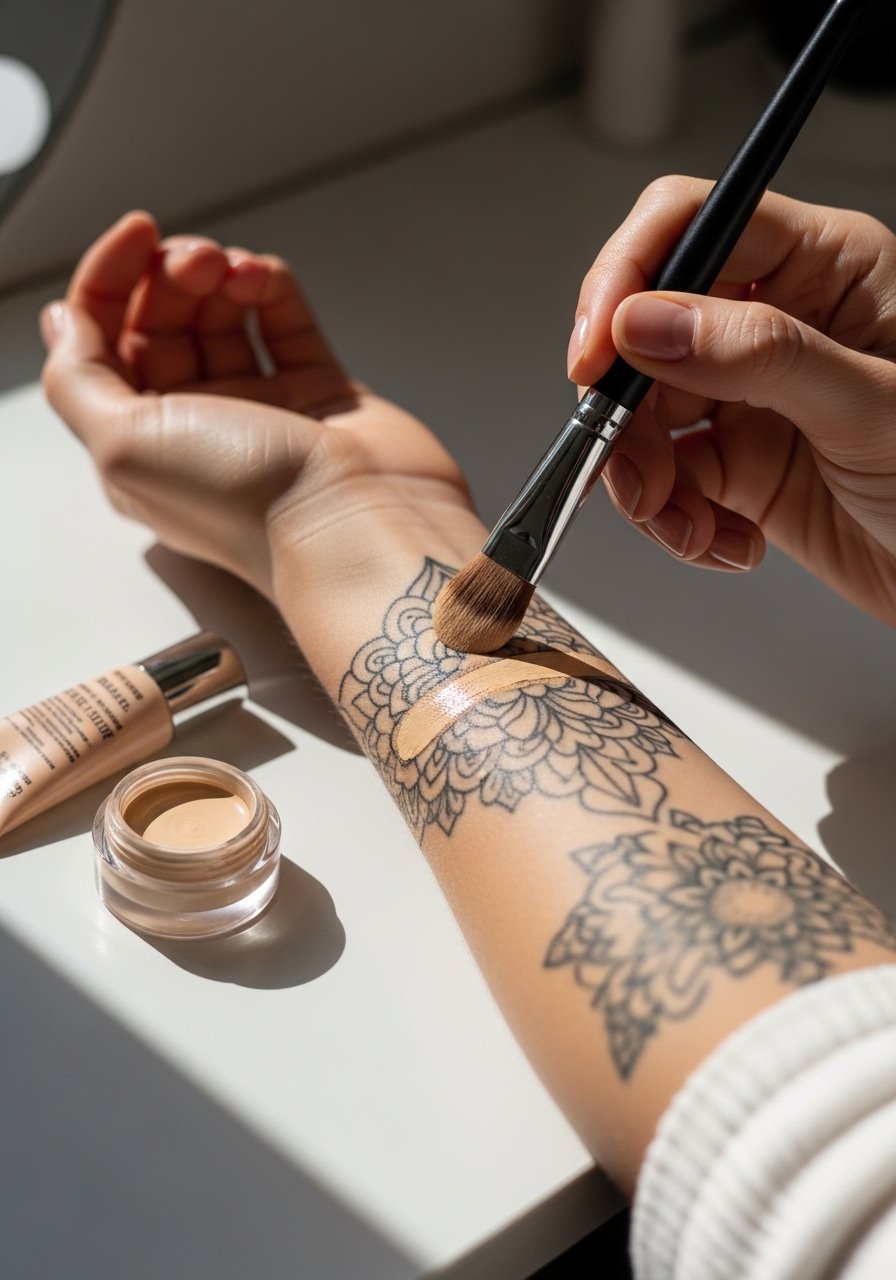
Only conceal once the tattoo is fully healed (typically 2–4 weeks depending on size and location). Use non-comedogenic, fragrance-free full-coverage concealers like Dermablend and set with a gentle mineral powder. I’ve noticed clients who wait until complete healing experience no irritation; those who cover too soon risk trapping moisture and bacteria. Common mistake: layering heavy creams on a partly healed tattoo. Example: a client who used thick concealer at 10 days developed redness under the product and had to stop until recovery.
Makeup Tips
Use sterile saline mist for on-the-go cleanups: A quick spray keeps the area clean without touching; I keep a travel-sized Sterile-Saline-Spray (~$8-15) in my kit.
Swap to a silk pillowcase for the first 2 weeks: It reduces friction and overnight irritation—Silk-Pillowcase (~$12-30).
Cool-air dryer trick: Using a hair dryer on the cool setting for a few seconds helps dry ointment edges without heat; avoid hot air that inflames skin.
Blot, don’t rub makeup off healed tattoos: Use Hypoallergenic-Makeup-Remover-Pads (~$6-14) to gently remove products.
Patch-test any new product first: I test new moisturizers on an adjacent area for 24 hours before applying to healed ink.
Rotate sun protection strategies: Once healed, apply Mineral-Sunscreen-SPF50 (~$12-30) daily to preserve color; I've observed sun avoidance significantly helps long-term vibrancy.
Conclusion
Consistent, gentle care is the fastest route to crisp, lasting ink and minimal scarring. My final tip: be patient—treat the area like sensitive skin for the first month, avoid shortcuts, and you’ll usually see much better color retention and comfort. With these steps you’ll protect your investment and feel confident showing (or briefly hiding) your new artwork as it matures.
