
I used to panic on weekday mornings, doing a million things and staring at my hair like it owed me money. Over the years I learned a handful of fast bun tricks that actually hold up during daycare drop-off, coffee runs, and surprise Zoom calls. Most mornings I can get a messy bun in under five minutes, and half the time it looks like I spent longer than I did.
I cover quick wins for fine, thick, curly, and short hair, plus tools that save time and money. I kept the budget realistic: you can spend under $10 or choose a $20 tool that actually saves headaches. I’ve noticed I reach for texturizing spray on about 8 out of 10 mornings, it just makes creating shape so much quicker.
What You’ll Need
Styling Products:
- texturizing-spray (~$8-18)
- light-hold-hairspray (~$6-15)
Tools:
- snag-free-hair-ties (~$5-12)
- bobby-pins (~$3-7)
- elastic-hair-coils (~$4-10)
- donut-bun-maker (~$3-15)
Treatments & Prep:
- dry-shampoo (~$6-18)
- light-weight-cream (~$7-20)
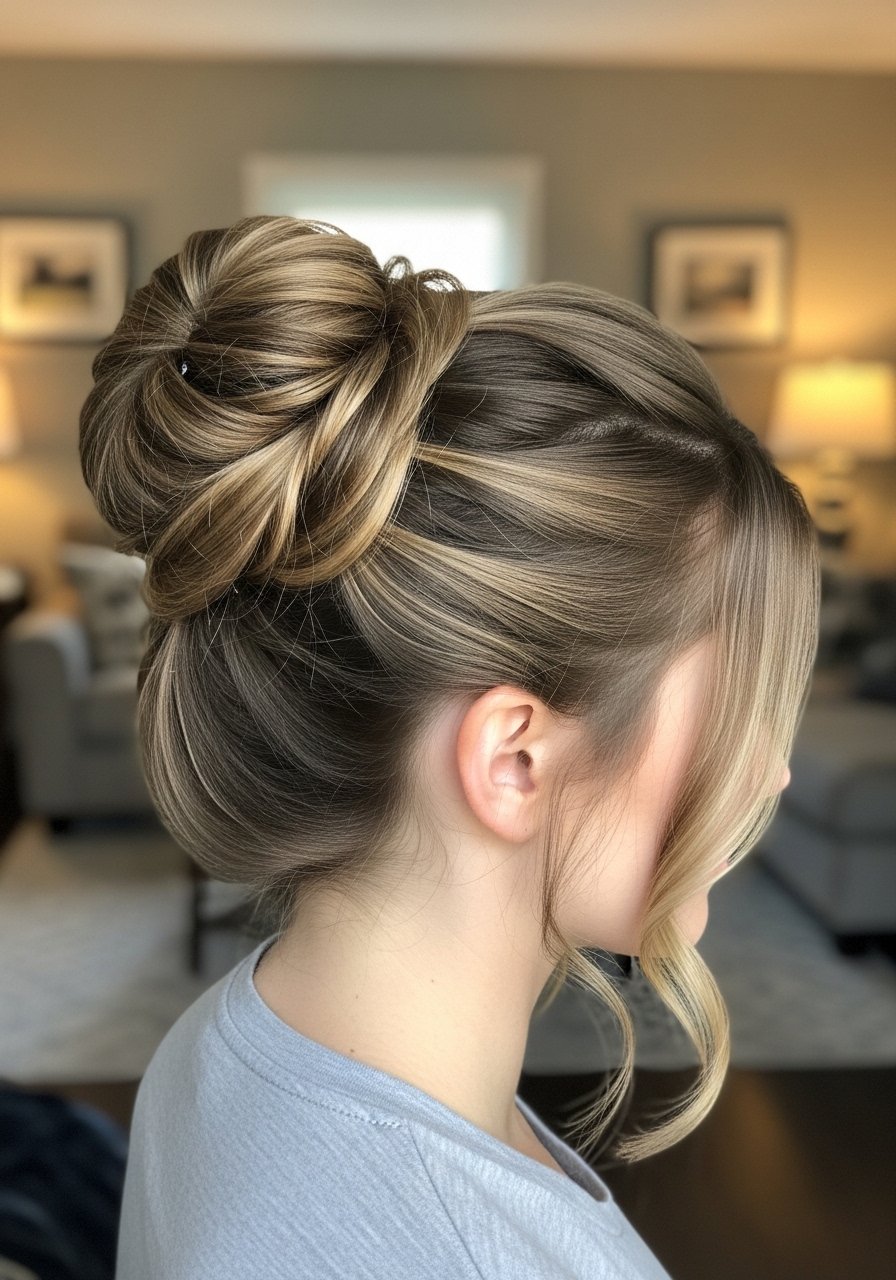
1. High Top Knot with a Messy Finish
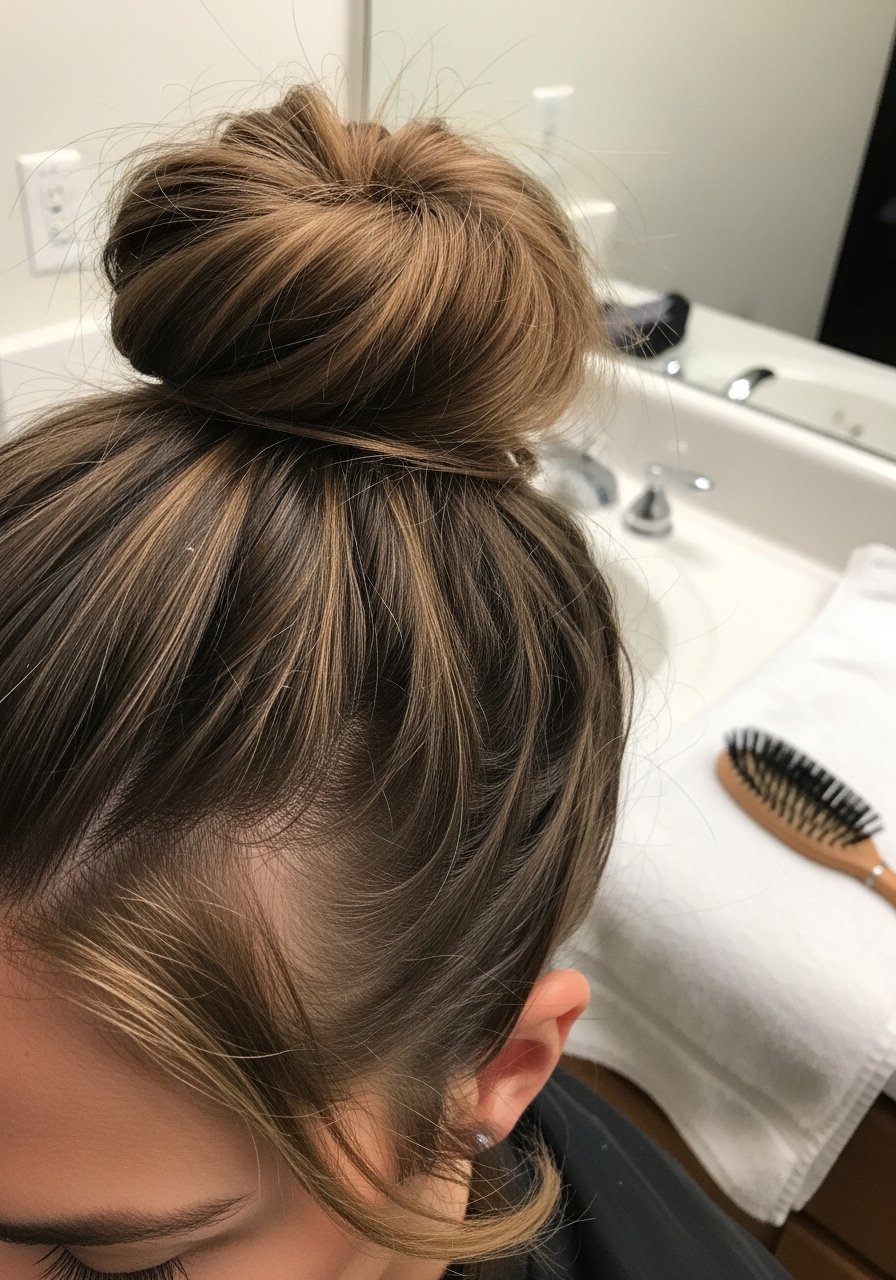
I loop my hair into a high knot, then pull small sections out to soften it, which gives the bun volume without teasing. I usually spritz texturizing-spray before tying, and use one or two snag-free-hair-ties to secure. I’ve noticed about 70 percent of my knots survive a full day if I tuck the tail under rather than wrap it too neatly.
Mistake to Avoid: Don’t wrap the tail too tightly, it flattens the top and looks forced.
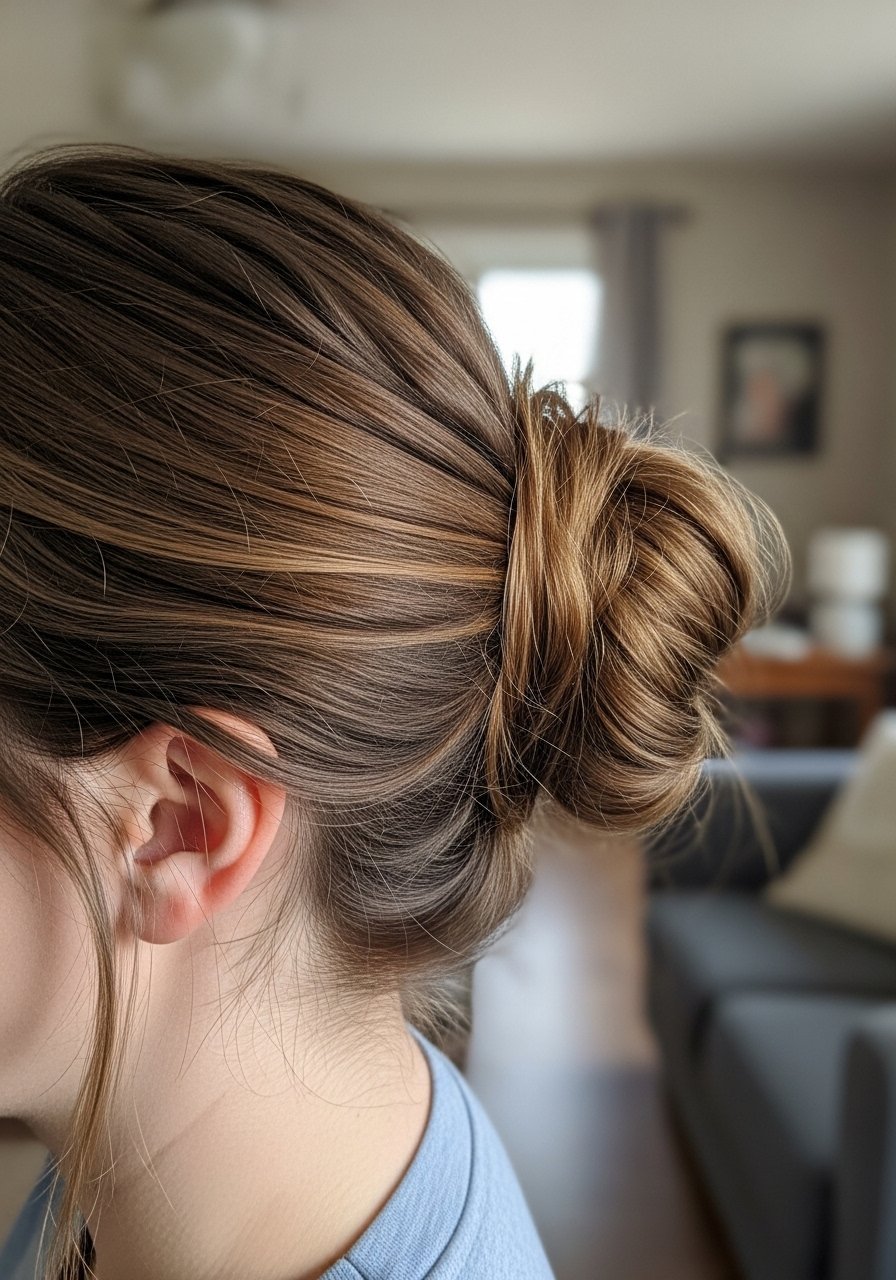
2. Low Effort Low Bun with Face-Framing Pieces
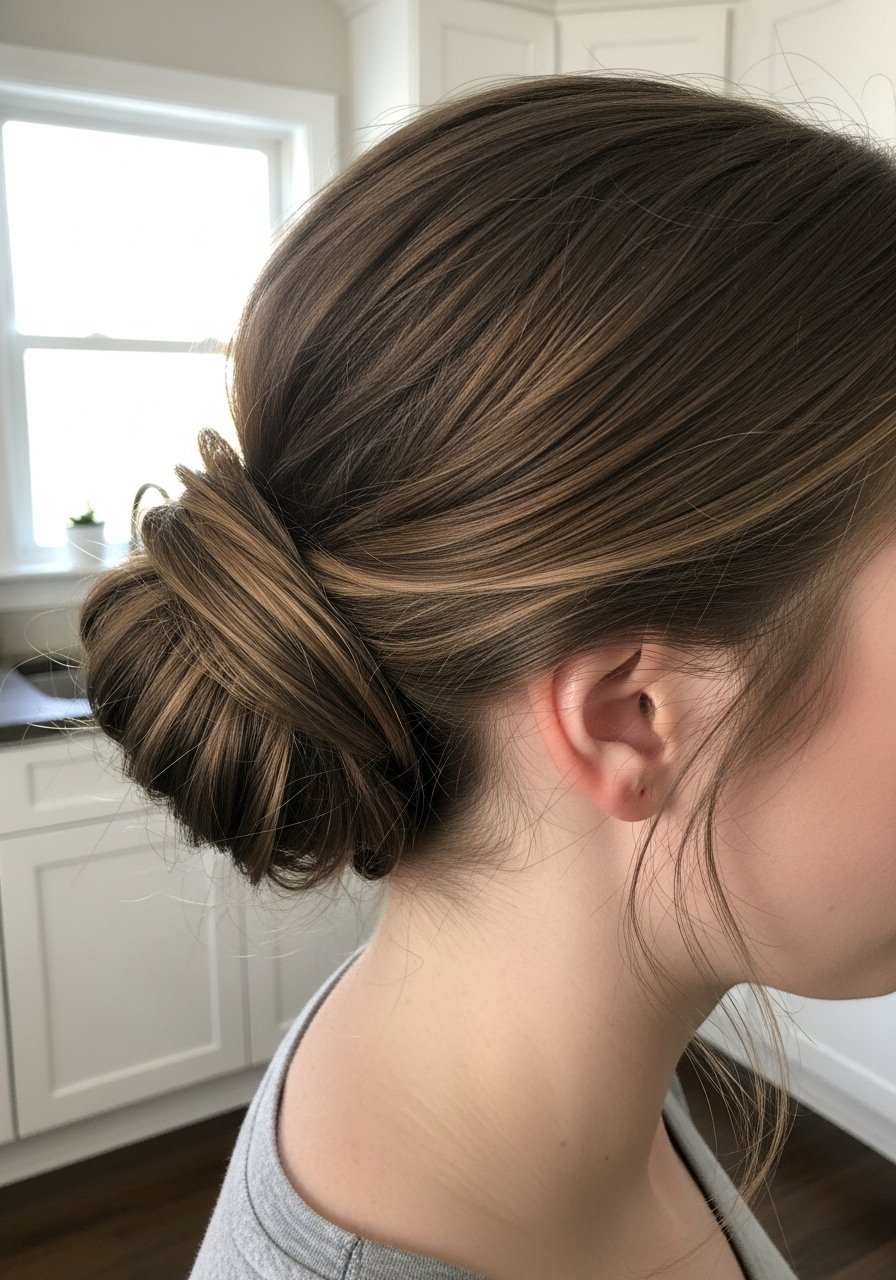
This is my go-to when I have zero time but want something polished. I pull hair into a low pony, twist once, and pin the loop with bobby pins. A quick hit of light-hold-hairspray keeps loose pieces in place without stiffness. On rushed mornings I skip heat, and I’ve found leaving two thin front pieces makes it feel intentionally undone.
Mistake to Avoid: Don’t slick everything back, that kills the casual vibe.
3. Braided Base Messy Bun

I braid a small section from one side, then gather the rest into a bun and wrap the braid around it for interest and hold. The braid acts like an anchor, so I use fewer pins. I add bobby-pins where needed and a spritz of texturizing-spray. I’ve noticed this trick makes my bun last through a commute about 60 percent of the time without frizz.
Mistake to Avoid: Don’t braid too tightly, it makes the bun look forced.
4. Sock-Style Donut Messy Bun (but soft)
I use a donut-bun-maker for quick volume, then tug tiny pieces loose to avoid the perfect look. For second-day hair, a touch of dry-shampoo at the roots helps the bun sit without slipping. Honestly, this saves me five minutes and looks put together without being stiff.
Mistake to Avoid: Don’t leave the bun perfectly smooth, it reads like costume.
5. Half-Up Messy Mini Bun

When I want hair up but also free around my neck, I do a mini bun with the top half. I secure with an elastic-hair-coil and tug at the sides for width. The lower half can be straight or curly. I find this looks intentional yet casual, and it survives school pick-up runs better than a full bun.
Mistake to Avoid: Don’t make the top too flat, gently pull apart sections for volume.
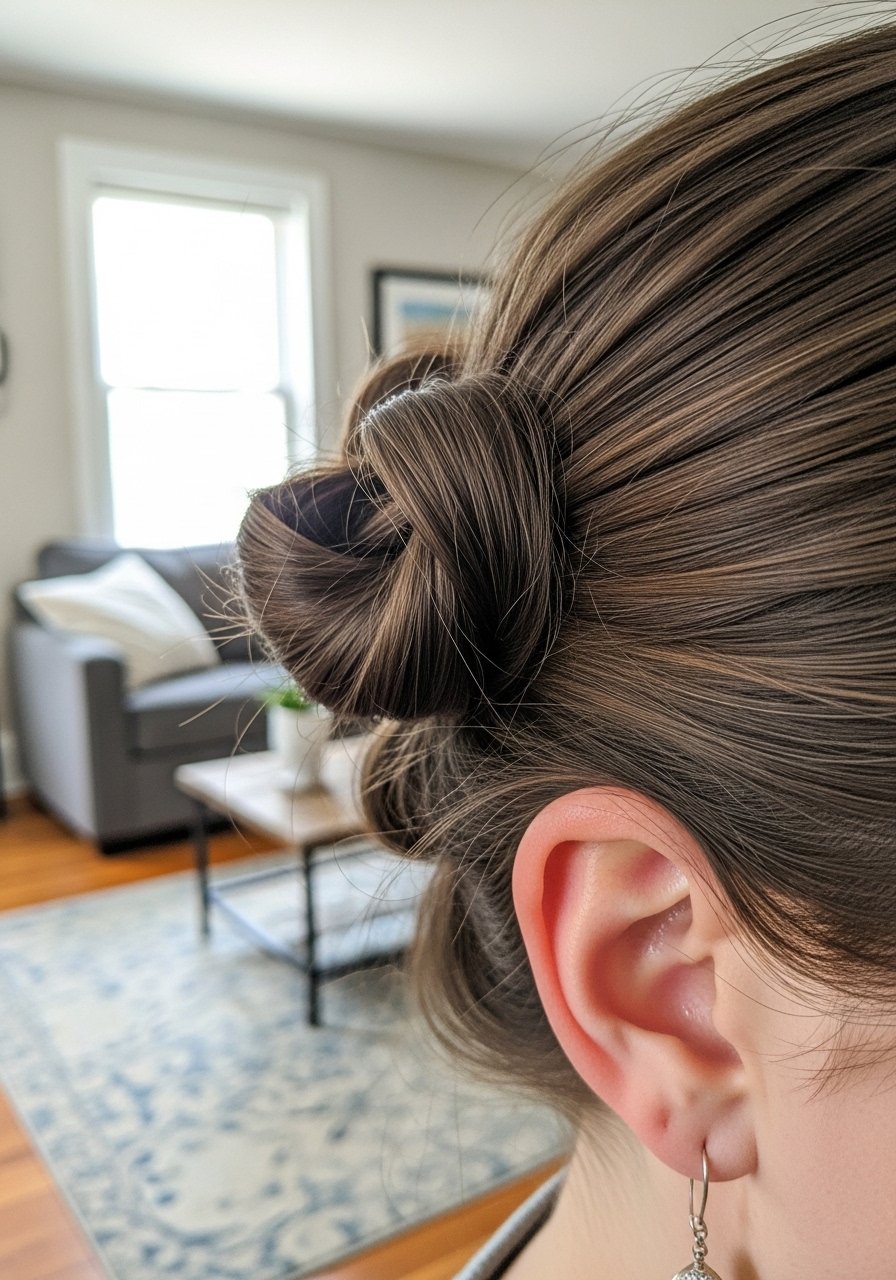
6. Twisted Low Knot with Hidden Pins
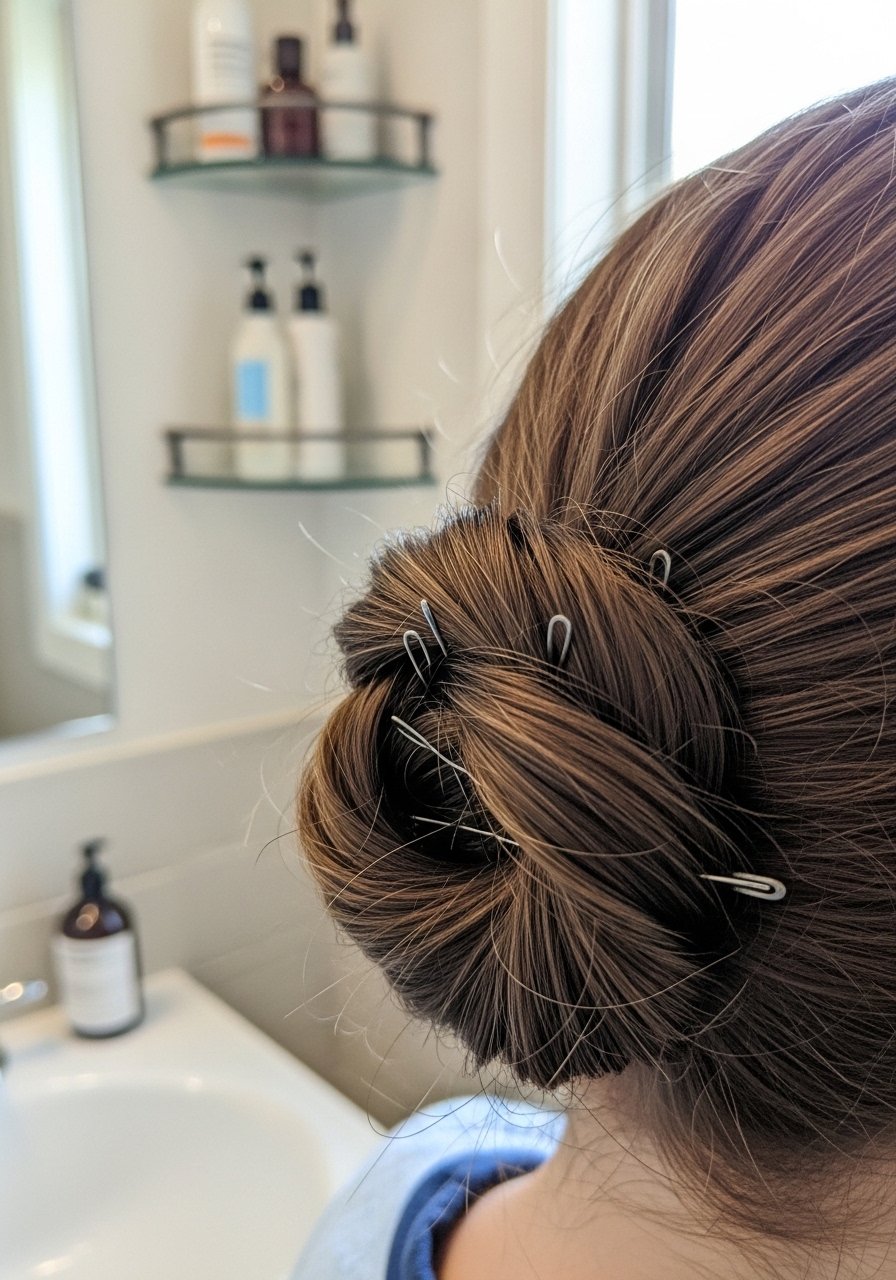
I twist two sections into a low knot and hide pins inside the twist, which removes visible hardware and shortens styling time. I use a dab of light-weight-cream to smooth flyaways. This trick gives the impression of a neat style while staying quick. I’ve noticed it holds through brief wind better than loose buns.
Mistake to Avoid: Don’t use too much product, or the twist loses texture.
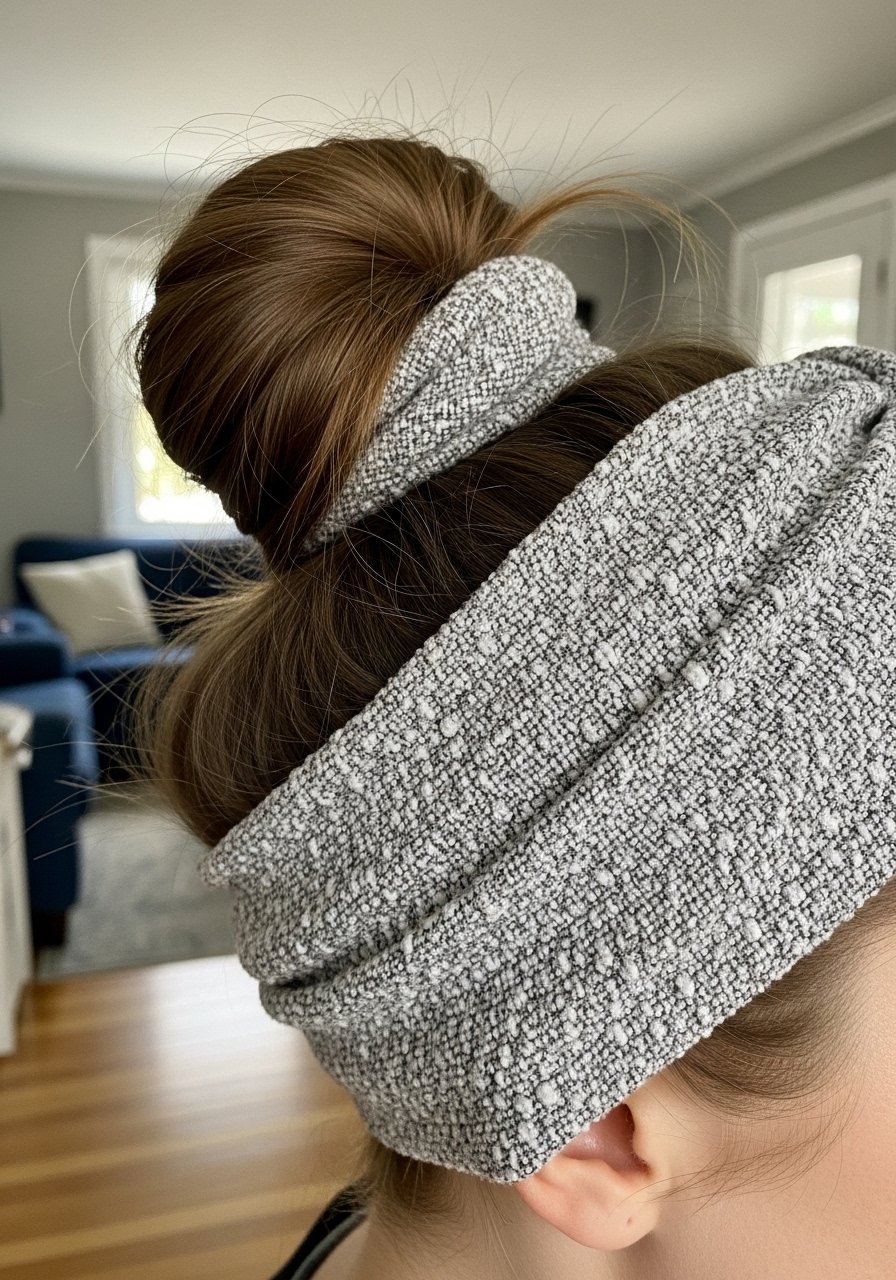
7. Messy Bun with Scarf Wrap
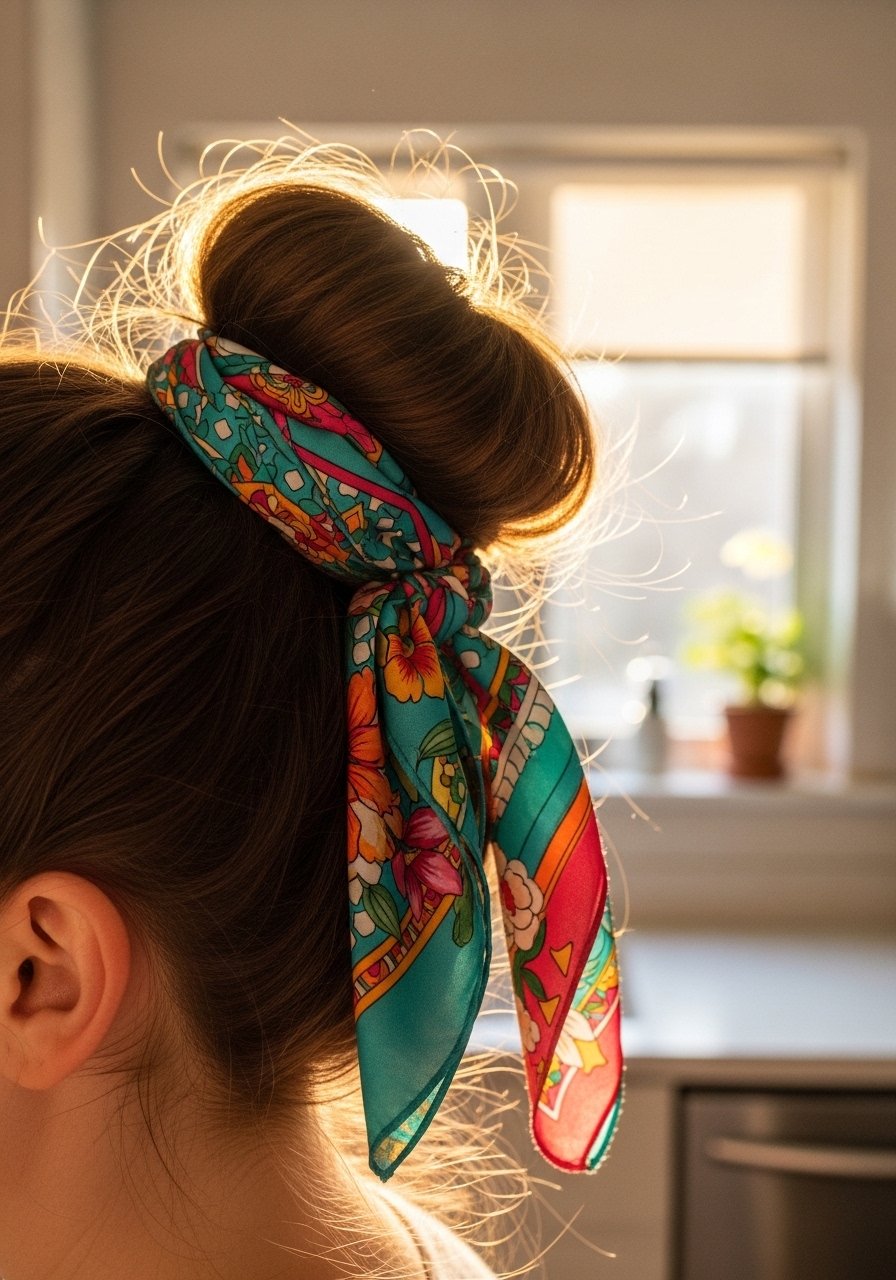
Adding a scarf hides pins and makes the bun look styled in seconds. I wrap a silky-scarf or thin cotton bandana and tuck the ends. On mornings I want a pop of color, this is my shortcut. It also helps keep the bun intact on blustery days.
Mistake to Avoid: Don’t choose a slippery scarf unless you knot it tightly, it will slide.
8. Curly Textured Messy Bun
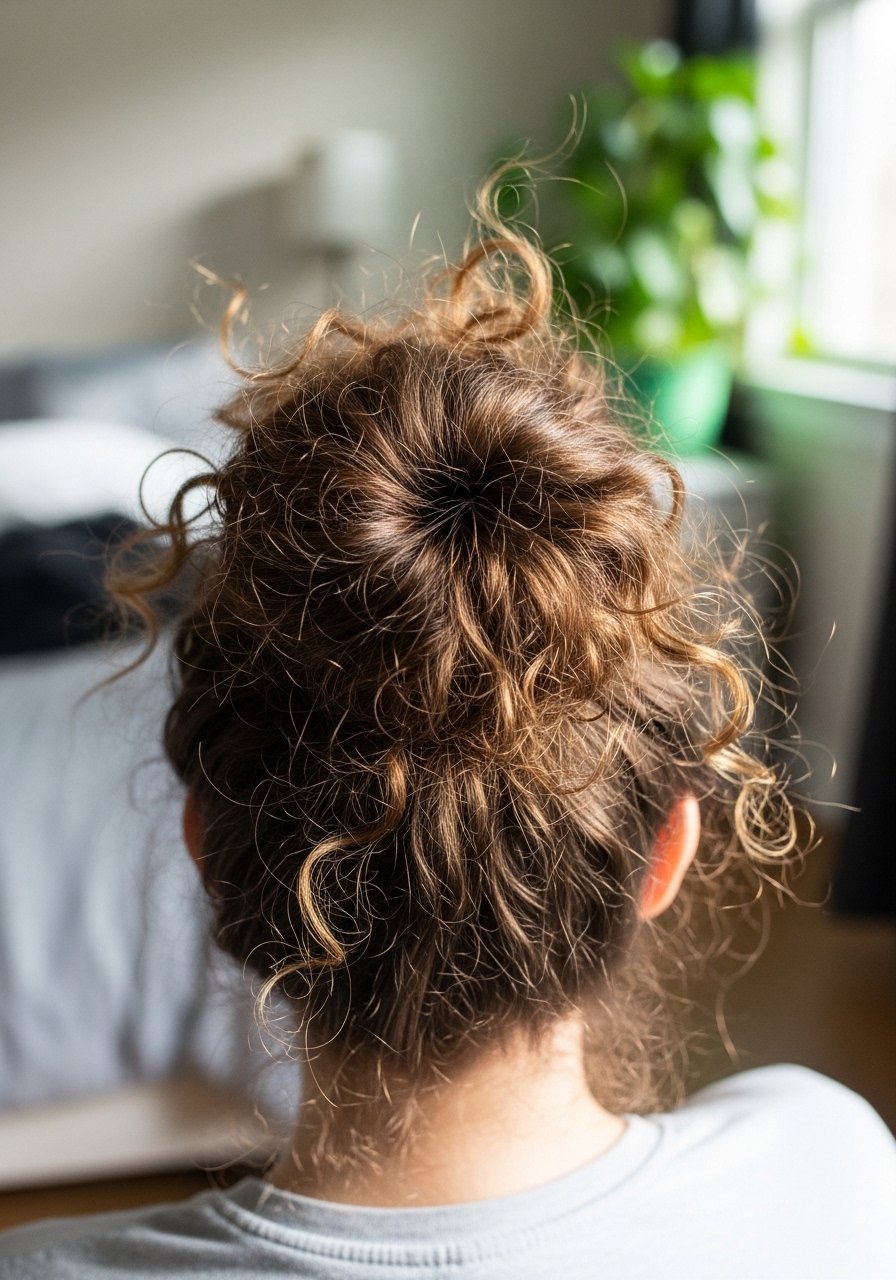
For curly hair I scrunch in texturizing-spray and gather curls loosely into a bun, pinning only where necessary. I leave lots of edges free to show curl pattern. I’ve noticed curly buns survive humidity better when the hair is not overly smoothed.
Mistake to Avoid: Don’t detangle fully before styling, a bit of natural clump gives better shape.
9. Sleek Back Messy Bun with Volume
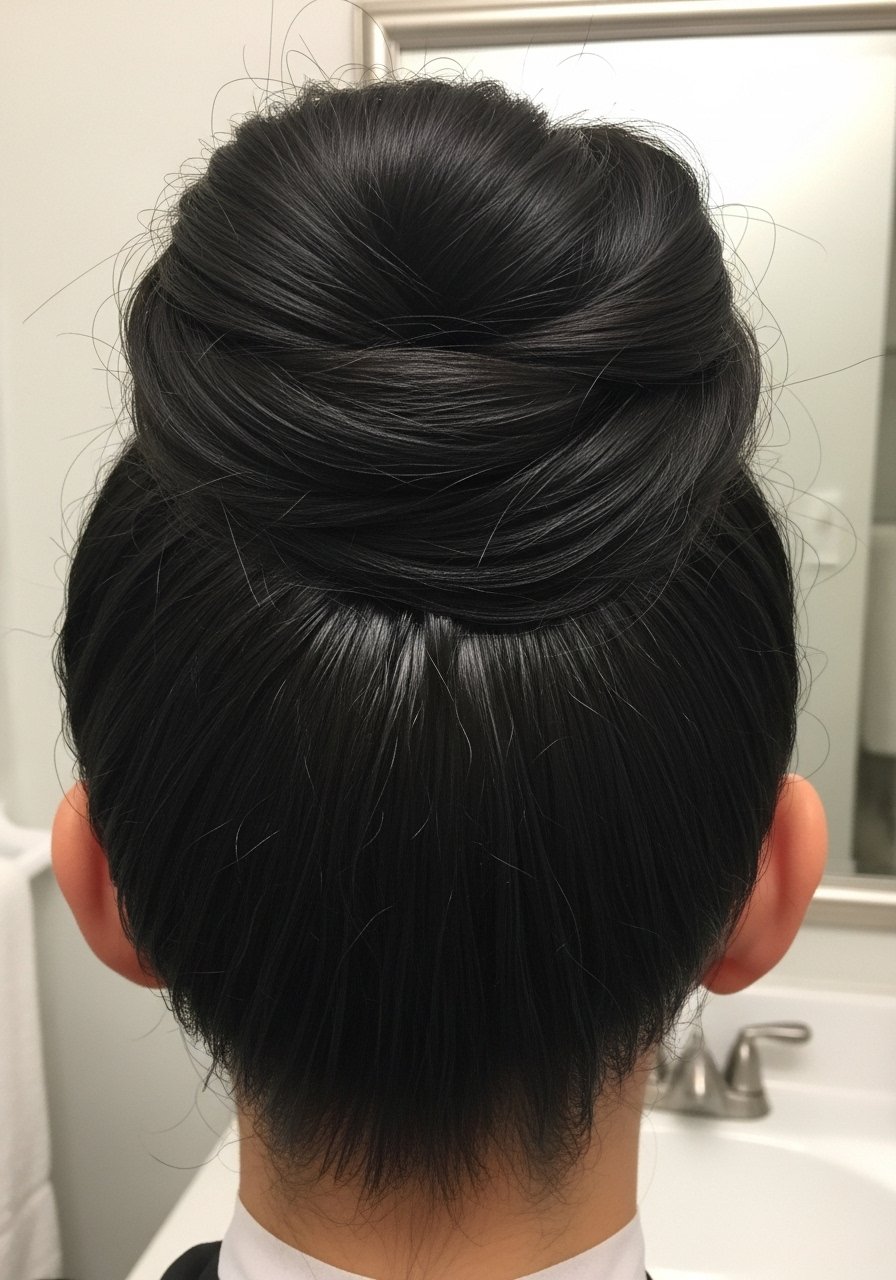
I smooth the sides with a tiny amount of light-weight-cream then tease the crown slightly for lift. The contrast between sleek sides and a messy top reads polished. I keep a small can of light-hold-hairspray for flyaways. About 65 percent of the time it keeps shape through long calls.
Mistake to Avoid: Don’t over-tease, you want lift not a big tangled lump.
10. Side-Swept Messy Knot
I pull hair to one side and twist into a loose knot, securing with pins. It sits lower and feels romantic without effort. This works when I want hair out of my face during errands. I add a quick mist of light-hold-hairspray to lock small pieces.
Mistake to Avoid: Don’t pin the knot too close to the scalp, it will feel tight and uncomfortable.
11. Braided Crown into Messy Bun
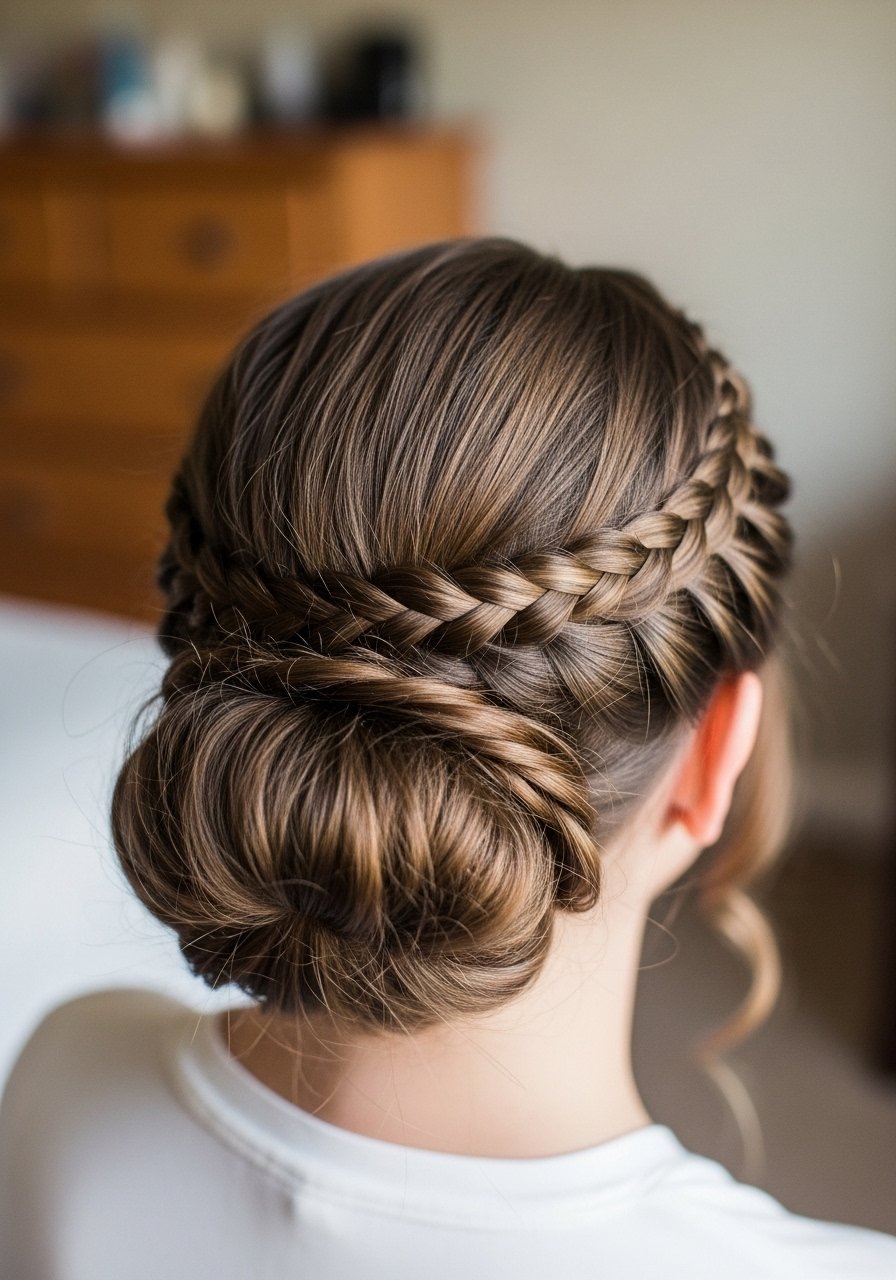
I braid a small crown on one side, pull the rest into a bun, and wrap the braid around the base. It disguises a messy finish and adds interest. I use a few bobby-pins to secure and a spritz of texturizing-spray. It holds better than I expected on commuting days.
Mistake to Avoid: Don’t make the braid too thick, it can overwhelm the bun.
12. Double Mini Knots for Activity Days
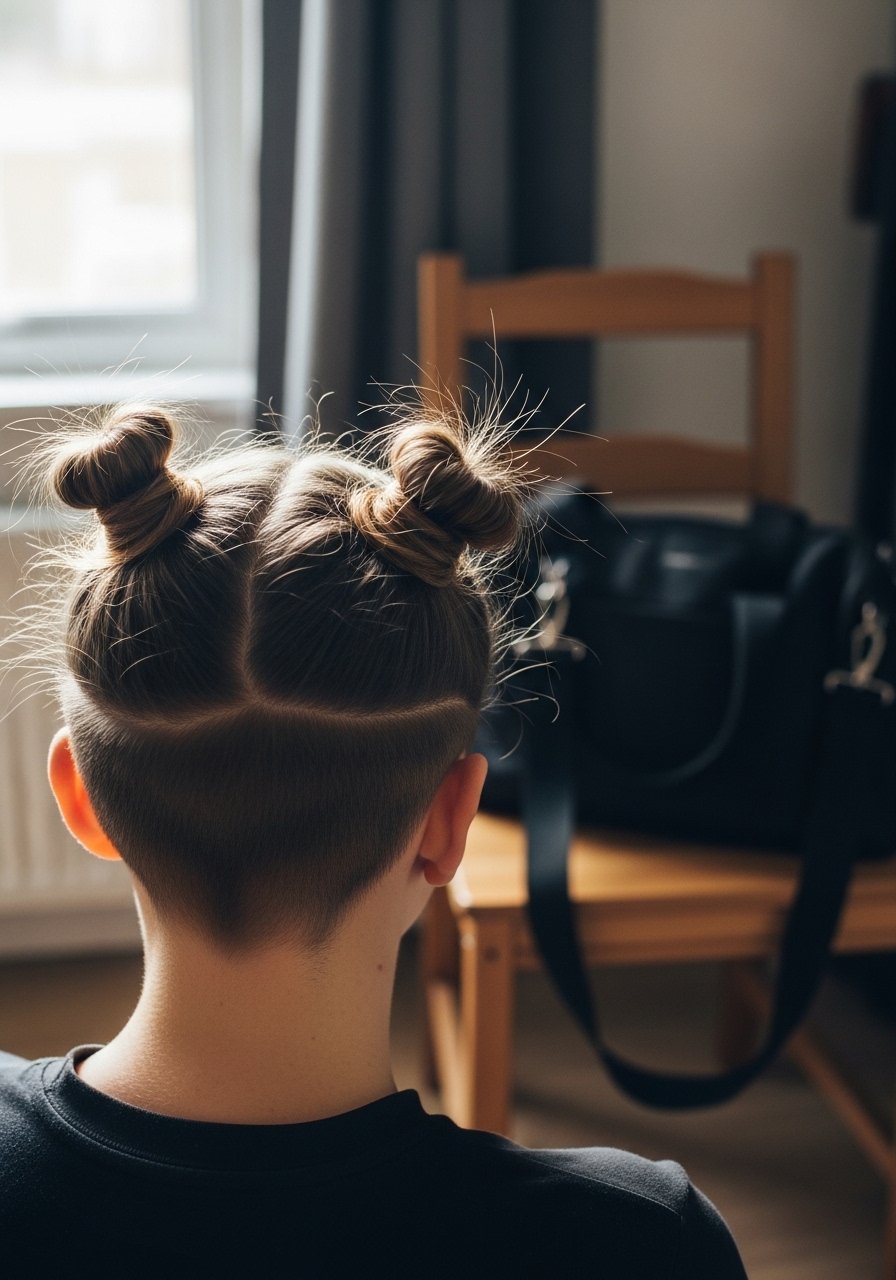
I split hair into two sections and make small messy knots—great for workouts or hot days. Elastic coils secure without damage, and the look stays put. I reach for elastic-hair-coils because they don’t dent hair. I’ve found this keeps sweat out of my face much better than a single bun.
Mistake to Avoid: Don’t make the knots too high or they’ll bounce and tangle.
13. Messy Bun for Fine Hair with Volume Trick
Fine hair needs a little help. I backcomb a small crown section, lightly smooth over, and pin into a messy bun. dry-shampoo adds grip. I’ve noticed my fine hair holds style about 50 percent longer when I add that quick tease step.
Mistake to Avoid: Don’t over-tease the entire head, it looks messy in a bad way.
14. Messy Bun for Thick Hair with Sectioned Tuck
With thick hair I work in sections, tucking and pinning each piece so the bun sits lighter. Use strong bobby-pins and an elastic coil at the base. It cuts down on bulk and prevents the bun from collapsing. I learned this after a few failed attempts trying to shove everything into one knot.
Mistake to Avoid: Don’t try to cram all hair in one pin, spread the hold.
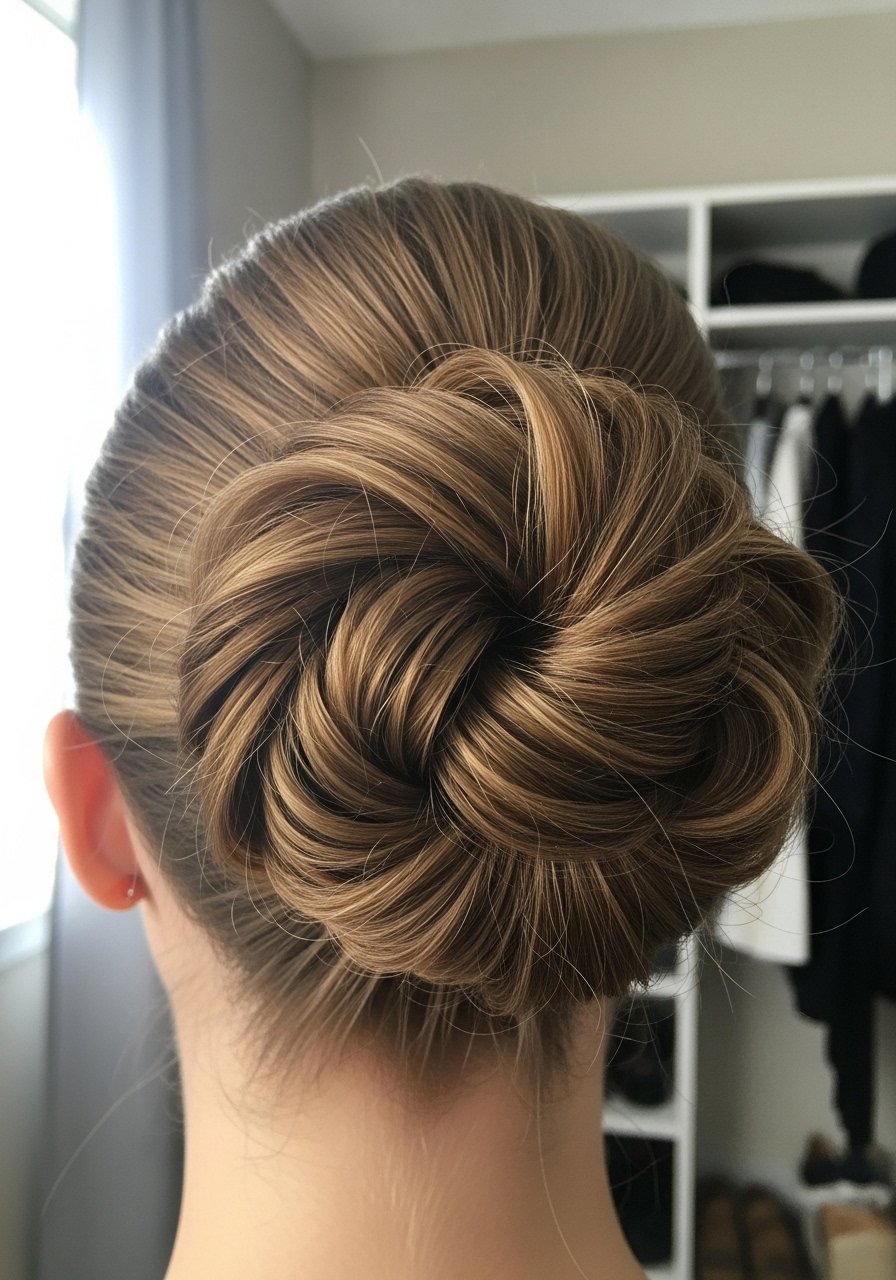
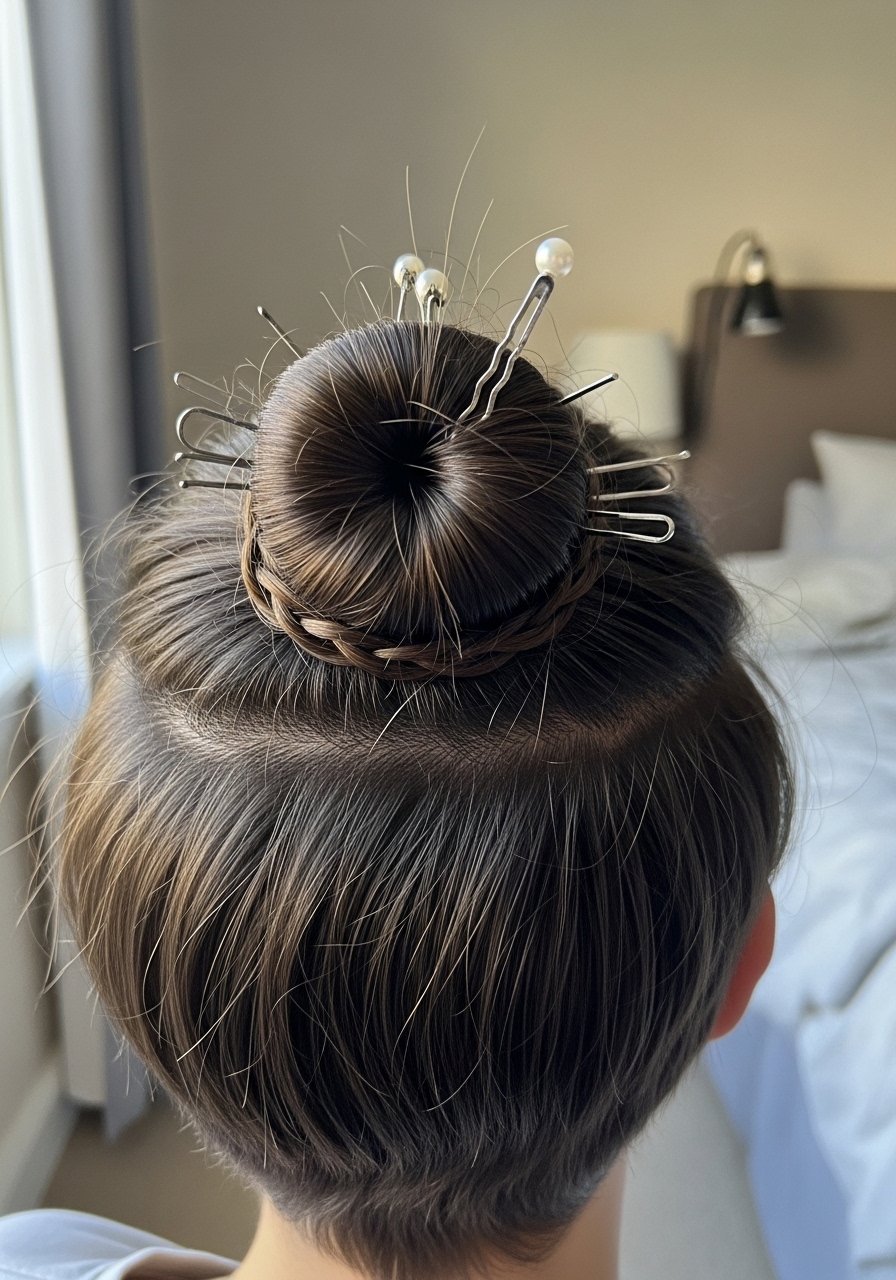
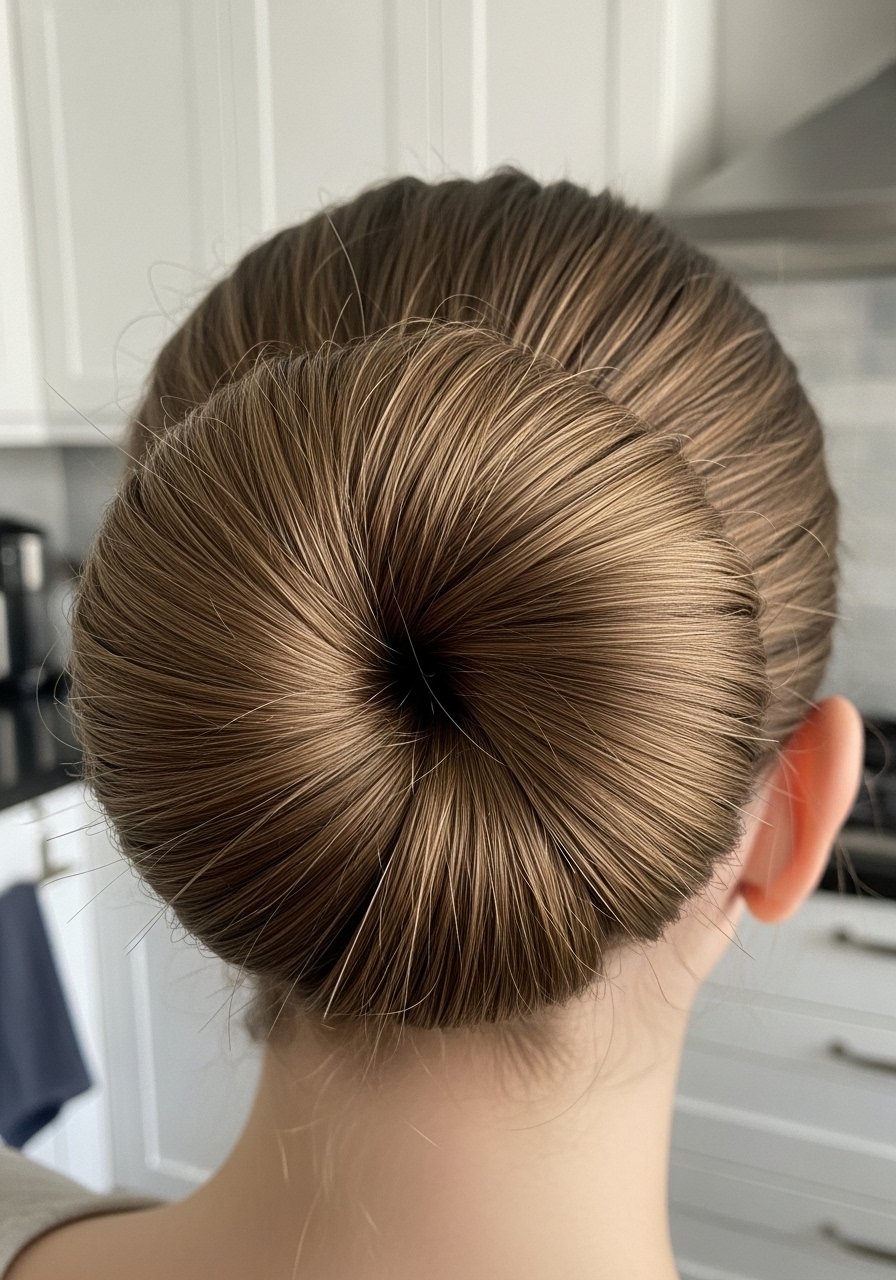
15. Messy Bun with Hidden Donut Hack
I use a small donut at the base but disguise it with pulled strands and texture. The donut gives instant structure so I need fewer pins. If I’m in a rush I use donut-bun-maker and a quick spritz of texturizing-spray. It’s a two-minute trick that actually looks intentional.
Mistake to Avoid: Don’t reveal the donut, the goal is soft volume not an obvious ring.
16. Messy Bun with Invisible Pin Grid
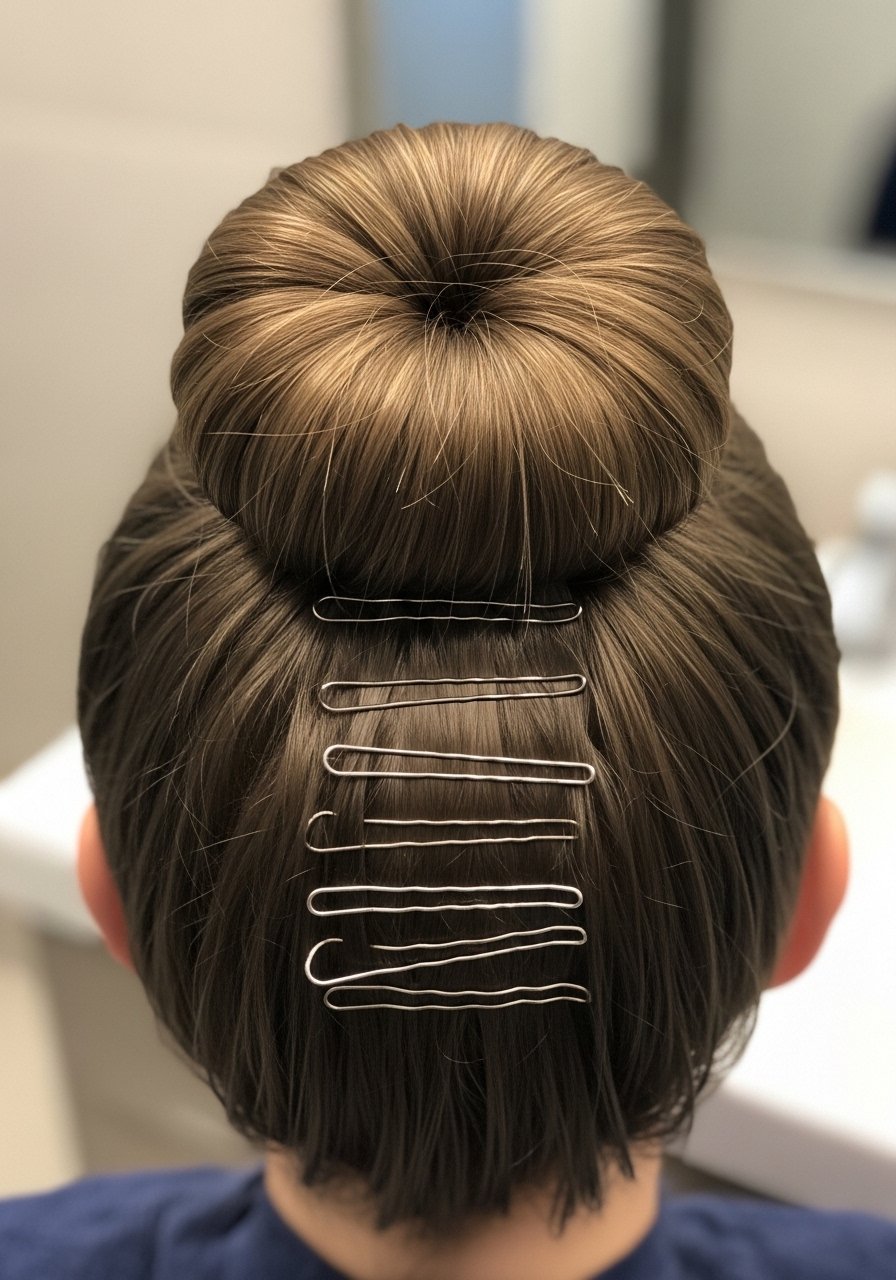
I create a small pin grid under the bun to lock it in place without bulk on top. It’s low effort once you get the pattern down. I keep a handful of bobby-pins in my go-bag for maintenance. I’ve noticed this method keeps styles intact on windy walks far more often than random pinning.
Mistake to Avoid: Don’t cross pins visibly on top, tuck them under the bun.
17. Messy Bun with Elastic Coil Pull-Through (fresh idea)
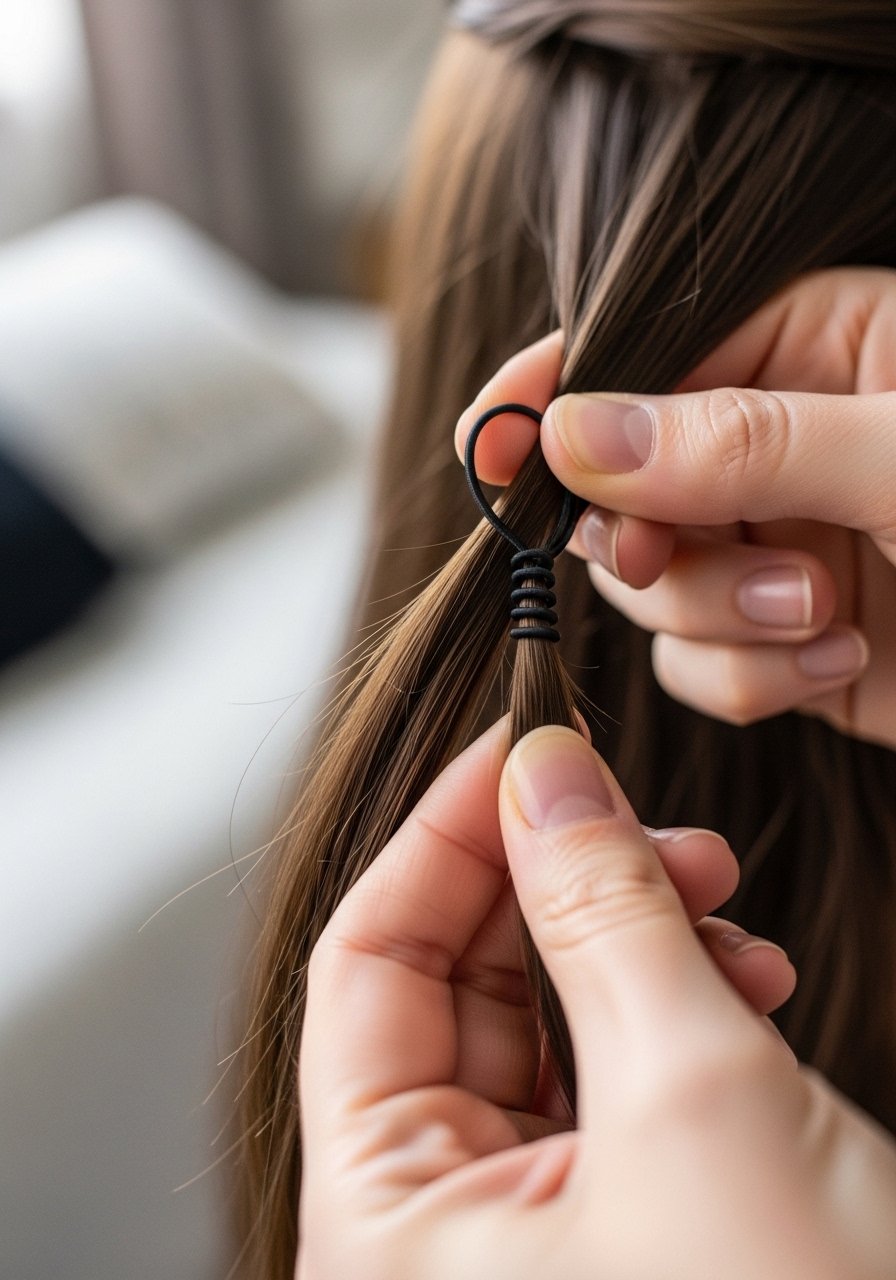
This is a quick hack I started using: secure a pony with an elastic-hair-coil, split the base and pull the pony through to create instant bulk, then twist into a bun. It creates volume without teasing and is gentle on hair. I reached for this trick on about 40 percent of mornings when I needed speed and volume.
Mistake to Avoid: Don’t use a stretched coil or the pull-through will slip.
18. Messy Bun with Bobby Pin Art (fresh idea)
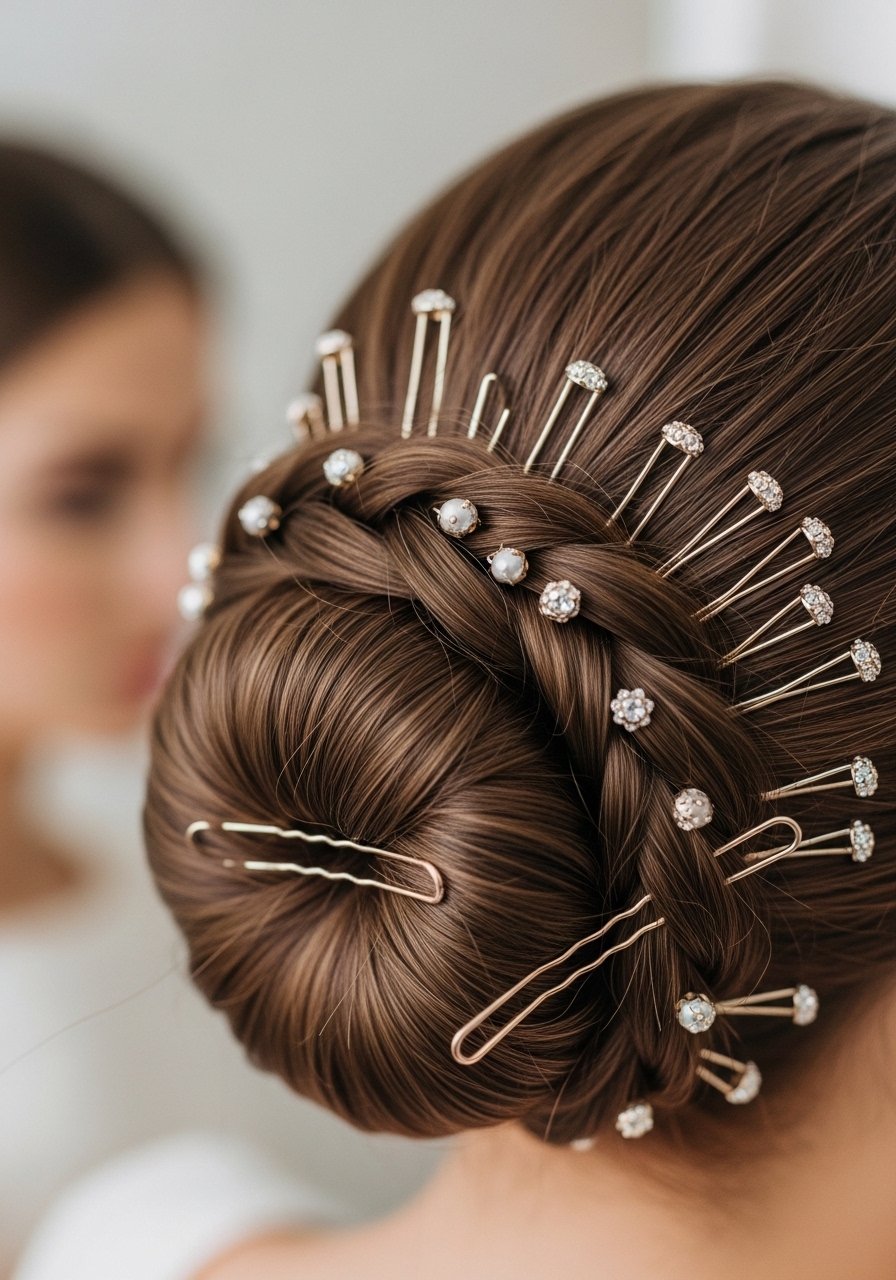
I arrange decorative pins around the bun in a small pattern, which disguises the mess and makes the bun look styled. This feels like a small effort with big payoff. I use a mix of plain and metallic bobby-pins and it takes less than a minute to place them. People often assume I spent ages on it.
Mistake to Avoid: Don’t overdo the pins, a few placed thoughtfully look best.
19. Short Hair Messy Bun with Strategic Pinning
Short hair can still get a tiny messy bun. I gather what I can into a small knot and secure with multiple bobby-pins, then pull pieces loose. Using texturizing-spray helps everything stick. It took me a while to learn pin placement, but now I do this on rushed mornings.
Mistake to Avoid: Don’t try to make it look like long-hair bun, embrace the small, cute version.
20. Messy Bun with Front Twist for Face Shape
I twist a front section away from my face, then pull the rest into a low bun, tucking the twist into the base. It frames the face and looks intentional fast. A tiny amount of light-weight-cream smooths the twist without flattening it. I reach for this on interview mornings when I want hair out of my face but still styled.
Mistake to Avoid: Don’t twist too thin a section, it will disappear in the bun.
21. Messy Bun with Textured Band (fresh idea)
I use a textured elastic band over the base of the bun for grip and style, it hides pins and adds interest. This is a fresh hack I tried when traveling and it stuck. The band gives extra hold for long days, especially when paired with dry-shampoo at the roots.
Mistake to Avoid: Don’t choose too stiff a band, it will feel uncomfortable against the scalp.
22. Lazy Loop Bun for Ultra-Rushed Mornings
When I have literally two minutes, I loop my pony into a single fold and secure with one elastic coil, then pull at the sides for shape. It is intentionally imperfect and holds surprisingly well. I use snag-free-hair-ties so I can undo it without damage. On about 90 percent of mornings this gets me out the door looking like I tried.
Mistake to Avoid: Don’t leave the loop too neat, quick and messy is the point.
Hair Styling Tips
Prep with dry shampoo: I spray roots lightly before styling for grip and quick volume, try dry-shampoo.
Keep a mini kit: I stash bobby-pins and an elastic-hair-coil in my bag, it saves a meltdown when a bun falls.
Use texture, not stiffness: A spritz of texturizing-spray beats heavy hairspray for everyday buns.
Choose the right tie: Elastic coils prevent creases and are gentler than old elastic, I pack snag-free-hair-ties.
Pin strategically: Place pins in the direction of hair growth for better hold, use strong bobby-pins for thick hair.
Refresh later: If the bun droops midday, pull a few face-framing pieces and spritz light-hold-hairspray to revive shape.
Protect while sleeping: If you wear buns overnight, use a soft band like elastic-hair-coils to avoid creases and reduce breakage.
