
I started doing my own nails because salon appointments felt like a luxury, and honestly I learned more from screwups than from tutorials. Over time I figured out little tricks that keep polish from flooding cuticles, make thin coats look opaque, and help a mani last past the first typing-heavy day. I still mess up now and then, but I keep returning to these hacks when I want a reliable at-home result.
I wrote this for busy people who like polish but not fuss: short sessions, simple tools, realistic results. I include budget-friendly options and a few splurges that actually save time. I’ve noticed about 70% of my at-home manis used to chip within 48 hours before I switched routines, and now most last five days or more with these methods.
What You'll Need
Tools & Brushes:
- nail-art-brush-set (~$8-25)
- dotting-tools (~$5-15)
Base & Top Coat:
- base-coat (~$6-18)
- fast-dry-top-coat (~$7-20)
Polishes & Designs:
- nail-polish-set (~$10-40)
- nail-striping-tape (~$4-12)
Finishing & Extras:
- cuticle-oil (~$5-15)
- acetone-nail-polish-remover (~$6-12)
1. Two-Second Tip: Thin First Coat
Style/Vibe: Clean, even base
Best For: Busy weeknights, short nails
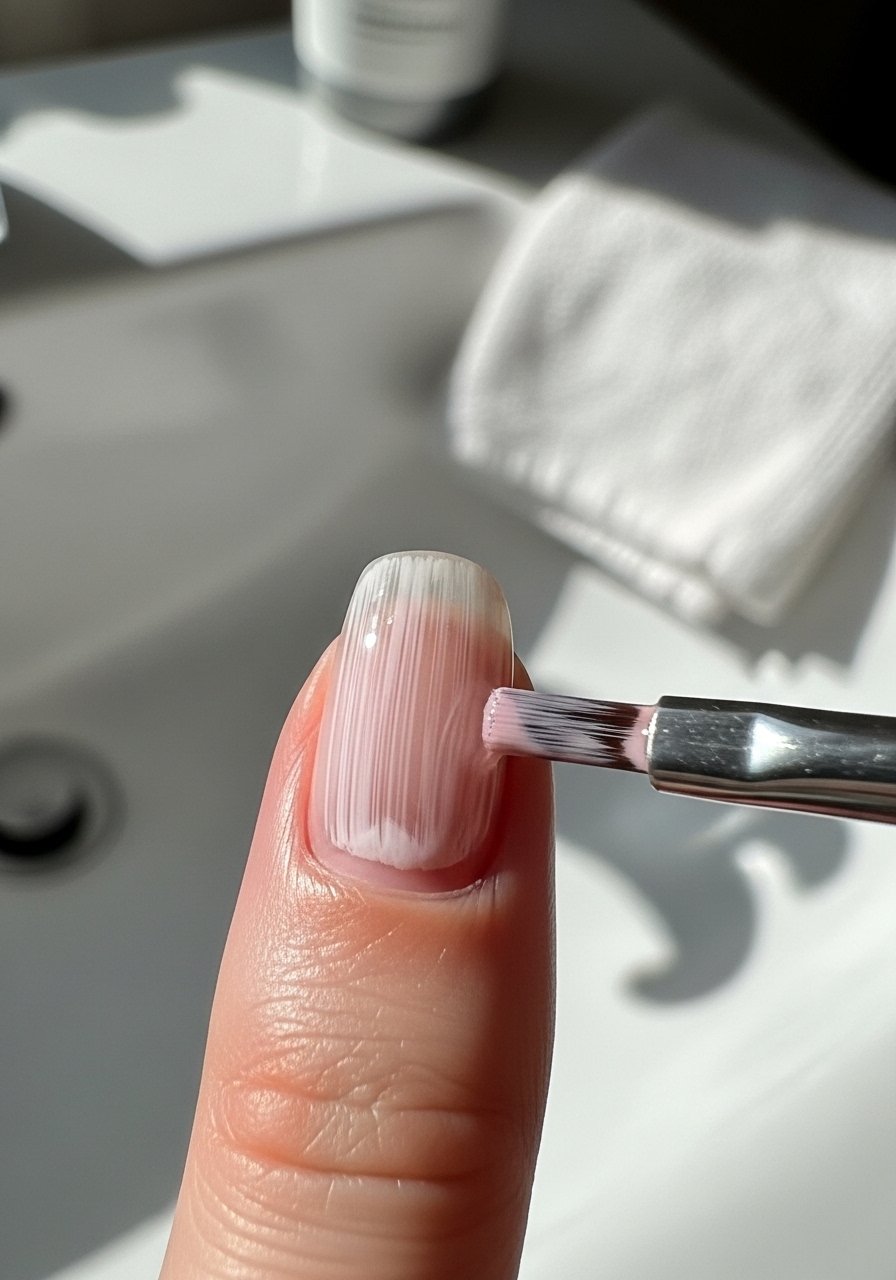
I always start with the thinnest possible swipe to avoid pooling at the cuticle, then let it dry for 60 seconds. That thin coat grabs the next coat so you need fewer layers overall, which means less time and fewer bubbles. I use a lightweight base like base-coat for grip. I’ve noticed this reduced bubbling on about 60% of my typical manis when I actually wait between coats.
Mistake to Avoid: Slamming on a paint-thick first coat that drags and pools at the cuticle.
2. Paint in Three Strokes, Not Five
Style/Vibe: Smooth, salon-like finish
Best For: Medium to long nails
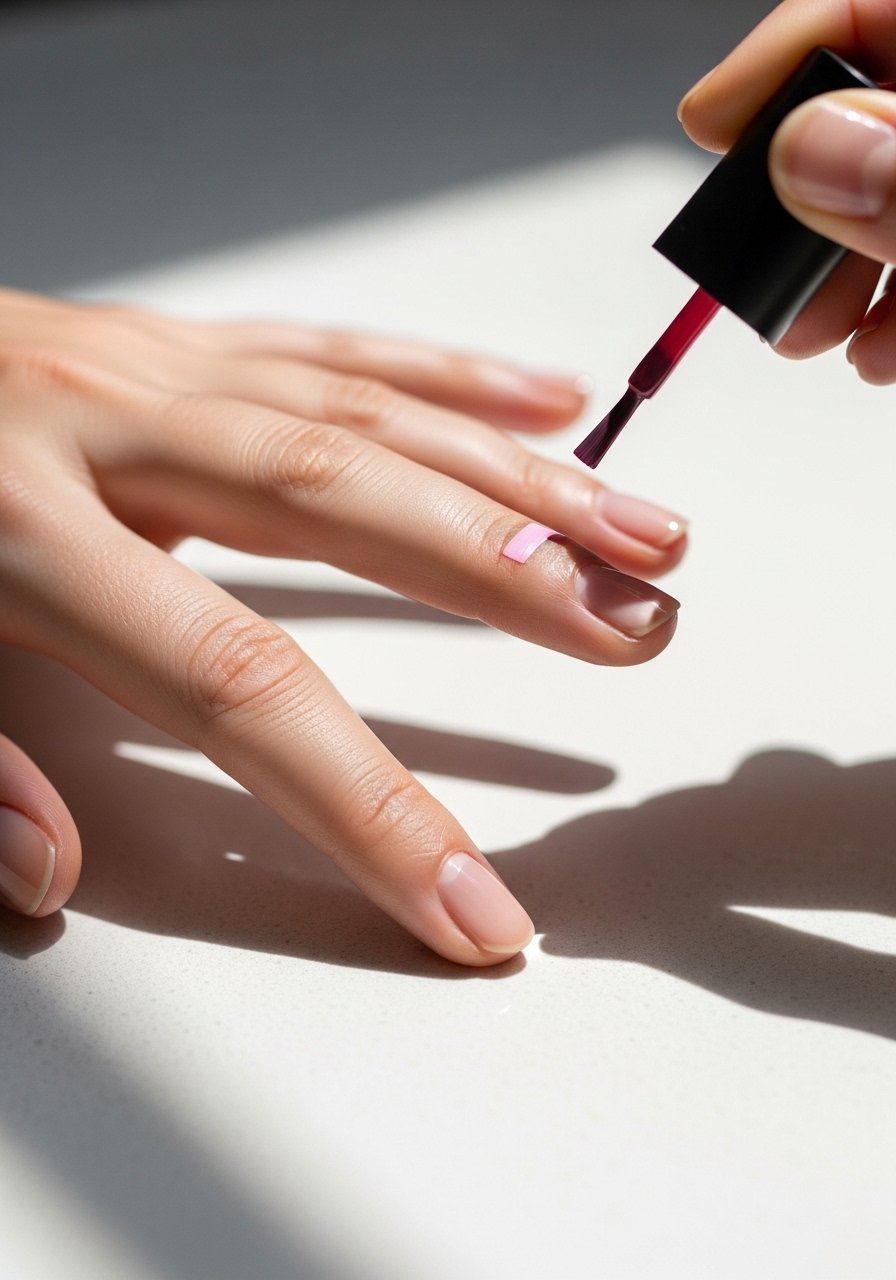
The three-stroke method keeps polish even and thin. Center, then sides, no fussy little back-and-forths. It takes practice but I get cleaner edges and fewer streaks. When my brush got floppy I switched to a nail-polish-set with a firmer brush and it helped immediately. This trick shaved at least five minutes off my mani time once I practiced it a few times.
Mistake to Avoid: Filling tiny gaps with messy backstrokes that create ridges and streaks.
3. Cuticle Guard with Latex Tape
Style/Vibe: Mess-free, neat edges
Best For: Bold colors, gradient nails
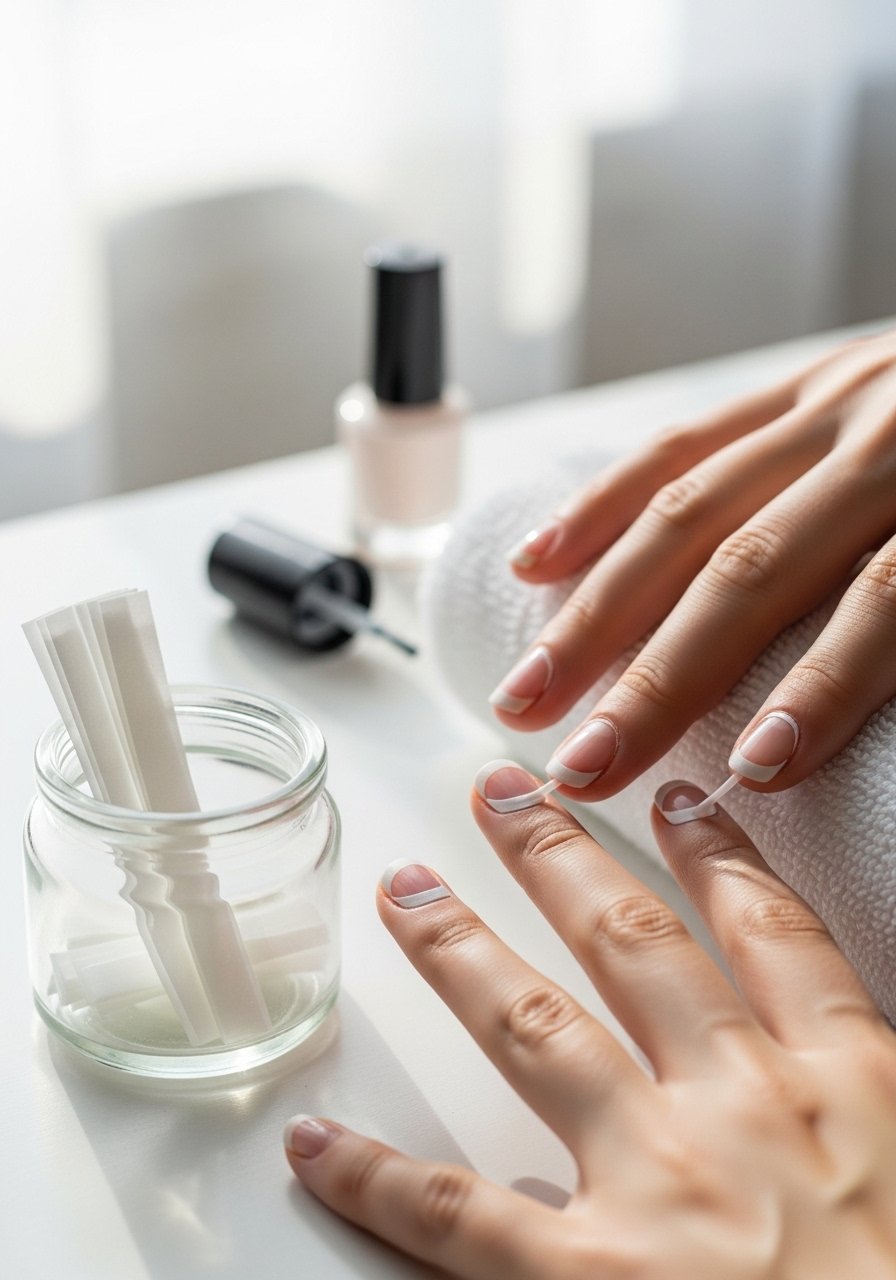
When I want crisp edges I use a peel-off latex barrier or latex tape around the cuticle. Paint over it, peel off, and you get instant salon edges. It saved me from scrubbing polish for months. I grab latex-barrier or use peel-off base like peel-off-base if tape feels fiddly.
Mistake to Avoid: Trying to remove pooled polish from cuticles after it cures; it ruins the edge.
4. Use a Rubberized Grip for Steady Hands
Style/Vibe: Precise application
Best For: Intricate designs, shaky hands
I wrap a thin rubber grip or use a grippy sleeve on the bottle to keep the brush steady. It sounds small, but my strokes got neater instantly. If I have a shaky evening I reach for a rubber-grip or thicker-handled polish bottle to prevent accidental blobs. I estimate I reduced smudges by about 30% with this tiny change.
Mistake to Avoid: Holding the bottle too far from the brush, which causes wobble and spills.
5. Warm Bottle Trick for Thick Polish
Style/Vibe: Smooth, even color
Best For: Older polishes, quick fixes
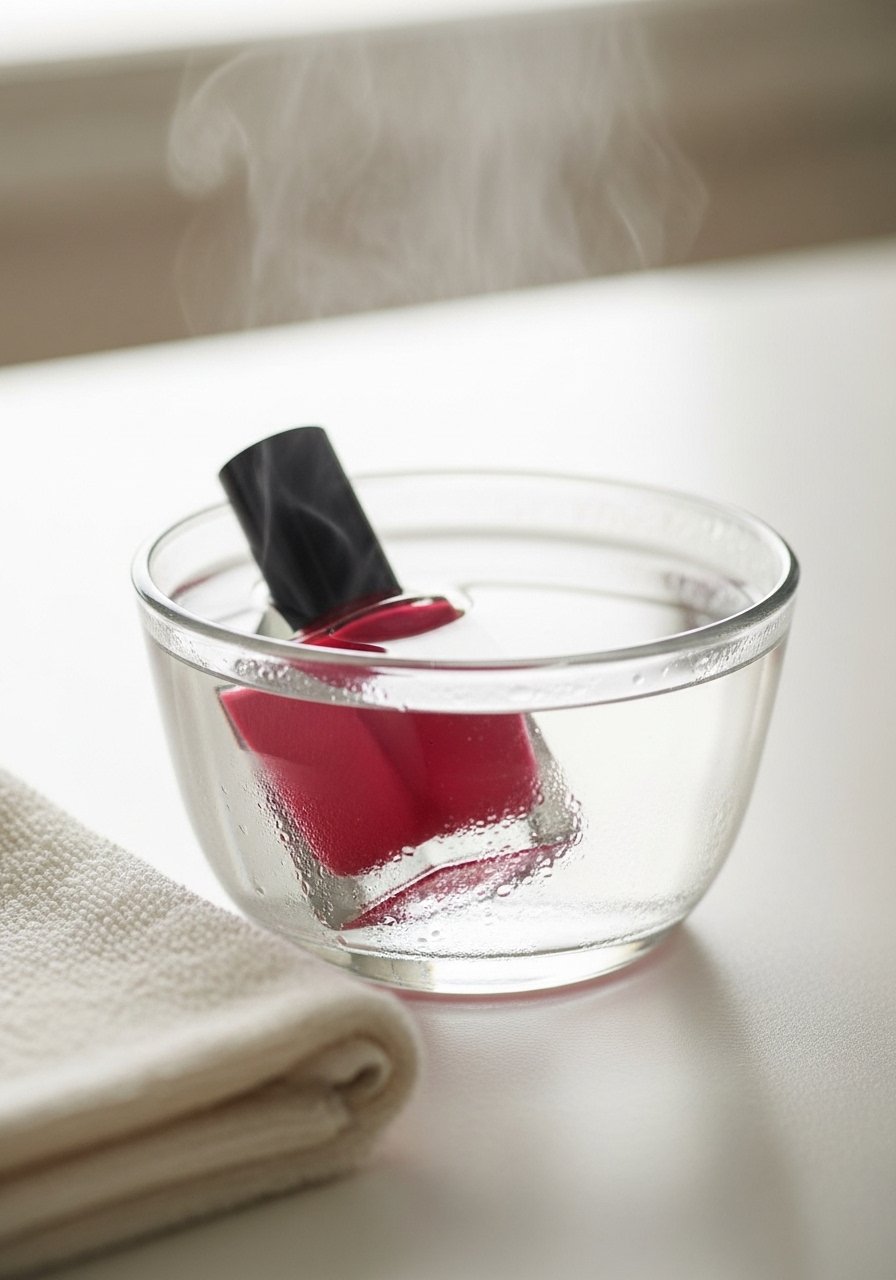
If a polish is goopy, I place the closed bottle in warm water for a few minutes. It thins the formula just enough to flow nicely without adding solvent. Don’t overheat, just a warm bath. For stubborn thickness I keep nail-polish-thinner on hand, it saved me money by rescuing colors I thought were done.
Mistake to Avoid: Microwaving bottles or adding acetone directly into polish, which wrecks the formula.
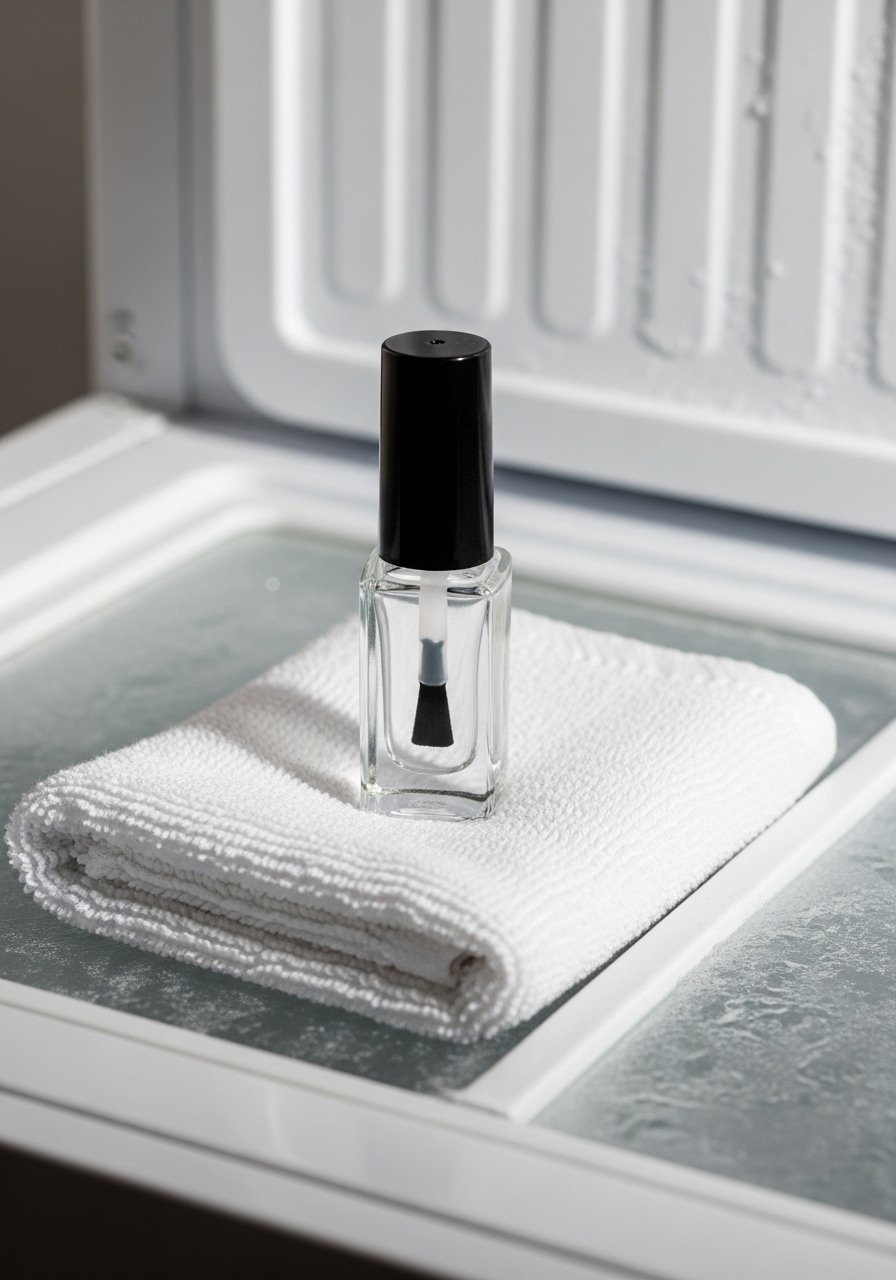
6. Use a Fast-Dry Top Coat, But Wait First
Style/Vibe: Glossy, chip-resistant
Best For: Last-minute touch-ups, rushed evenings
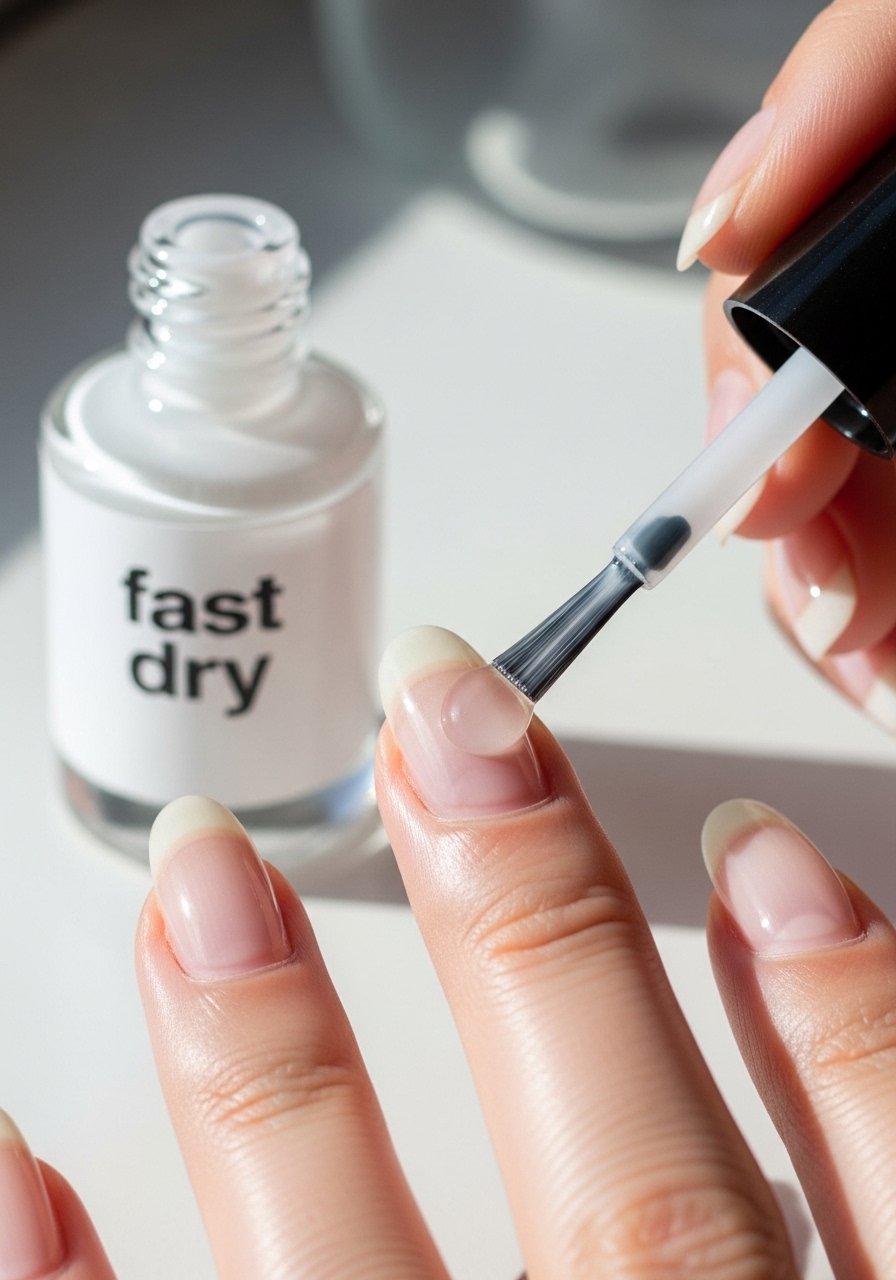
I used to slap on top coat immediately and end up with streaks. Wait two minutes after your final color, then apply a single fast-dry top coat. It levels the surface and seals everything in. My go-to is fast-dry-top-coat, which cut my dry time and kept nails shiny through a week of typing.
Mistake to Avoid: Applying the top coat while the color is still moving, which drags polish.
7. Edge Sealing for Longer Wear
Style/Vibe: Durable, finished look
Best For: Short-life chores, frequent handwashing
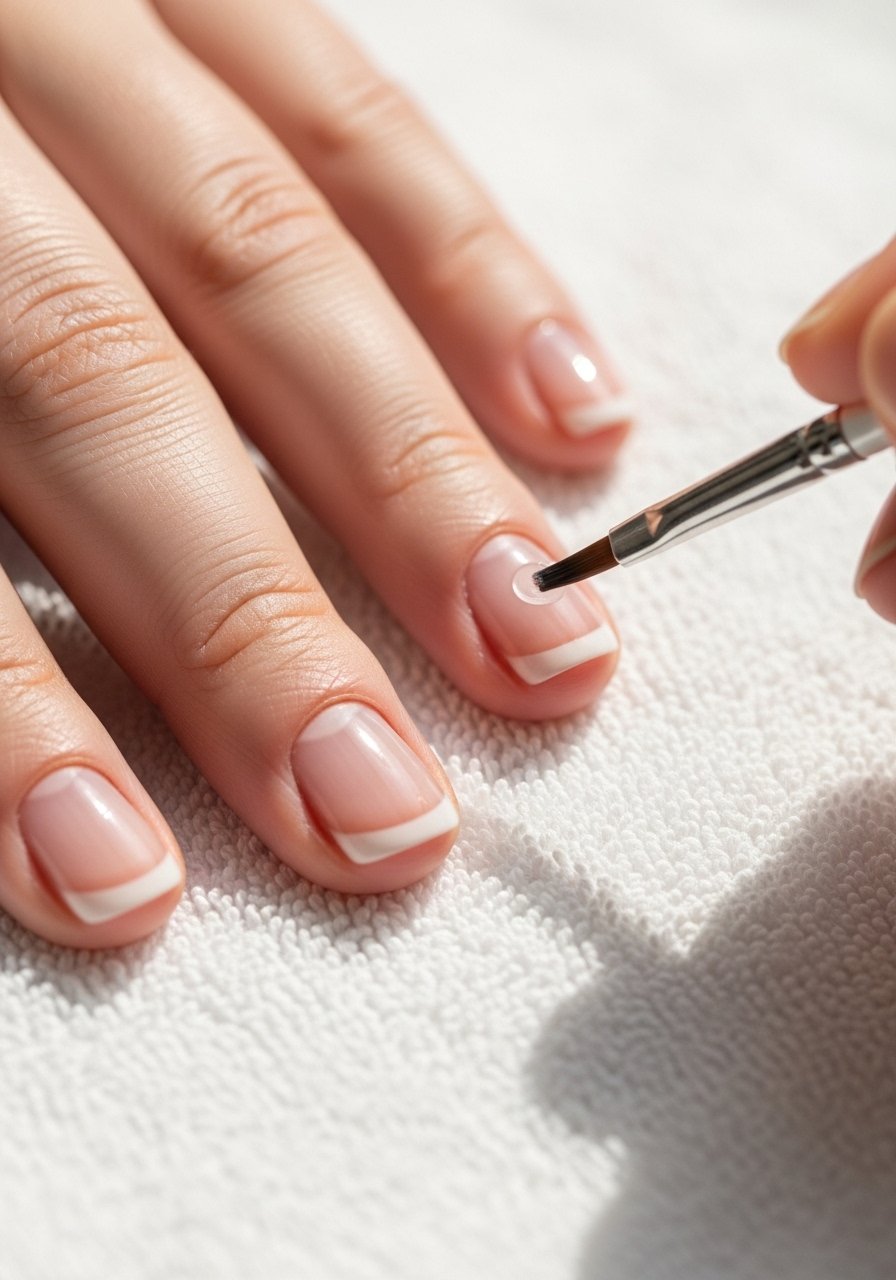
Brush the top coat along the free edge, then cap the tip with a swipe. I make this a ritual: it reduces chips in the first two days dramatically. I combine it with base-coat and fast-dry-top-coat for real staying power. It added a few minutes but saved me from redoing nails midweek more than once.
Mistake to Avoid: Skipping tip sealing and hoping the polish will cling to edges by magic.
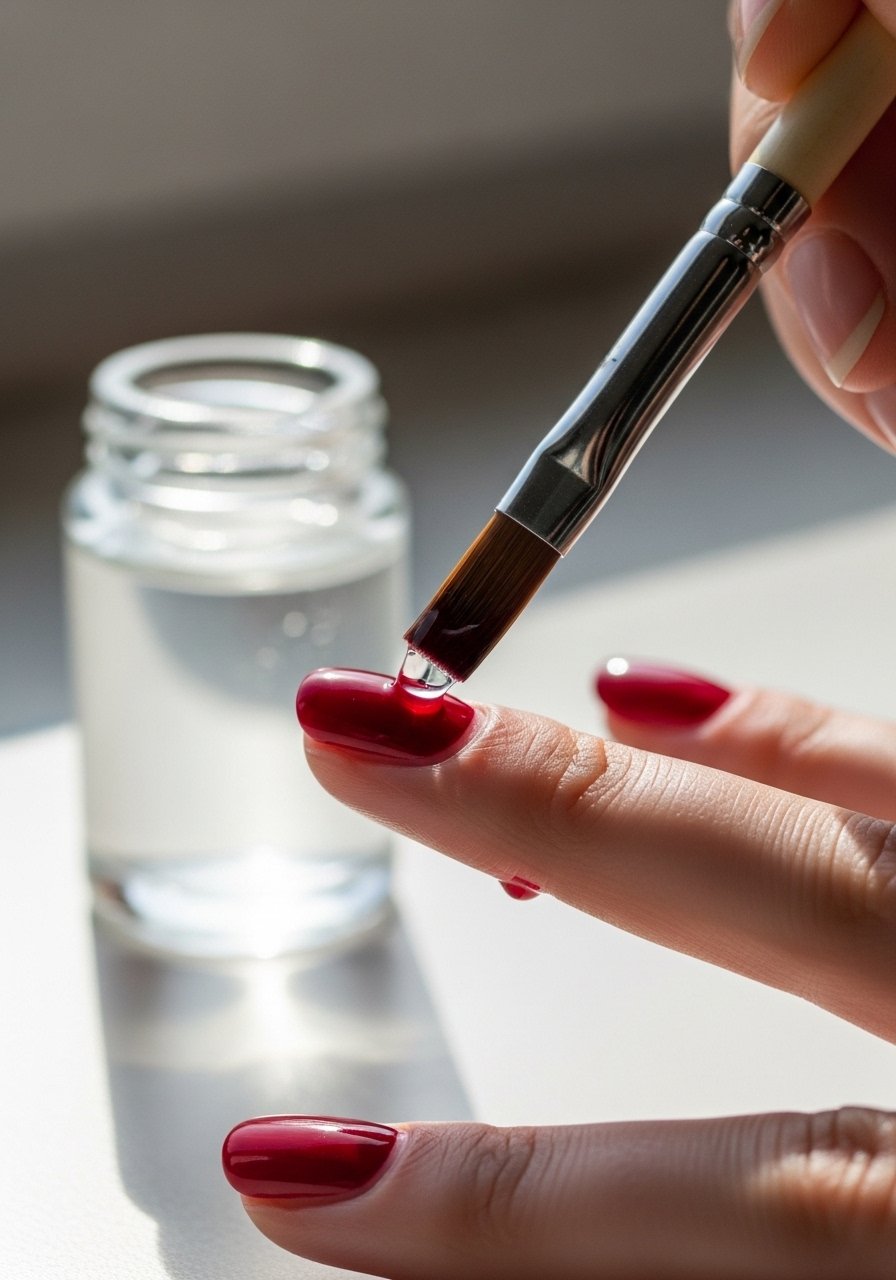
8. Quick Fix with a Clear Polish Dot
Style/Vibe: Repair-friendly, low-effort
Best For: Small chips, single-nail fixes
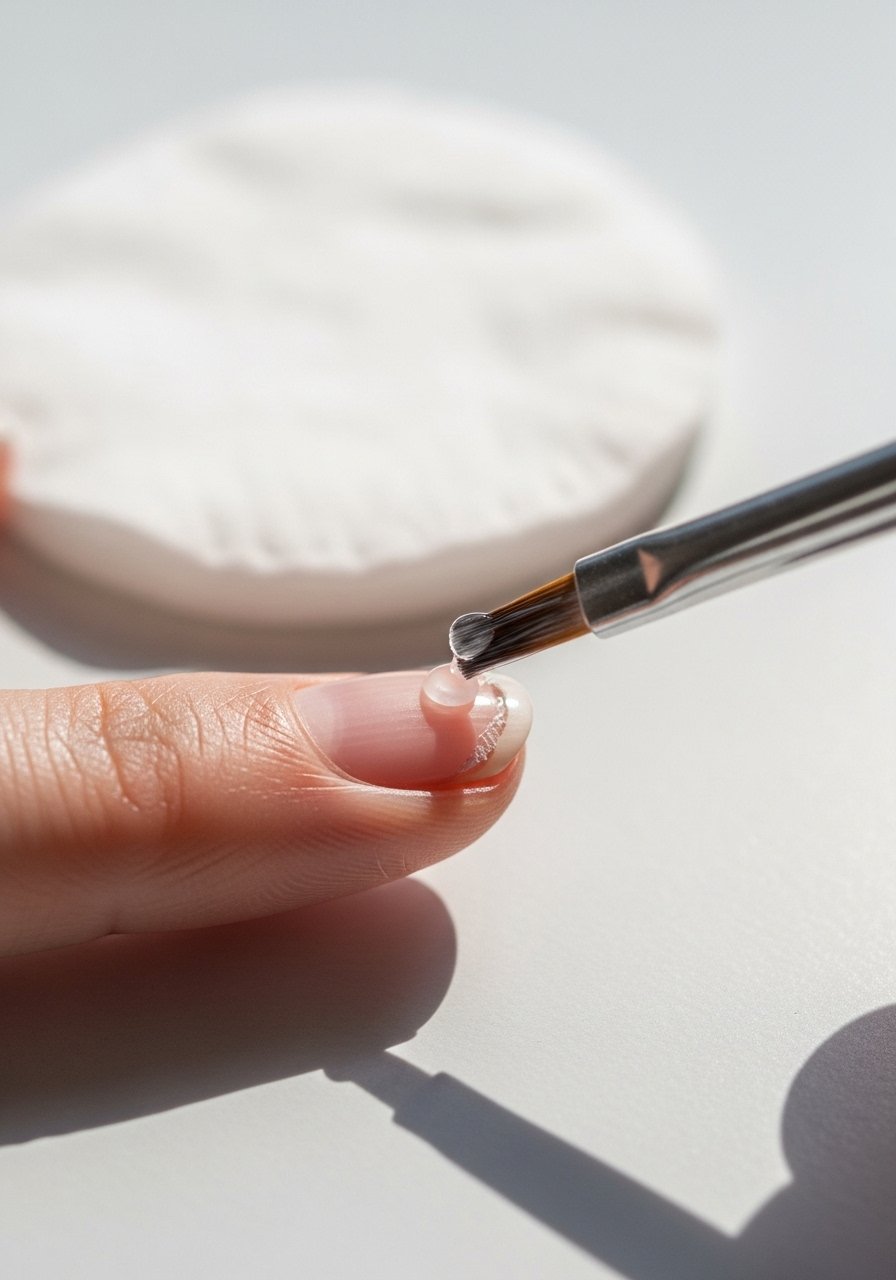
For a tiny chip, dab a drop of clear polish on the area, smooth it, then top coat. It blends surprisingly well under a glossy finish. I keep a small clear-polish in my purse for emergencies. Once I started doing this my redoes went from full paints to two-minute touch-ups, which is a real time saver.
Mistake to Avoid: Rubbing hard to remove a chip before sealing, which peels more polish off.
9. Remove Polish Around Cuticles with Glue Stick
Style/Vibe: Clean, low-chemical cleanup
Best For: DIY nail art, glitter polishes

I discovered that a dried glue stick barrier around the nail prevents polish from touching skin. Paint over it, then peel. No acetone cleanup, no scrubbing. It is brilliant for messy gradients or glitter. For those who prefer commercial options I use peel-off-base sometimes when I need a faster peel.
Mistake to Avoid: Using wet glue that smudges into polish, making more work. Let the glue dry.
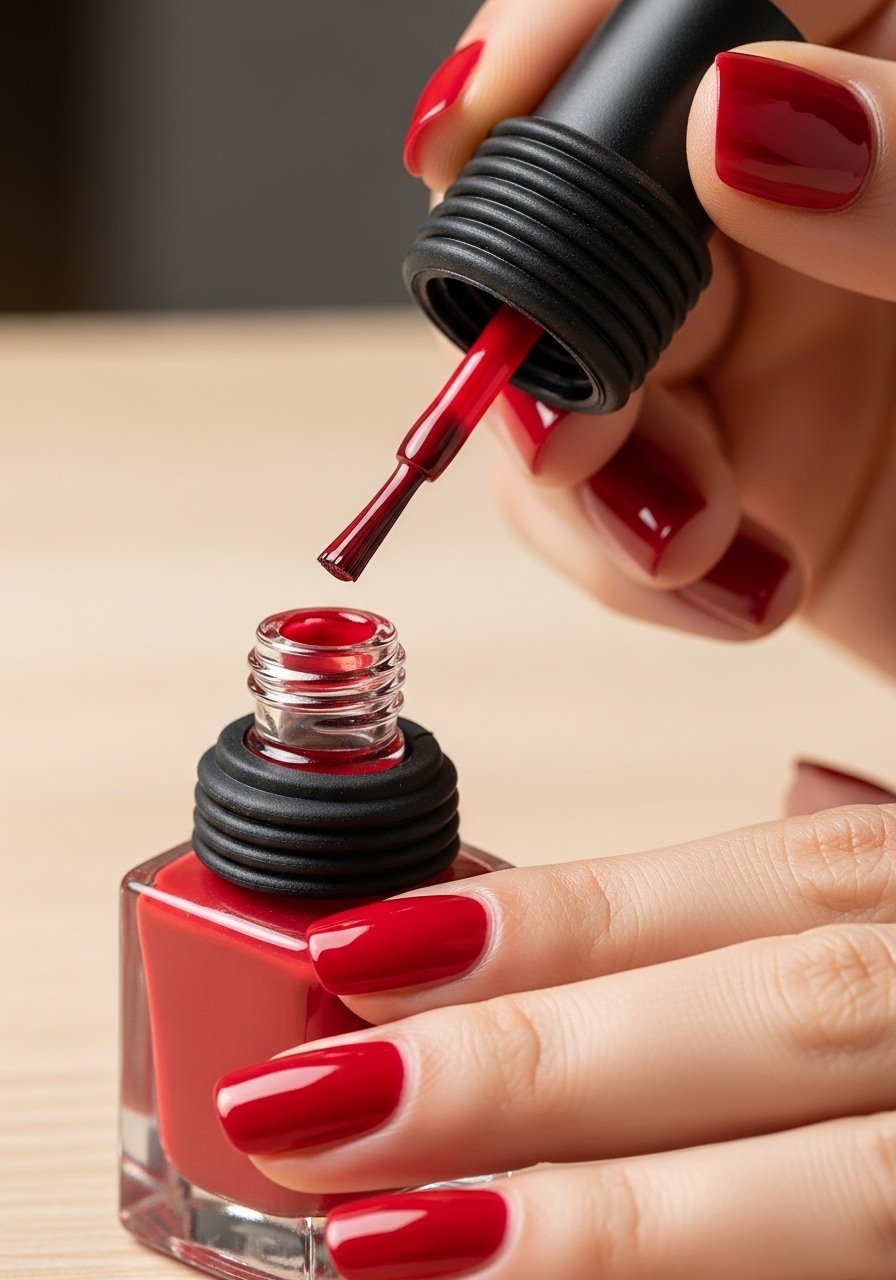
10. Slick Short-Nail Opacity Hack
Style/Vibe: Bold, neat coverage
Best For: Short nails, opaque colors
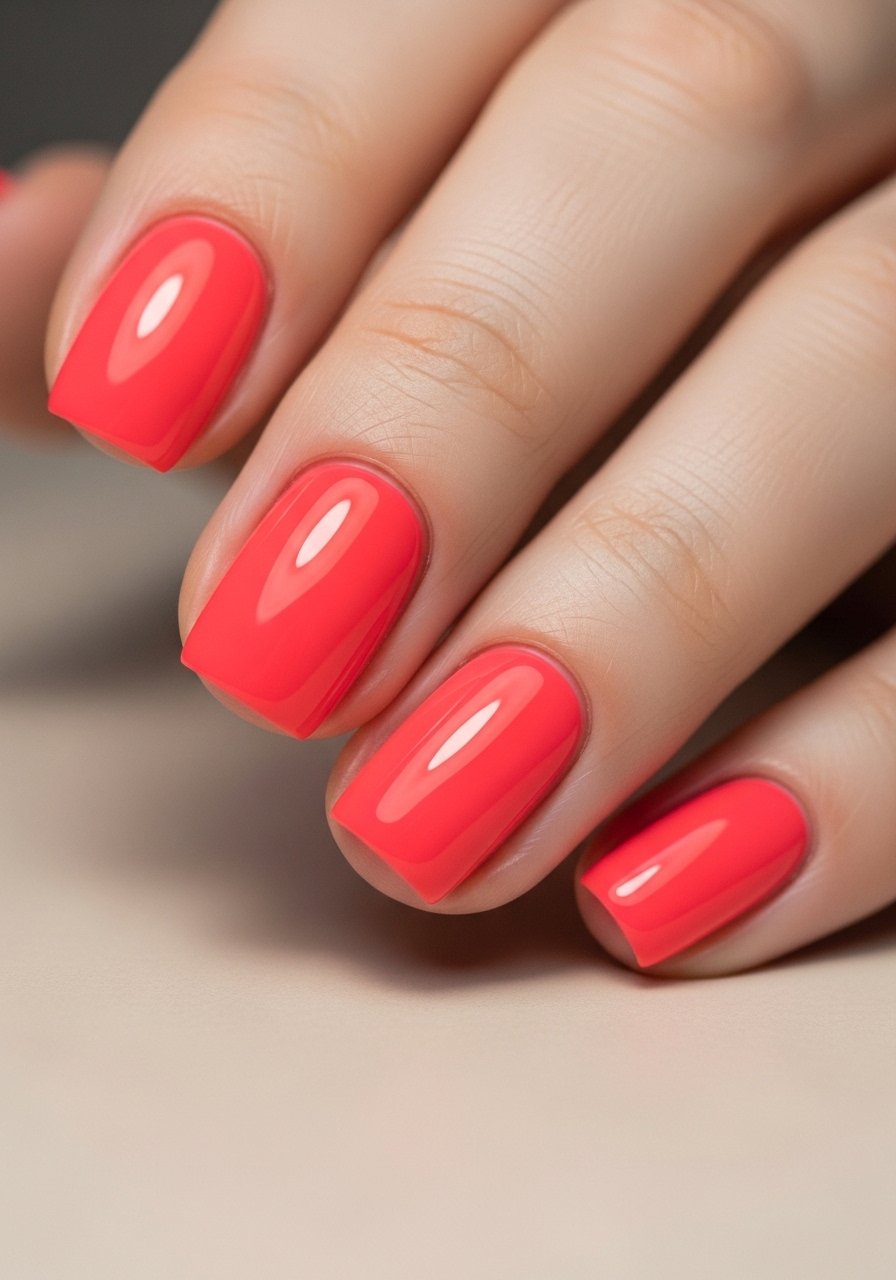
Short nails look more polished with a slightly thicker second coat in the center only, then feather to the sides. It gives opacity without flooding cuticles. I do center-heavy application using a nail-polish-set that has pigments I trust. This trick made my short nail manis look professional, especially with red and navy shades.
Mistake to Avoid: Layering three full-thickness coats thinking more equals better; it often wrinkles.
11. Use a Silicone Mat for Polish Mixing
Style/Vibe: Playful, experimental
Best For: Mixing custom shades, glitter placement
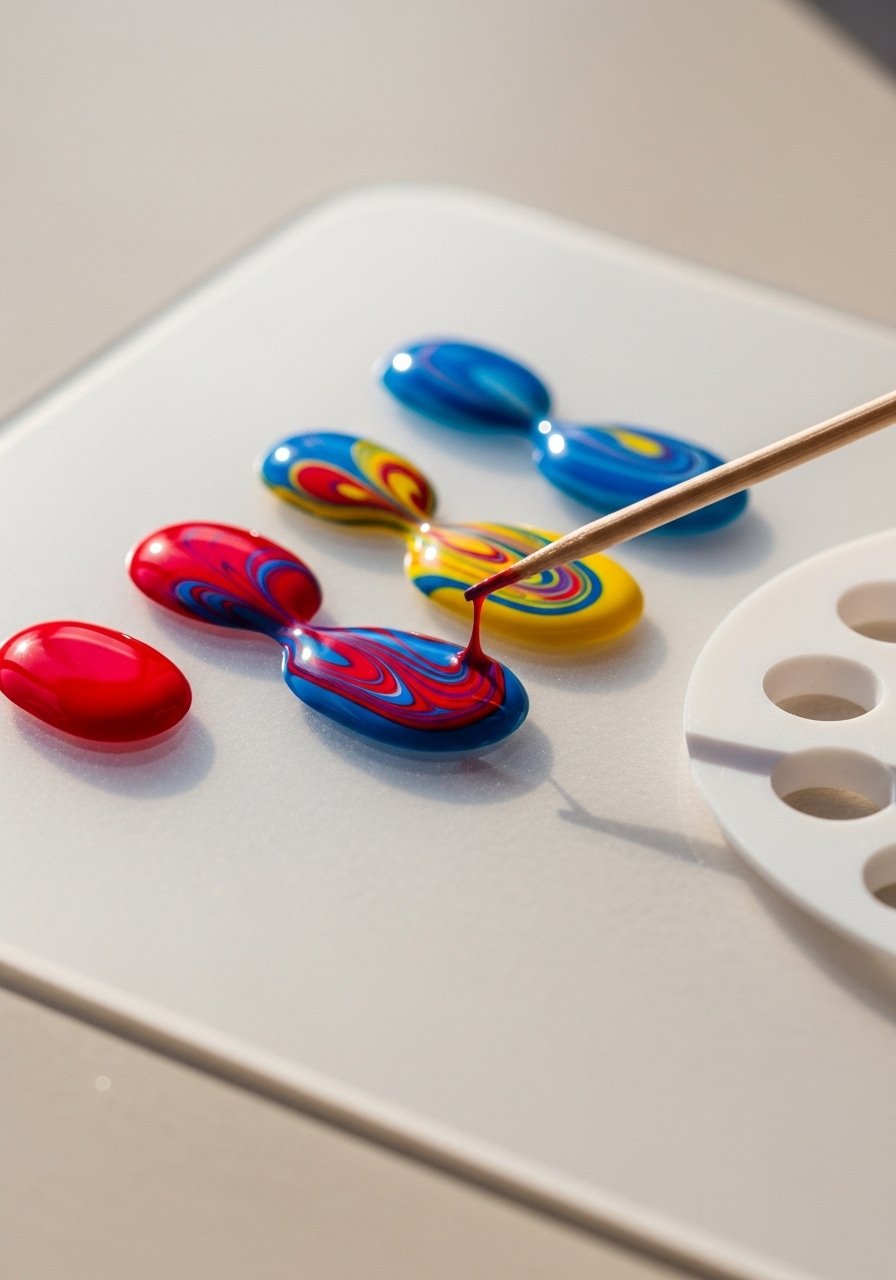
When I want to mix colors or press glitter into place I use a silicone mat. It’s nonstick, easy to clean, and I can dab a little polish back into the bottle if needed. I pair that with nail-art-brush-set for precision. This setup encouraged me to try gradients at home instead of ordering salon appointments.
Mistake to Avoid: Mixing directly over paper towels, which soaks up polish and makes a mess.
12. Thin Glitter with Clear Polish
Style/Vibe: Controlled sparkle
Best For: Glitter gradients, touch-ups
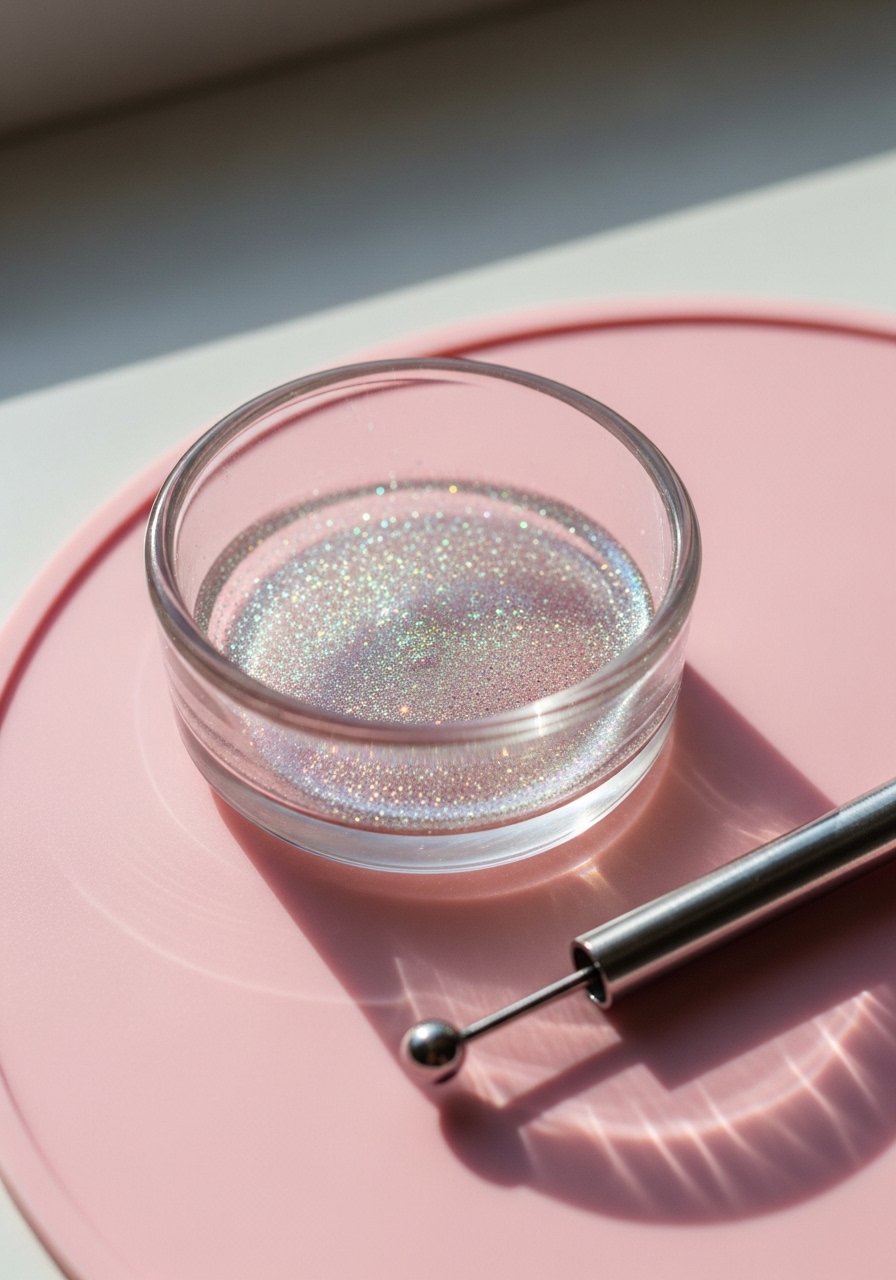
Glitter bottles can be dense, so I mix a bit of glitter into clear polish on my mat, then apply with a dotting tool for placement. It lets you control coverage without clumps. I keep dotting-tools and clear-polish handy. Once I started doing this my glitter manis looked intentional rather than accidental.
Mistake to Avoid: Shaking glitter bottles vigorously right before painting, which creates bubbles.
13. Use Tape for Crisp Stripes
Style/Vibe: Graphic, modern lines
Best For: Accent nails, French alternatives
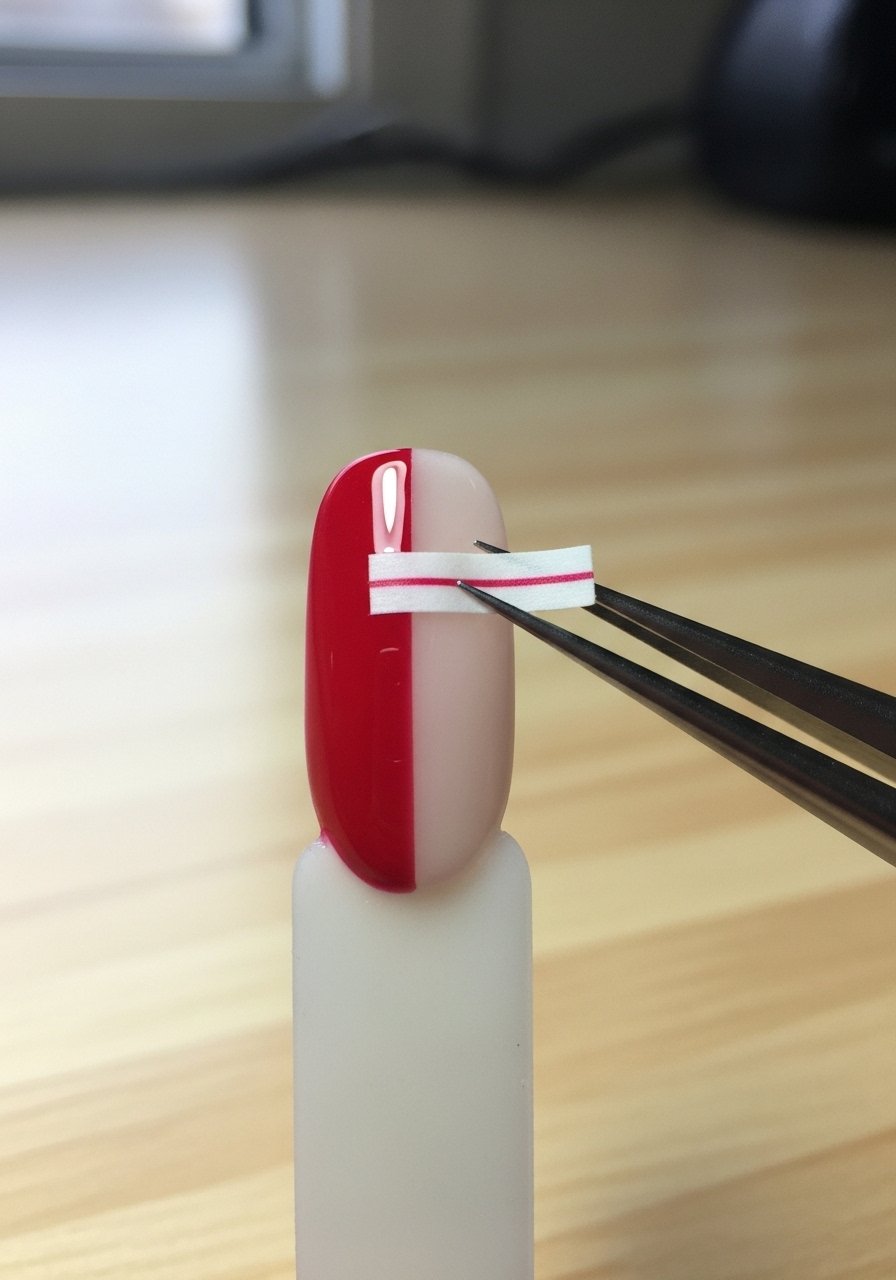
Striping tape is a cheap shortcut to razor-sharp lines. Paint your base, let it dry, apply tape, then paint the accent color and peel while wet. I use nail-striping-tape and thin tweezers for placement. I tried a freehand version first and it looked amateur. Tape saves time and gets consistent results across both hands.
Mistake to Avoid: Removing tape after the top coat dries; it pulls polish up. Peel tape while the color is still wet.
14. Quick Dry with Cool Air
Style/Vibe: Fast, practical
Best For: Final drying, preventing dents
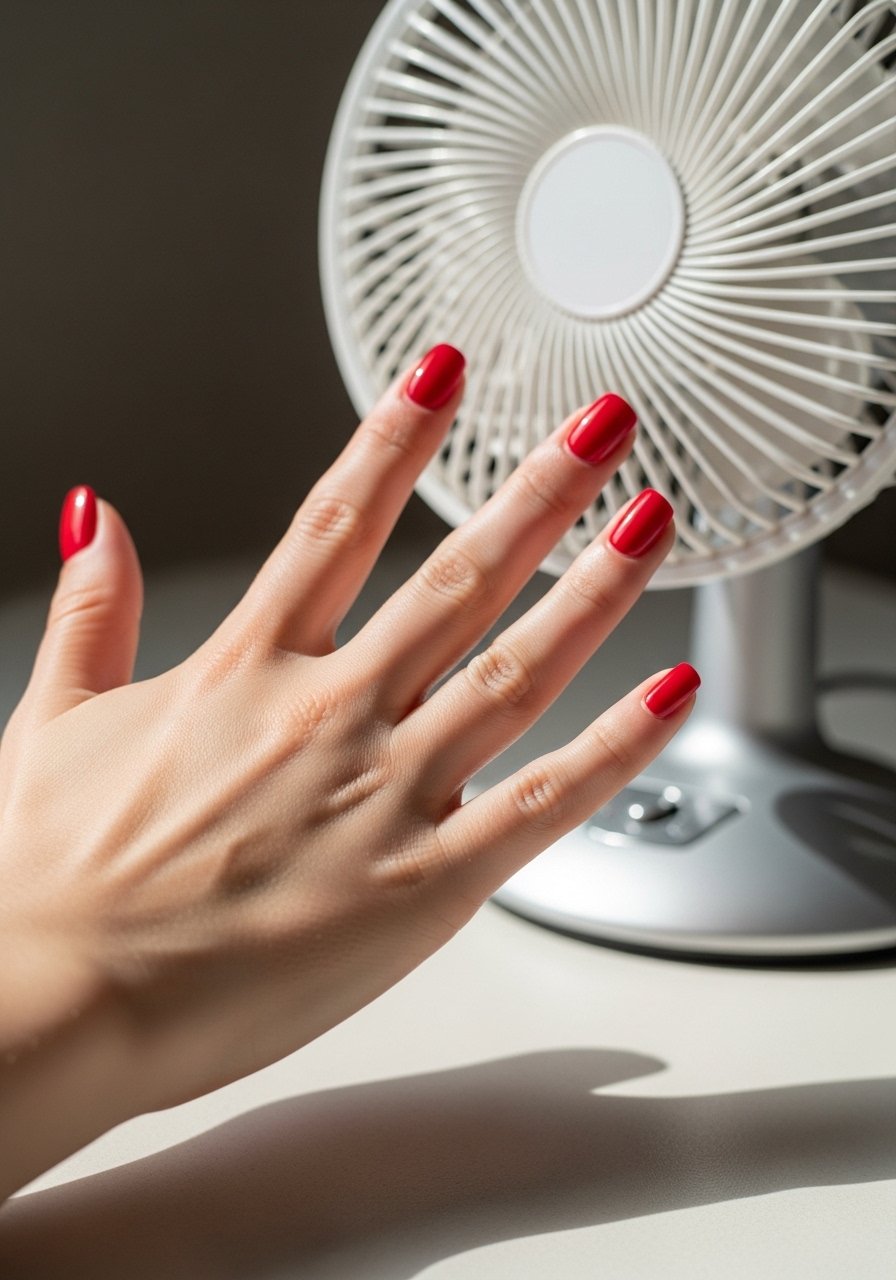
Cool air speeds hardening without blowing dust into the polish. I learned that warm air can actually leave ridges, so I use a small fan or low-cool setting on a hairdryer for two minutes. It cuts dry time and reduces smudging when I need to get out the door. A cheap small-fan works great.
Mistake to Avoid: Using hot air close to nails, which softens and dents polish.
15. Alcohol Swipe Before Top Coat
Style/Vibe: Adhesive-free shine
Best For: Smooth gloss, long wear
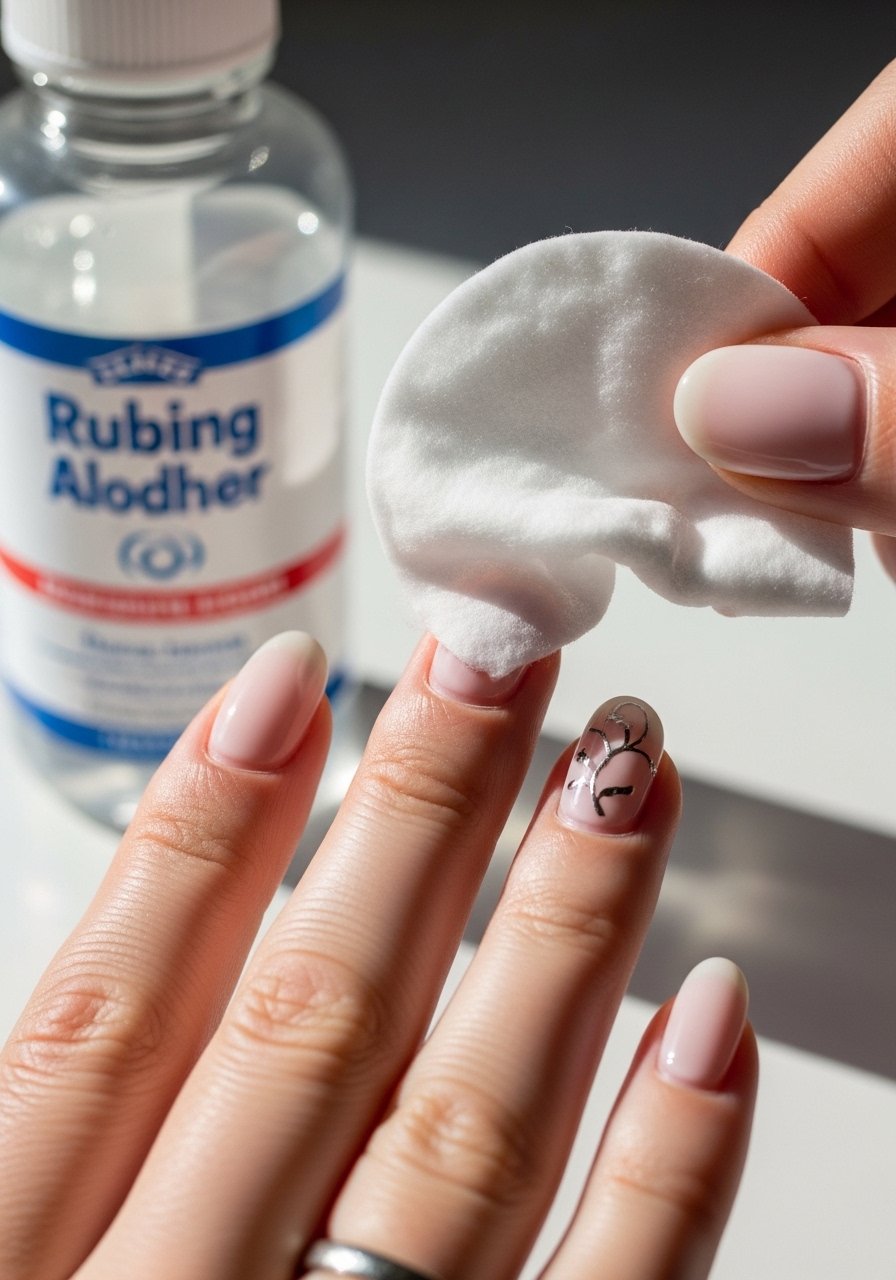
A quick 70% alcohol swipe removes oils and microscopic dust that prevent top coat adhesion. I do this just before my final layer and the top coat smooths out beautifully. I keep alcohol-wipes handy in my nail kit for this. It took me two weeks of testing to trust this step, but it improved gloss and longevity noticeably.
Mistake to Avoid: Using lotion before top coat, which traps oils and causes peeling.
16. Freeze for Bubble Reduction
Style/Vibe: Smooth, bubble-free finish
Best For: Quick fixes, sensitive formulas
I sometimes put a freshly shaken bottle in the freezer for five minutes to calm bubbles. It sounds odd, but it helps settle tiny air pockets before application. Don’t freeze for too long; just five minutes is enough. If a polish is consistently bubbly I switch to a different brand or use nail-polish-thinner instead.
Mistake to Avoid: Leaving bottles in the freezer until they freeze solid, which ruins consistency.
17. Practice Dominant Hand Strokes on Paper
Style/Vibe: Low-stakes practice
Best For: Improving weak-hand control
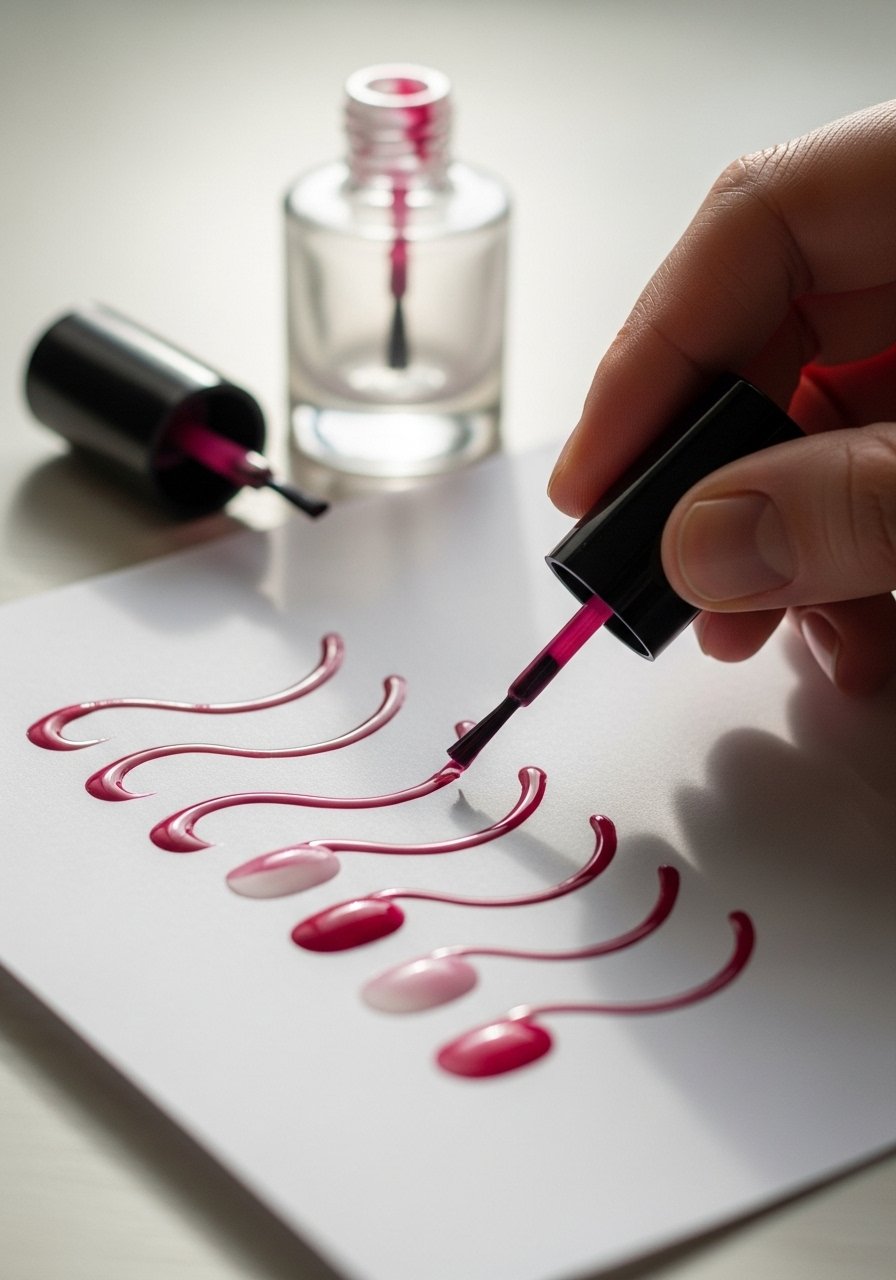
My non-dominant hand used to be a disaster, so I practice strokes on paper shaped like nails. It helps build muscle memory without wasting polish. After a few sessions I paint better on my left. I recommend a cheap nail-polish-set for practice so you do not waste favorites.
Mistake to Avoid: Practicing on your nails first and wasting time repainting.
18. Use Cuticle Oil Daily, Not Just After Manis
Style/Vibe: Healthy, well-kept nails
Best For: Dry cuticles, brittle nails
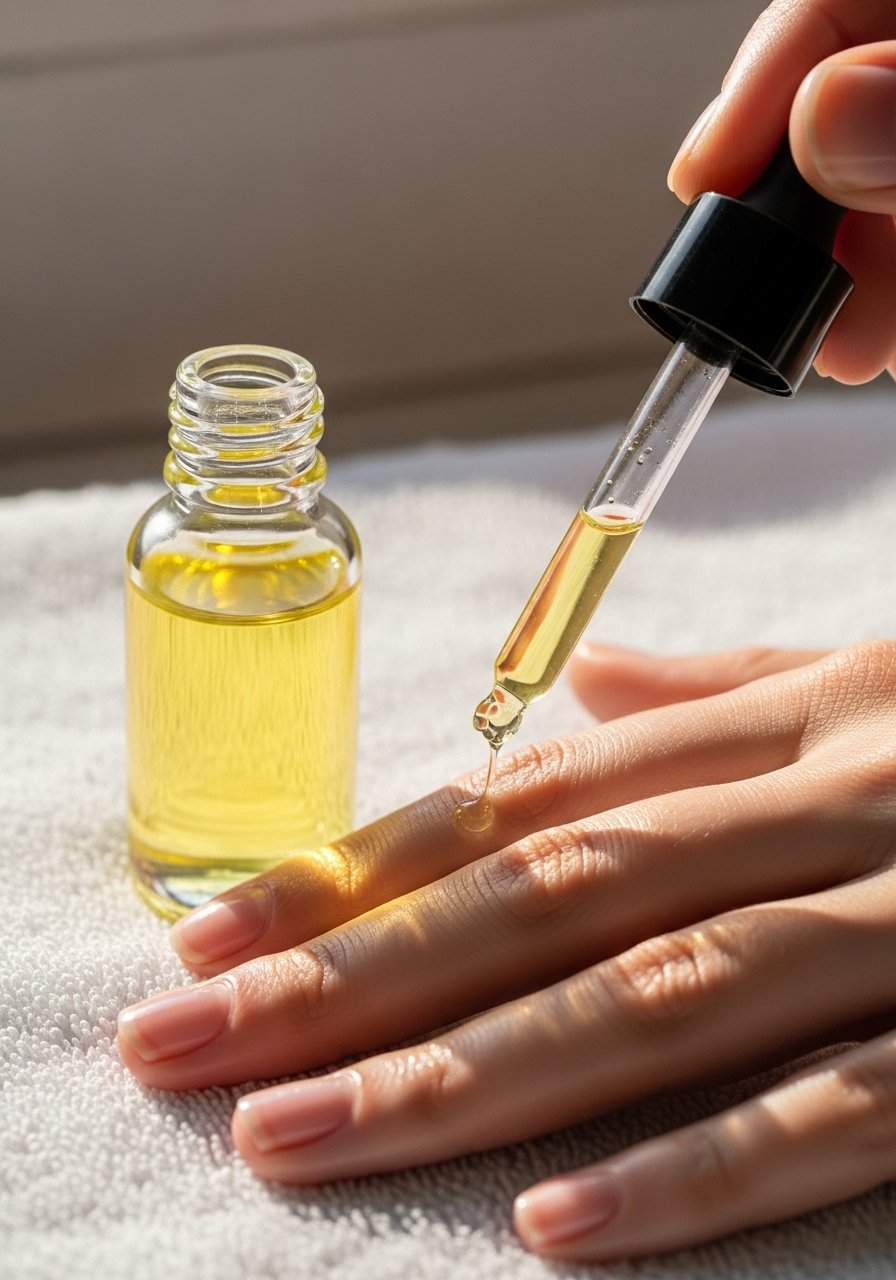
Applying cuticle oil daily softens skin and prevents polish from lifting at the edges. I do mine every night while watching a show. Over months I noticed nails stopped splitting and polish held longer. I use a small pen of cuticle-oil for convenience and keep a bottle by my desk.
Mistake to Avoid: Skipping oil when you paint on the same day; the oil needs time to absorb.
19. Use a Fine Brush for Cleanups
Style/Vibe: Tidy, precise finish
Best For: Redoing edges, polish cleanup
Instead of scraping, I dip a fine brush in remover for clean edges, it’s precise and saves the skin. A small angled-brush works better than cotton swabs for detail. This method feels delicate and professional and I reach for it when a line looks too thick. It took a handful of messy tries to get steady, so be patient.
Mistake to Avoid: Rubbing aggressively with cotton, which removes too much polish.
20. Staggered Drying for Busy Schedules
Style/Vibe: Practical, flexible routine
Best For: Short chunks of time, weeknight manis
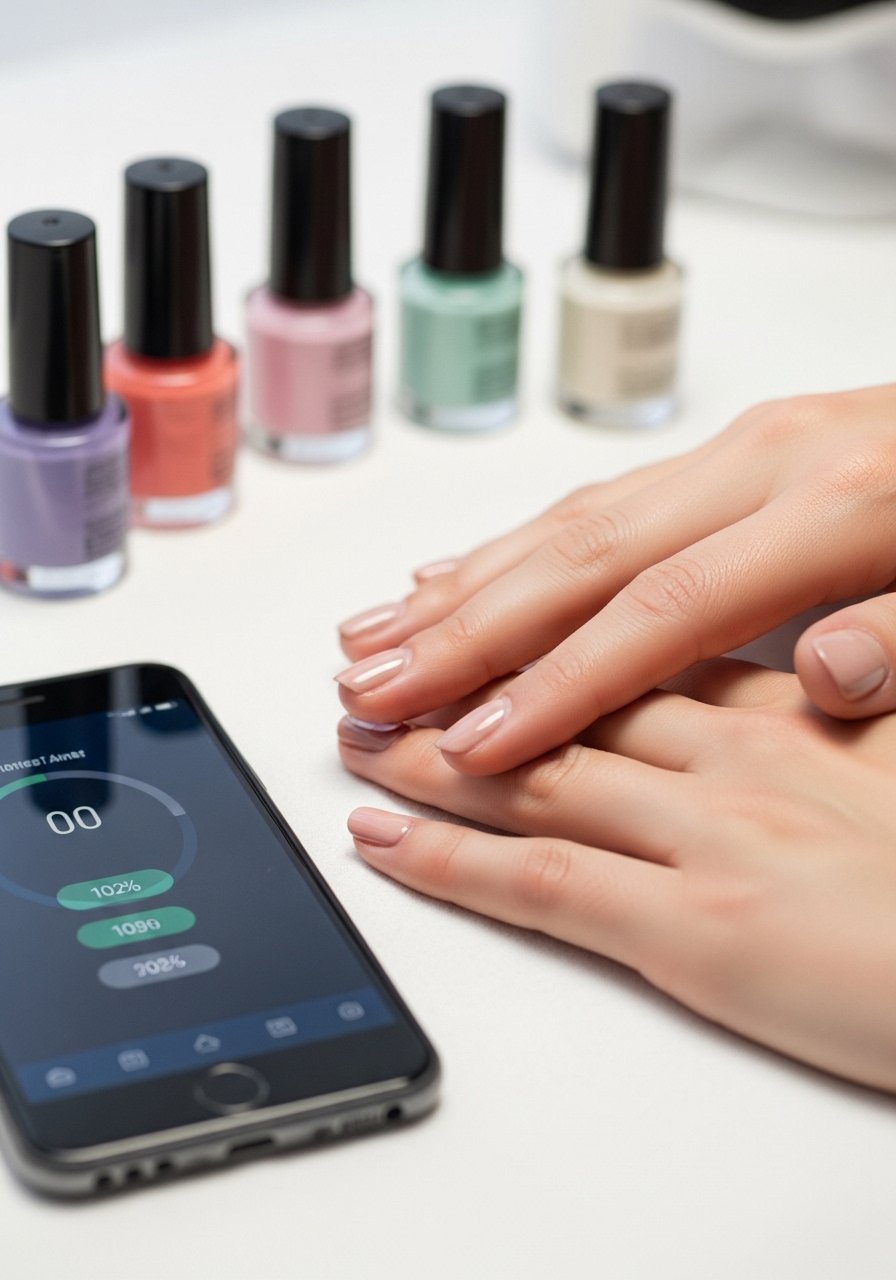
When I only have 15 minutes, I paint one hand and let it dry, then the other. It feels slower but reduces smudges since you are not working on wet polish. I time 90 seconds between coats using my phone timer. A quick fast-dry-top-coat at the end seals the deal when I finally have five minutes to spare.
Mistake to Avoid: Painting both hands completely wet and expecting them to dry without smudges.
21. Glue-On Accent for Instant Length
Style/Vibe: Polished, temporary length
Best For: Events, instant change without salon visit
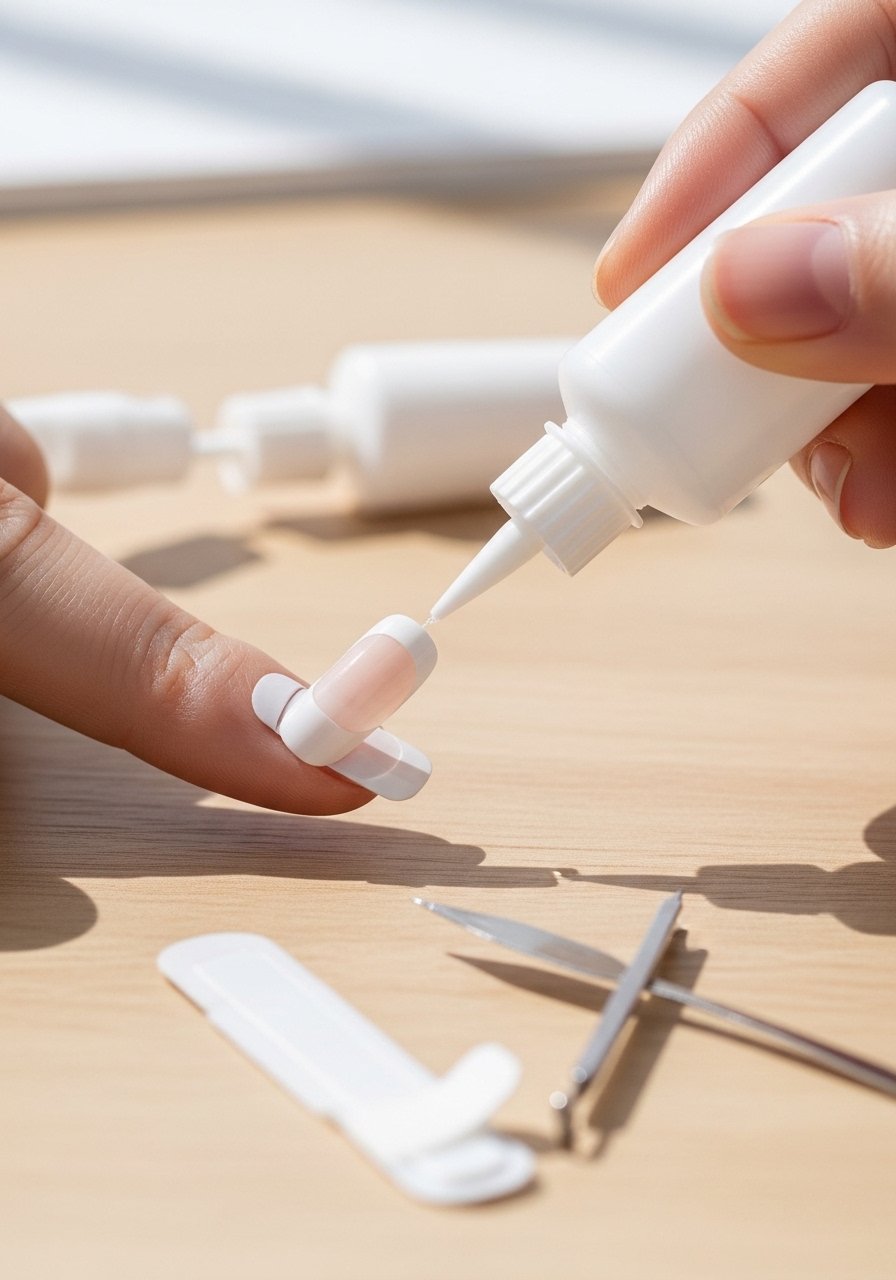
When I need length fast I use single press-on accents glued to one or two nails. Paint over them to match and no one notices. I keep press-on-nails and adhesive tabs for quick events. It is cheaper than a salon and gives me a useful preview of longer nail shapes.
Mistake to Avoid: Using nail glue on the whole hand and forgetting it’s hard to remove later.
22. Salt Soak to Prep for Polish Removal
Style/Vibe: Gentle, restorative care
Best For: Sensitive skin, removing polish after long wear
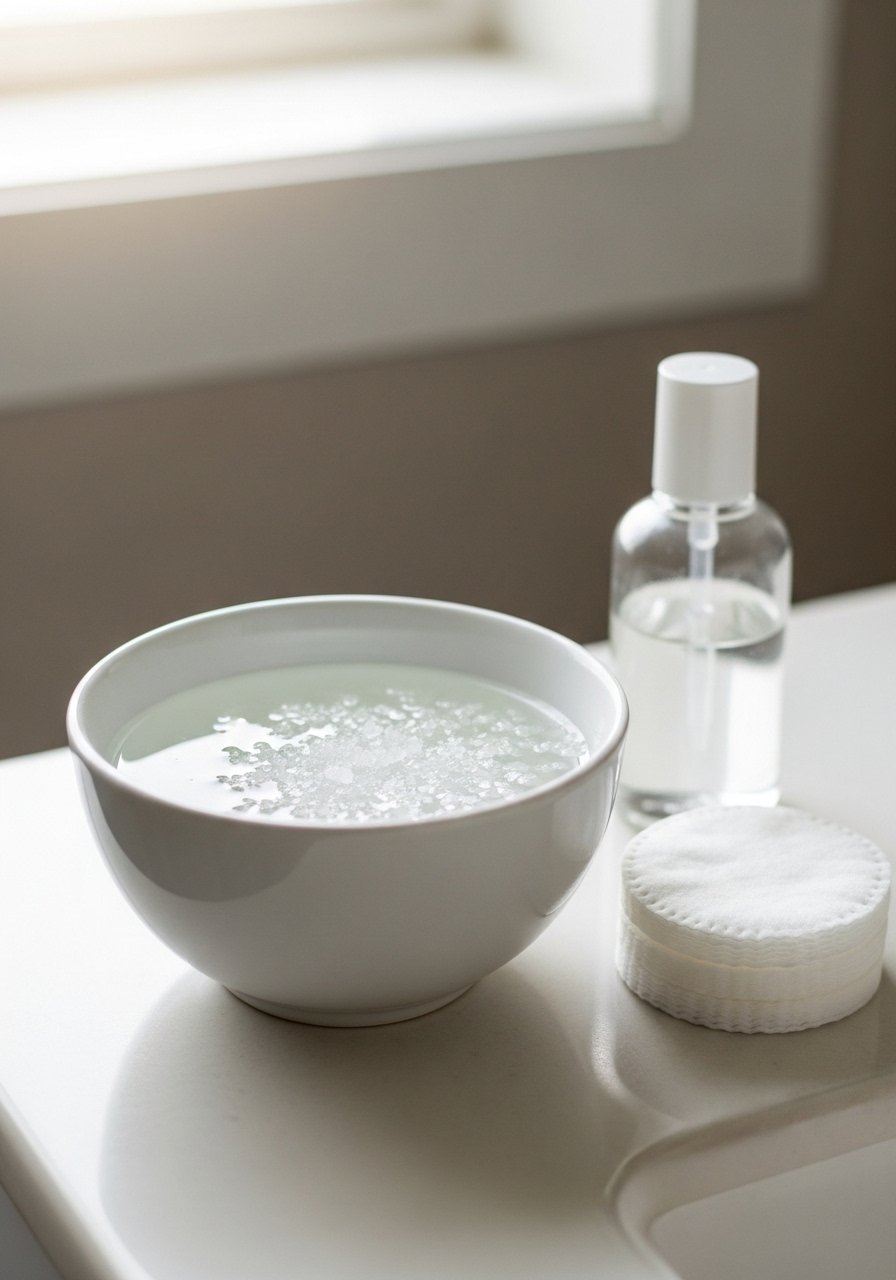
If nails feel dry after wear, a warm salt soak softens the skin and lifts polish edges for easier removal. I soak for five minutes, then use acetone-nail-polish-remover sparingly. This saved my cuticles from aggressive scraping after a festival week when my nails were full of layered glitters.
Mistake to Avoid: Scraping at polish immediately without softening; it tears skin and nail layers.
23. File in One Direction to Prevent Splits
Style/Vibe: Strong, neat nail edge
Best For: Weak or layered nails
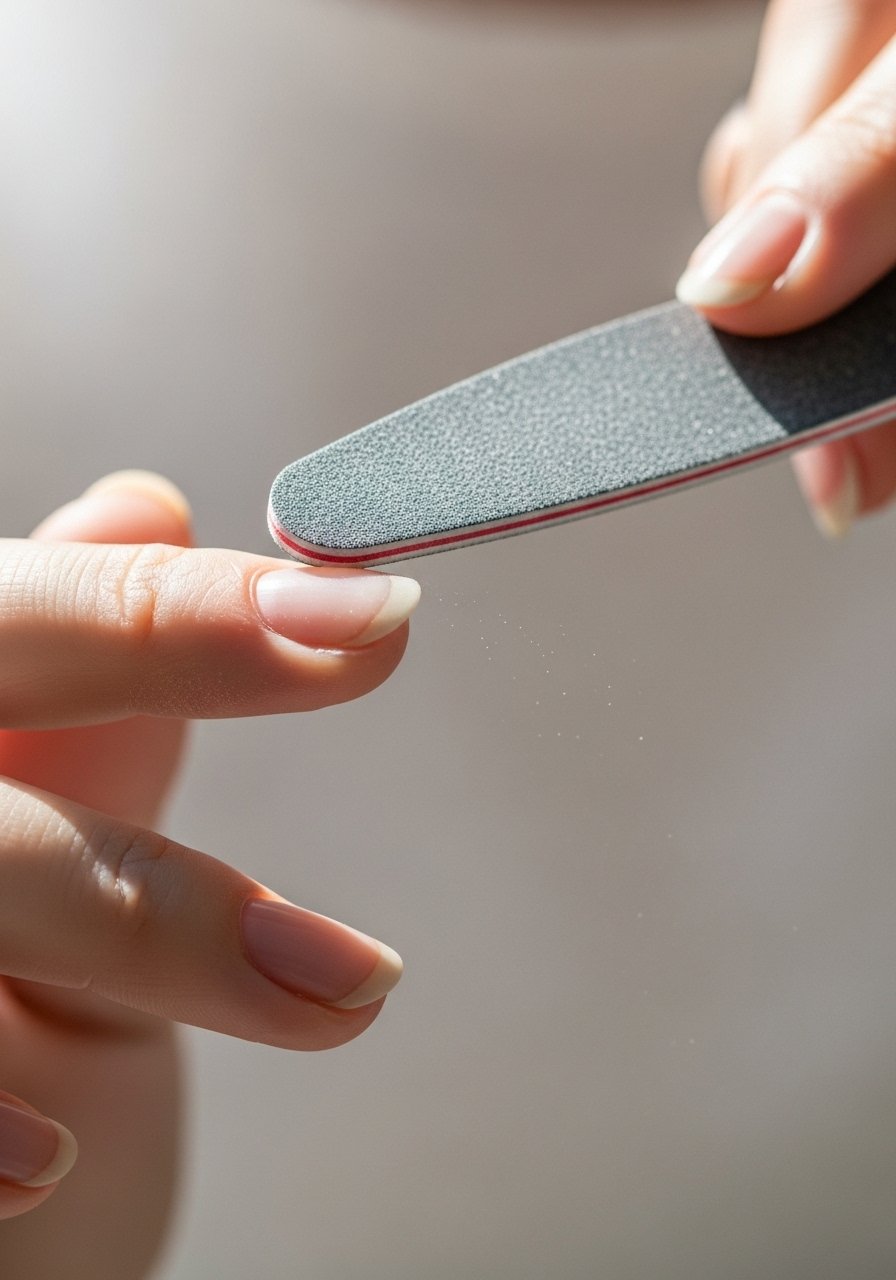
I file in one direction only, from the outside edge toward the center, to avoid weakening the nail. Back-and-forth sawing creates microtears that lead to splits under polish. A glass file like glass-nail-file feels gentler and gave my nails fewer snags after a month of consistent use.
Mistake to Avoid: Filing back and forth aggressively, which causes peeling and splits.
Nail Tips
Top Tip: Let each coat breathe for 60 to 90 seconds, then seal with a thin top coat, try fast-dry-top-coat for speed.
Tool Tip: Keep a small brush and acetone-nail-polish-remover for precise cleanup instead of heavy scrubbing.
Care Tip: Use cuticle-oil nightly, I saw real improvement in nail flexibility within weeks.
Practice Tip: Improve your weak hand by painting nail-shaped paper, then translate strokes to nails, using a cheap nail-polish-set for practice.
Quick-Fix Tip: Keep clear-polish for emergency chips, a dot blends surprisingly well.
