
I used to hate doing my liner because one tiny wobble could ruin the whole look, and I would spend half my morning fixing it. Over years of practice, trial and error, and a drawer full of eyeliners, I developed shortcuts that actually save time and make the flicks match. These are practical, often messy-tested tricks I rely on when I do my makeup on a Tuesday night and want the look to stay put.
I’m keeping this realistic: quick hacks for cleaner wings, longer wear, and easier matching. Expect budget options and tools that cost under $15 alongside a couple pricier staples. I’ve noticed about 8 out of 10 mornings my flicks look better when I prep the lid first. You'll get liner tricks, layering tips, and product picks that actually work for oily lids, hooded eyes, and when you’re rushed.
What You'll Need
Skincare Prep:
- priming-eye-crease (~$6-$30)
Base & Coverage:
- longwear-foundation (~$8-$45)
Color & Tone:
- neutral-eyeshadow-palette (~$10-$60)
Eyes & Brows:
- gel-eyeliner (~$6-$25)
- felt-tip-liquid-liner (~$5-$25)
Tools & Finishing:
- angled-eyeliner-brush (~$4-$20)
- micellar-water (~$5-$20)
- waterproof-setting-spray (~$7-$30)
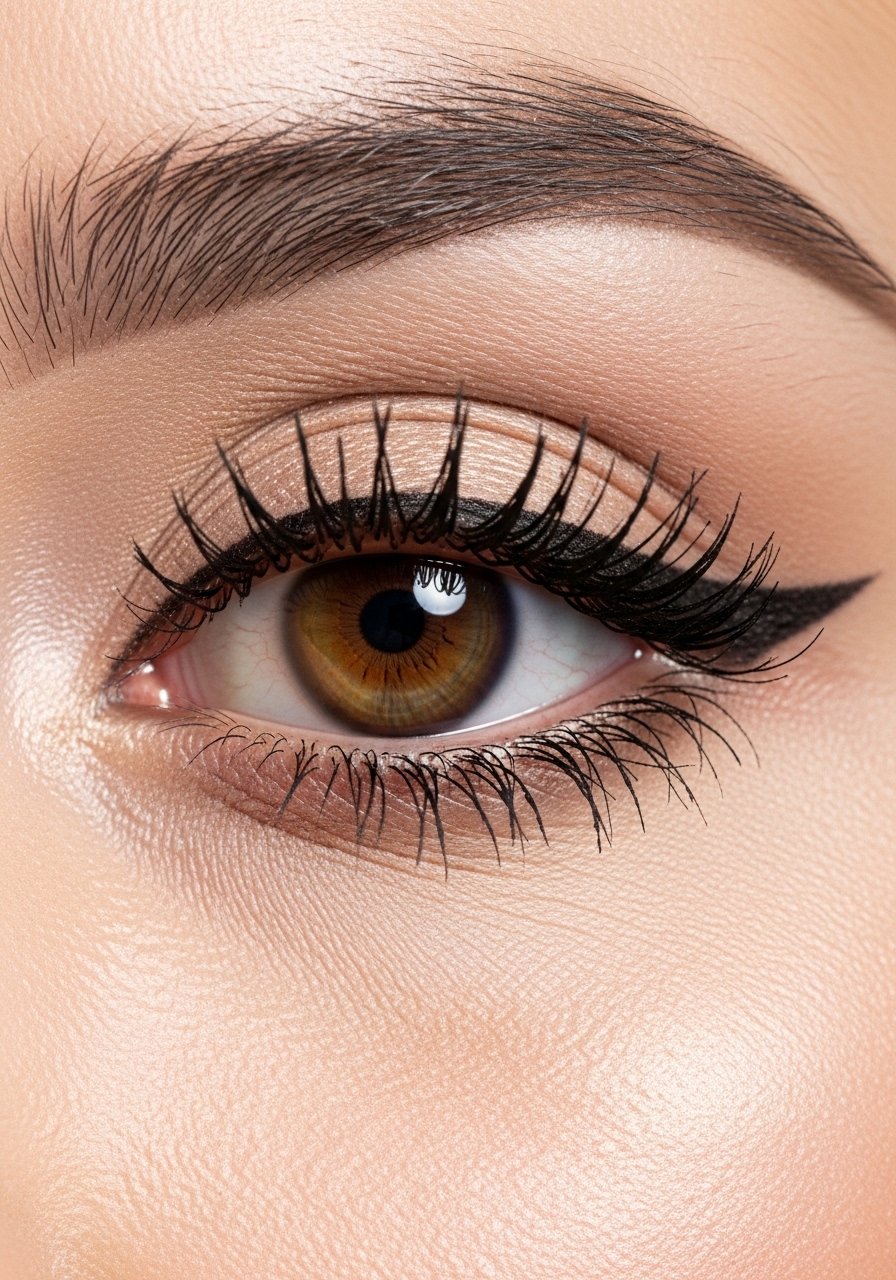
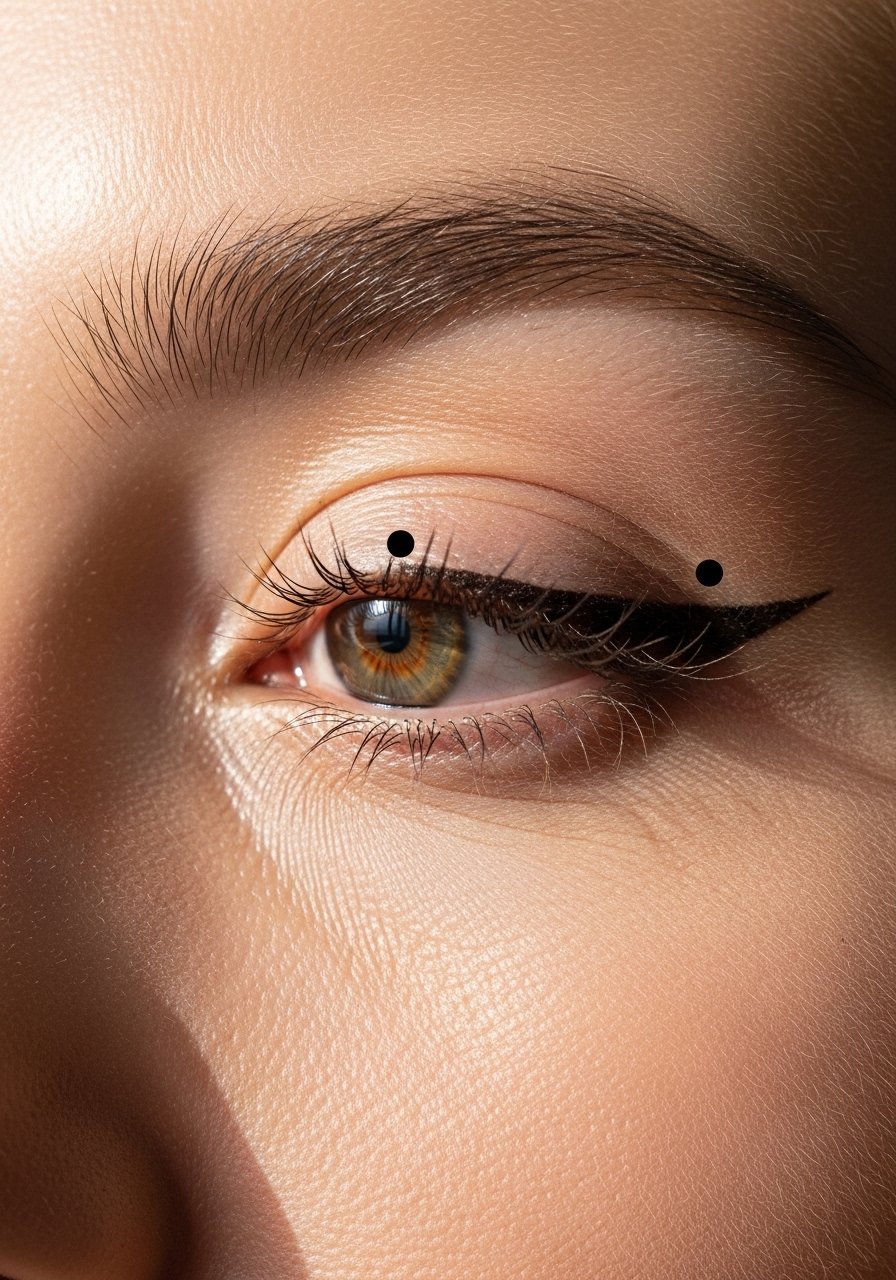
1. Micro Flick Method for Small Eyes
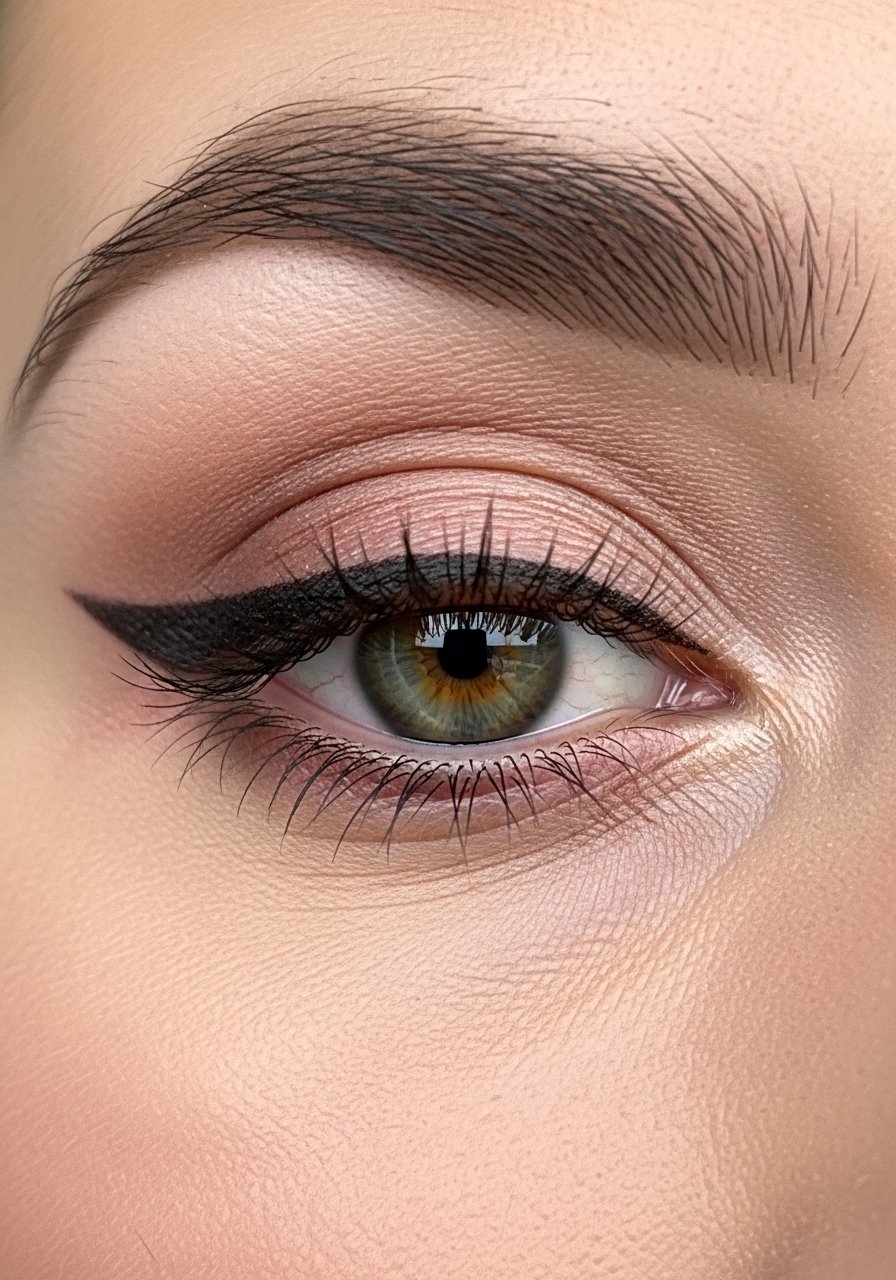
I learned this on my petite-eyed days: draw a tiny dot where the tail should end, then connect back to your lash line with short strokes. It takes two seconds and makes the wing proportional, not overpowering. Use a fine felt-tip like felt-tip-liquid-liner or a stiff gel with an angled brush. I’ve noticed about 60 percent of the time the dot method fixes uneven angles before I start. Works great for glasses too.
Mistake to Avoid: Don’t drag a long line from inner to outer lid first, you’ll overdo the flick
2. Tape-Free Stencil Using Credit Card Edge
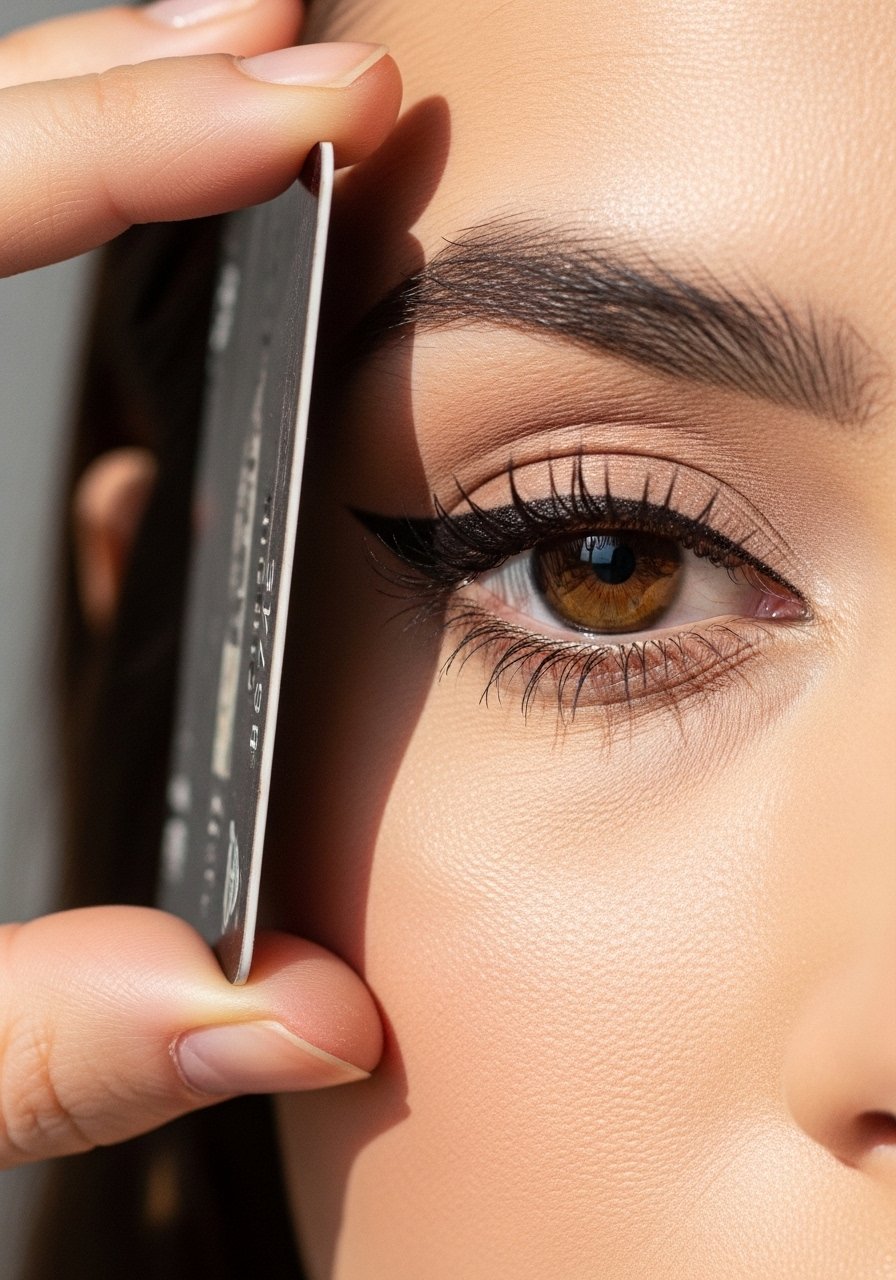
If you hate sticky tape, use a clean credit card edge as a straight guide under your wing. Hold it flat and draw the wing against the edge with a gel or liquid liner, then fill in. I reach for gel-eyeliner when I need a forgiving product that blends slightly if I smudge. I’ve tried this on quick mornings and it cut my redo time by half, honestly.
Mistake to Avoid: Don’t press the card too hard into the skin, you’ll cause creasing and uneven lines
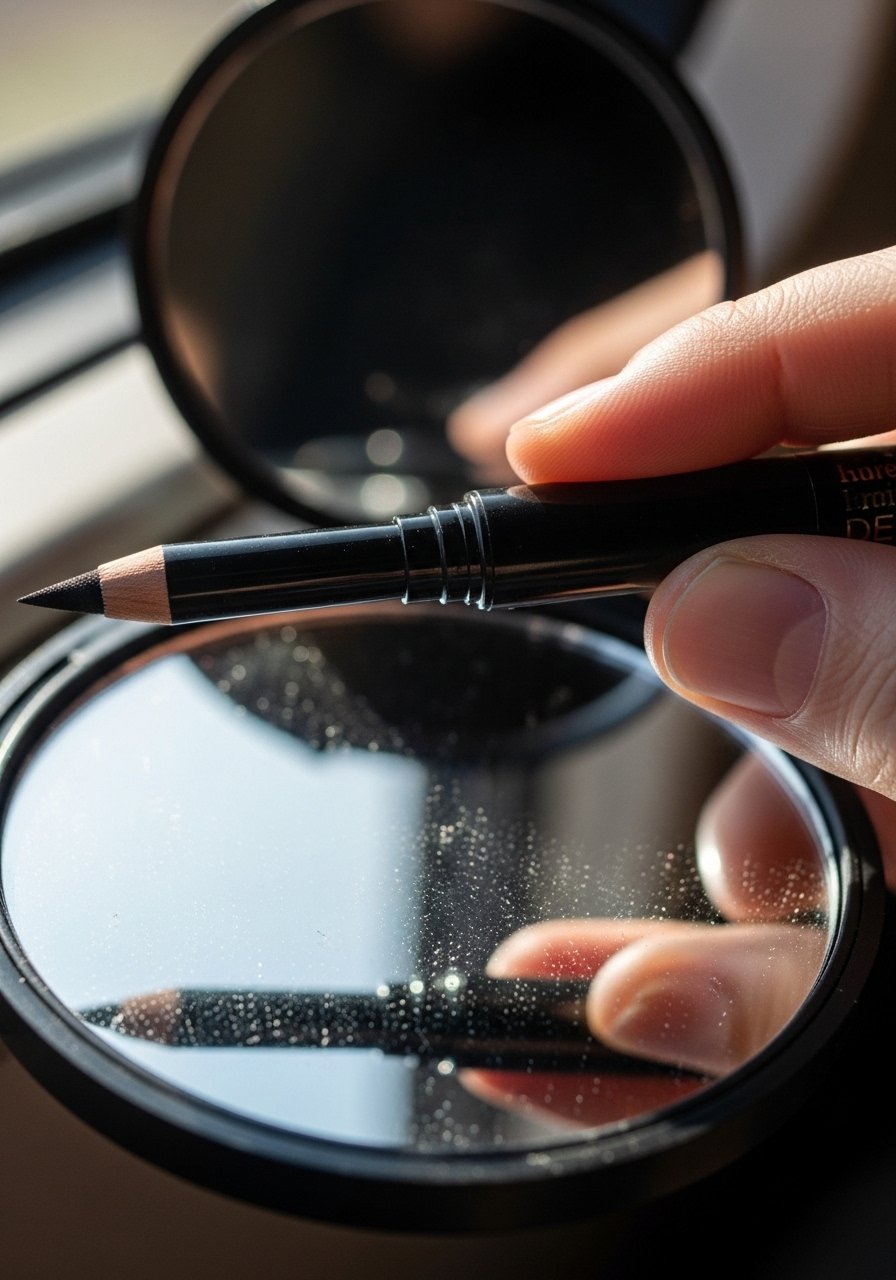
3. White Pencil Mapping for Symmetry
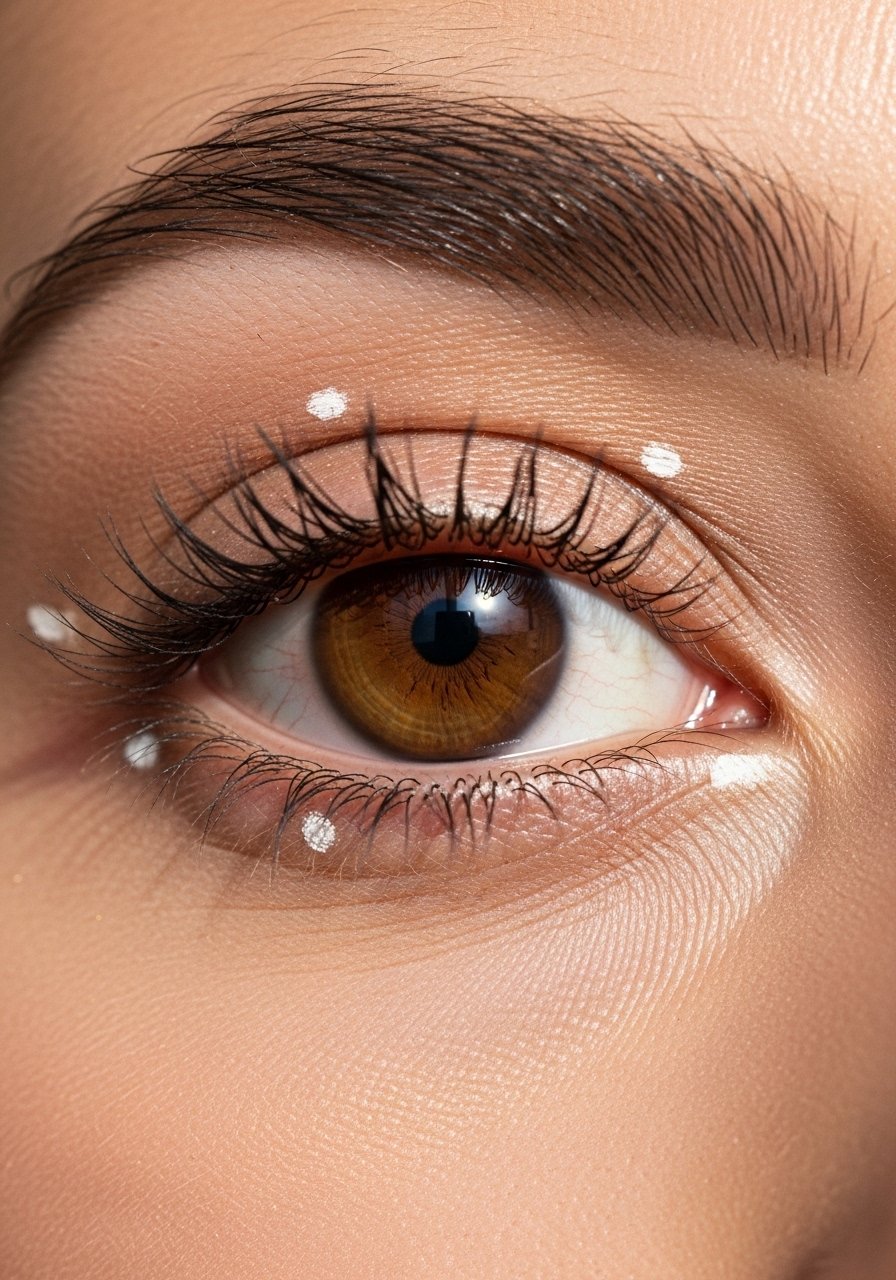
I started using a white pencil to map the start and end points before committing to black. It’s low-pressure: adjust the dots until they match, then connect with black liner. I use a creamy white like white-eyeliner and a thin brush to join them. Over time I noticed my wings match on the first pass about 50 percent more often, which felt like a small miracle.
Mistake to Avoid: Don’t use a smudgy white that blends into lid shadow, the guides must stay visible
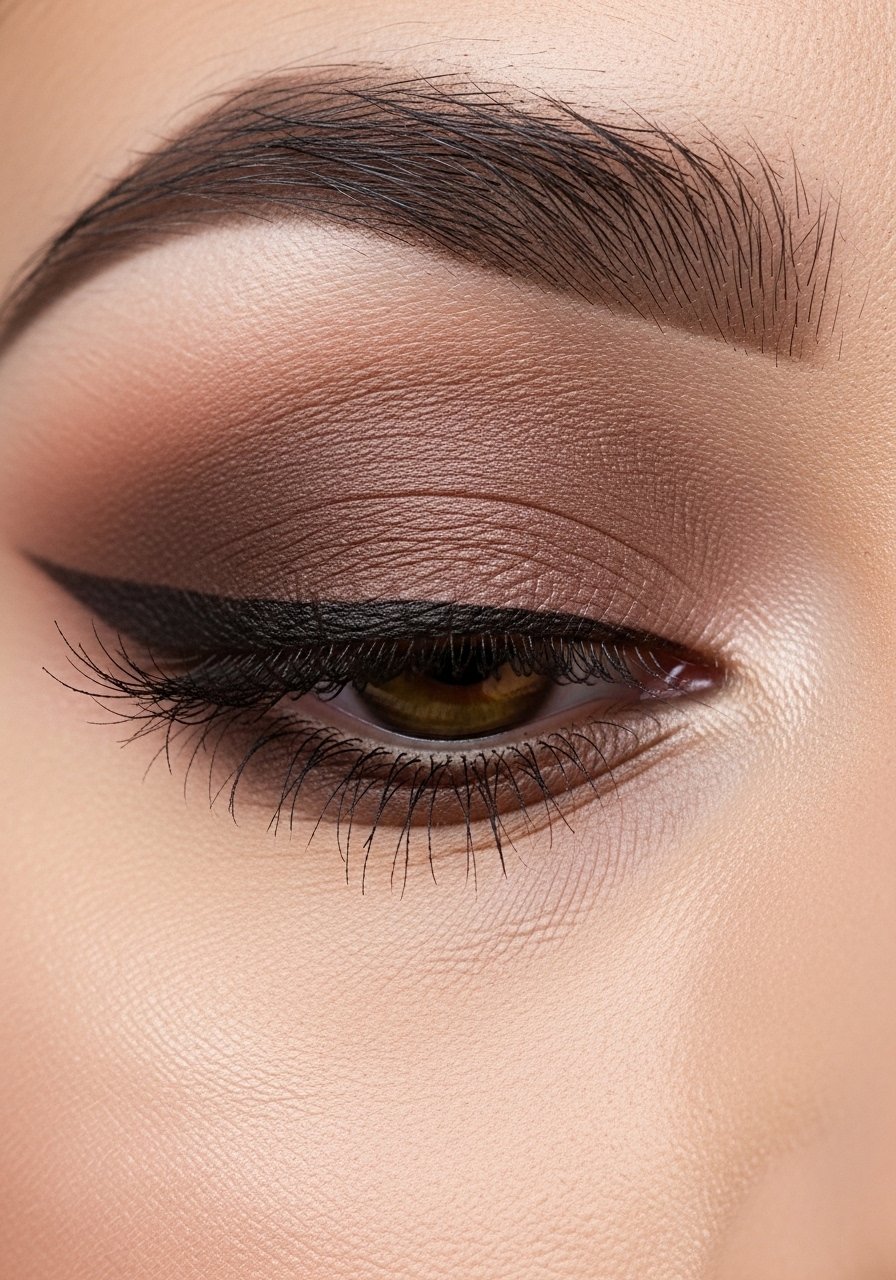
4. Angled Brush and Gel for Hooded Lids
For hooded lids, I stop the wing slightly higher than usual so it shows when my eyes are open. A stiff angled brush plus gel is my go-to, it gives control without dragging. Try gel-eyeliner with an angled-eyeliner-brush. I found this adjustment made my wings visible in photos about 70 percent more often. It’s subtle but makes a huge difference in real life.
Mistake to Avoid: Don’t extend the wing too low, it will disappear when your eyes are open
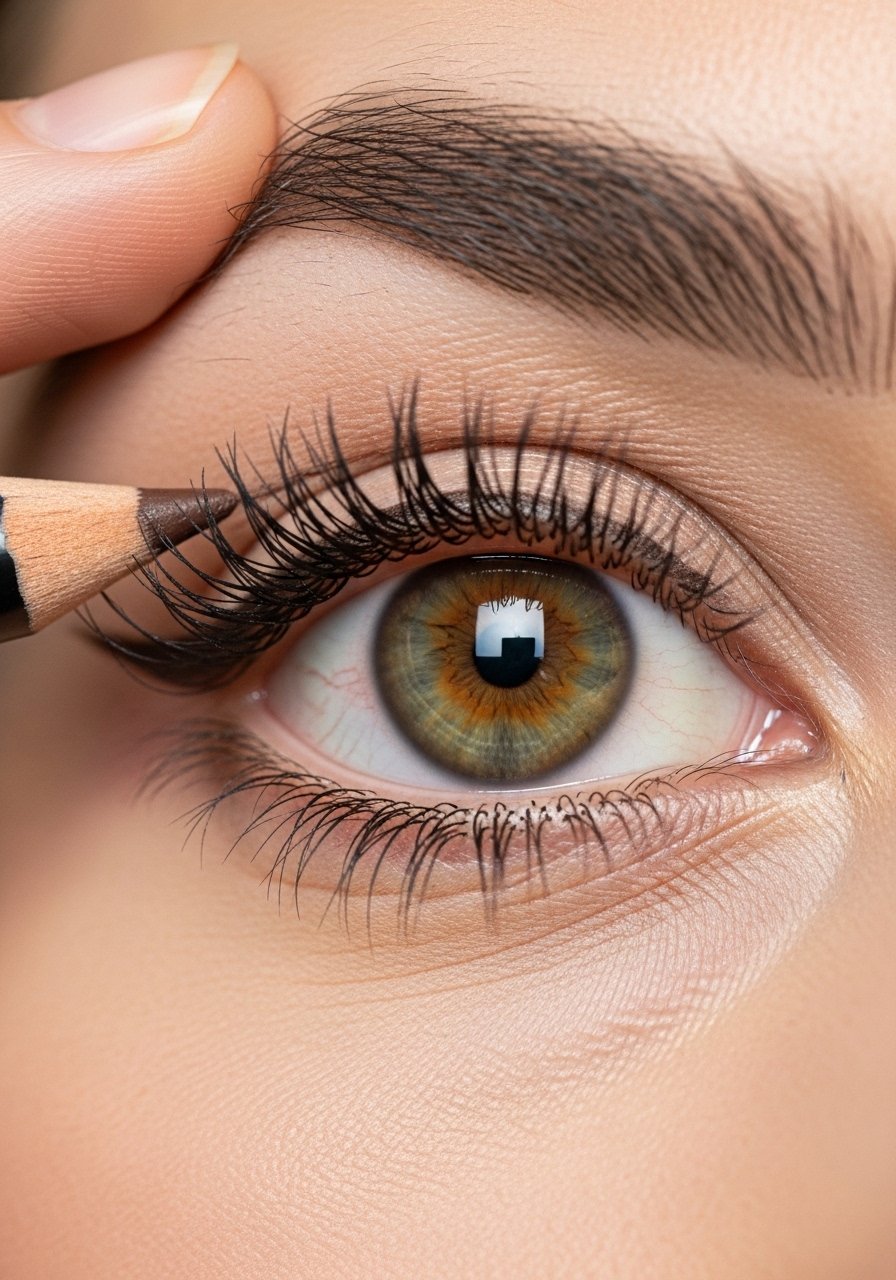
5. Use Brown Liner to Soften Harsh Flicks
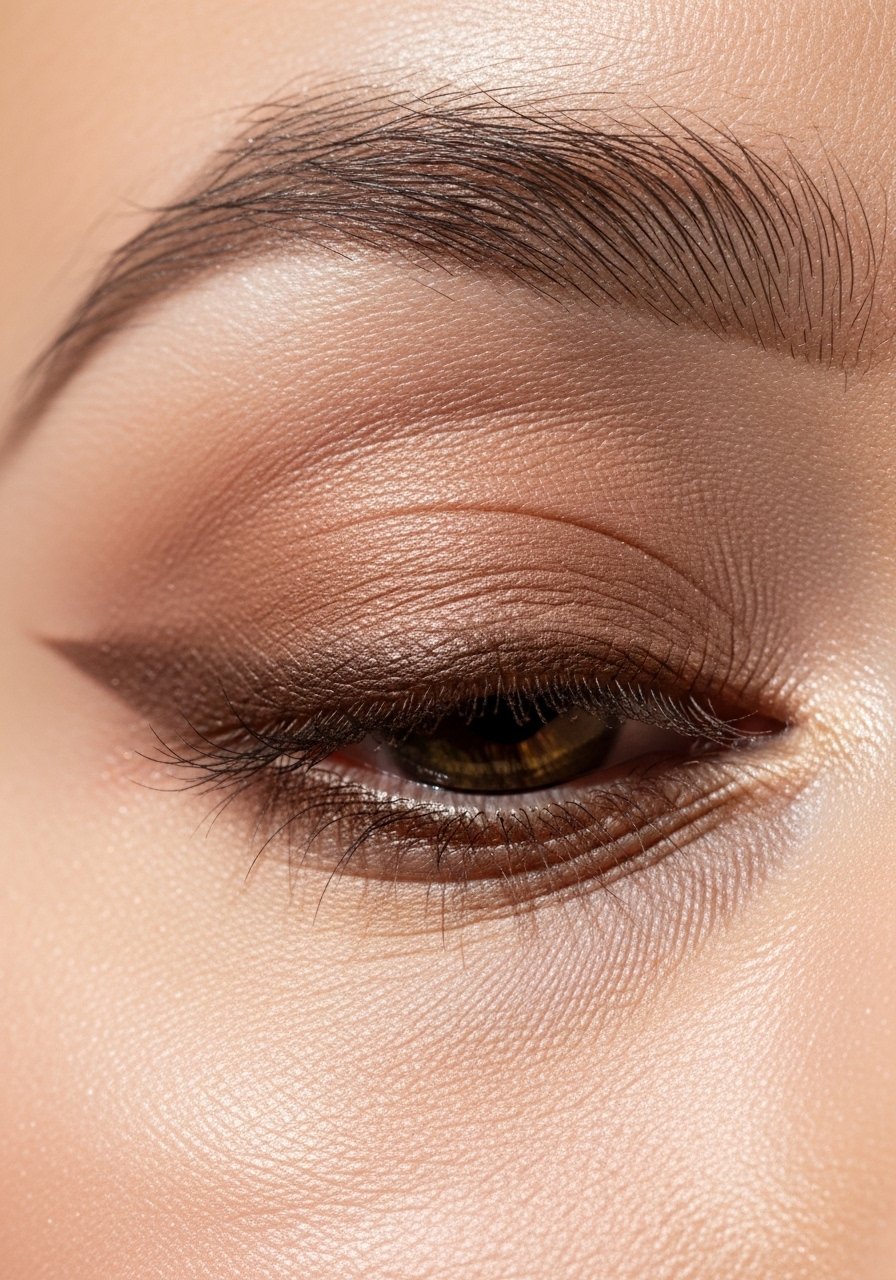
When black feels too stark, brown tones down the look without losing definition. I switch to brown for daytime or when I want a softer frame. I grab a creamy brown pencil like brown-eyeliner-pencil and smudge slightly with a tiny brush. After doing this for years I noticed people comment my eyes look "rested" more on casual days, which is a big win.
Mistake to Avoid: Don’t use a too-warm brown that reads orange, stick to neutral browns
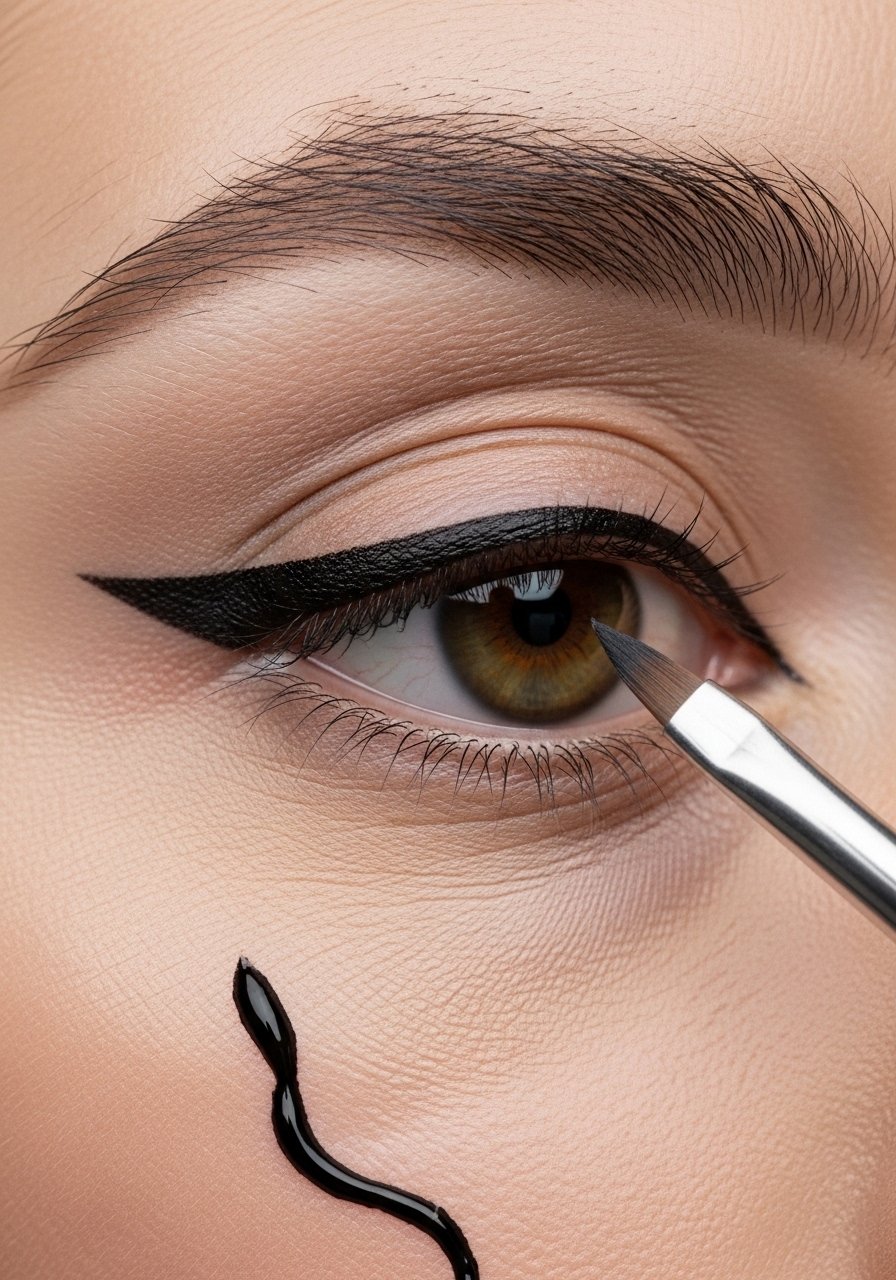
6. Press-and-Swipe for a Perfect Feline Tail
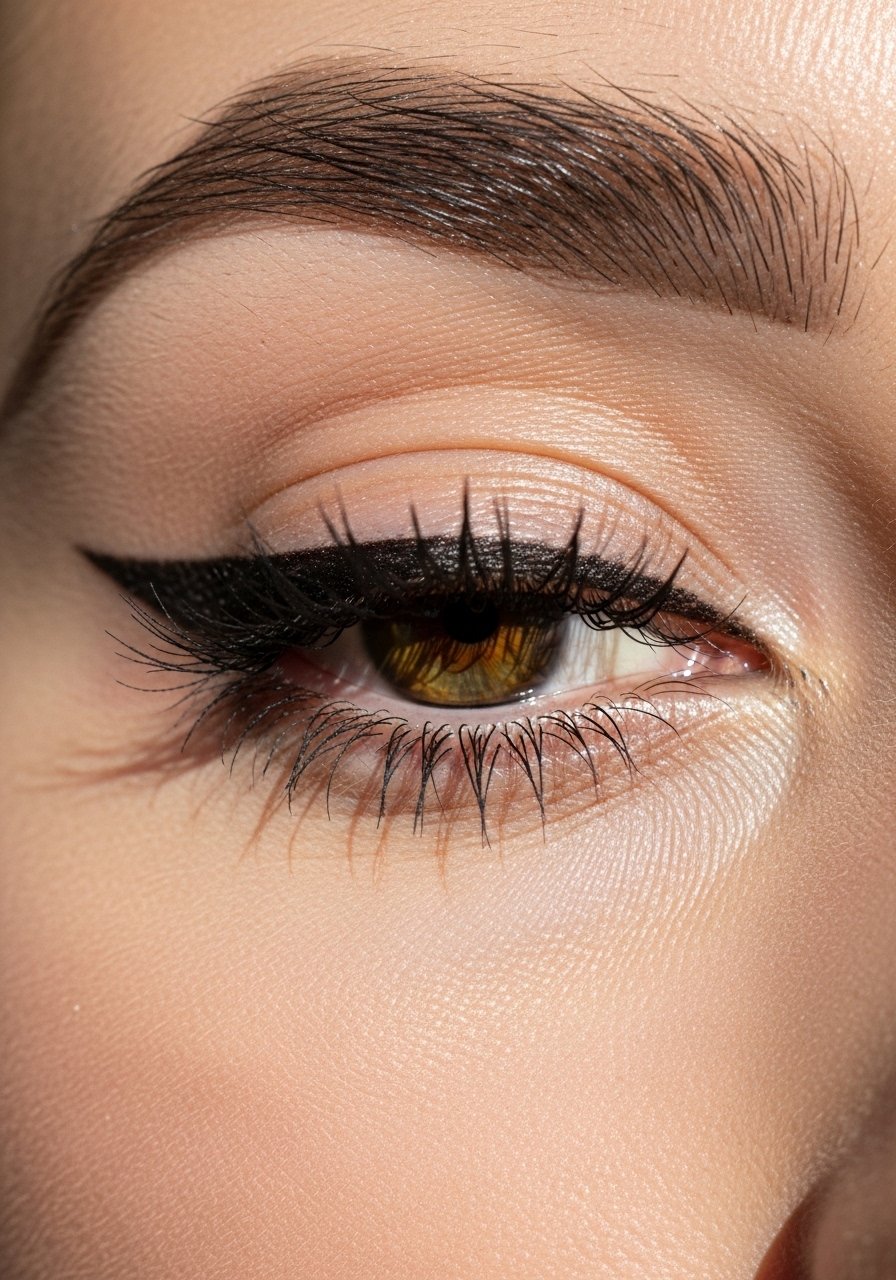
Instead of one long pull, press small dashes at the lash line and swipe inward to connect. It feels safer and gives an organic curve. I do this with felt-tip-liquid-liner because it dries quickly. I tried the long pull method for years, but this press-and-swipe cut uneven tails dramatically in my routine. It also makes correcting a single gap easier.
Mistake to Avoid: Don’t repaint over wet lines, wait a second or you’ll get blobs
7. Layering Pencil Under Liquid for Longevity
Start with a waterproof pencil along the lash line to anchor pigment, then trace over with liquid for crispness. That combo resists smudging and stays put even on humid days. I use waterproof-pencil-eyeliner then finish with felt-tip-liquid-liner. I’ve noticed this method reduces midday touchups by about half during summer months.
Mistake to Avoid: Don’t layer too much product, or lashes will stick to the liner
8. The Reverse Wing for Round Eyes
For rounder eyes, I draw a short flick from the lower lash line angled slightly up, then connect a thin line along the upper lash line. It elongates without heavy weight on the lid. I rely on a tiny brush and gel-eyeliner when doing this. It’s subtle enough for work but gives the illusion of a lifted eye, which I love for busy mornings.
Mistake to Avoid: Don’t extend the lower flick too far, it will look harsh and unnatural
9. Heat the Felt Tip Briefly to Improve Flow

Not saying heat it for long, but a one-second warm-up from a hairdryer softens the felt tip and helps product flow if it’s dry. I do this when liners feel draggy and it usually revives the line. Use caution and test on paper first. I’ve revived a few cheap liners this way instead of tossing them, and it saved me money more than once.
Mistake to Avoid: Don’t overheat the pen, you’ll cause leaking or damage to the tip
10. Use Concealer to Sharpen the Wing Edge
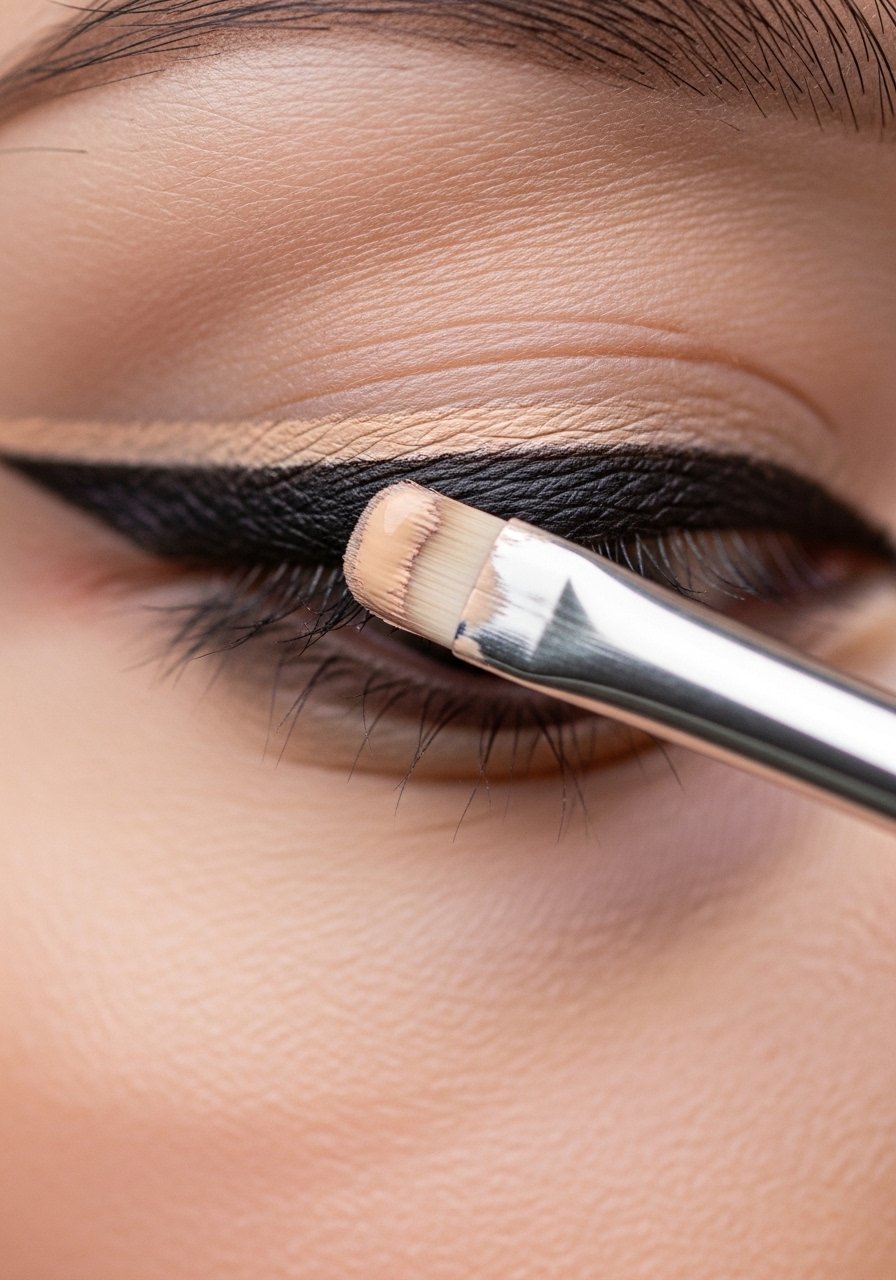
After drawing the wing, clean the edge with a tiny flat brush and a bit of concealer for a razor finish. It brightens the outer corner and corrects micro-errors. I use a long-wear concealer like longwear-concealer. I noticed this trick makes photos look more polished without redoing the liner, perfect for nights when I’m running late.
Mistake to Avoid: Don’t use too much concealer or you’ll erase the wing’s shape
11. Use Mascara Wand as a Mini Comb
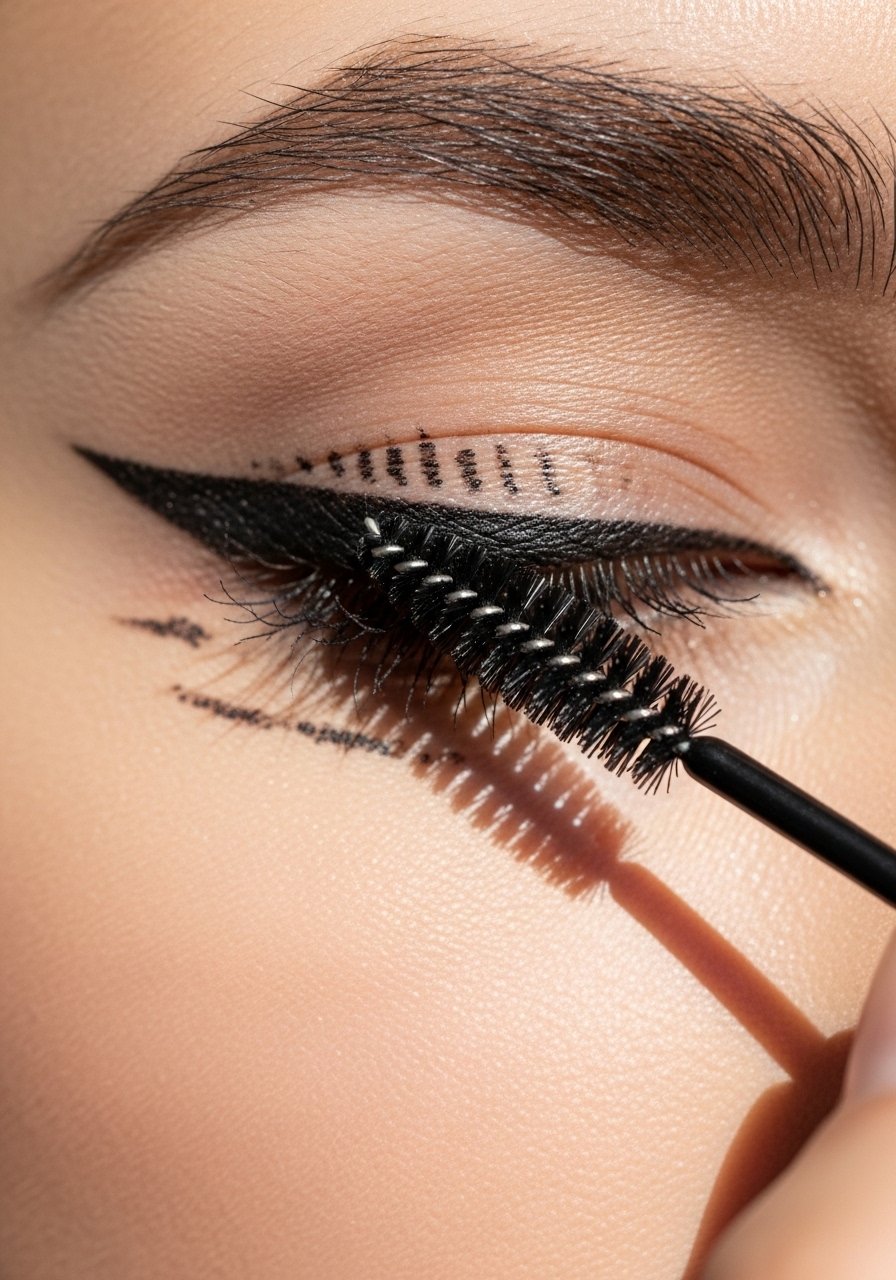
If tiny smudges show at the outer corner, swipe a clean spoolie dampened with micellar water to soften and tidy the edge. It’s subtle and less destructive than a cotton swab. I carry a spare mascara wand for this exact purpose and it’s saved me on more than three rushed dates. A touch of micellar-water on the spoolie works wonders.
Mistake to Avoid: Don’t use a cotton ball, it absorbs too much product and drags the liner
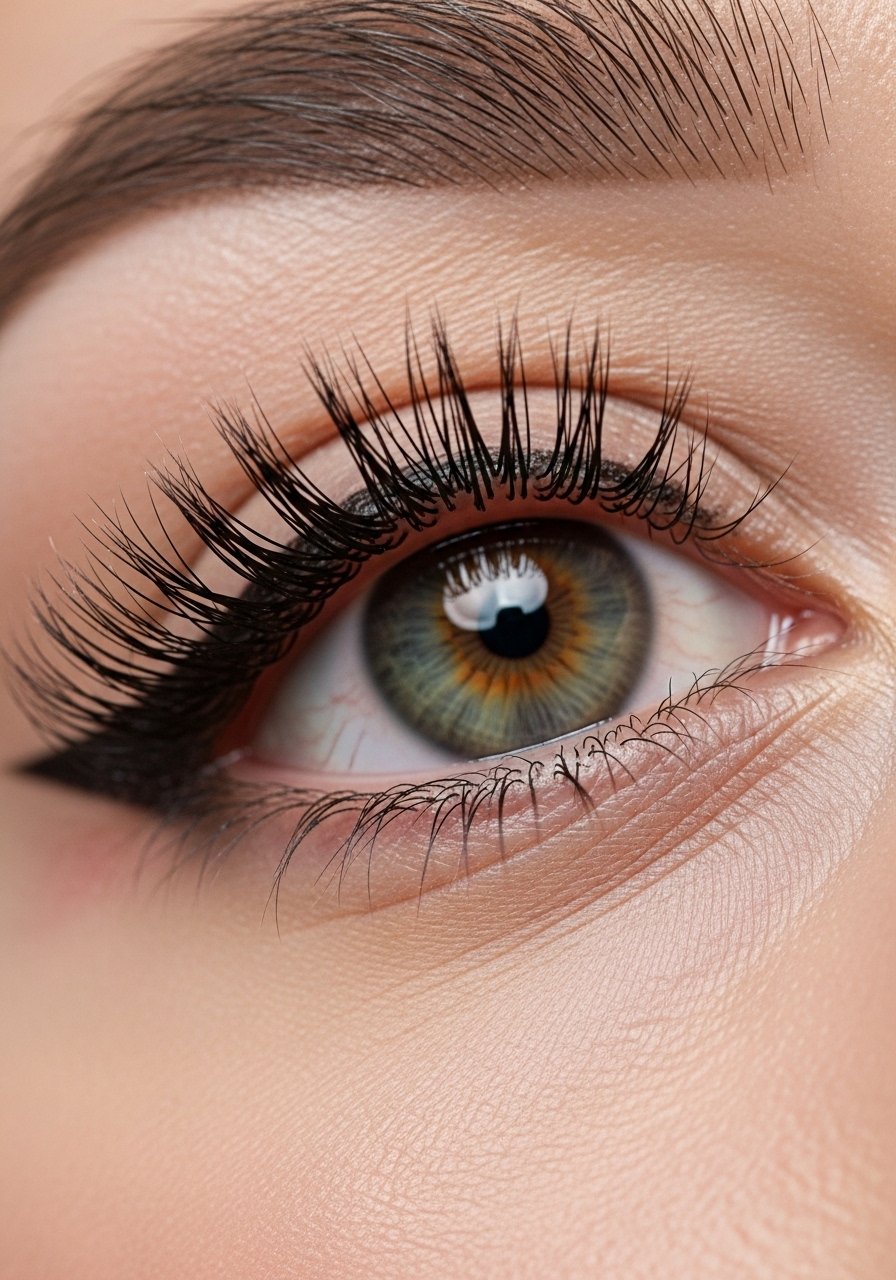
12. Match Liner Thickness to Lash Density
Thinner lashes need a thinner liner so the lashes look fuller, and dense lashes can handle a slightly thicker line. I adjust the thickness depending on how much mascara I’m wearing. A tiny angled brush with gel like gel-eyeliner helps me sculpt precisely. I noticed my lashes looked more balanced when I matched liner weight to lash volume.
Mistake to Avoid: Don’t paint the same thickness every day, your lashes change with mascara or extensions
13. Quick Fix with Black Eyeshadow
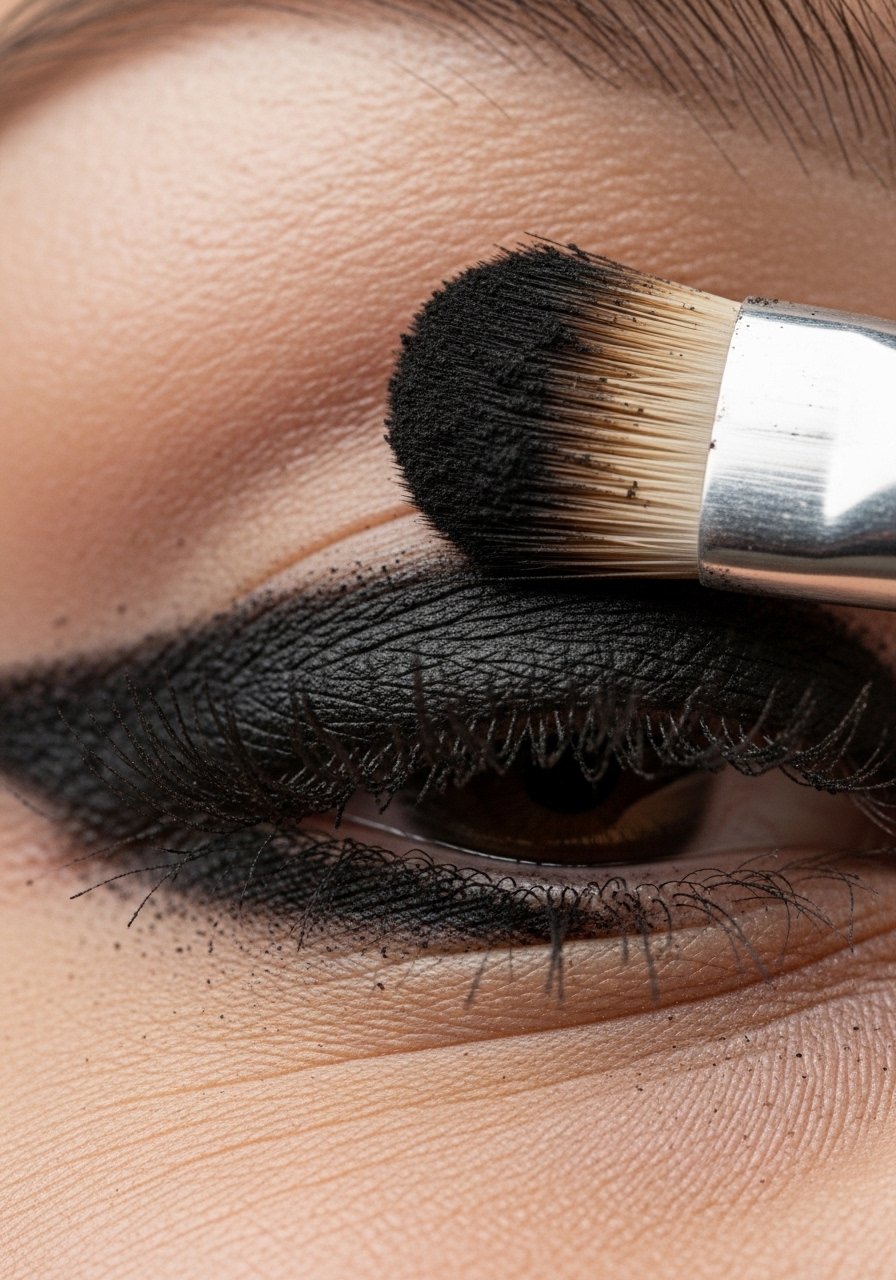
If your liner smudges slightly, press a bit of matte black eyeshadow over the top to set and deepen the color. It prevents transfer and makes the line less glossy. Use a compact like neutral-eyeshadow-palette for a matching shade. I do this when I’m out and about and need a stealth fix that won’t look obvious.
Mistake to Avoid: Don’t pick a shimmery shadow, it will highlight imperfections
14. Micro-Tightlining to Boost Lash Roots
Tightlining fills tiny gaps at the lash root so the wing doesn’t float. Use a waterproof pencil and tiny upward strokes into the root area. I prefer waterproof-pencil-eyeliner for this. It makes the liner look integrated with lashes, not stuck on. I’ve noticed it reduces the need for heavy liner along the lid, which is great on sweaty runs to the store.
Mistake to Avoid: Don’t force the pencil if your waterline is irritated, skip it that day
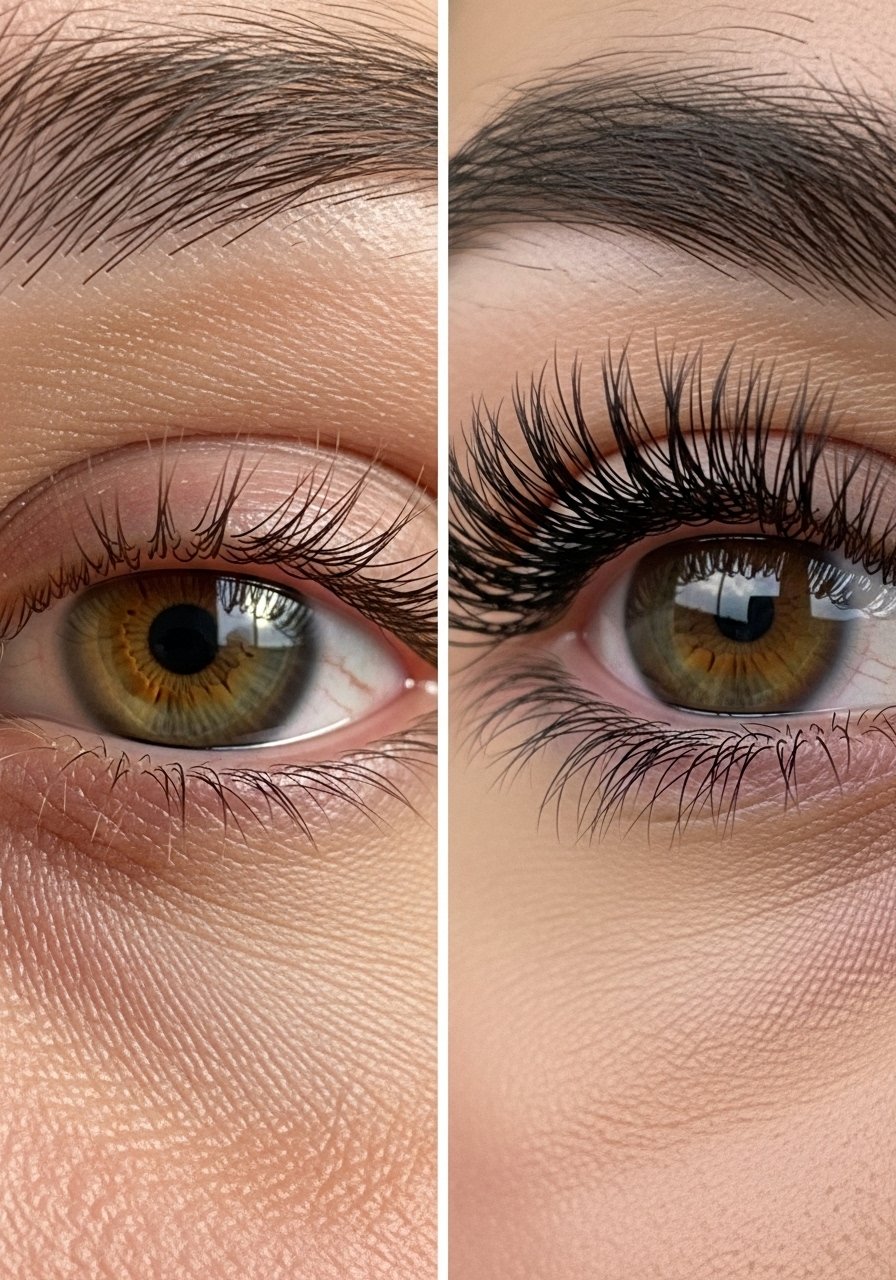
15. Use a Lash Curler After Liner for Lift
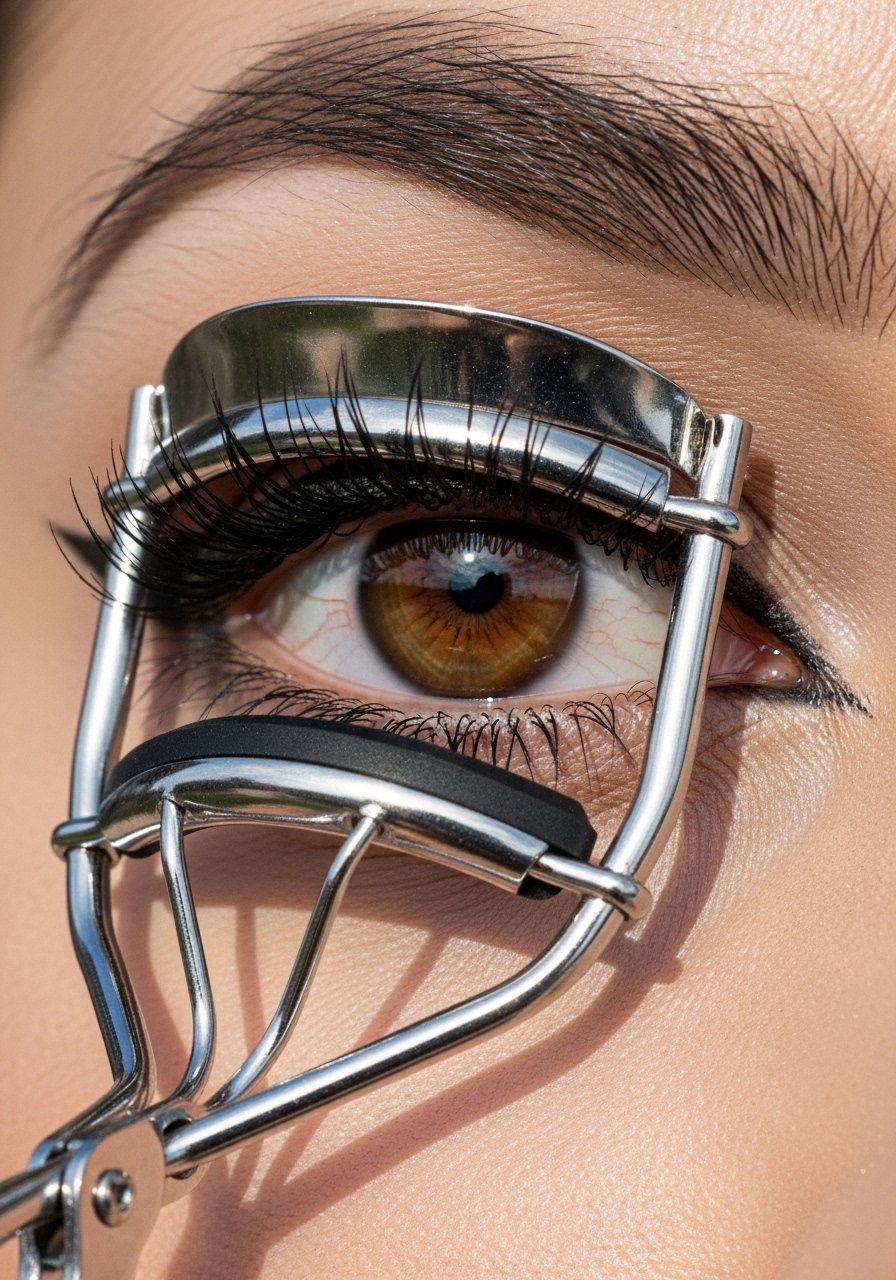
Yes, curl after the liner dries if you want the lash base to stay crisp. I used to curl first and smear the liner, so this switch saved time. Be gentle and make sure the liner is set. Finish with a lengthening mascara. I carry a compact curler in my bag and it helps my wing sit nicely with open eyes.
Mistake to Avoid: Don’t curl if the liner is still tacky, it will transfer to the curler
16. Use a Micro-Swab for Precision Cleanups
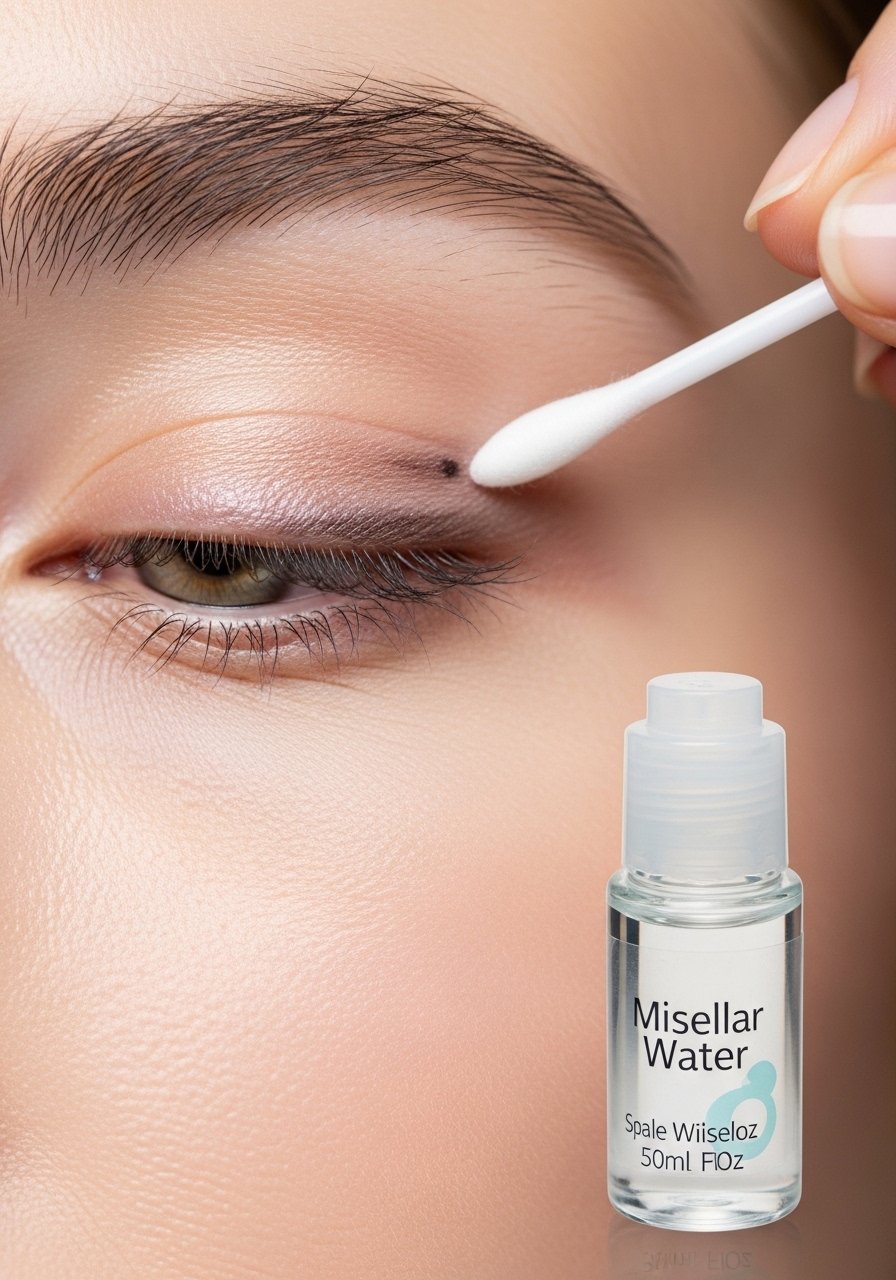
A tiny cotton swab dabbed in micellar water removes small mistakes without redoing the whole wing. I keep a pack in my kit and it’s been a lifesaver on nights out. Use controlled tiny touches rather than rubbing. I learned this the hard way after smearing a wing across my cheek once, and it saved me from a full face redo.
Mistake to Avoid: Don’t soak the swab, a damp tip is enough and less destructive
17. Double-Ended Liner for Travel
Travel liners with a thin tip and smudger end are clutch for touchups mid-day. I stash one in my purse and it replaces multiple tools. Use the smudger to blend the root and the fine tip to redraw the wing. I’ve found these reduce the number of products I carry on quick trips. Try something like dual-ended-eyeliner.
Mistake to Avoid: Don’t keep it uncapped, dried tips are worthless when you need them
18. Micro Dot Guide for Inner Corners
Place a micro dot at the inner corner and one at the wing tip to map the slope before connecting. It helps when your inner lash line is sparse. Use a thin pencil for dots then join with a small brush and gel. I use this trick when I want a cleaner, measured look and it makes matching both eyes faster.
Mistake to Avoid: Don’t make the inner dot too bold or it will be obvious when finished
19. Use a Brown Shadow to Soften the Lower Lash Line
If the wing reads too heavy with a clean edge, soften the lower lash line with brown shadow to balance the look. It ties the eye together and looks intentional. I pick a matte brown from neutral-eyeshadow-palette and sweep lightly. I tried this on a night out and got compliments on how balanced my eyes looked.
Mistake to Avoid: Don’t connect the shadow to the wing too heavily, keep it subtle
20. Use a Clear Brow Gel to Tame Lashes at the Edge
A dab of clear brow gel on the outer lashes keeps them separated and prevents them from sticking to the wing. It’s a tiny trick I picked up from a pro and now use it when lashes are long. Apply with a clean spoolie and a light hand. I noticed fewer smudges and cleaner photos after adding this step.
Mistake to Avoid: Don’t overapply gel or lashes will clump and ruin the wing’s edge
21. Coil a Scarf Over Brows to Protect Fresh Liner
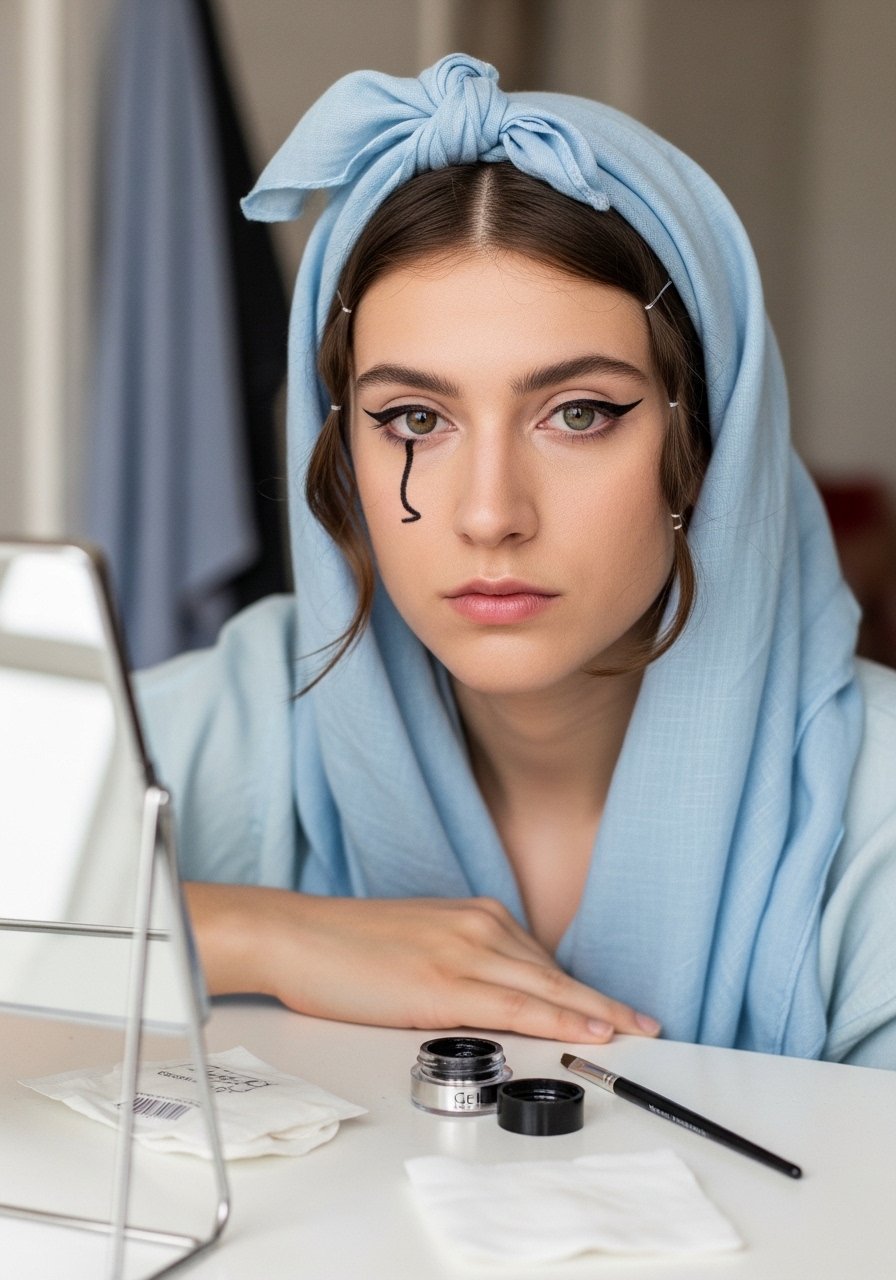
If you need your liner to set before you head out and your hair tends to flop forward, loosely tie a scarf over your forehead for ten minutes. It keeps oil and stray strands from disturbing the drying liner. I do this on humid days and it prevents smudging. Works best with quick-drying liners and a bit of patience.
Mistake to Avoid: Don’t tie it tight, you’ll leave creases on the forehead
22. Use Waterproof Liner for Tears or Sweat

For days with tears or sweat, choose a genuinely waterproof liner and set it with shadow. I bring this up because I once ruined a date with smudged liner. Now I pack waterproof-pencil-eyeliner and a tiny pot of matte shadow. I noticed much fewer midday touchups when I committed to waterproof for events.
Mistake to Avoid: Don’t assume "water-resistant" equals waterproof, test before you rely on it
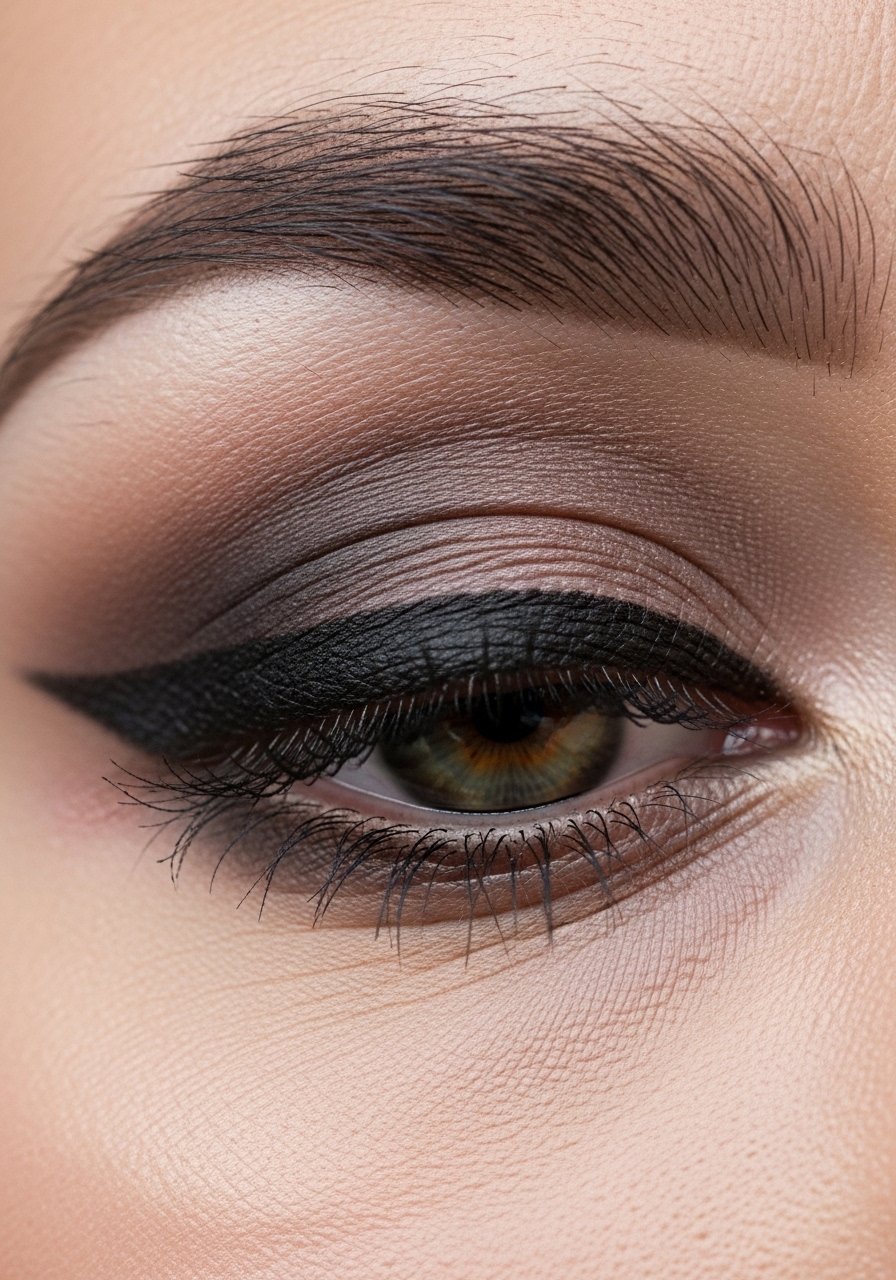
23. Smudge Slightly for a Soft Winged Smoky Look
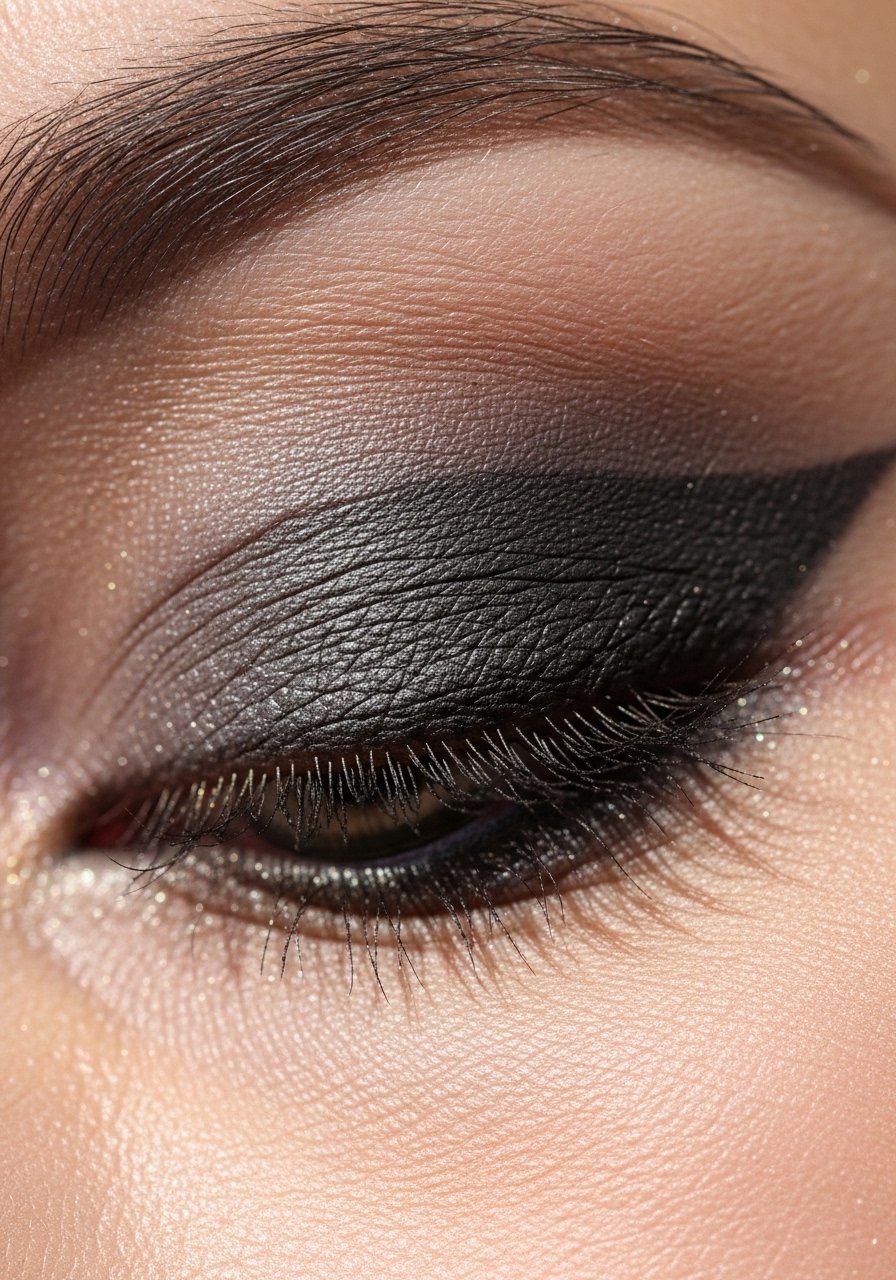
If you want a softer, less graphic wing, smudge the outer edge with a tiny brush or smudger. It reads more sultry and less precise. I do this for evening looks and use a pencil first then blend with a dark shadow. The result still frames the eye but feels more lived-in. I find it’s nicer for photos when skin texture is visible.
Mistake to Avoid: Don’t overblend and lose the shape entirely, keep some definition
24. Quick Remove with Oil-Based Cleanser for Clean Redraw
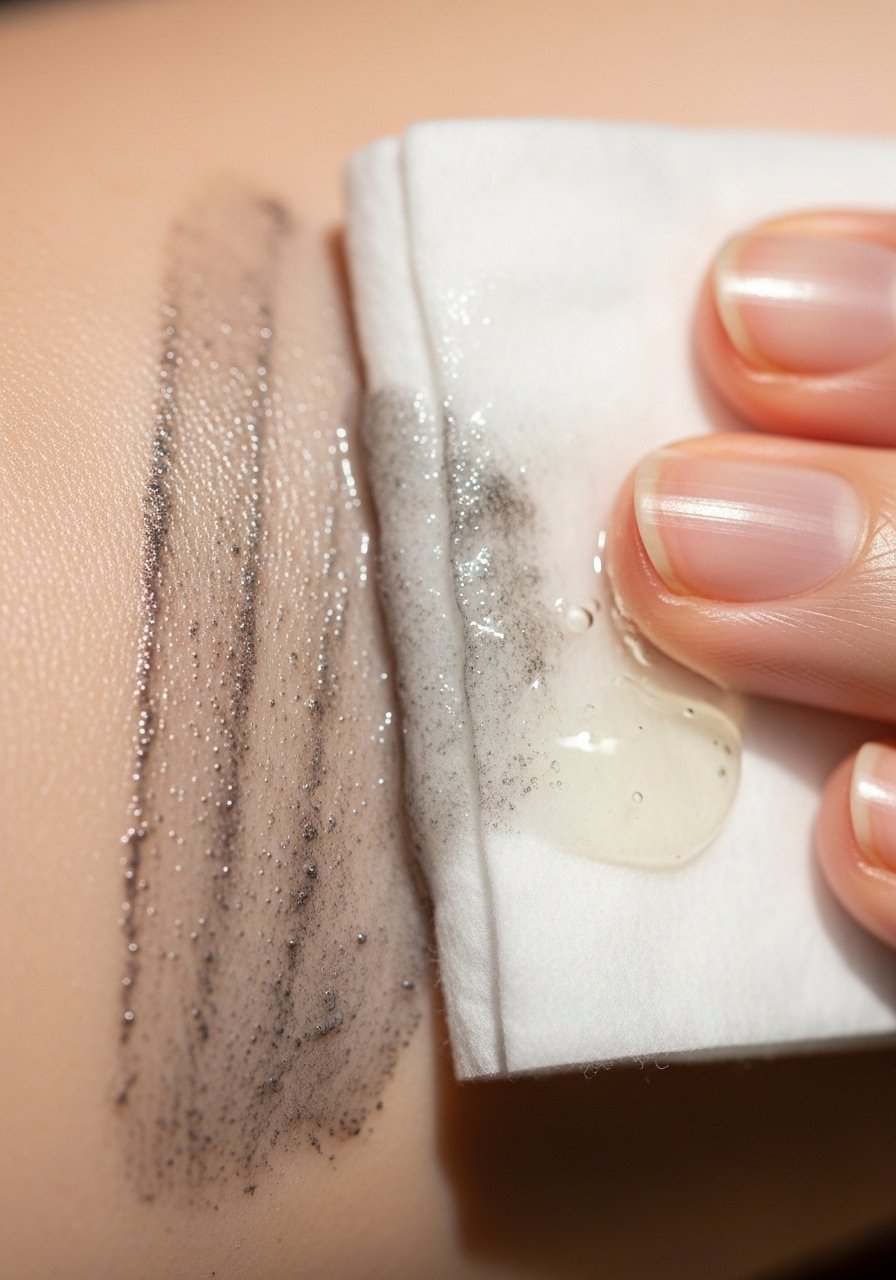
If you need to start over, use an oil-based cleanser or micellar water to dissolve the liner cleanly, then reapply after blotting the lid. I once tried rubbing with makeup wipes and got a residue that ruined the new liner. Now I use micellar-water or a small oil formula to reset the canvas without irritation.
Mistake to Avoid: Don’t scrub aggressively, you’ll irritate the eyelid skin
25. Seal with Setting Spray for All-Day Hold
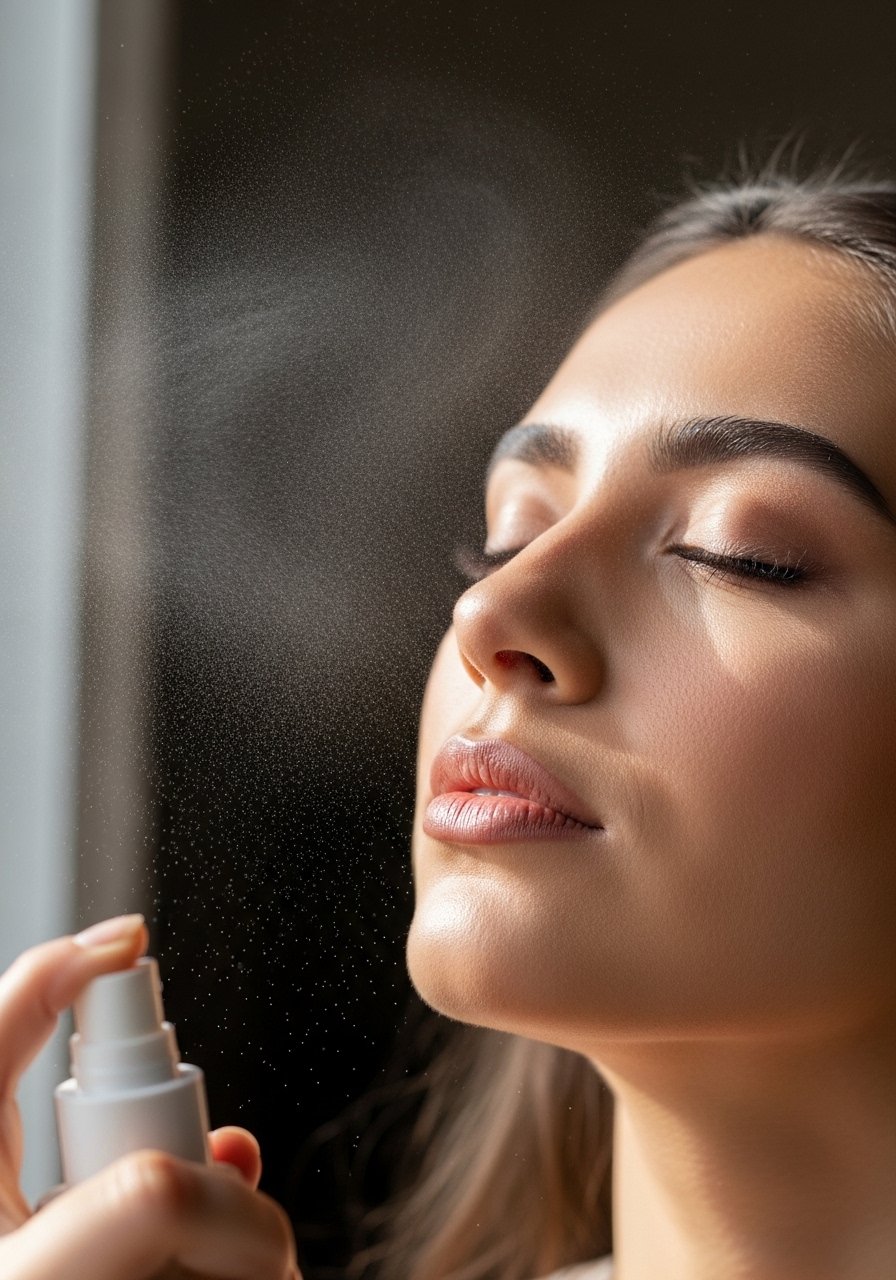
Finish with a light vap of setting spray aimed from an arm’s length to lock everything in. It helps the liner resist rubbing and humidity. I use a fine-mist waterproof-setting-spray and noticed my touchups dropped significantly on long days. Just one or two spritzes is enough, too much will dampen your makeup.
Mistake to Avoid: Don’t spray too close to your face, it can streak wet liner
Makeup Tips
Prep the lid: Use a thin layer of priming-eye-crease to reduce oil and help liner glide.
Choose the right tool: I alternate between felt-tip-liquid-liner for crisp lines and gel-eyeliner plus an angled-eyeliner-brush for control.
Practice mini sessions: Spend five focused minutes tracing dots and connecting them, it improves muscle memory a lot.
Match your look to the day: I pick brown or softer liners on casual days and black for nights.
Carry a tiny kit: A mini felt-tip, micellar water, and a spoolie saved me on several unexpected nights out.
