
I've spent years paring down my routine so quick mornings still look polished; most days I reach for products that boost skin rather than hide it. I’ve noticed I skip heavy foundation about 60% of the time now, and that a single multitasking cream can save me five minutes and a lot of fuss. These ideas are simple, skin-first approaches I actually use when I need to look awake and presentable fast.
I’ll walk through products I reach for, quick tricks I repeat, and 22 small looks that work for commuting, meetings, or coffee runs. Budget-wise I mix drugstore staples with one or two splurge items (most looks can be done for under $40). I’ve found that about 3 in 4 people respond to a natural glow more than matte “done” skin, which is why most ideas focus on cream textures and light layering.
What You'll Need
Skincare Prep:
- gentle-cleanser (~$8-$20)
- hydrating-serum (~$12-$35)
- light-moisturizer-with-spf (~$10-$30)
Base & Coverage:
- tinted-moisturizer (~$8-$40)
- concealer-stick (~$6-$18)
Color & Tone:
- cream-blush (~$6-$28)
- cream-bronzer (~$8-$30)
- sheer-lip-tint (~$6-$20)
Eyes & Brows:
- neutral-eyeshadow-palette (~$10-$40)
- brow-gel (~$6-$22)
- lengthening-mascara (~$6-$25)
Tools & Finishing:
- beauty-blender (~$6-$20)
- fluffy-brush-set (~$10-$30)
- setting-spray (~$7-$28)
Bare-Skin Tinted Glow
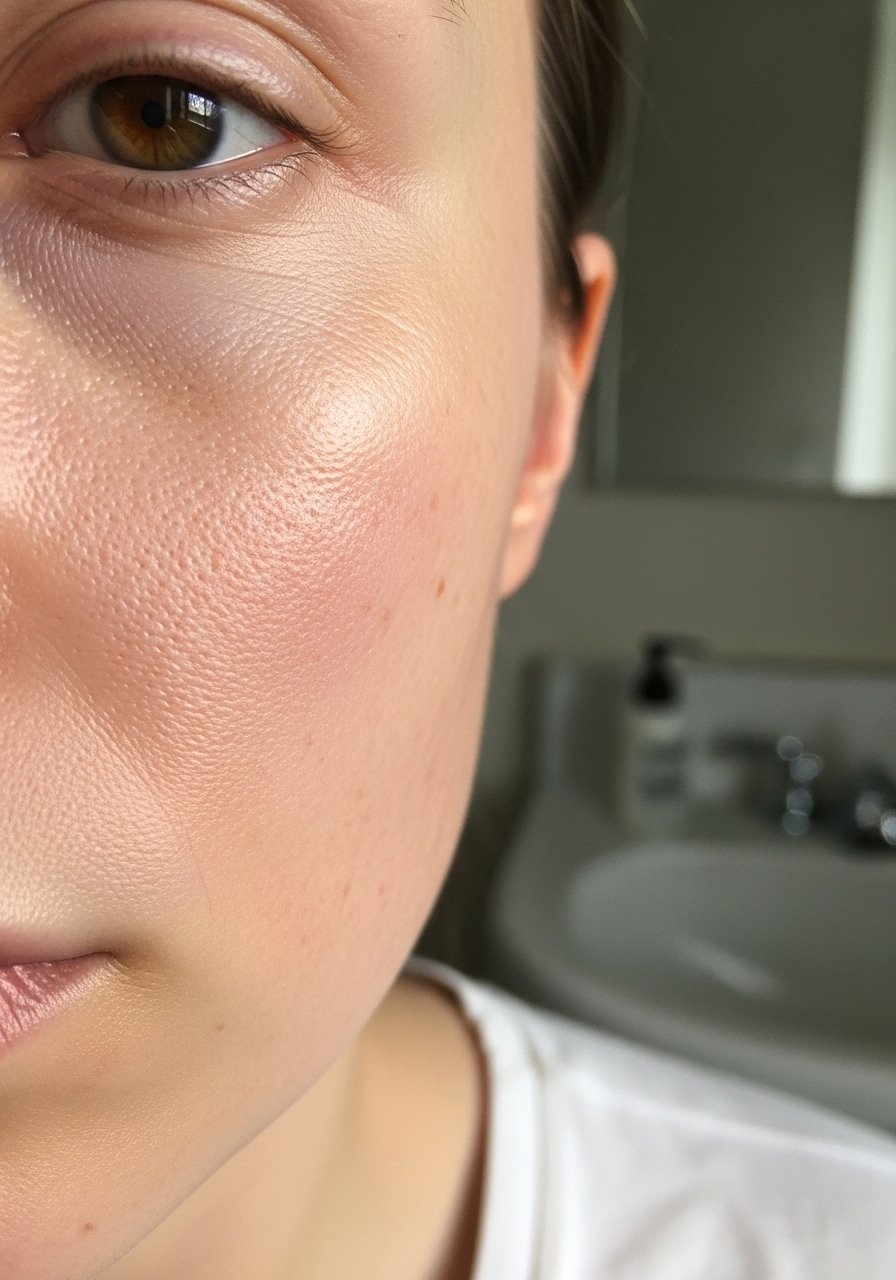
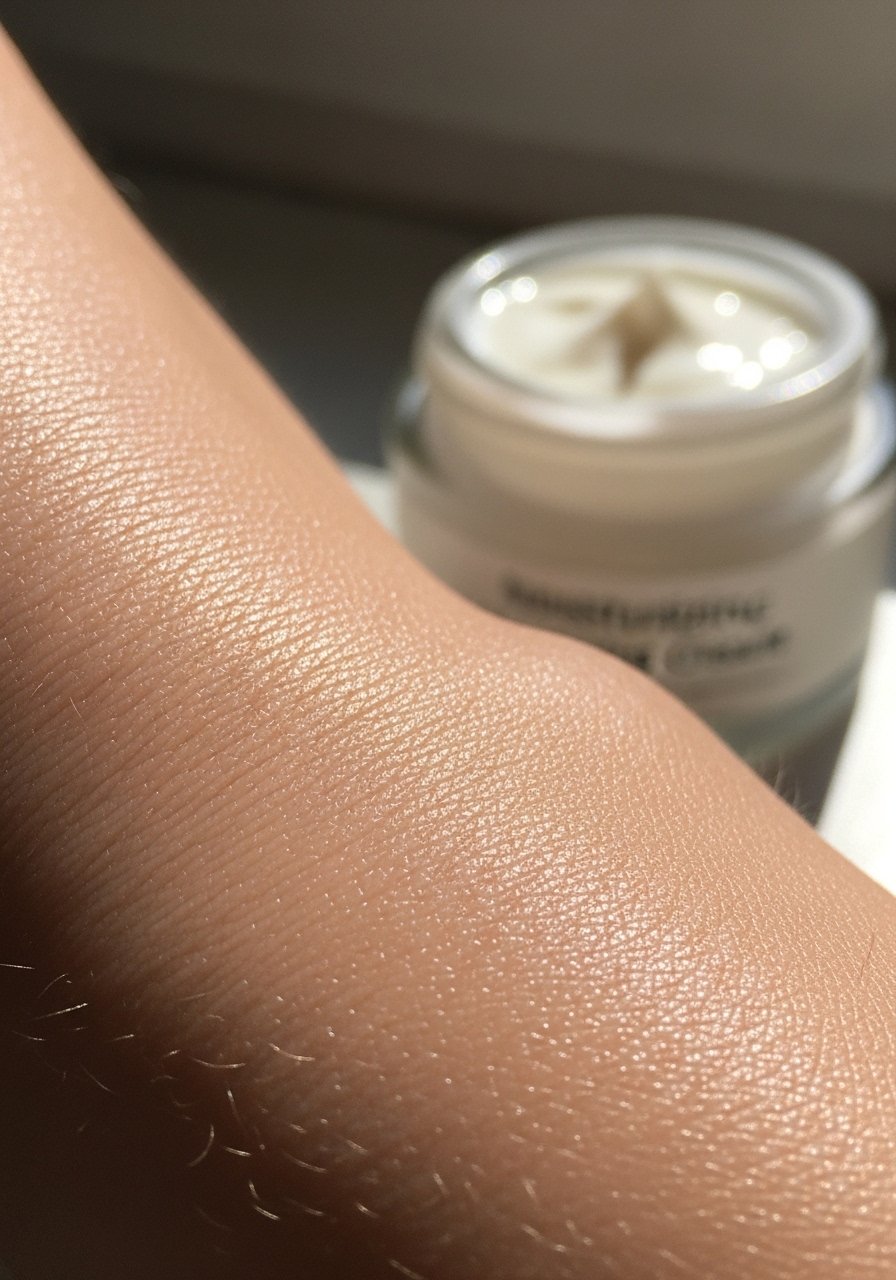
I rely on a lightweight tinted moisturizer when I want skin to look like skin—think sheer coverage, visible freckles, and a soft sheen. I pat a pea-sized amount with a damp beauty-blender and add a dab of hydrating-serum underneath for dew. It reads fresh on camera and in person; I use this look when I have back-to-back calls and need to feel put together quickly.
Mistake to Avoid:
Don’t rub the product—pat to avoid streaks and uneven coverage.
Spot-Conceal & Brighten
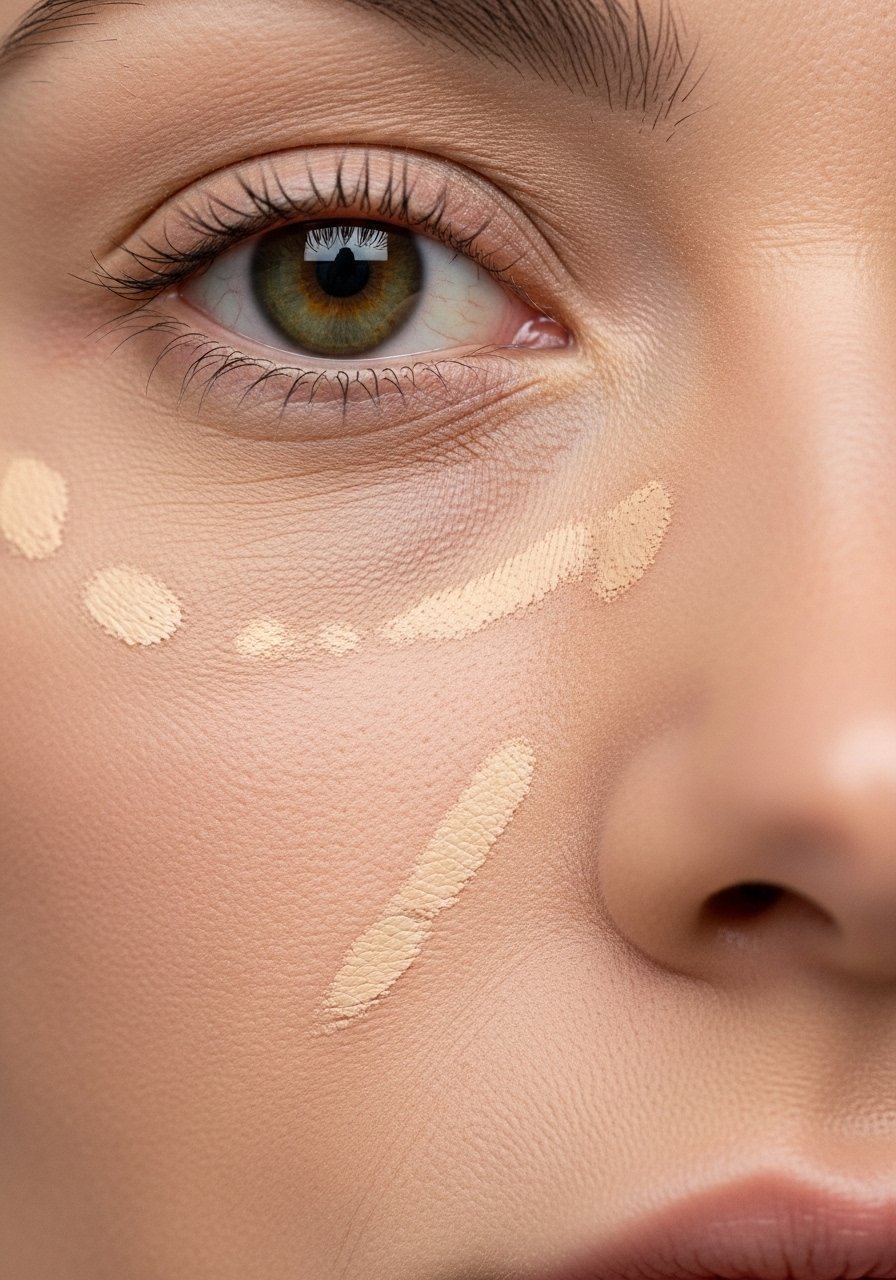
For tired mornings I conceal only where needed—under eyes, redness around the nose, and any spots. I warm a concealer-stick between fingers and dot, then blend with a small sponge. Less product looks more natural and lasts longer because you’re not caking over moving parts. I often combine this with a light dusting of setting-powder in the T-zone to keep things from migrating.
Mistake to Avoid:
Don’t over-blend into surrounding skin—keep the correction localized.
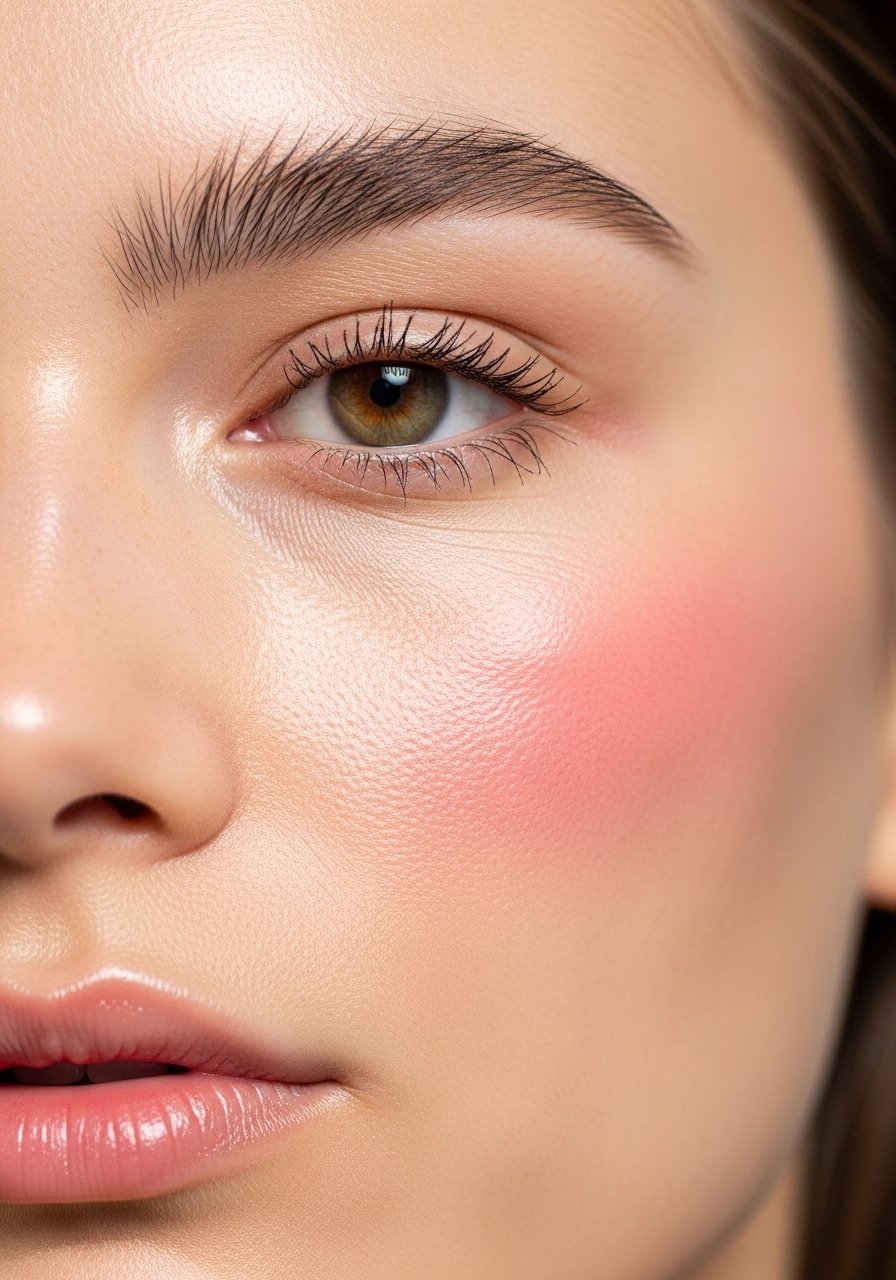
Cream Blush on Cheekbones and Nose
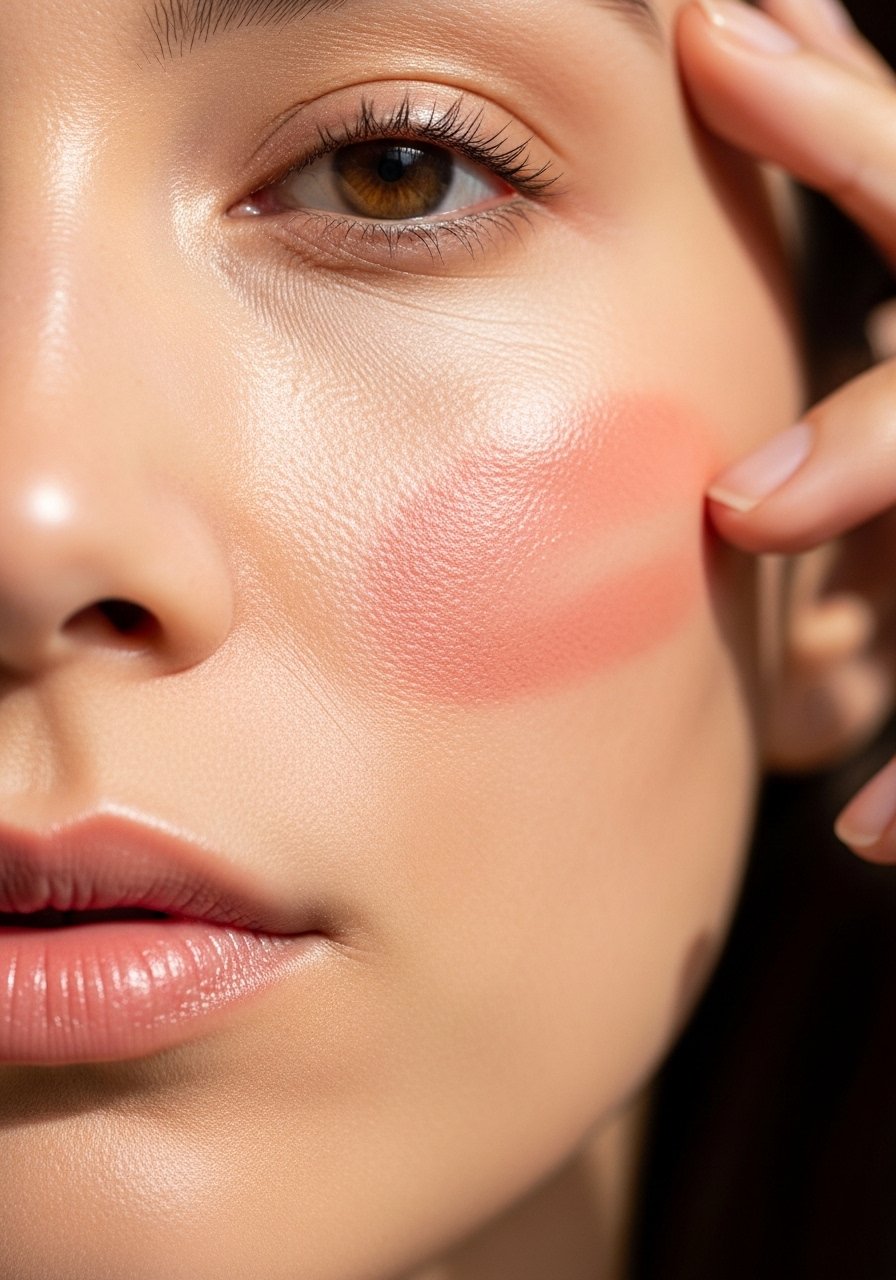
I use a cream blush not just on cheeks but lightly across the nose bridge for a unified, sun-kissed look. A fingertip sweep of cream-blush blended upward keeps everything soft. This trick is one of the unique moves I started doing—most guides stop at cheeks, but adding the nose ties the whole face together. Pair with a sheer sheer-lip-tint in a matching tone for effortless harmony.
Mistake to Avoid:
Don’t press too hard—light layers build color without patchiness.
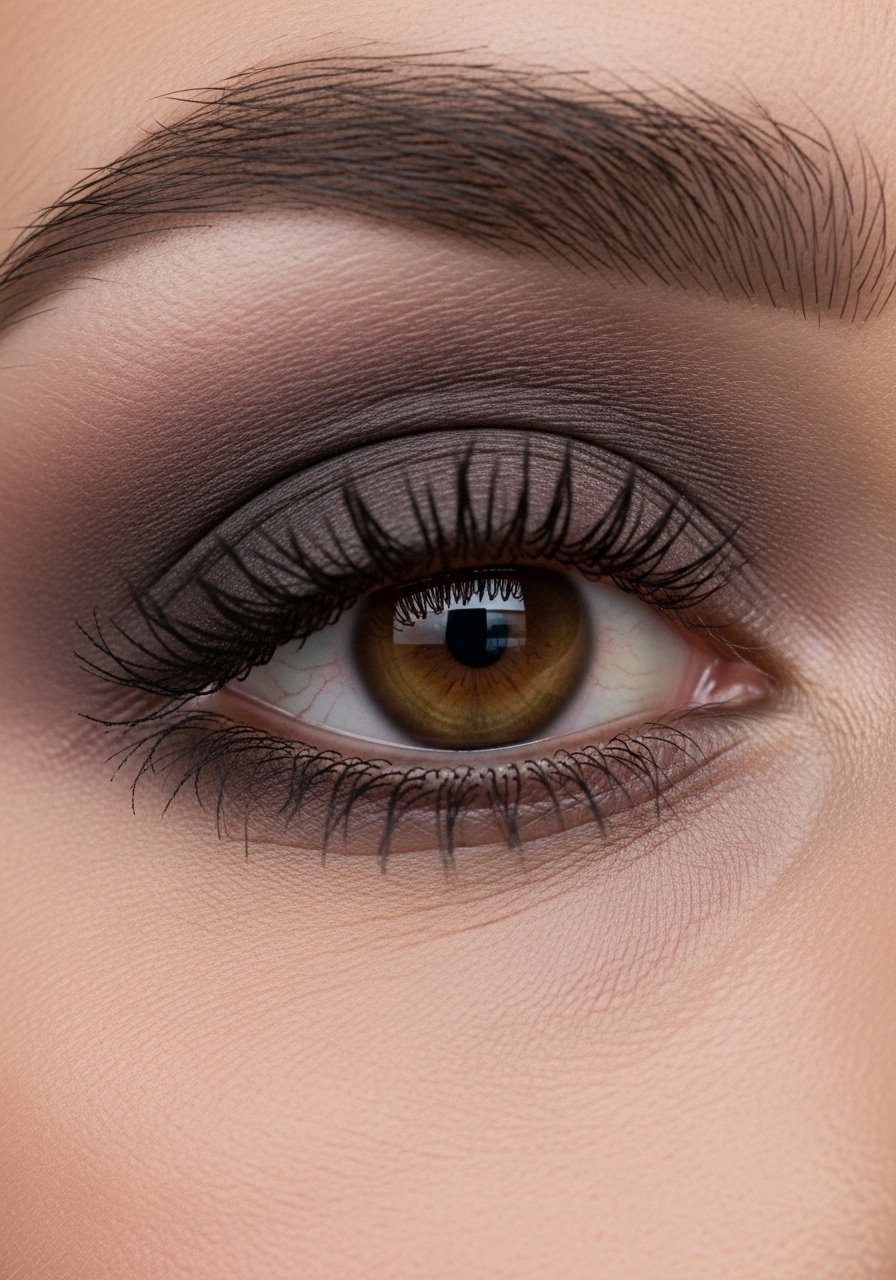
Soft Brown Wash for Eyes
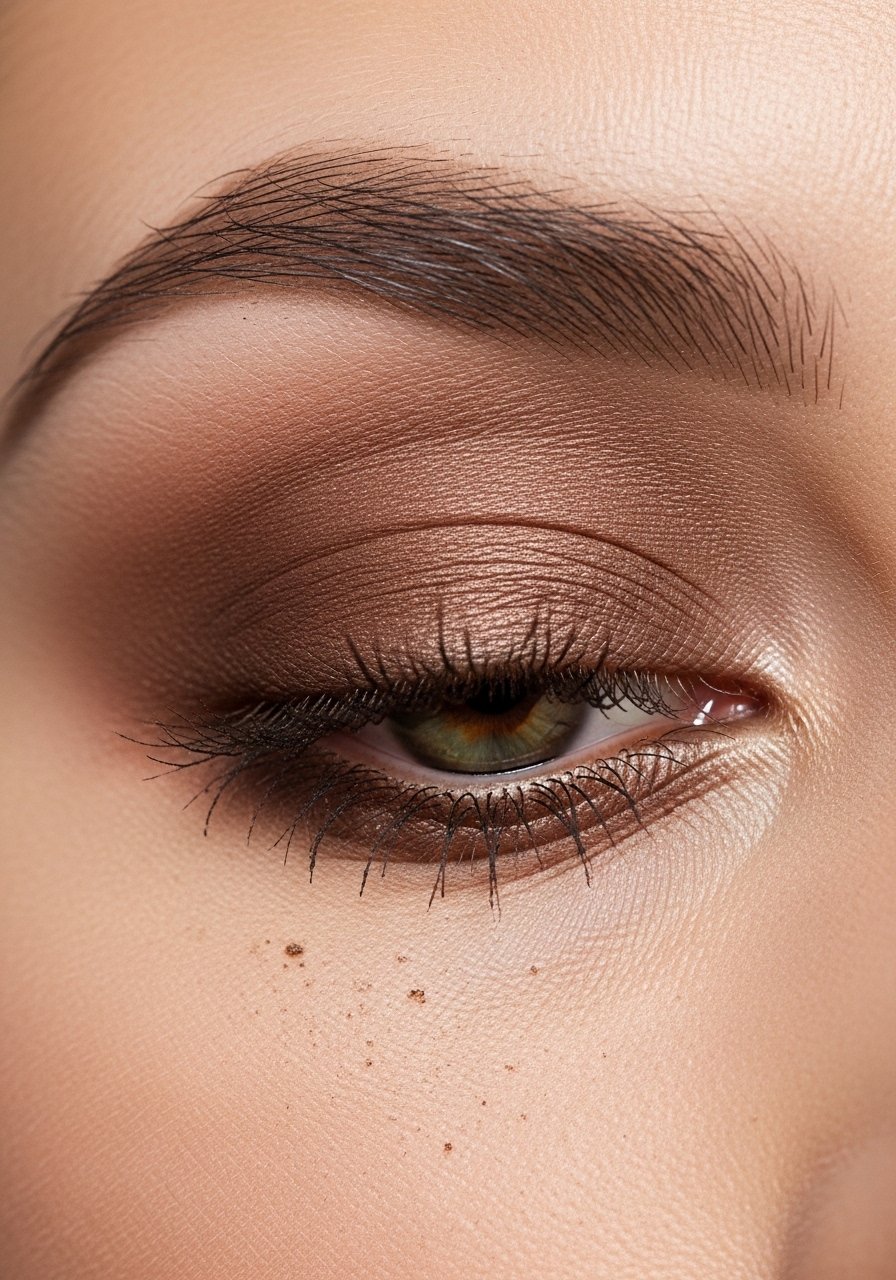
A single soft brown shade across the lid instantly makes eyes read awake without heavy liner. Sweep a matte from a neutral-eyeshadow-palette with a fluffy brush and blend out. I often pair this with a tiny coat of lengthening-mascara and leave the lower lash line clean for a fresh effect that’s office-appropriate and simple to repeat.
Mistake to Avoid:
Don’t pack on color—too much pigment looks like makeup, not a natural shadow.
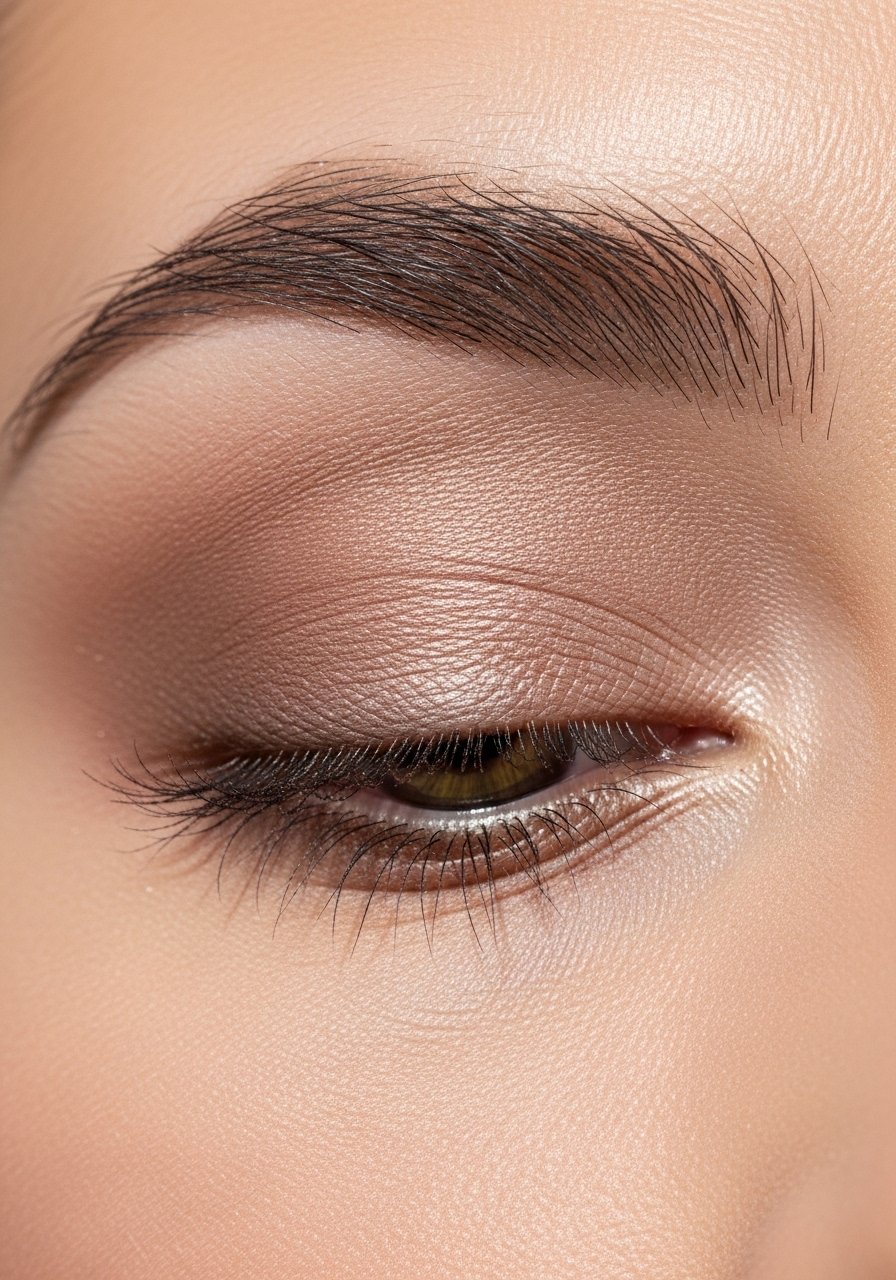
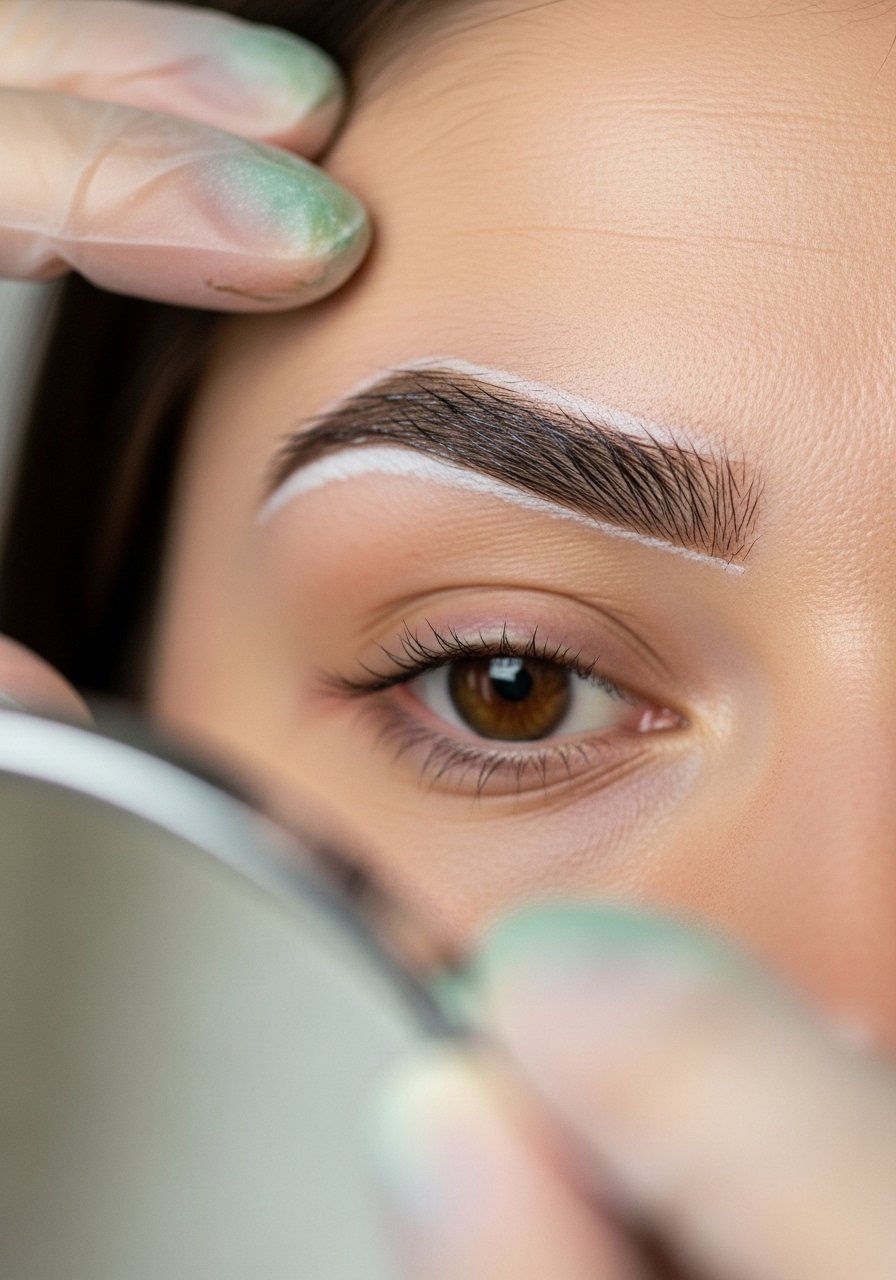
Feathered Brows, No Pencil
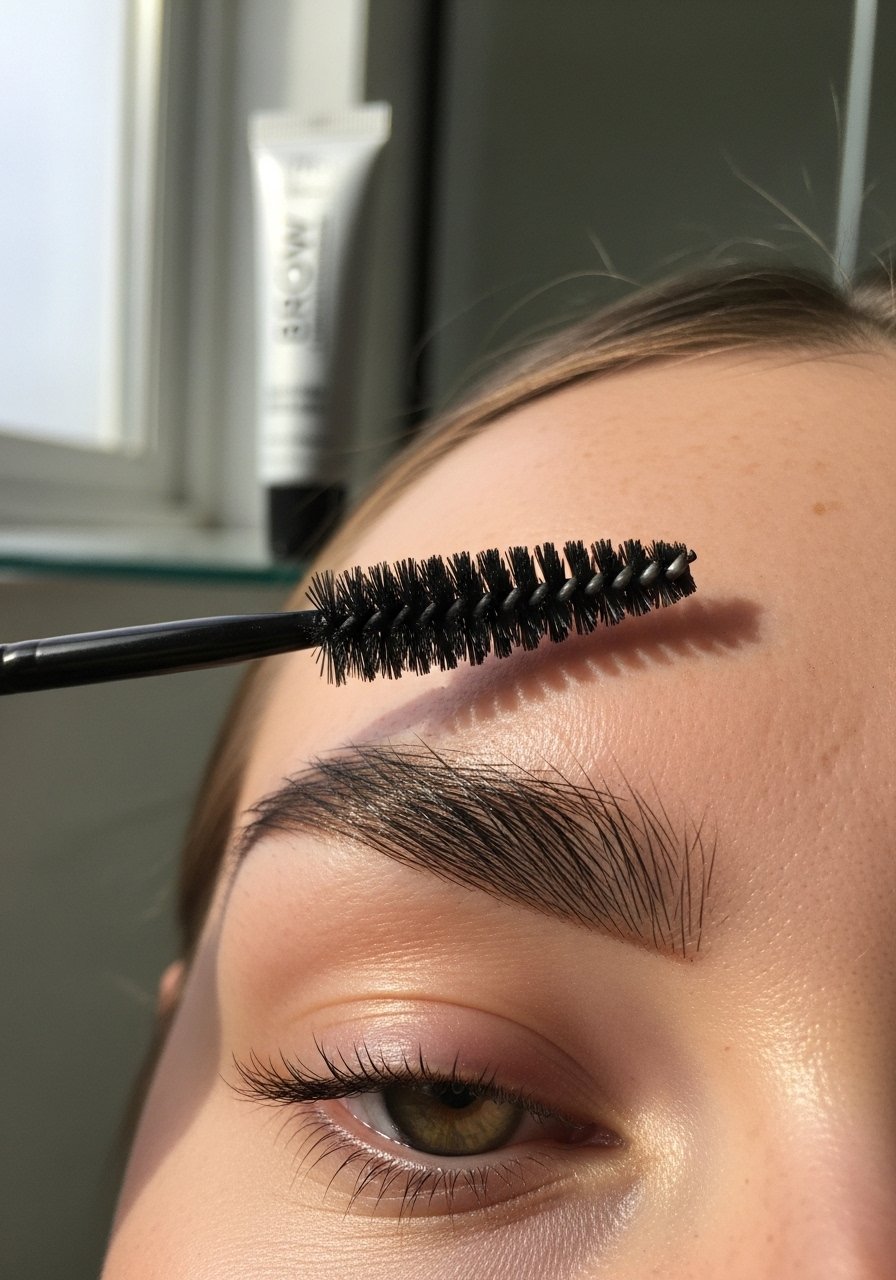
I rely on clear or tinted brow-gel to groom and slightly darken sparse areas. Brushing hairs up makes the face look more alert than heavy filling. I’ll sometimes use a tinted gel to match my hair—just a few vertical strokes through the inner brow and a soft comb through the tail. It takes 30 seconds and reads very natural on video.
Mistake to Avoid:
Don’t over-comb—if hairs are flattened, they lose the lifted effect.
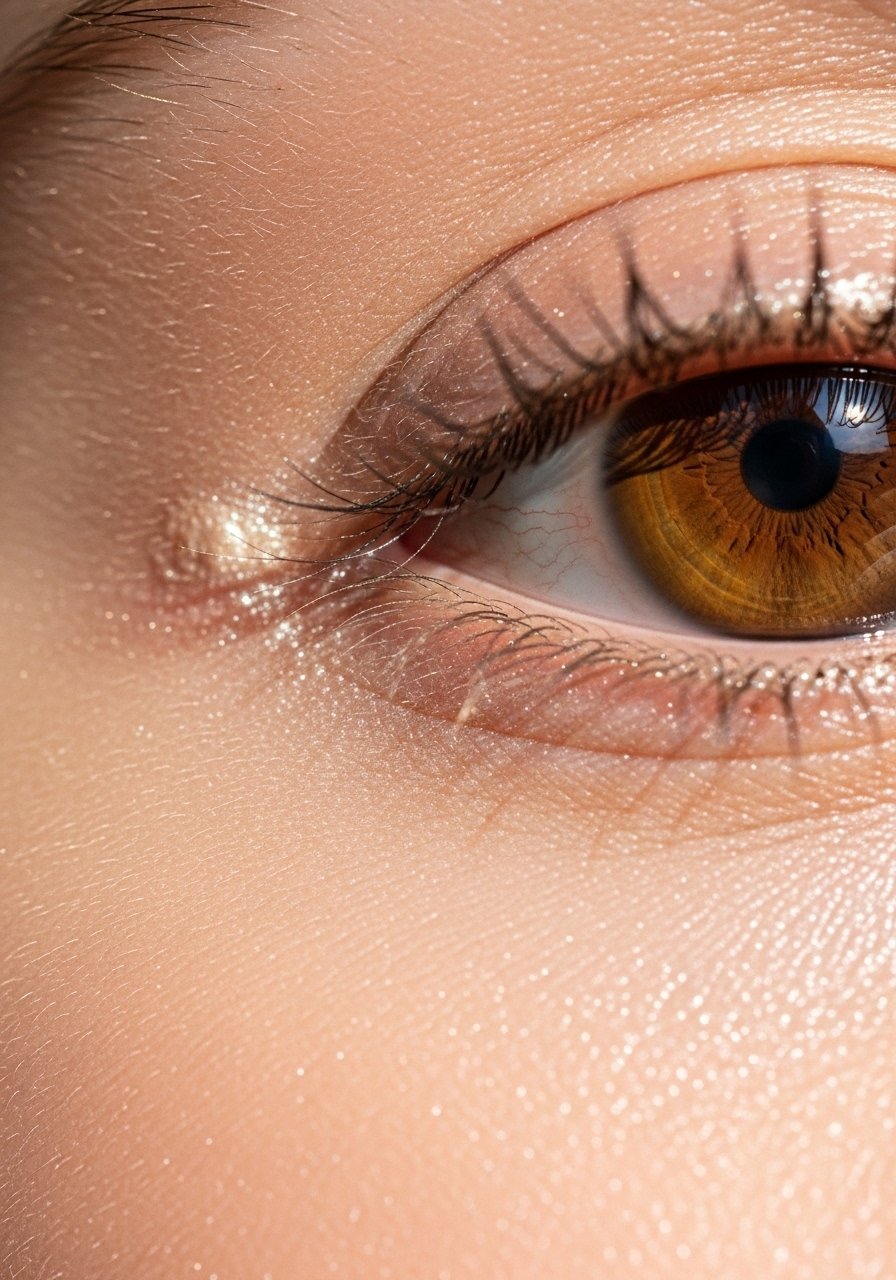
Lash-Lift Look with a Lash Comb
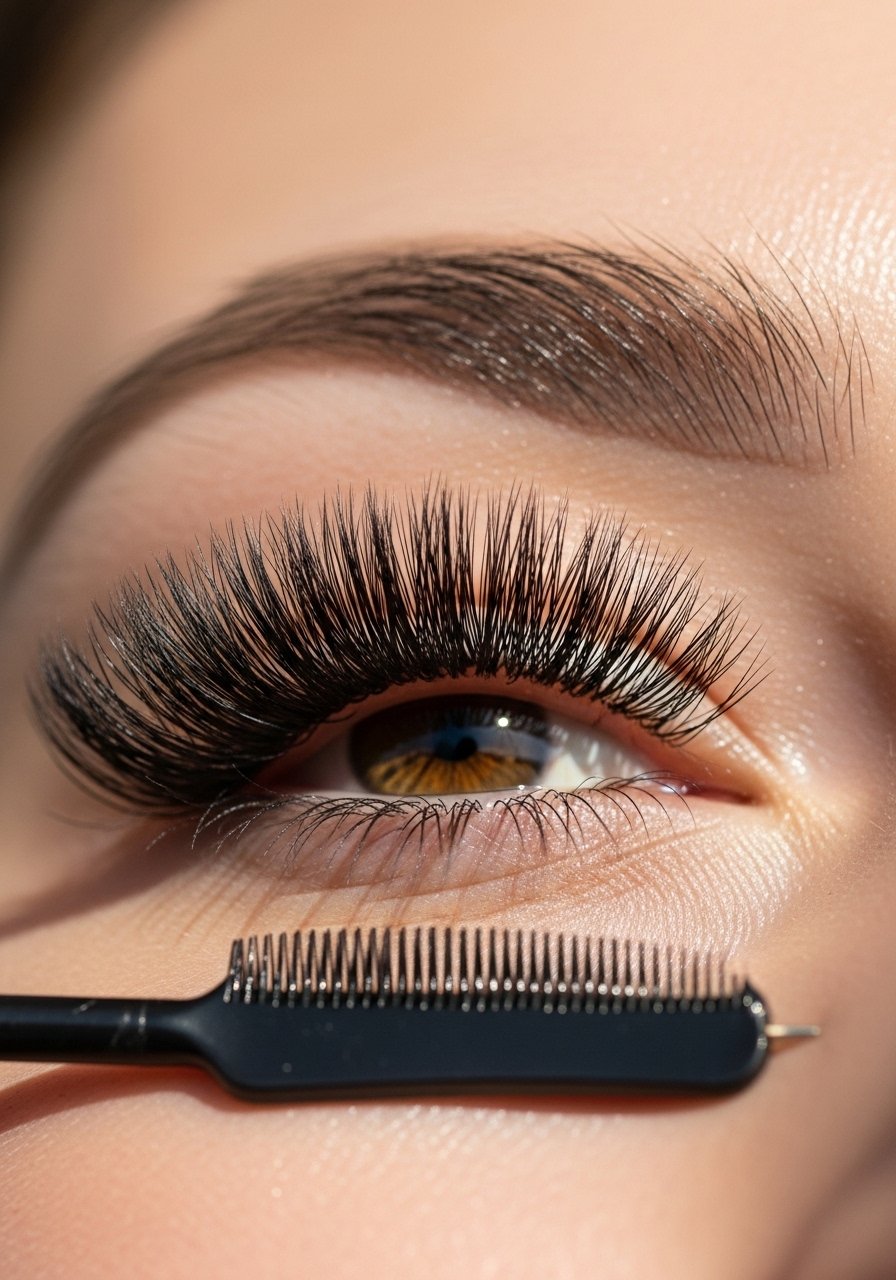
Layer a lengthening mascara and immediately comb through with a metal lash comb. The comb separates and gives a lifted, faux-lift finish without needing an actual lash lift. I usually focus on the outer third of lashes to open the eye; two coats and a combing pass is my go-to when I want eyes to read polished, not heavy.
Mistake to Avoid:
Don’t let mascara dry before combing—that causes breakage and flaking.
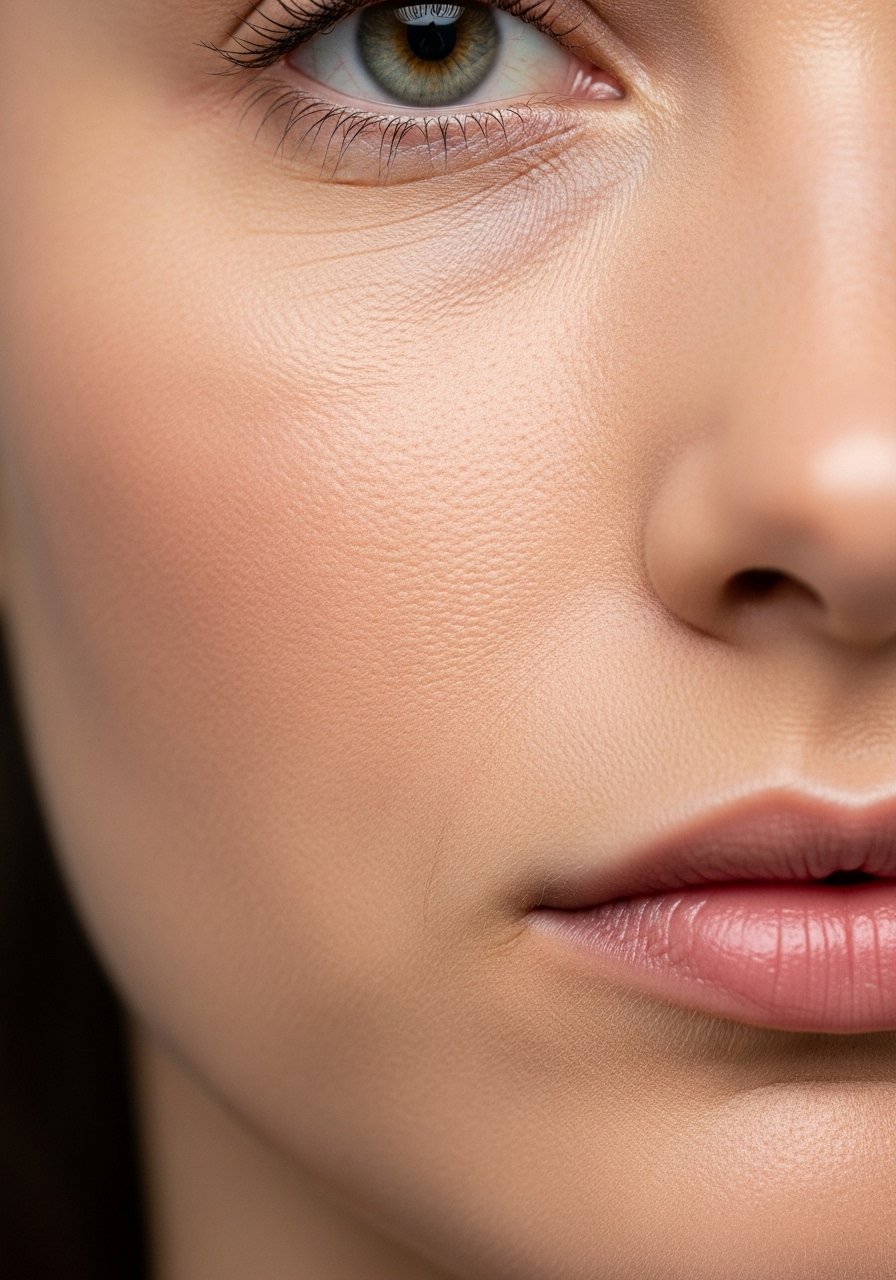
Dewy Highlight with Creams
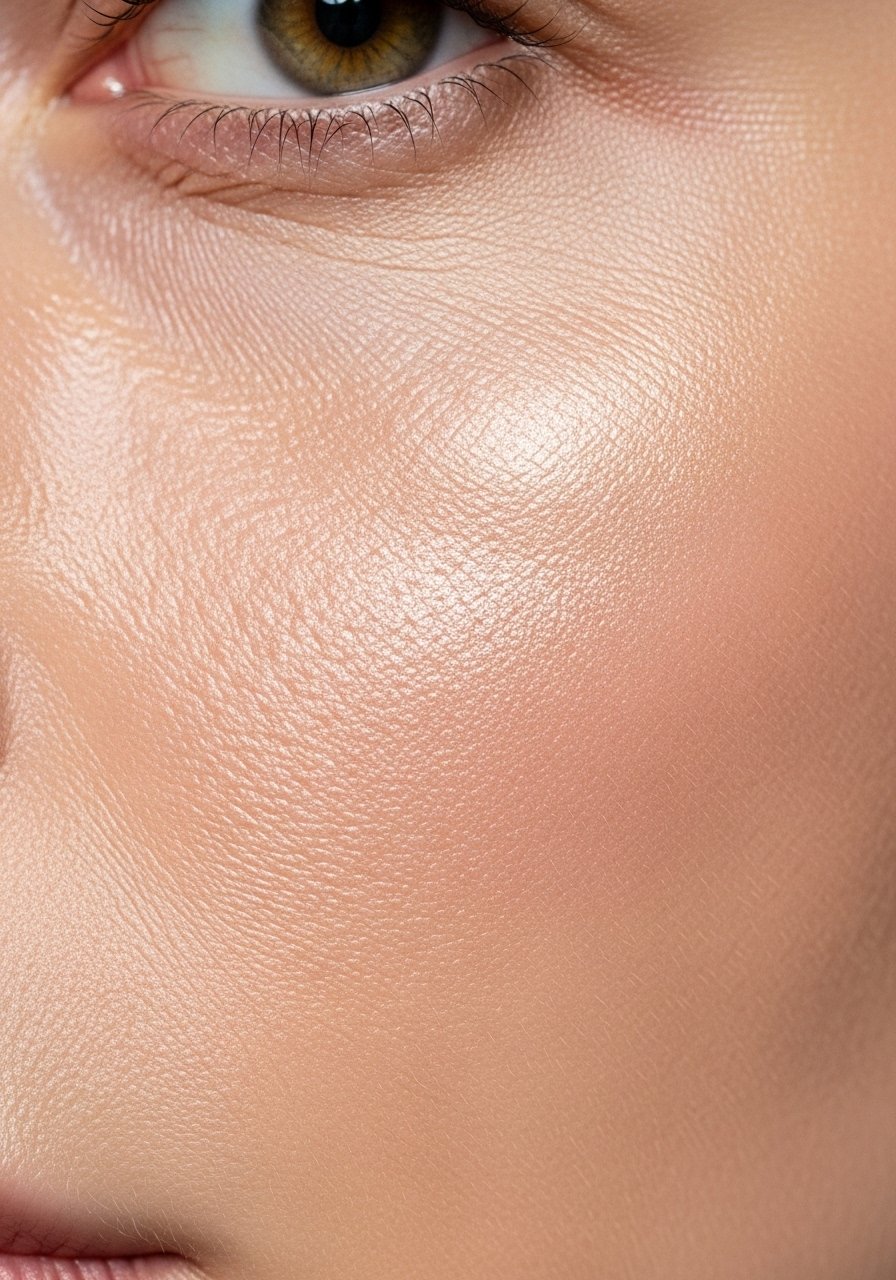
A cream highlighter dabbed on the high points of cheekbones and Cupid’s bow keeps glow realistic. I use my ring finger to tap a pearl-toned cream and blend into the skin—no powders, no shimmer overload. For longevity, I start with a thin layer of hydrating-serum earlier in the routine. This method reads like moisturized skin rather than a spotlight.
Mistake to Avoid:
Don’t over-apply—too much makes skin look oily rather than luminous.
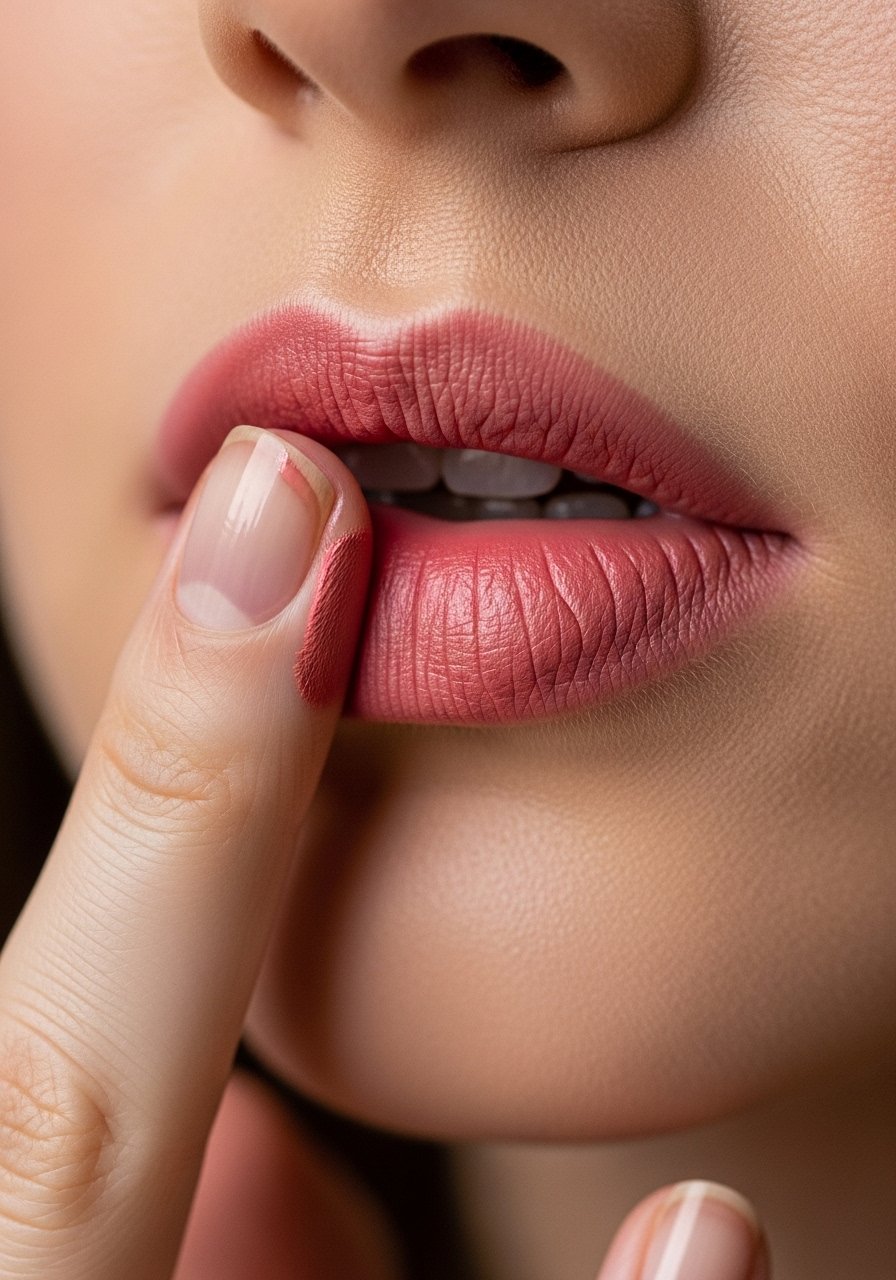
Sheer Lip Stain Blotted
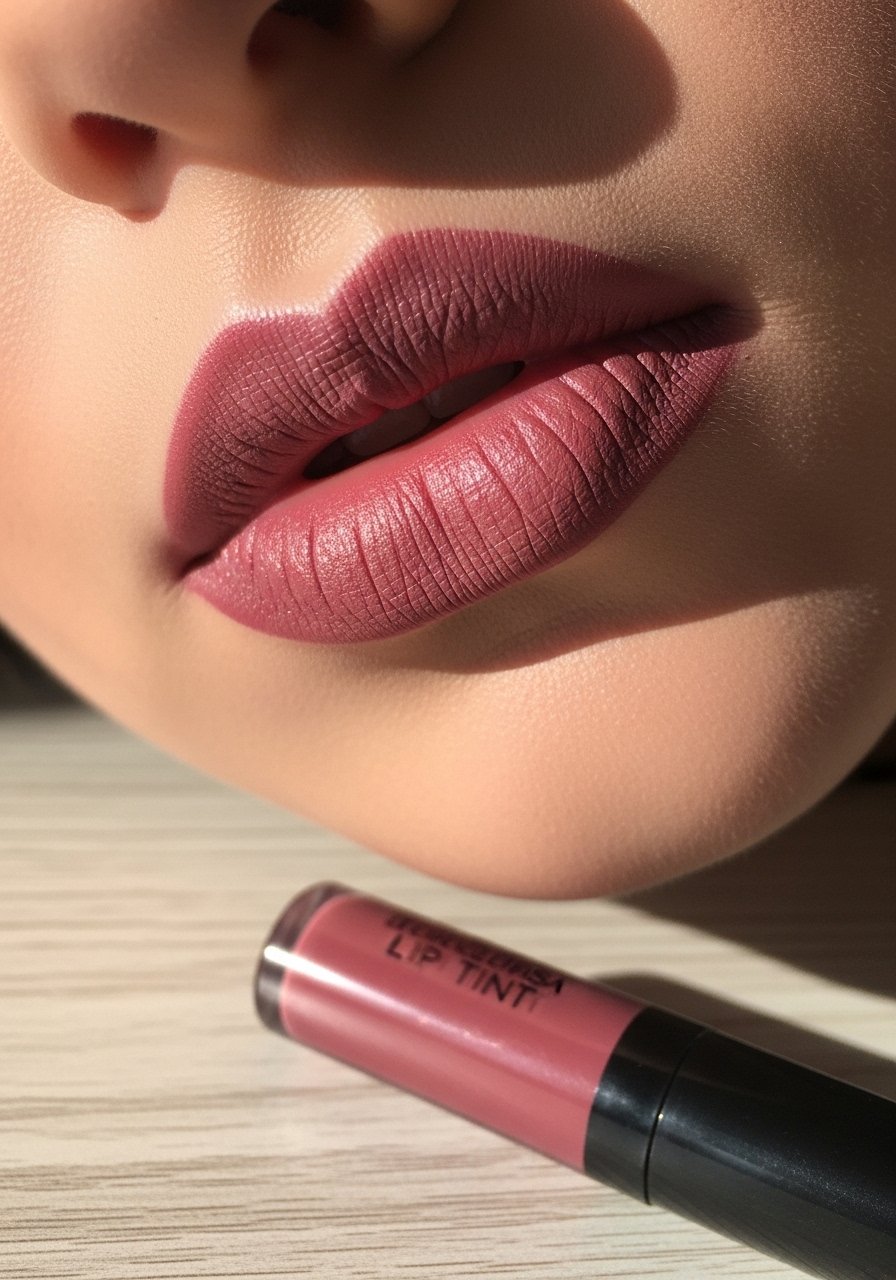
For lips I prefer a stained, blotted finish—apply a sheer-lip-tint to the center of the lips, press with a tissue, and blot. This creates a lived-in color that lasts and doesn’t smudge onto cups. I keep two shades—one warm, one neutral—and switch depending on mood. It’s fast, low-maintenance, and feels comfortable all day.
Mistake to Avoid:
Don’t over-line—keep the natural border for softer, more believable color.
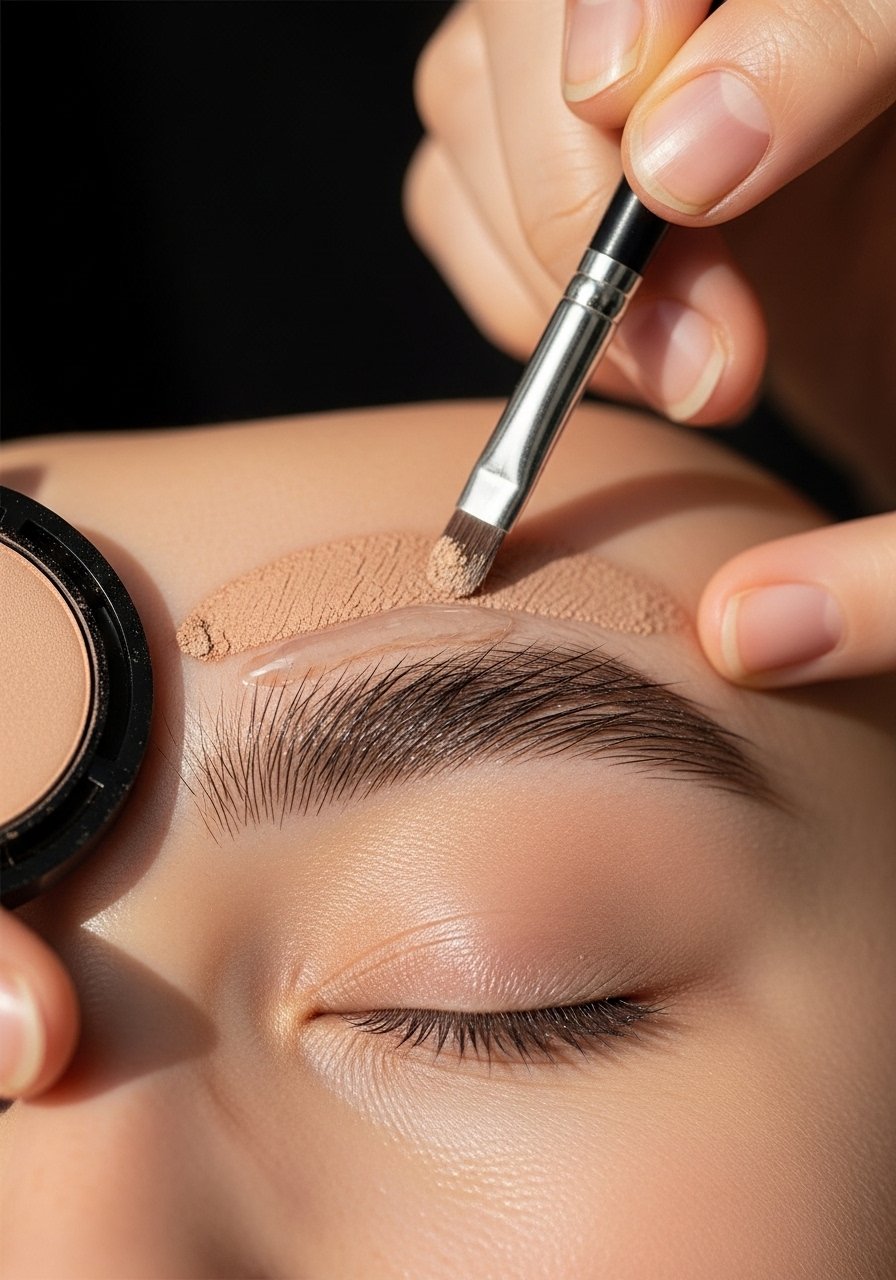
Tinted Brow Powder for Soft Definition
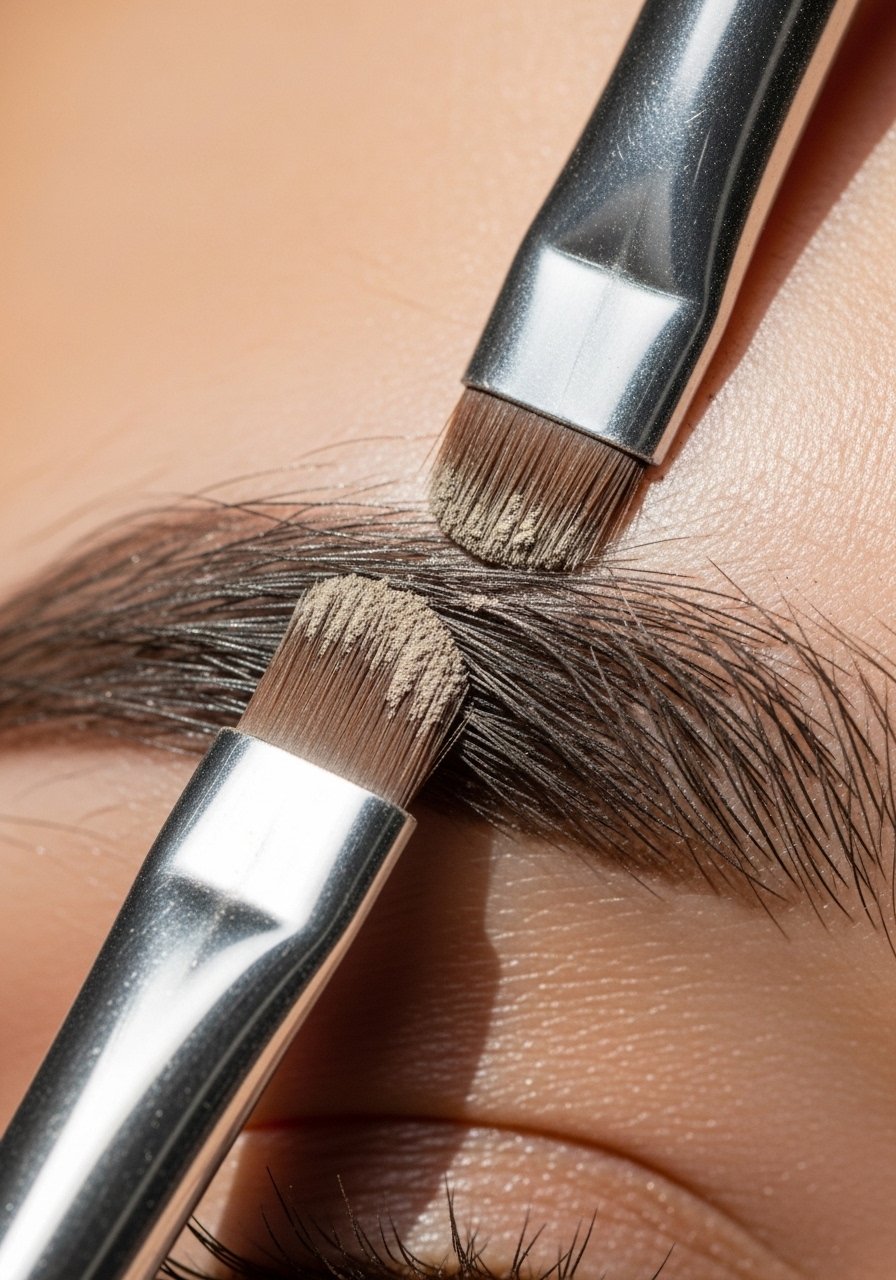
If you want a slightly more defined brow without sharp lines, I use an angled brush with a brow powder from a neutral-eyeshadow-palette and set it with brow-gel. The powder fills gaps but never looks drawn-on. This is my go-to for dates when I want structure but not a heavy brow moment.
Mistake to Avoid:
Don’t create a harsh tail—blend backward slightly to soften edges.
Soft Liner Smudged with Shadow
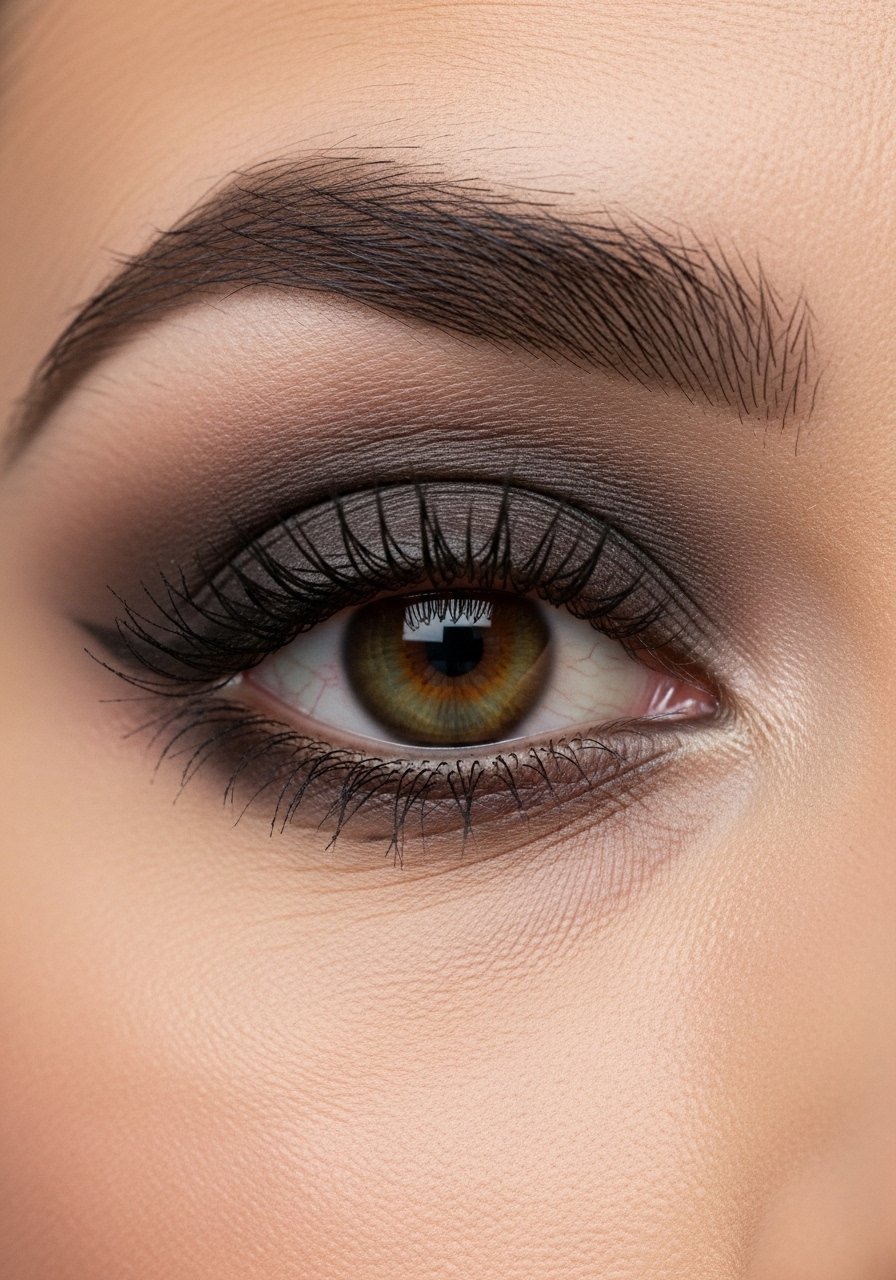
I tightline the upper waterline with a soft pencil and immediately smudge it with a small brush and a matte shadow from a neutral-eyeshadow-palette. The result reads like natural depth at the lash base rather than obvious liner. It’s especially flattering for hooded eyes; the smudged effect avoids a stale, harsh line and makes lashes appear denser.
Mistake to Avoid:
Don’t line the lower waterline dark—this closes the eye.
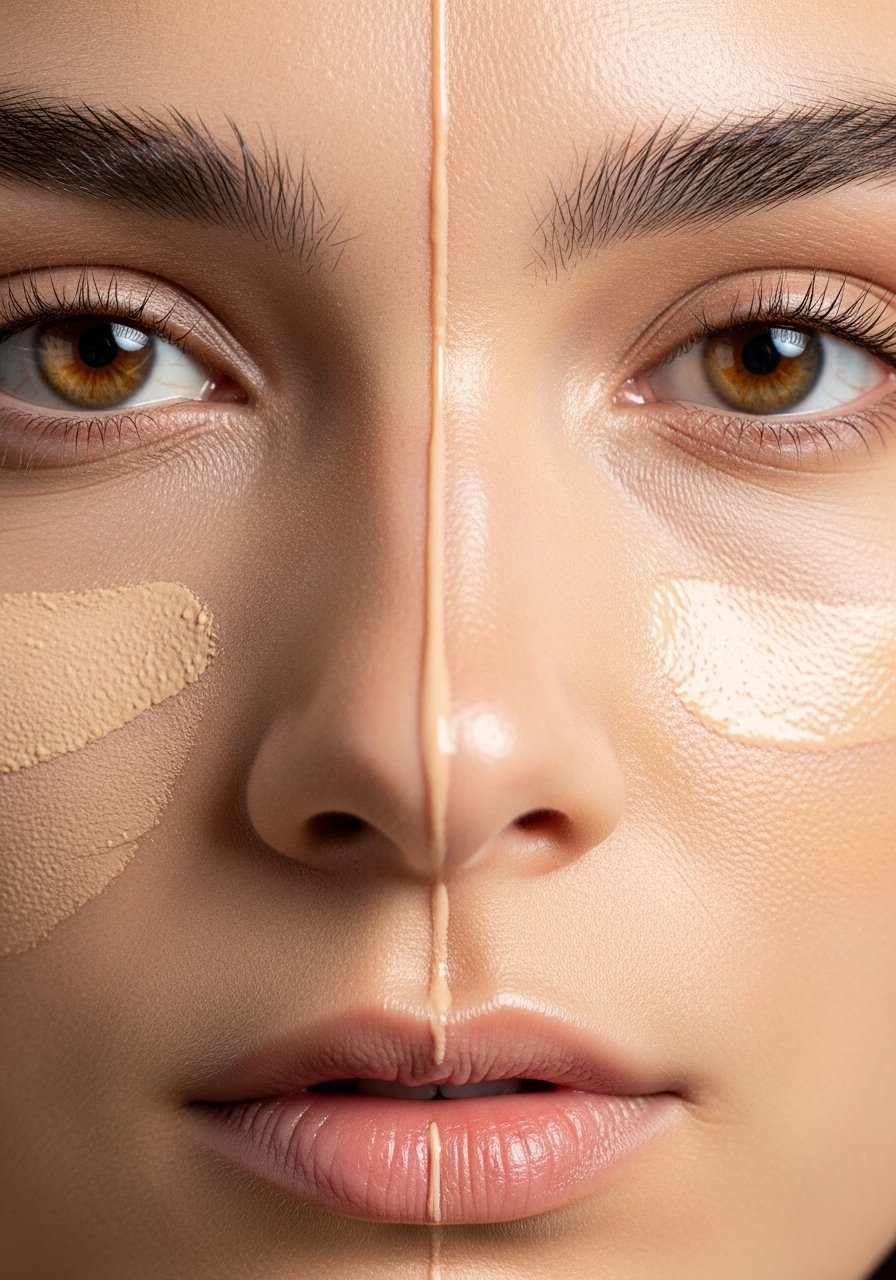
Minimal Contour with Cream Bronzer
A cream bronzer swept under cheek hollows and on temples gives subtle shape without a sharp contour line. I use a small stippling brush to diffuse the product and warm it further with finger blending. Cream products meld better with skin for a believable warmth. I often use the same product as a light eyeshadow for cohesion.
Mistake to Avoid:
Don’t use too-dark shades—keep it one or two tones warmer than your skin.
Fresh Five-Minute Face
When I have five minutes I do tinted moisturizer, quick concealer dots, one sweep of cream blush, brows brushed up, and mascara. I’ll reach for a multipurpose cream-blush I can use on eyes and lips and a lengthening-mascara to open the eyes. This routine is my most-repeated; it’s efficient and translates well in photos and in-person.
Mistake to Avoid:
Don’t skip blending—even quick routines need to be smudged and softened.
Glowy Dry-Skin Base
If my skin is dry, I swap in an oil-based primer or richer hydrating-serum under a tinted formula; sunscreen-moisturizer hybrids work well. I avoid powder except on the very center of the T-zone and rely on cream blushes and highlights for radiance. This look keeps makeup from flaking and feels comfortable all day.
Mistake to Avoid:
Don’t use matte powders all over dry skin—they accentuate flakes.
Matte but Natural for Oily Skin
For oilier skin I use a mattifying primer in the T-zone and a light, oil-free tinted-moisturizer. I set only the center of the face with setting-powder and finish with a setting spray that blurs. This combination gives control without a chalky look and keeps makeup from migrating during long days.
Mistake to Avoid:
Don’t over-powder—too much makes the rest of the face look dry in contrast.
Monochrome Peach (Cheeks, Eyes, Lips)
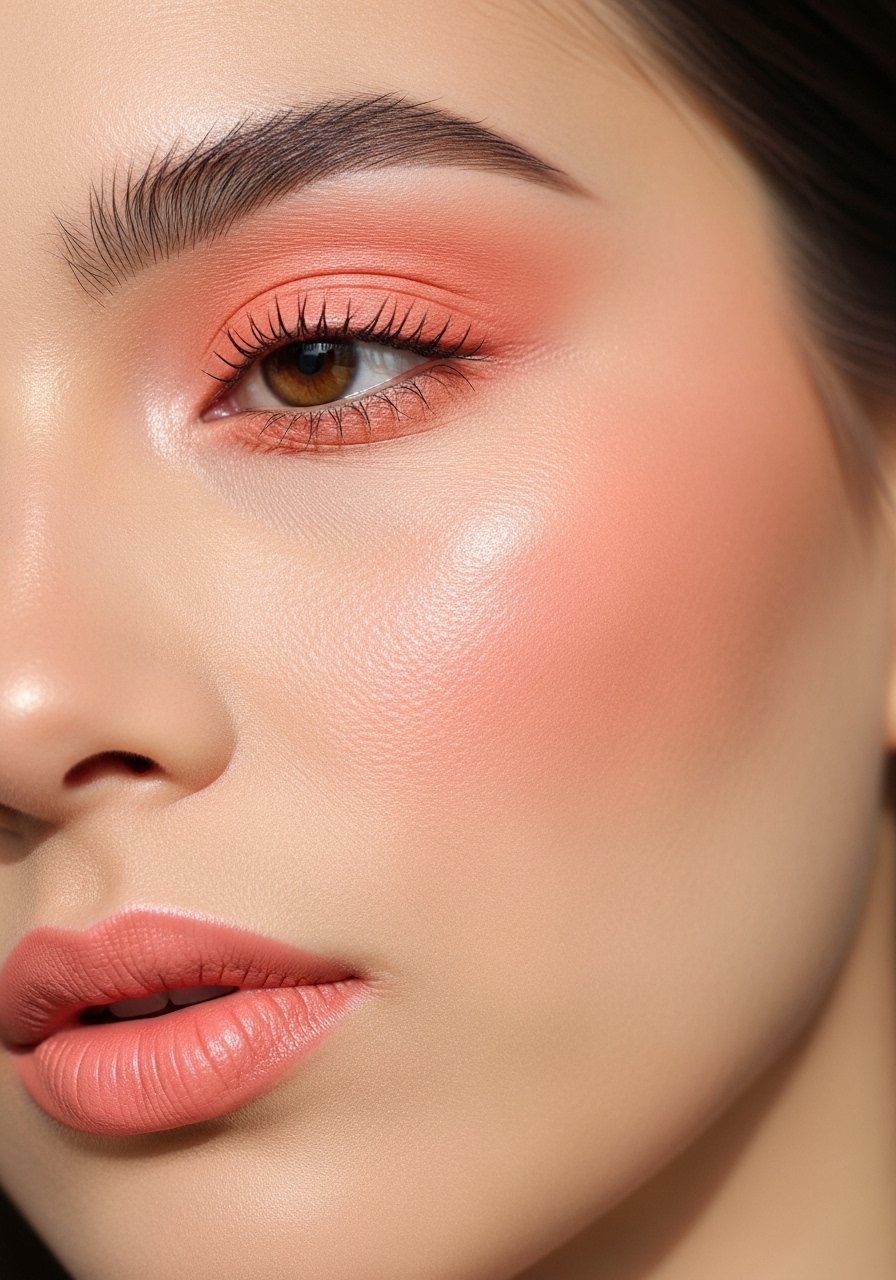
I love using a peach cream on cheeks, a soft peach shadow on lids, and a matching tint on lips. Using one product family creates a cohesive, intentional look without many steps—grab a cream-blush and a small brush to sweep onto lids. It’s soft, wearable, and excellent for days when I want to feel pulled together without effort.
Mistake to Avoid:
Don’t mix cool and warm tones—choose a warm or cool family and stick with it.
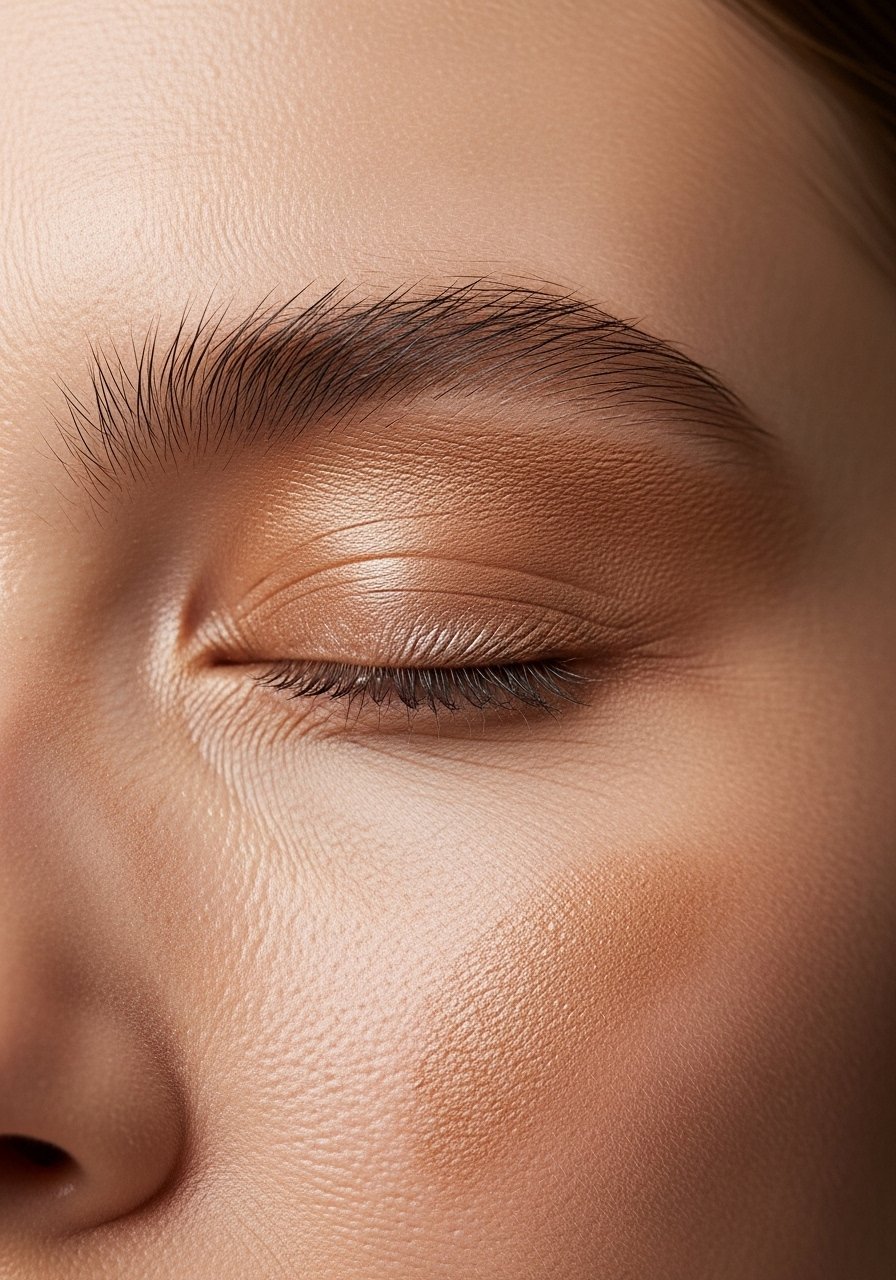
Soft Satin Lid for Meetings
A single satin shade on the lid gives a polished look that still reads natural on webcams. I apply with a synthetic brush and keep the crease clean—this prevents heaviness. Pair with a soft, defined brow and a touch of mascara. This is my default for presentations because it looks intentional without being distracting.
Mistake to Avoid:
Don’t use glitter—satin finishes reflect light gently and stay professional.
Cream Blush as Lip Tint (Dual-Purpose)
A quick, underused trick: use a small amount of cream blush on lips for perfect color match. Dab with a finger and tap to blend, then blot. It’s economical and ensures cheek-to-lip harmony. I often travel with one cream pot that handles both tasks. A cream-blush that’s safe for lips doubles as my go-to multitasker.
Mistake to Avoid:
Don’t use products not labeled for lips—safety first.
Neutral Lip Liner Smudge
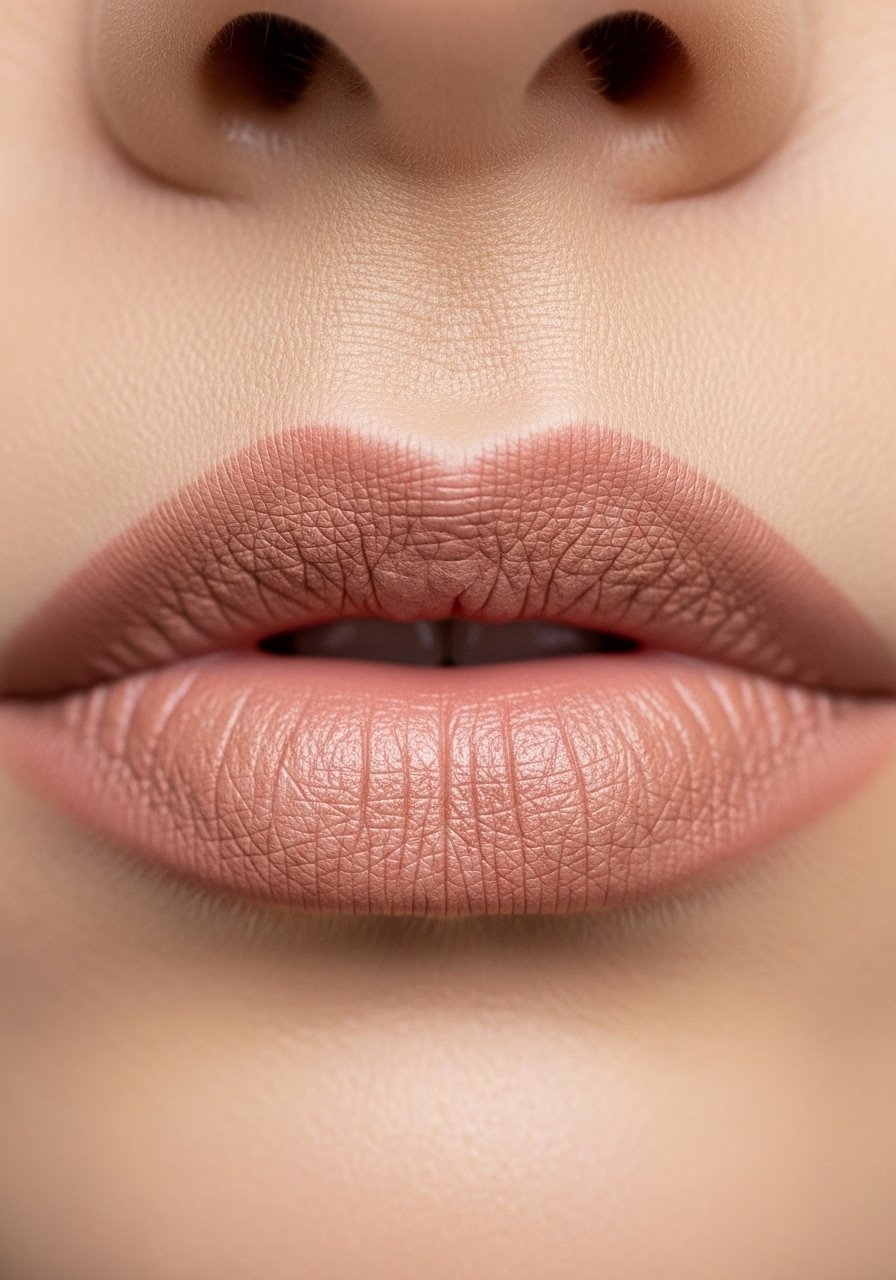
Instead of precise lining, I lightly smudge a neutral liner across the lip edge and blend inward with a fingertip. Pair with a sheer-lip-tint for muted fullness. It reads like natural color and avoids the artificial “drawn-on” border. This technique is especially useful when you want definition without rigidity.
Mistake to Avoid:
Don’t create a harsh line—smudging is the point.
Soft Smoky Lash Line for Evening Transition
If I’m heading from work to evening plans, I smudge a dark brown shadow into the upper lash line, add another mascara coat, and darken the outer third of the lid. It deepens the look without a full smoky eye. Using a brown from a neutral-eyeshadow-palette keeps it soft and wearable.
Mistake to Avoid:
Don’t extend too far outward—keep the shape close to lashes to avoid an overly dramatic shift.
Highlighting Inner Corners Sparingly
A pinpoint of cream highlighter in the inner corner brightens without looking like glitter. I apply with a damp fingertip and blend—just the tiniest dot. It’s a subtle, high-impact trick that makes me look more awake on short-sleep days. A small pot of cream highlighter or a brightening shade from a neutral-eyeshadow-palette does the job.
Mistake to Avoid:
Don’t overdo it—the inner corner should be a hint, not a spotlight.
Natural-Looking Brow Tinting (At-Home)
For a weekend where I want minimal maintenance, I use a temporary at-home brow tint or tinted brow gel to fill and darken softly. It reduces daily effort and gives a framed look for several days. Choose a shade that matches the natural hair tone—too dark looks harsh. I pair this with a clean-up using a tiny spoolie.
Mistake to Avoid:
Don’t choose a tint two shades darker than your hair—keep it natural.
Skin-First Powder for Longevity
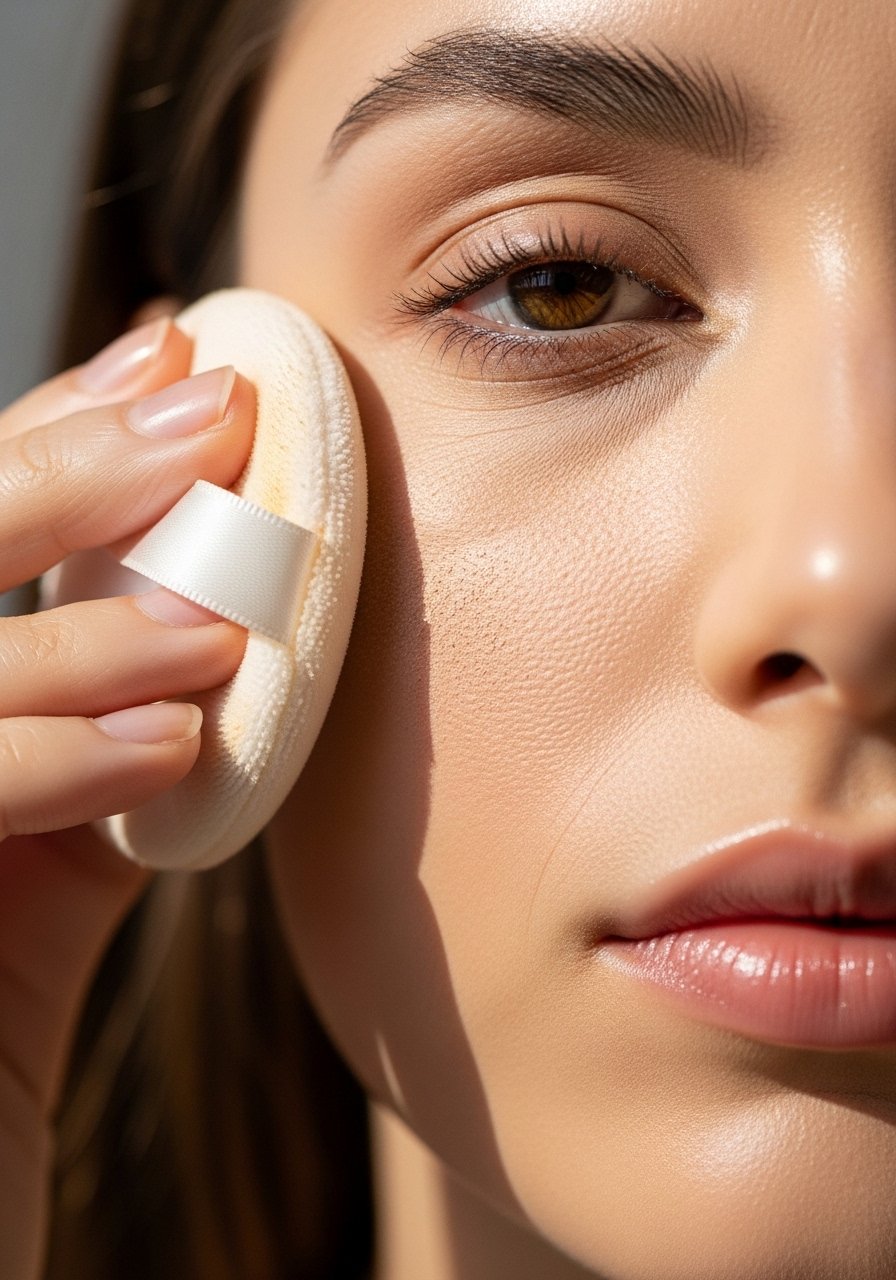
If I need makeup to last through a long event, I press a very small amount of finely milled setting-powder only where necessary (center forehead, nose, and chin). Then I mist with setting-spray to merge layers. This keeps the finish skin-like rather than powdery and reduces mid-day touch-ups.
Mistake to Avoid:
Don’t powder the whole face—strategic placement is key.
Sheer SPF Base for Everyday

On no-makeup days I use a sunscreen-moisturizer hybrid as my base—protection and tint in one. It simplifies my routine and keeps me covered for outdoor time. I’ll add a sliver of concealer on spots and a flushed cheek. This is my weekend default and I reach for it at least twice a week when I want to keep things minimal.
Mistake to Avoid:
Don’t skip SPF—always choose a product with reliable UVA/UVB protection.
Neutral Eyeshadow as Brow Gel (Creative Hack)
A hack I picked up: mix a tiny amount of neutral powder shadow with clear brow gel on the back of your hand and apply to sparse areas. It creates a softer tint than a pencil and can be tailored to match hair color perfectly. I use a small angled brush and this keeps brows cohesive with eye color without looking overly structured.
Mistake to Avoid:
Don’t mix too much powder—start with a little to avoid clumping.
Combination Cream-Liquid Approach
For unpredictable days, I combine cream products (blush, bronzer, highlight) with a light liquid base for longevity and blendability. Creams sit on top and look like skin, liquids give coverage. I often finish with a misting of setting-spray and a soft brush blend. It’s flexible and feels comfortable even after hours of wear.
Mistake to Avoid:
Don’t layer thick products over thin ones without blending—they can separate.
Makeup Tips
One-Product Multi-Use: Keep a neutral cream-blush to use on cheeks, lips, and lids for cohesion and fewer products.
Quick Texture Fix: When skin looks flat, add a drop of hydrating-serum to your tinted base for instant life.
Long-Wear Hack: Press a tiny bit of setting-powder into the center of the face, then mist with setting-spray to keep a skin-like finish that lasts.
Tool Choice Matters: Use a damp beauty-blender for sheer coverage and a dense brush for cream-to-powder swaps.
Match Warmth: Pick cheek and lip tones within the same warmth family—warm peaches with warm lips, cool roses with cool lips—for effortless coordination.
Refresh Without Reapplying: Dab a little hydrating-serum onto dry patches and reblend to revive dewy looks mid-day.
Minimalist Palette: Carry a small neutral-eyeshadow-palette that covers crease, lid wash, and brow fill to reduce decision fatigue.
