
I used to dread painting because of drips, uneven coverage, and the cleanup. After a few room makeovers I learned that the real difference between a DIY job and a pro finish is in the prep and the right tools. With a weekend, careful prep, and a few budget-friendly upgrades I often save $300–$600 compared with hiring a painter and end up with a result that feels polished and intentional.
This guide covers everything I do from emptying the room to the final topcoat, aimed at common rooms and a modest budget. Expect to spend a weekend for a single bedroom or 1–2 days for larger spaces; I’ve noticed that spending 30–60 minutes on prep often saves 2–3 hours of rework later. You’ll learn time-saving tricks, pro tips I use, and cost-smart product picks.
What You'll Need
Paint & Primer:
- Interior-paint (~$25-$60/gallon)
- All-purpose-primer (~$15-$30/gallon)
Application Tools:
- Roller-kit (~$15-$35)
- Angled-brush (~$6-$15)
Prep & Repair:
- Painter-s-tape (~$5-$12)
- Spackle (~$5-$12)
- Caulk-gun (~$8-$25)
Protection & Accessories:
- Drop-cloth (~$10-$30)
- Edger-tool (~$12-$25)
- Extendable-ladder (~$60-$150)
Prep the Room: Clear, Protect, Inspect
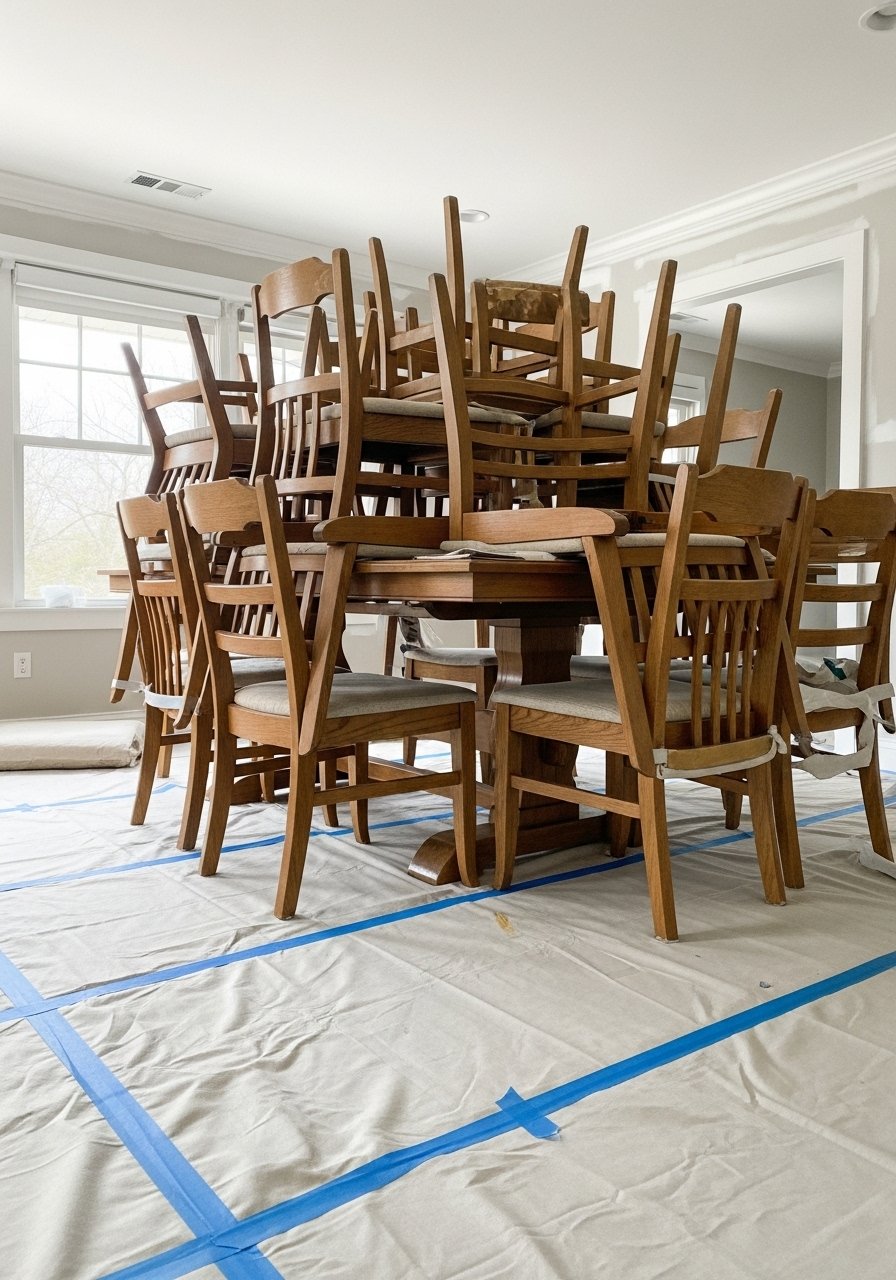
Start by removing as much furniture and wall decor as possible; anything left should be centered and covered with a drop cloth. Remove outlet and switch plate covers to avoid taping around them. Inspect walls for peeling paint, moisture, or mold—address those before painting. I always vacuum surfaces and wipe with a damp microfiber to reduce dust; this small step cuts visible flaws later. Common mistake: skimping on moving furniture—expect scuffs and trapped dust if you don't. Example: for my guest room, a 20-minute sweep before priming reduced sanding hours afterward. Use a drop-cloth and painter-s-tape.
Repair and Smooth Walls: Fill, Sand, and Caulk
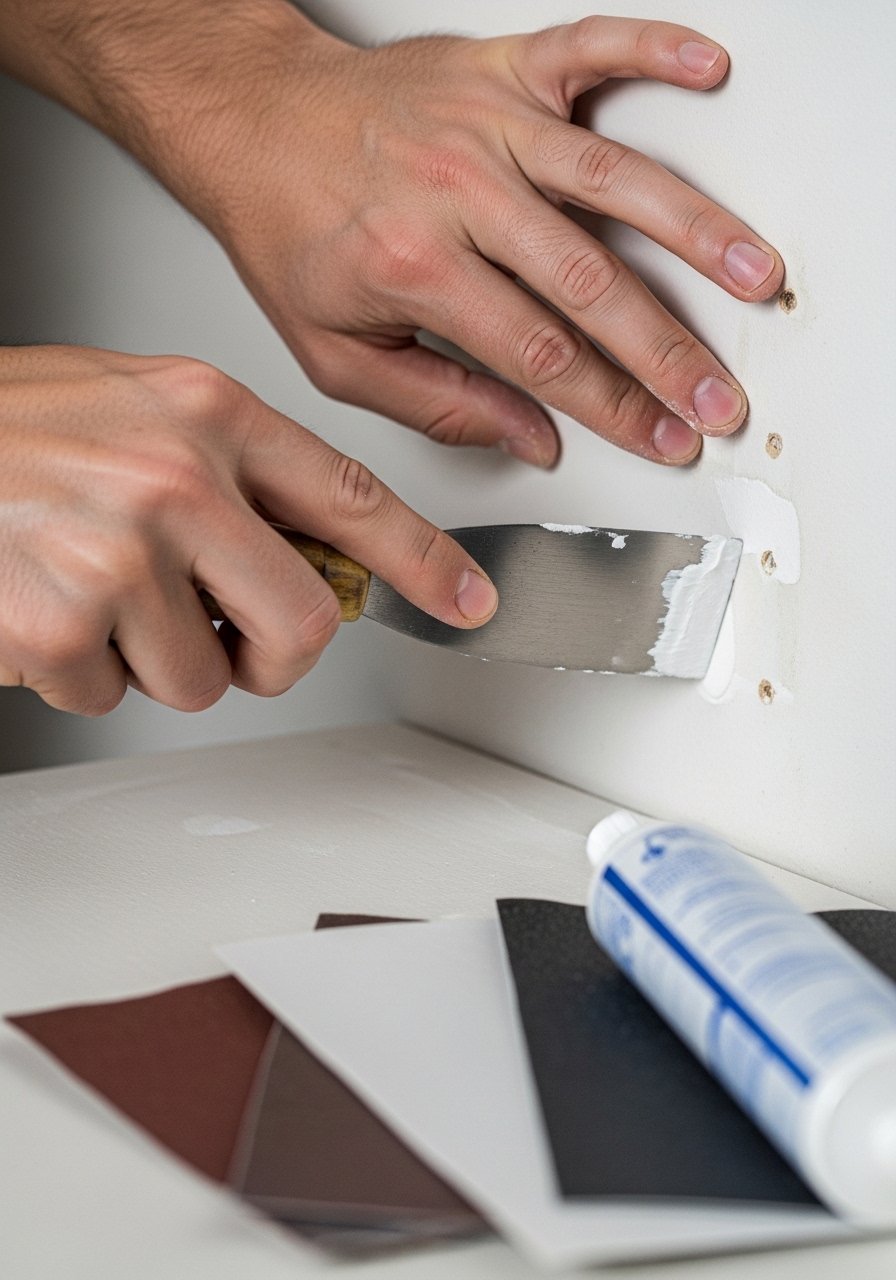
Patch holes with spackle, let dry, then sand smooth with fine-grit paper. Run your hand over repaired areas to feel for bumps—you’ll see them once painted if untreated. Use caulk to seal gaps between trim and drywall for crisp lines. I’ve found that spending 15–30 minutes on repairs per wall saves at least one touch-up session later. Common mistake: painting over rough repairs; always sand. For stubborn holes I use spackle and a small sanding block for control. A caulk-gun helps finish edges neatly.
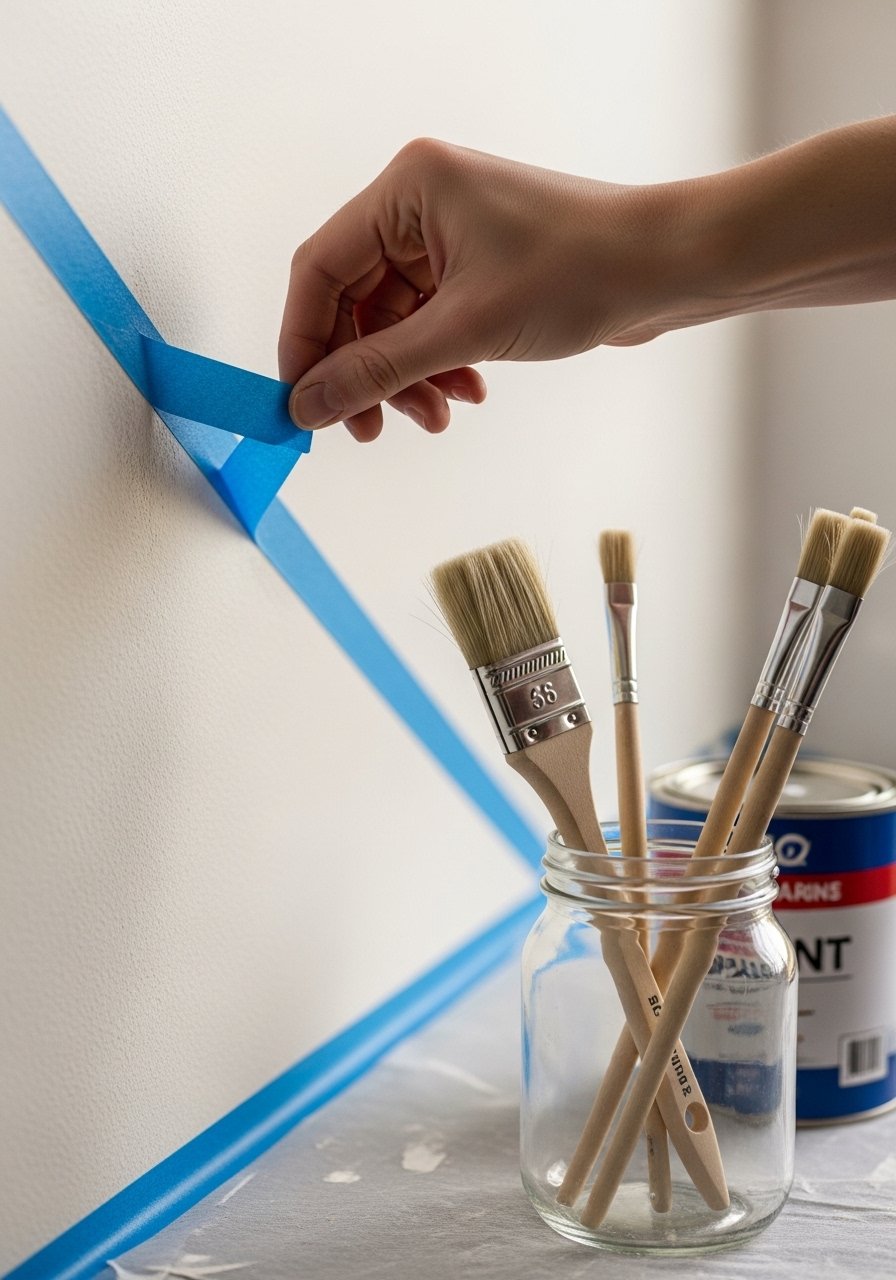
Tape Like a Pro: Strategic Masking and Protection
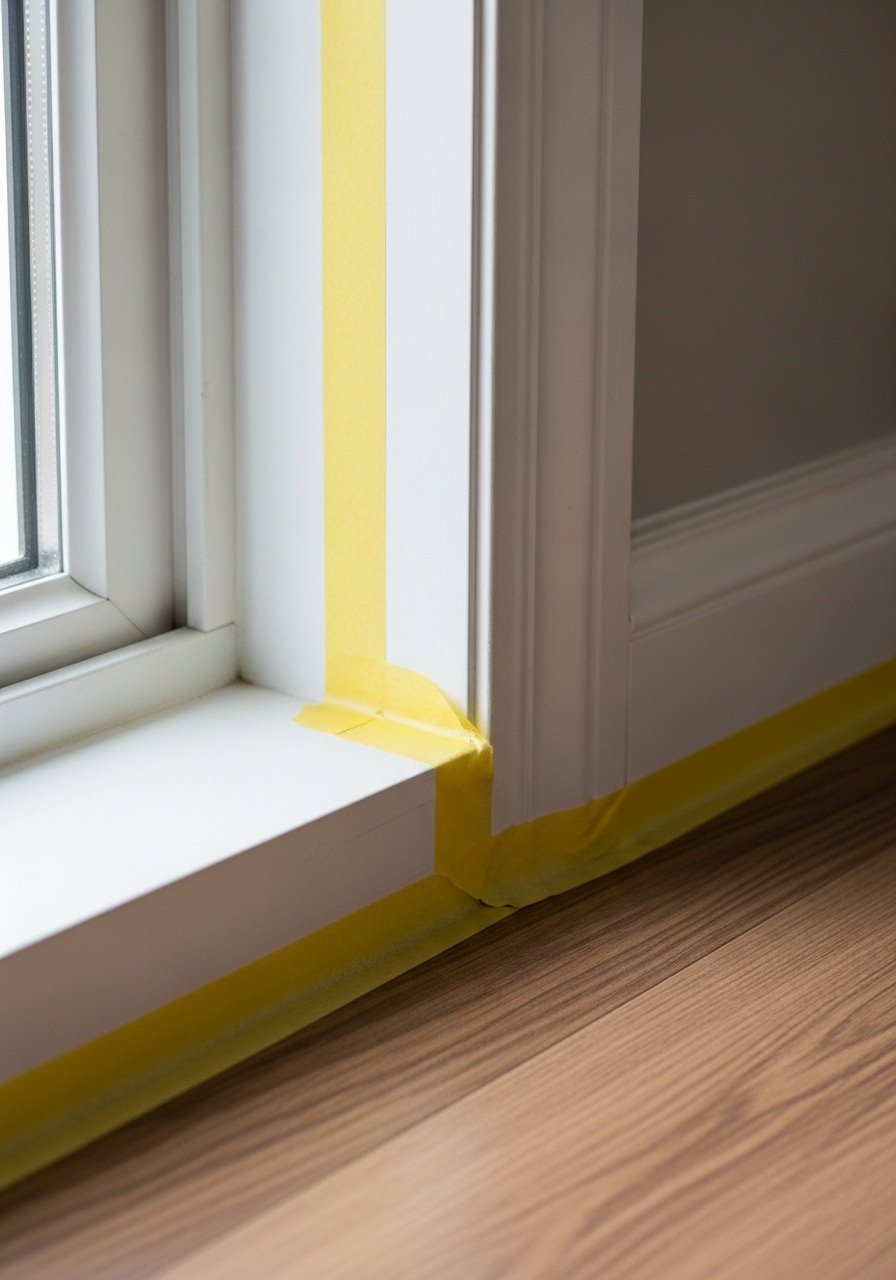
Apply painter’s tape to protect trim, windows, and outlets. Press tape down firmly with a putty knife or a clean credit card to prevent bleed-through. I usually mask off larger areas then remove any excess tape after the first coat sets but before full cure—this prevents peeling paint. Common mistake: leaving tape too long; it bonds and tears paint when removed. For crisp lines use painter-s-tape and a small plastic edger to press it flat. I’ve noticed careful taping cuts visible mistakes by nearly half.
Prime for Success: When and How to Prime
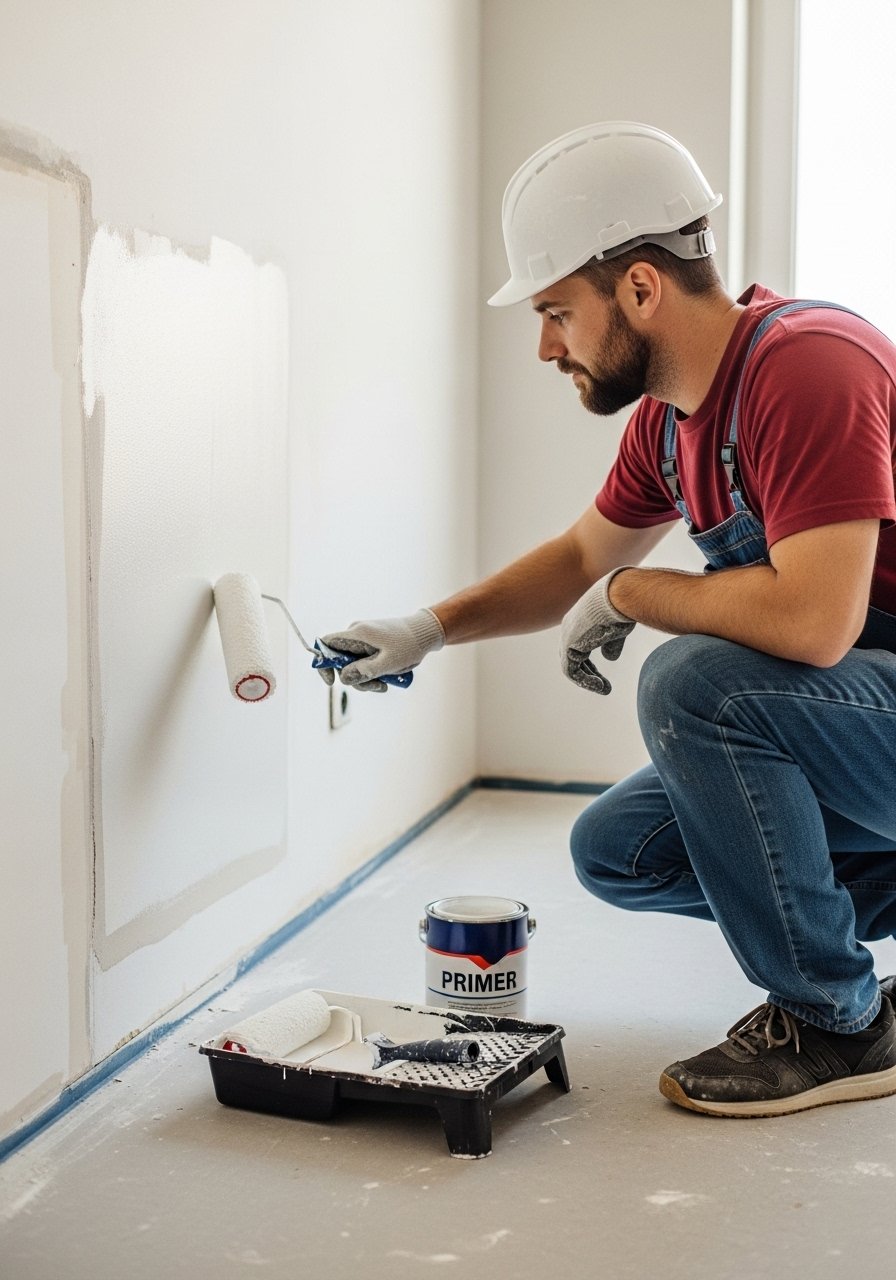
Prime glossy, stained, or patched areas with an all-purpose primer to promote adhesion and even coverage. If you’re changing from a dark to a light color, a full-coverage primer saves coats of finish paint. I’ll often spot-prime patched spots and prime trim that’s been sanded. In my experience, priming reduces touch-ups by roughly 60% on problem walls. Common mistake: skipping primer on repaired drywall—paint will show uneven absorption. Use all-purpose-primer and a roller-kit for efficient application.
Cut In Carefully: Edges, Corners, and Ceilings
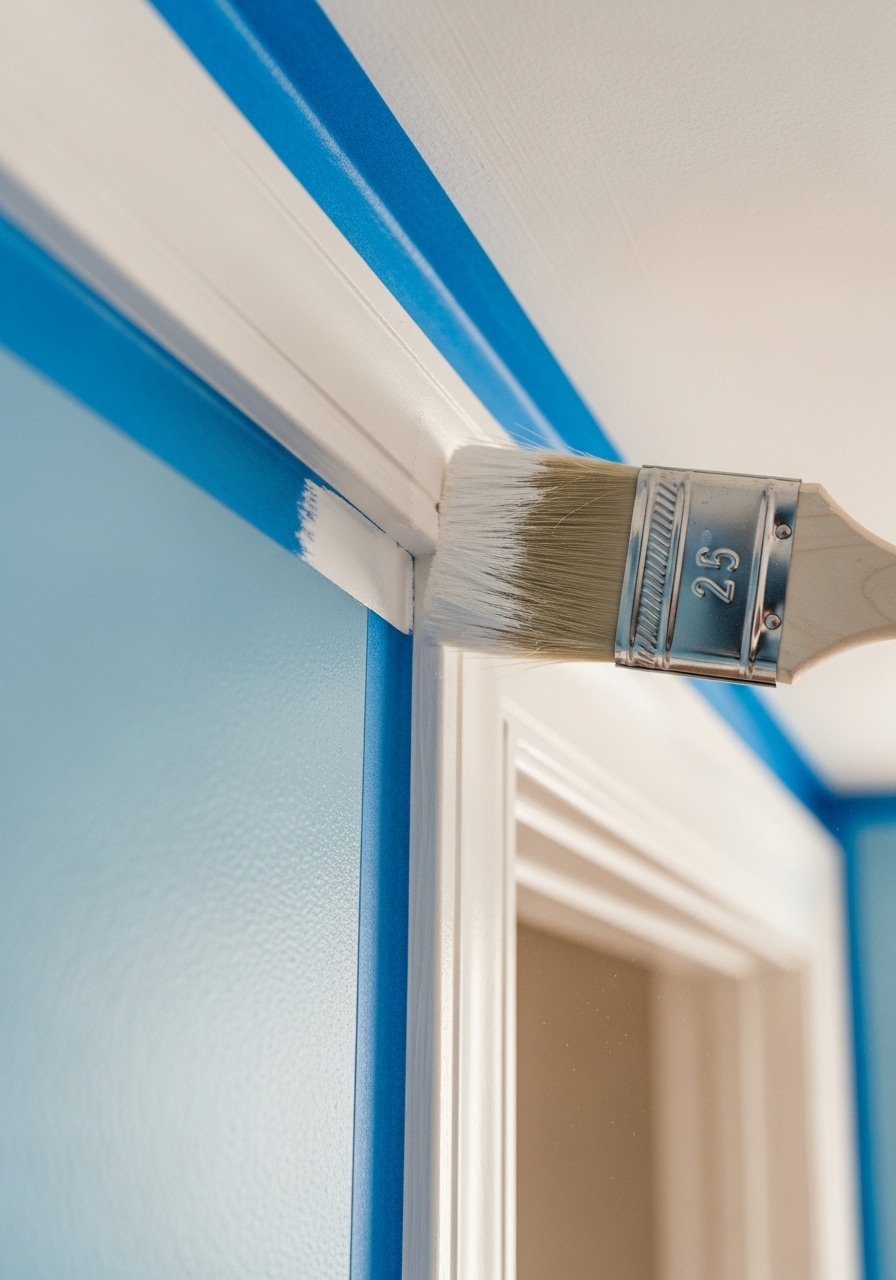
"Cutting in" means painting narrow bands along trim, ceilings, and corners before rolling the large areas. Use a high-quality angled brush and work in manageable sections, maintaining a wet edge to blend later with the roller. I prefer cutting in about 4–6 inches at a time, then immediately rolling that area to unify texture. Common mistake: overloaded brush—causes drips and uneven lines. Use an angled-brush and keep a damp cloth handy for quick corrections. Most times, careful cutting yields professional-looking lines without elaborate tools.
Roll Efficiently: Technique for Smooth Coverage
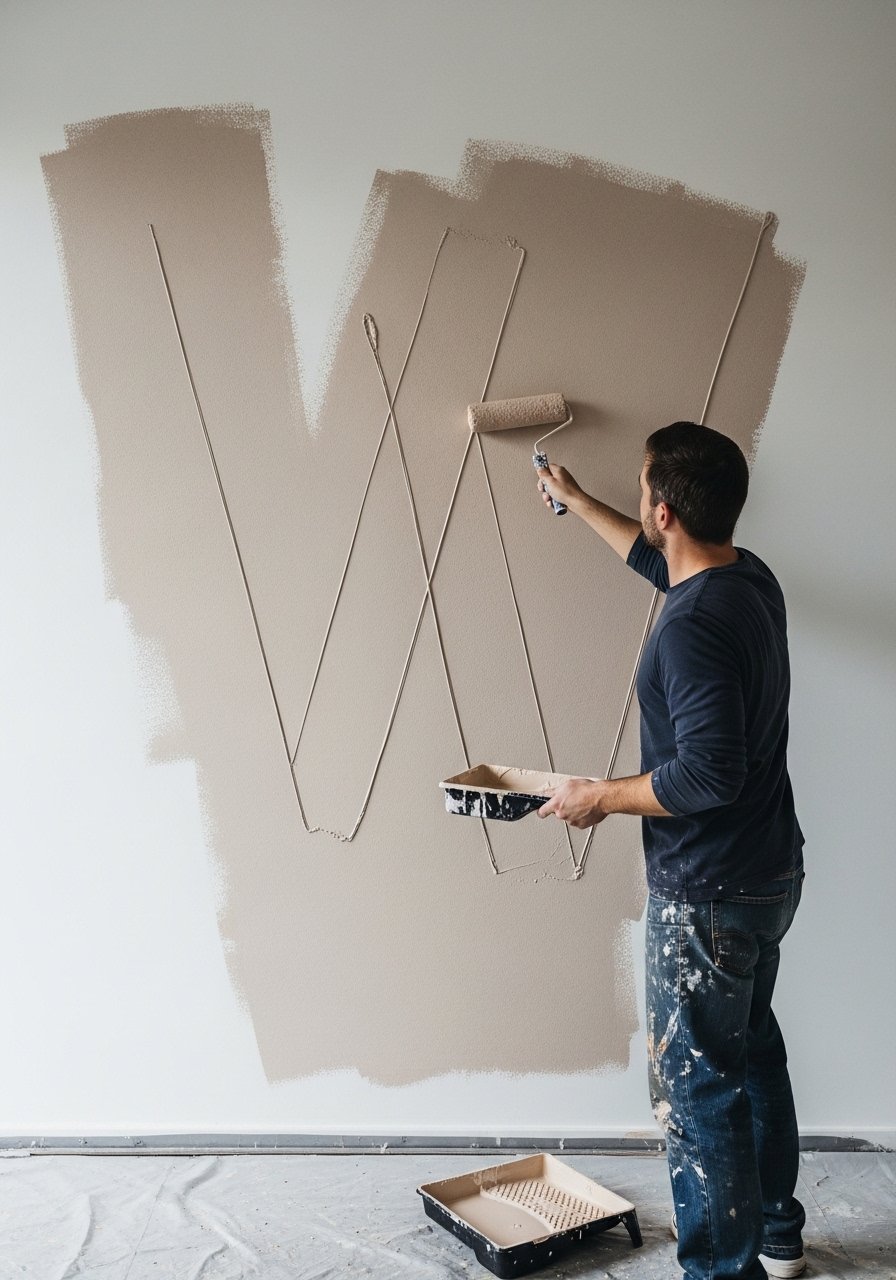
Load the roller evenly and apply paint in a W or M pattern, then fill in without pressing hard. Work top to bottom and keep a wet edge to avoid lap marks. For best coverage, use a 3/8"–1/2" nap depending on wall texture—smoother walls need shorter naps. I often apply two thin coats rather than one heavy coat; it hides brush strokes and reduces drips. Common mistake: over-rolling a drying edge—this creates visible seams. A good roller-kit and interior-paint make this step fast and even.
Finish Strong: Remove Tape, Touch Up, and Clean
Remove tape while paint is slightly tacky to avoid peeling finished edges, and touch up small spots with an angled brush. Clean brushes and rollers immediately per manufacturer instructions—proper cleaning extends tool life and saves money. Label leftover paint with date and room name for future touch-ups. I almost always save at least one weekend repair when I store a small sample can for each room. Common mistake: leaving tape too long or tossing leftover paint—keep it for the inevitable nick.
Decorating Tips
Use sample boards: Paint large poster boards with your chosen colors and move them around the room at different times of day to check light. This beats relying on tiny swatches and prevents regrettable color shifts. Consider mounting on a clipboard for easy handling.
Upgrade one tool: A better angled brush costs $10–$15 but prevents brush strokes and sheds less. I link my favorite angled-brush and it pays off in cleaner edging.
Two thin coats over one thick: Thin coats dry faster, level better, and reduce drips. I usually plan for two coats—it’s saved me multiple touch-up trips and feels like pro work.
Edge with an edger tool for speed: An edger-tool can cut in faster without extra tape when you’re on a tight schedule.
Protect floors with layered drop cloths: Layer lightweight drop cloths or contractor paper for high-traffic areas—cheap insurance against spills and heavy foot traffic during the job. I reuse cloths to save money.
Label and store leftover paint: Keep a small, labeled sample for each room—matching finishes later is much easier. I store cans upright in a cool, dry spot to extend life.
Work top to bottom, left to right: Maintain a systematic approach—ceiling first, walls next, then trim. It keeps momentum and reduces the risk of missing a spot when you’re tired.
Conclusion
Painting well is mostly about preparation, honest pacing, and the right tools—three things I lean on every time. With careful prep, two quality coats, and modest investments in tape, brushes, and a roller, I regularly save a few hundred dollars and enjoy a room that feels refreshed and intentional. Final tip: carve out one uninterrupted weekend and don’t rush the prep; the difference shows in every edge and corner.
