
I used to dread chipped polish after two days, so I taught myself salon-level gel at the kitchen table. After dozens of attempts I figured out the prep, thin-layer technique, and curing rhythm that keep gels smooth and long-lasting. This guide shares what I use, mistakes I avoid, and simple hacks so you can get pro-looking gel nails at home and enjoy salon wear without the appointments.
I wrote this for someone who wants neat results without pro training. Expect about 60–90 minutes for a first full set, budget-friendly gear under ~$100, and reusable tools. I’ll cover prep, application, curing technique, and upkeep so your gel nails last longer; I’ve noticed most people get 2–3 weeks of wear with proper prep, and I save roughly $300 a year doing my own gels.
What You'll Need
Tools & Brushes:
- LED-Nail-Lamp (~$20-40)
- Nail-File-and-Buffer-Set (~$6-15)
- Cuticle-Pusher-and-Nipper (~$8-20)
Base & Top Coat:
- Acid-Free-Base-Coat-Gel (~$8-18)
- High-Gloss-Top-Coat-Gel (~$8-18)
Polishes & Designs:
- Soak-Off-Gel-Polish-Set (~$12-30)
Finishing & Extras:
- Nail-Cleanser-or-Rubbing-Alcohol (~$5-12)
- Lint-Free-Wipes (~$5-10)
Step 1: Remove, File and Shape for a Smooth Base
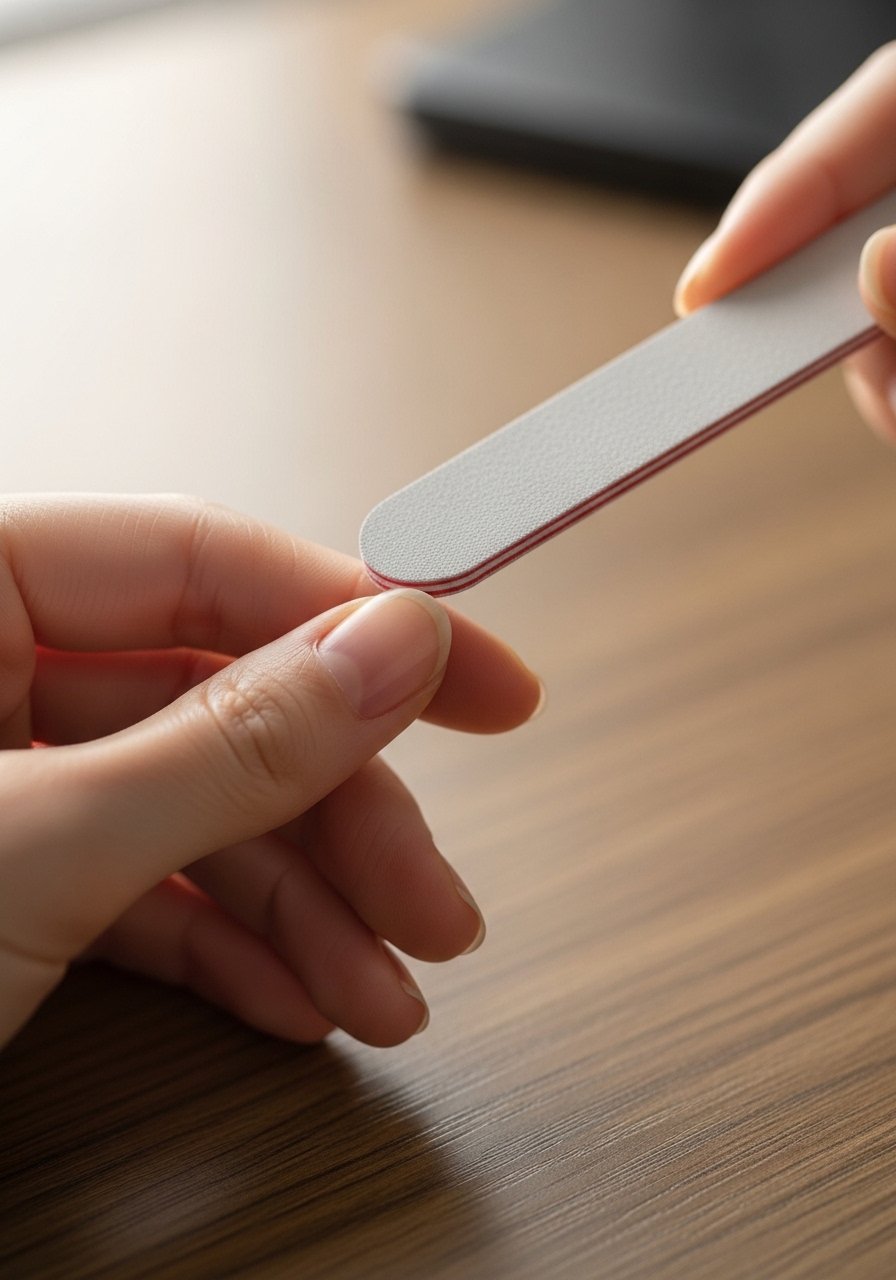
Start by removing old polish and gently filing to your desired length—shorter nails hold gel best. Use a 180/240 file to shape and a buffer to dull the natural shine; this gives base coat something to adhere to. I use Nail-File-and-Buffer-Set here. Common mistake: over-buffing the nail plate (I did this once and nails became paper-thin). Example: I keep nails around 2–3 mm beyond fingertip for daily wear, which reduces lift around tips.
Step 2: Push Cuticles and Clean Thoroughly
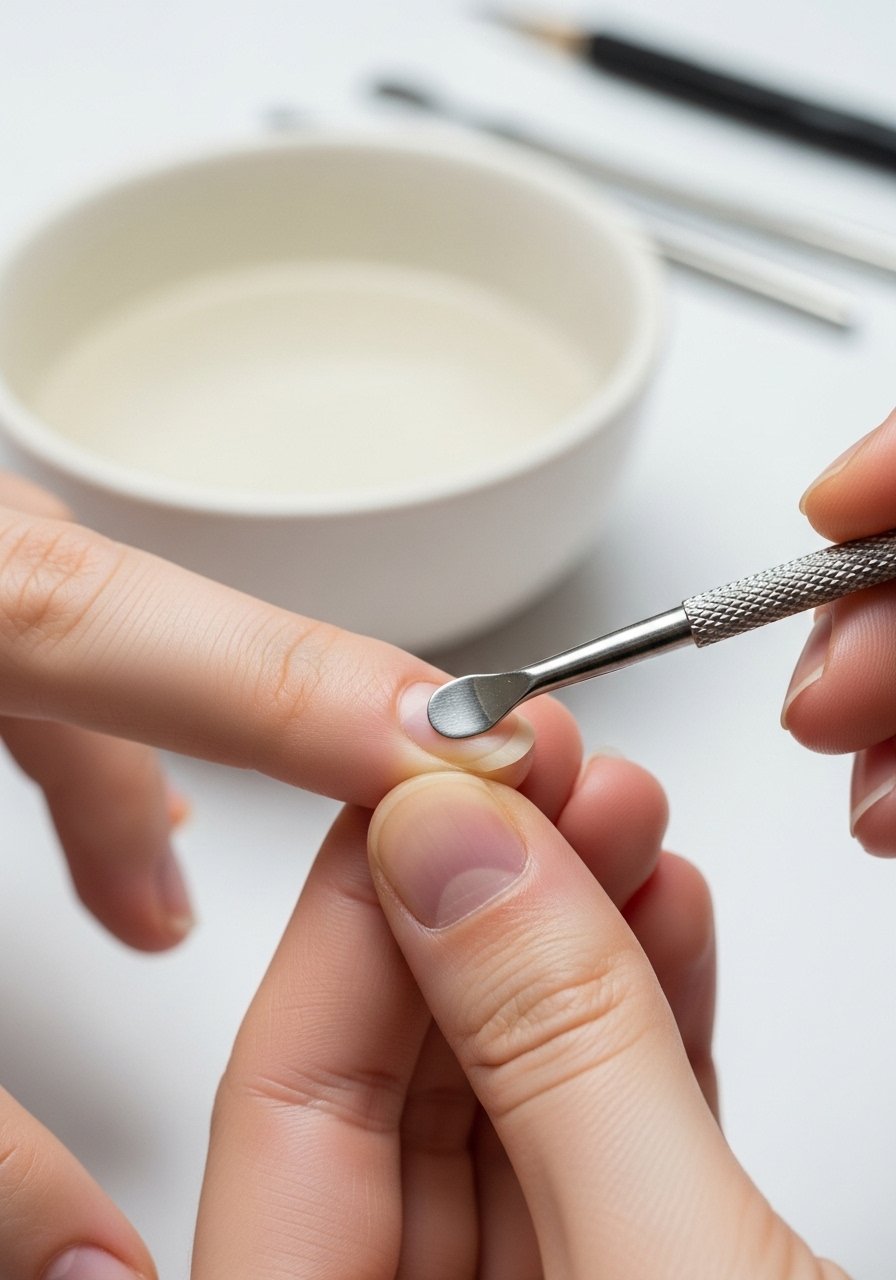
Soak hands for a minute, push cuticles back gently, and trim any excess skin with a nipper if needed. Follow with a lint-free wipe soaked in Nail-Cleanser-or-Rubbing-Alcohol to remove oils—I've noticed this step reduces lifting by about 30% when done consistently. Common mistake: cutting healthy cuticle too aggressively; I learned to only remove hanging skin. Example: after a weekend gardening session I always re-cleanse to remove oils before starting.
Step 3: Apply Primer and Thin Base Coat

Apply a dehydrator/primer sparingly to the nail plate (avoid skin) and cure if your primer guidelines call for it. Next, paint an ultra-thin layer of Acid-Free-Base-Coat-Gel and cure under your LED-Nail-Lamp. Why thin layers: they cure fully and prevent heat spikes. Common mistake: globbing on base coat—this causes lifting. Example: I used to apply thick base coats and saw premature peeling; thinning the coat solved it.
Step 4: Paint Color in Two Thin Layers
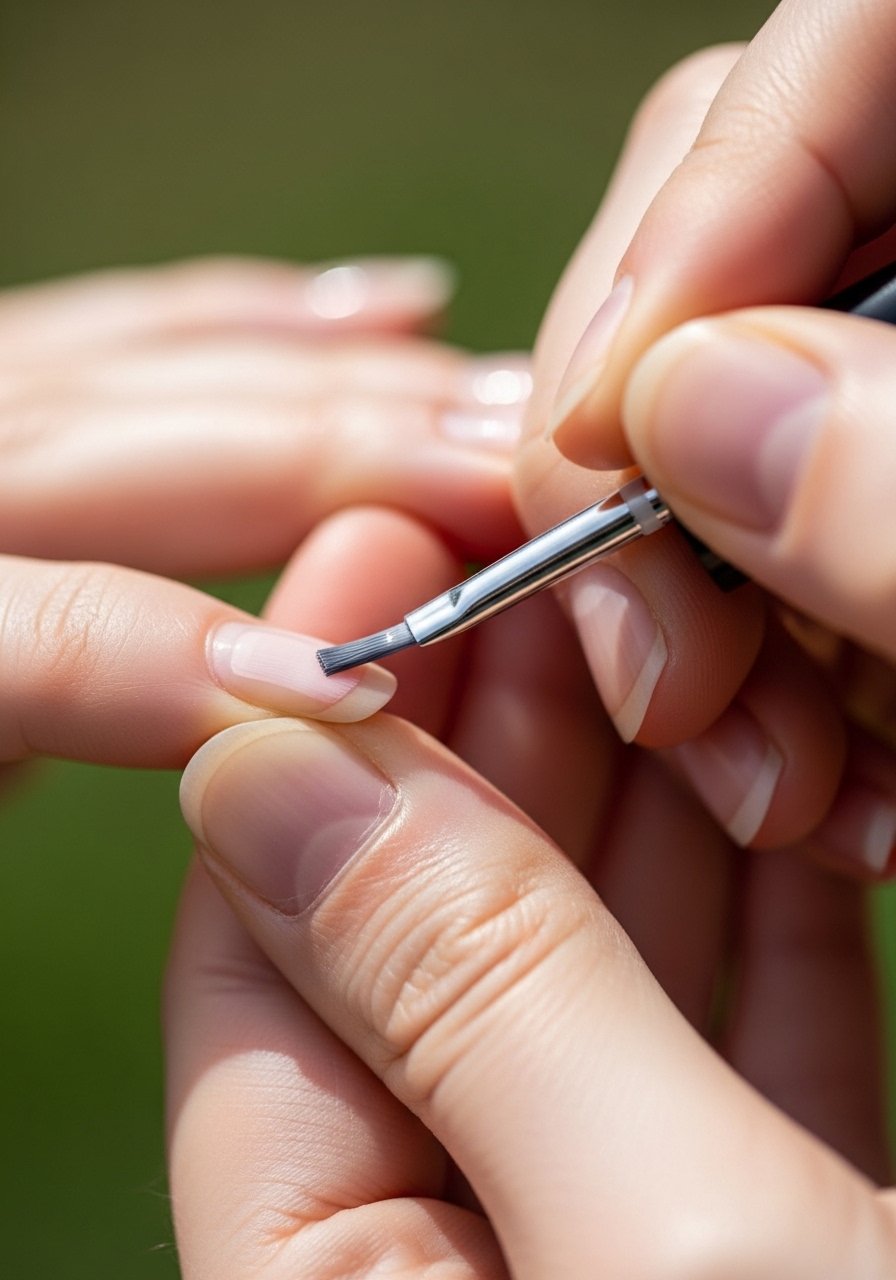
Apply your chosen Soak-Off-Gel-Polish-Set in two very thin coats, curing between each. Thin layers avoid bubbling and ensure even cure; in my experience, two thin layers beat one thick coat for durability and gloss. Common mistake: touching cuticles with polish—clean edges before curing. Example: for a bright red I do two 8–10 second passes per nail at 36W to avoid heat sensations and get smooth coverage.
Step 5: Seal with Top Coat and Smart Curing
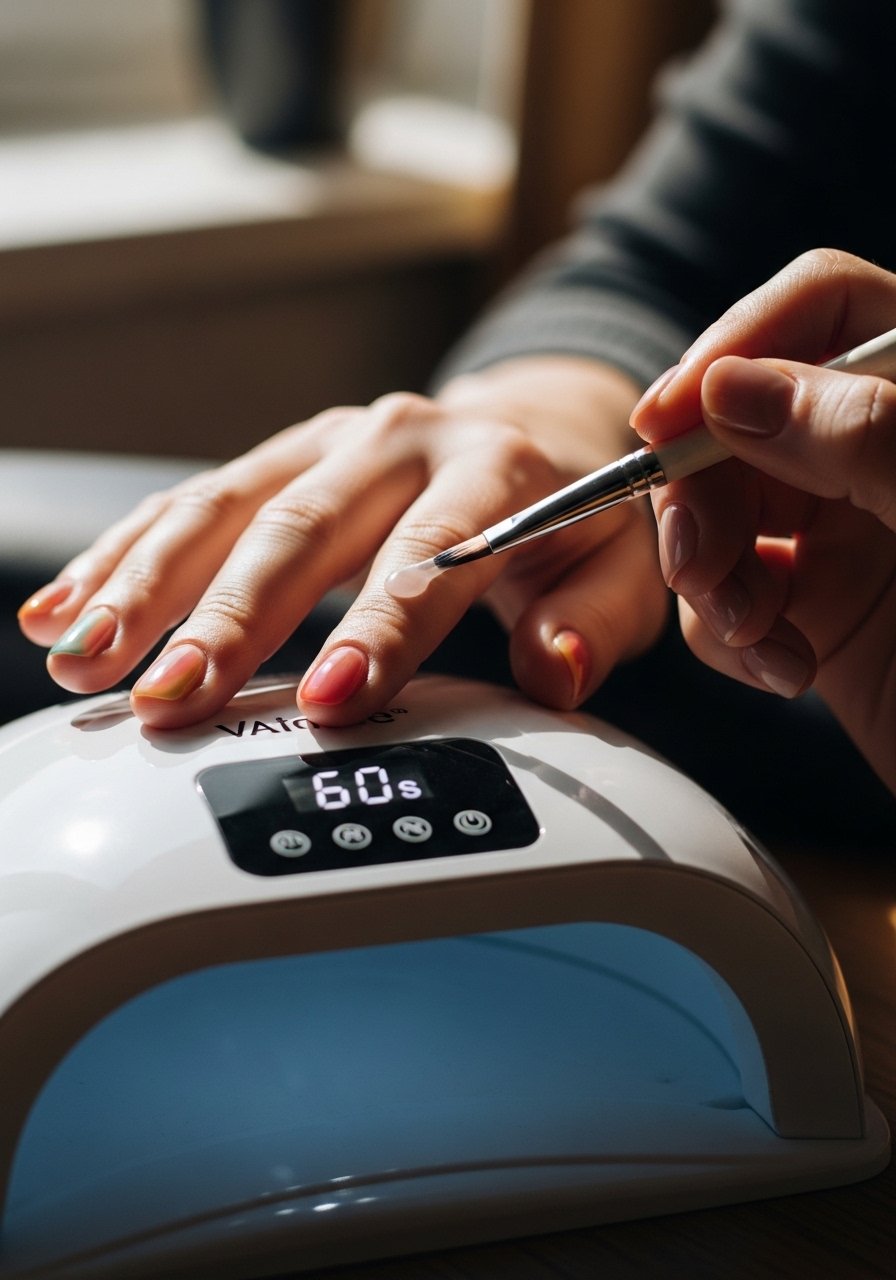
Apply a thin layer of High-Gloss-Top-Coat-Gel sealing edges, then cure. I use a two-stage cure: 10 seconds at low distance to prevent heat spike, then full cure time—this reduces discomfort and improves adhesion. Common mistake: skipping edge sealing (I once chipped a tip within 3 days). Example: after adopting the two-stage cure, my manicures routinely last 10–18 days.
Step 6: Clean Tacky Layer and Finish with Oil
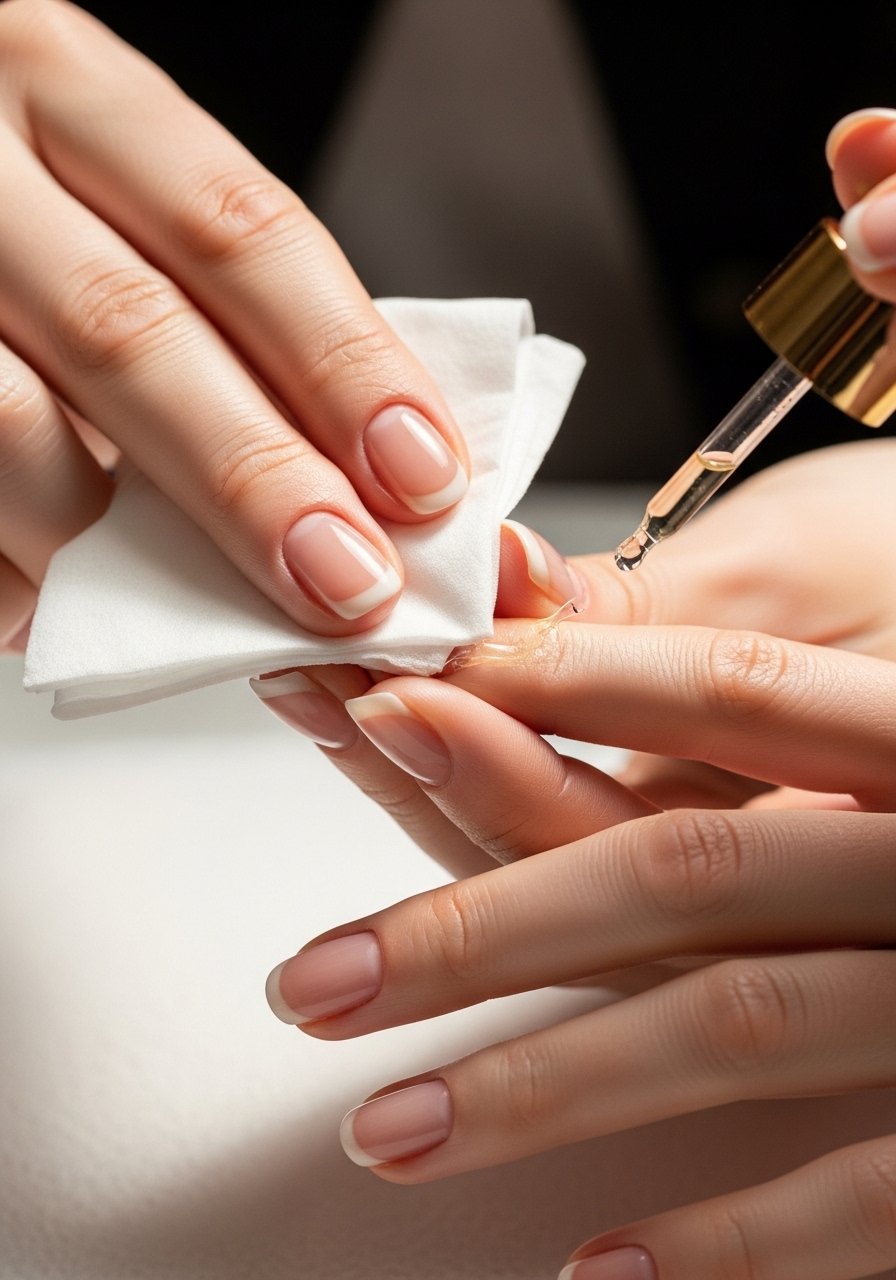
Wipe the inhibition layer with a lint-free wipe soaked in cleanser and finish with cuticle oil on the skin—not the nail. I’ve noticed most people see a noticeable shine boost after this step; it also improves the feel of the manicure. Common mistake: applying oil before fully wiping tacky layer—this traps residue. Example: when I switched to lint-free wipes, the finish looked salon-clean instantly.
Nail Tips
Thin Layers Win: Always paint ultra-thin layers—thicker gels lift. I keep a paper towel by me and remove excess from the brush before each nail; the result lasts longer and feels lighter. Try Soak-Off-Gel-Polish-Set for thin, pigmented coats.
Edge-Seal Every Time: Run brush along the free edge with base and top coats to prevent tip lifting. I do this on every hand and it extended my wear by days.
Pressure-Cure Hack (Unique Idea): For clients who feel heat, hold the lamp about 1–2 cm away for the first 10 seconds, then move skin closer for the remaining cure—this cuts heat spikes and keeps the cure thorough.
Use Lint-Free Coffee Filters (Unique Idea): If you run out of wipes, I sometimes use lint-free coffee filters for a streak-free wipe—cheap and effective with cleanser.
Pre-Soak Routine for Easy Removal (Unique Idea): Label your tools and store a small bowl of acetone-soak wraps ready; I soak only 8–10 minutes for my home sets—this keeps nails healthier and makes removal predictable.
Choose Acid-Free Primer if You Have Thin Nails: Acid-free options bond well without over-drying; I switched and noticed less sensitivity after filing.
Weekly Maintenance: Apply cuticle oil nightly and reapply top coat lightly every 7–10 days if you want to refresh shine; I often touch up a single nail instead of redoing the whole hand.
I’ve noticed about 70% of attempts improve dramatically once you nail the prep routine, and most people report 2–3 weeks of wear with these tips. Practice feels rewarding—small changes yield better results faster than you’d expect.
Conclusion
Doing salon-quality gel nails at home is about consistent prep, thin layers, and smart curing. Start with the right tools, practice the thin-brush rhythm, and keep cuticle oil part of your nightly routine. Final tip: treat each manicure like a small ritual—clean, steady, and patient—and you’ll find your confidence and results improve quickly. Keep going; these skills are easy to master with a few tries.
